Mill your own woodturning blanks from “curbwood”
Darryl Jones demonstrates how he finds, collects, processes, and seals “curbwood” into woodturning blanks.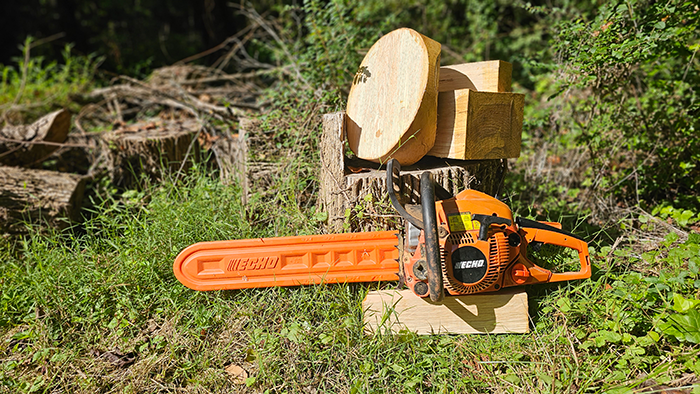
Woodturning blanks can be quite expensive, especially if you like to turn large bowls and forms. I have milled countless fallen trees into blanks of various sizes over the years resulting in a nice cache of materials that are ready to turn into beautiful pieces.
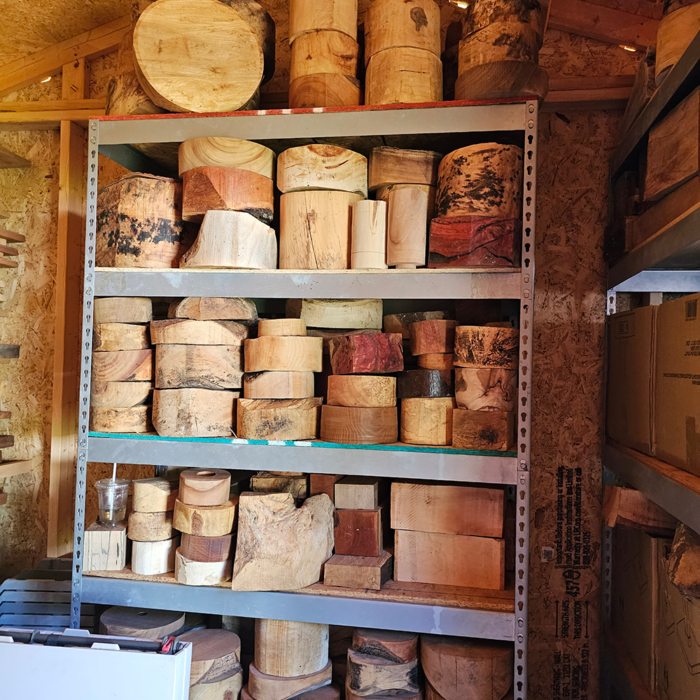
With some basic chainsaw and bandsaw skills, you can mill your own blanks from “curbwood” (wood found on the curb or side of road).
To get started you will need to find some curbwood. Once you find some, be sure that you check with the property owner before you break out the chainsaw.
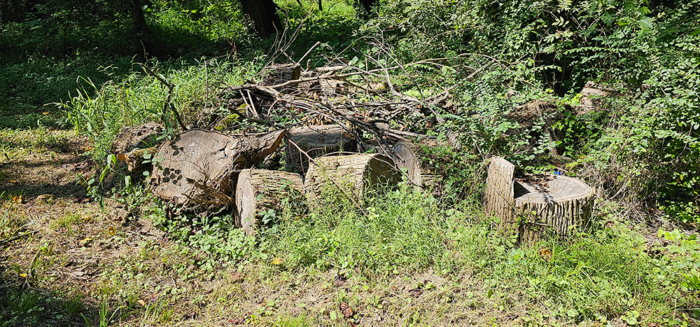
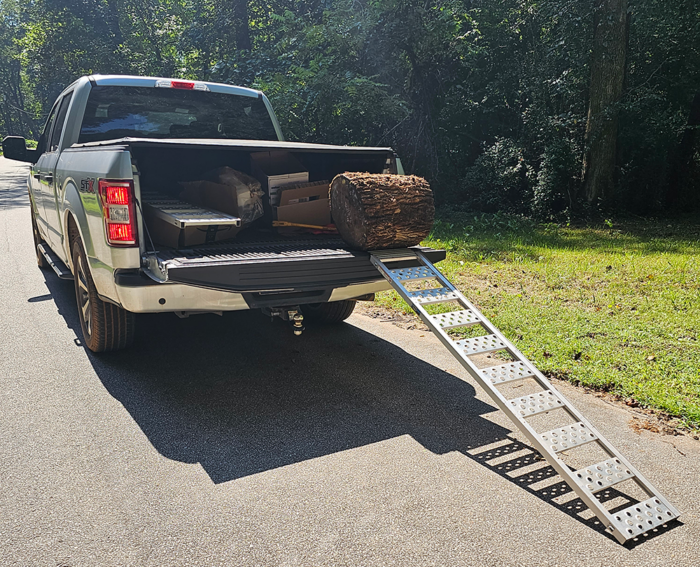
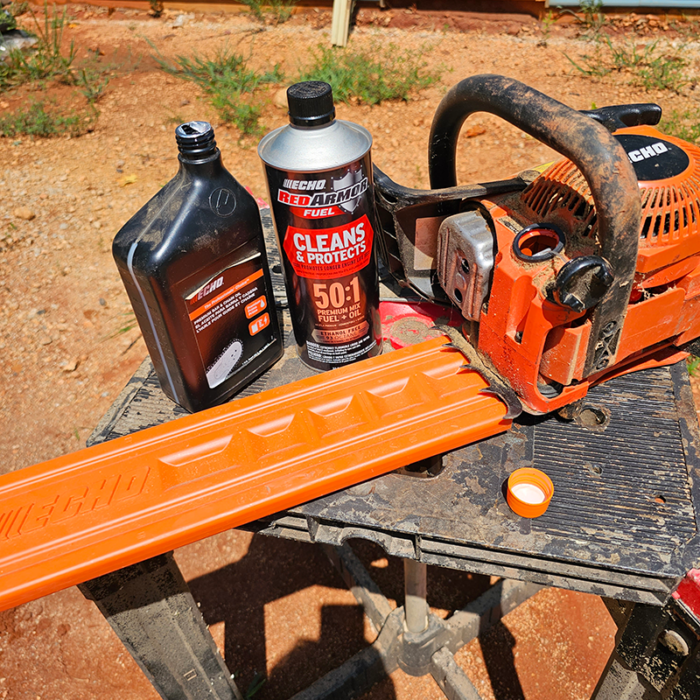
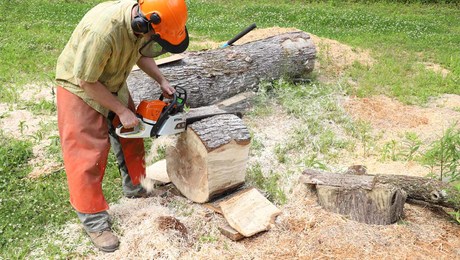
Wet or green wood is full of water and heavy, I use an aluminum ramp as shown to load the log sections into my vehicle. Once the log is at the shop, take a little time to sharpen the chainsaw blade and check the bar oil and fuel levels.
Since the log sections are round, we will need to stabilize them for cutting. I will be using a pallet for this purpose. The spaces between the planks on the top and bottom of a pallet allow the log section to be stood up and well supported for cutting (on occasion a few wedges or offcuts may be used for additional support).
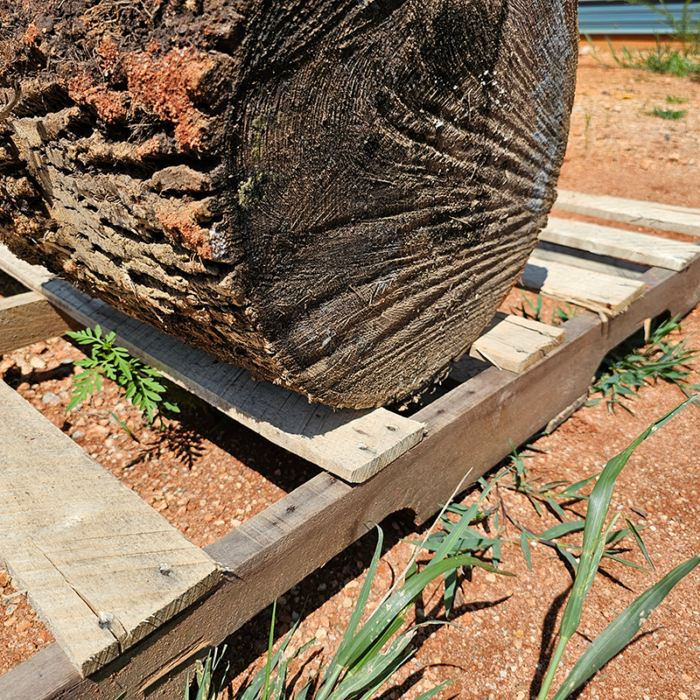
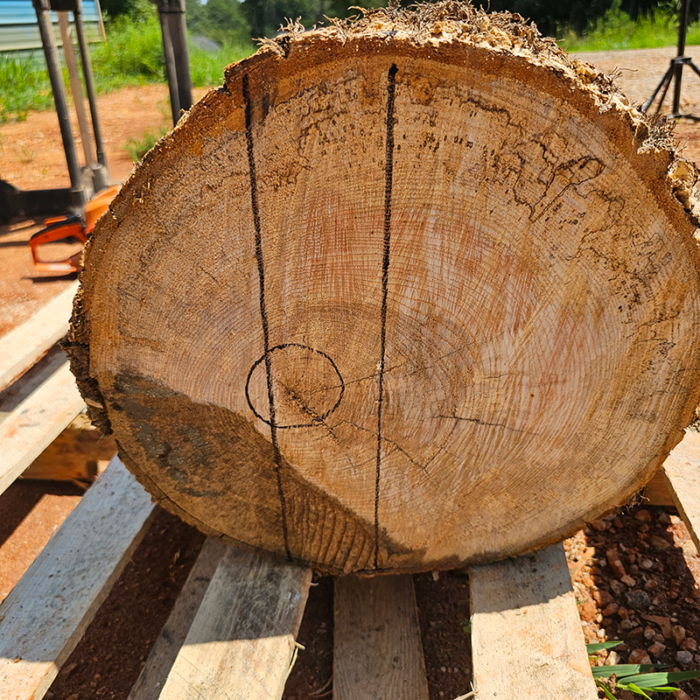
This first cut will clean up the end of the log and allow for the location of the pith. The pith is where the radial cracks will originate and must be removed. This is a good time to decide how to divide up the blank. The smaller side will be a bowl blank and the larger side will become spindle blanks. At first I made the mistake of milling only bowl blanks. Woodturning can encompass a wide variety of projects so be sure to also mill some spindle blanks.
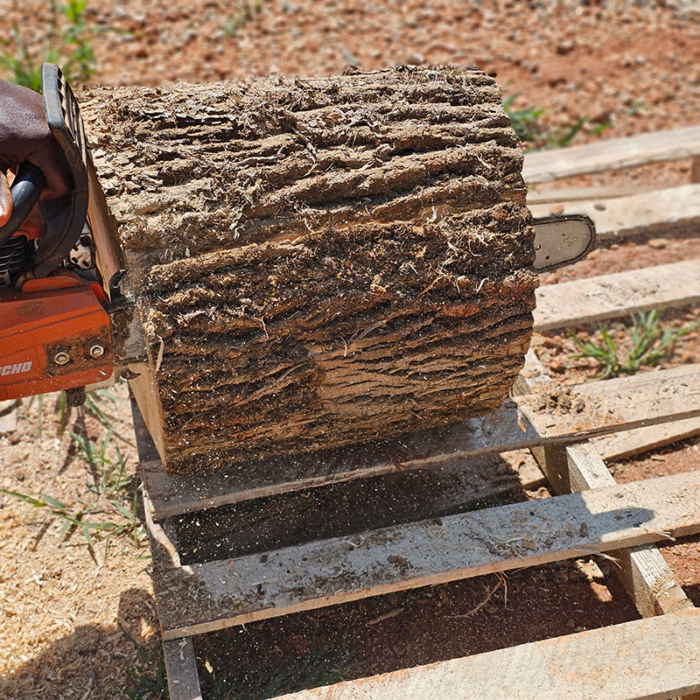
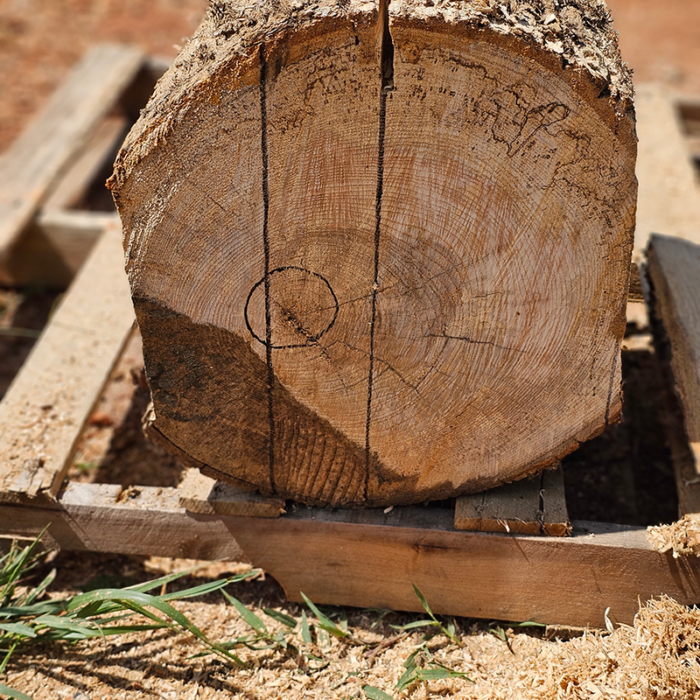
The next cuts will provide flats on the blanks to facilitate easier cutting at the bandsaw. Next use the chainsaw to cut most of the way through the log on either side of the pith. Do not cut all the way through. Flip the log section over, insert the blade into the previous kerf, and gently cut the remaining material (do this with caution and regard for your own personal comfort level).
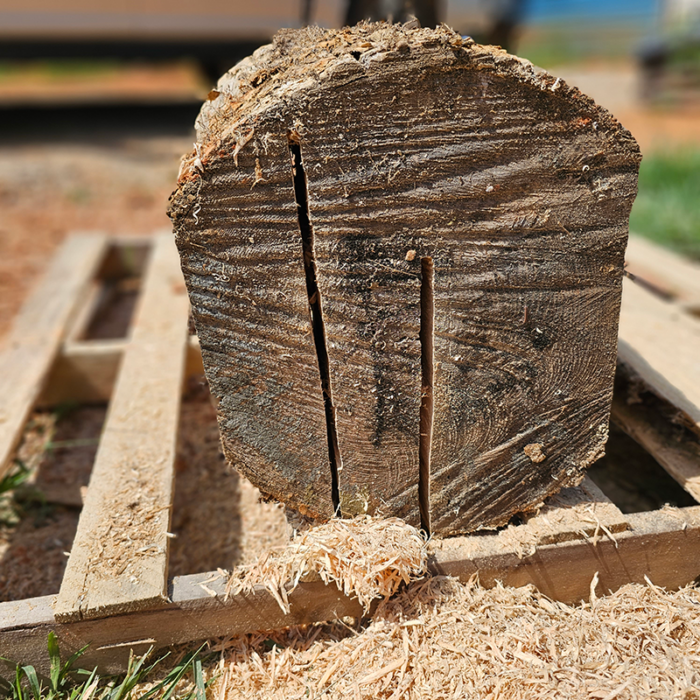
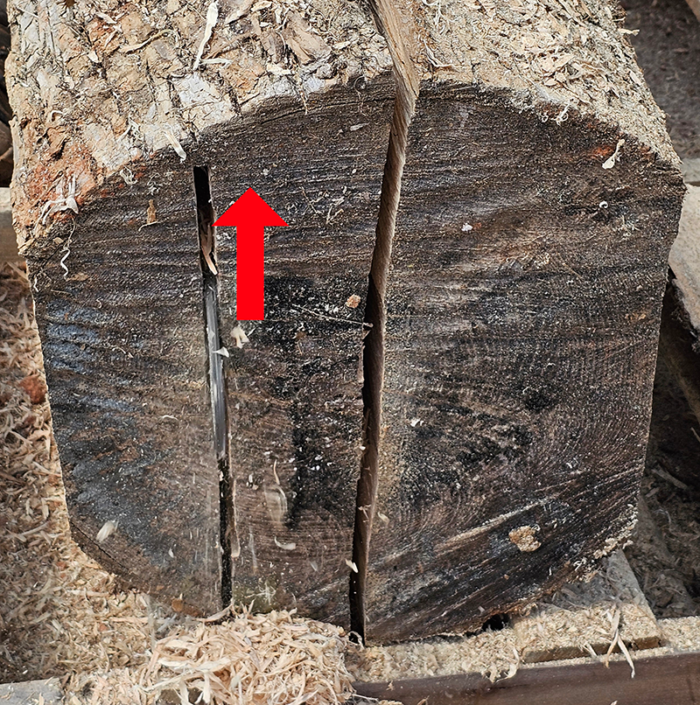
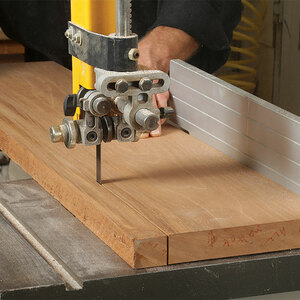
At this point you should have three blanks for further processing at the bandsaw.
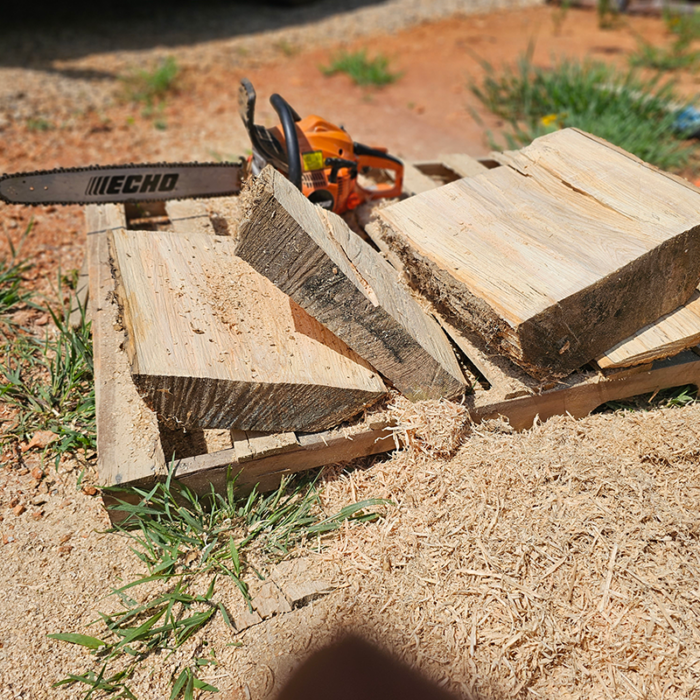
The center section containing the pith will produce some very nice quarter sawn pieces once the pith is cutaway.
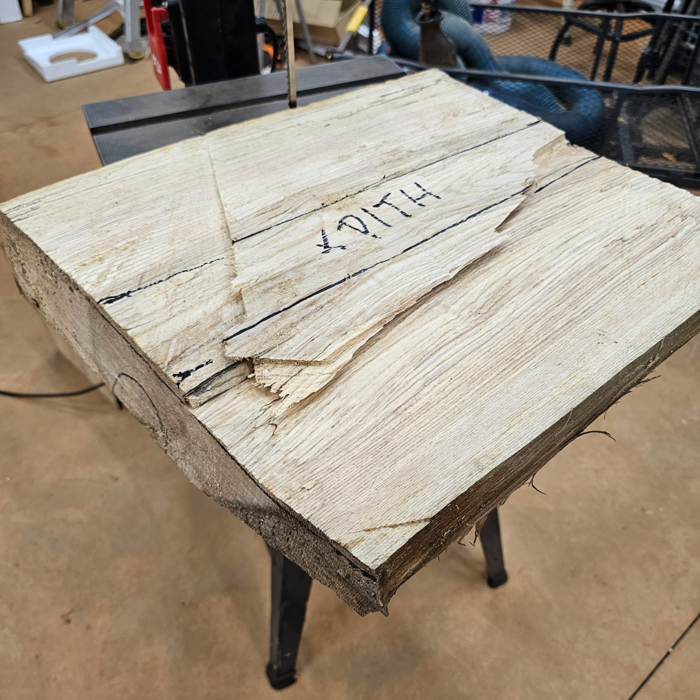
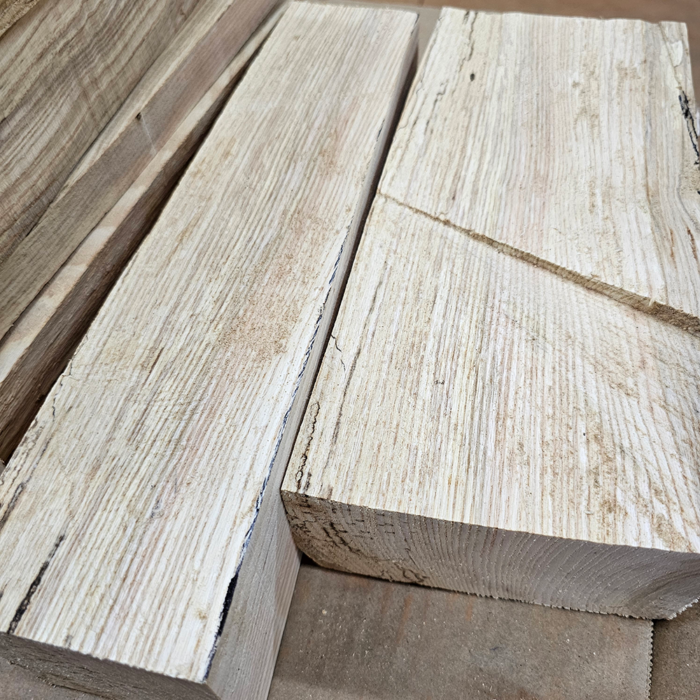
The smaller outside section produced a nice sized bowl blank. The flats that were cut on the outside of the log really come in handy when handling the bowl blank on the bandsaw. A large spindle blank that may later become a hollowform or vessel was cut from the larger section.
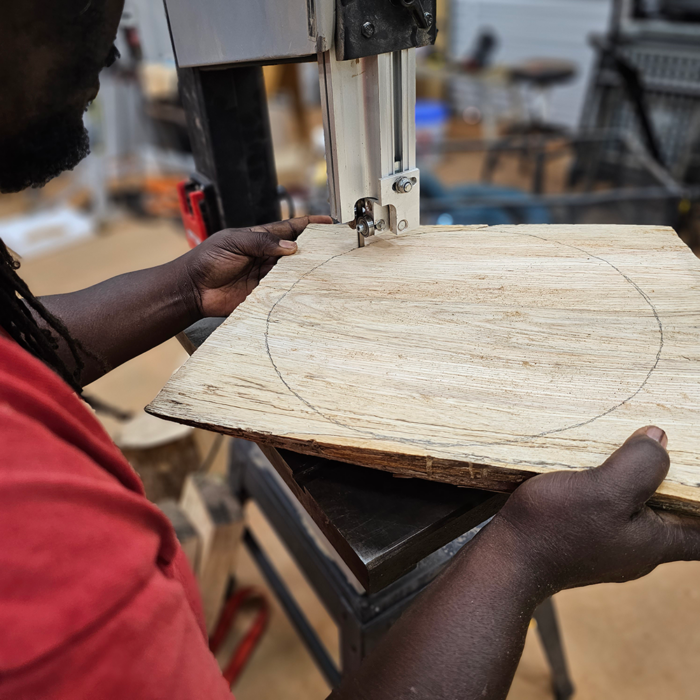
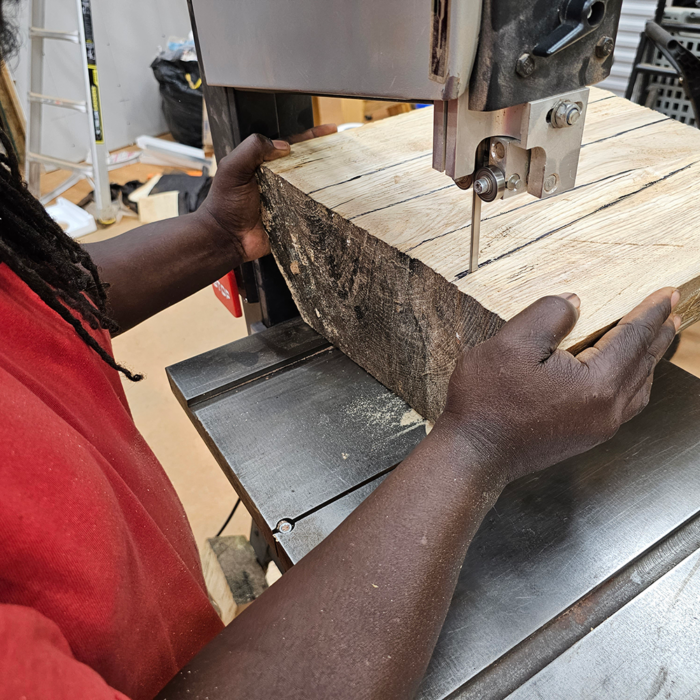
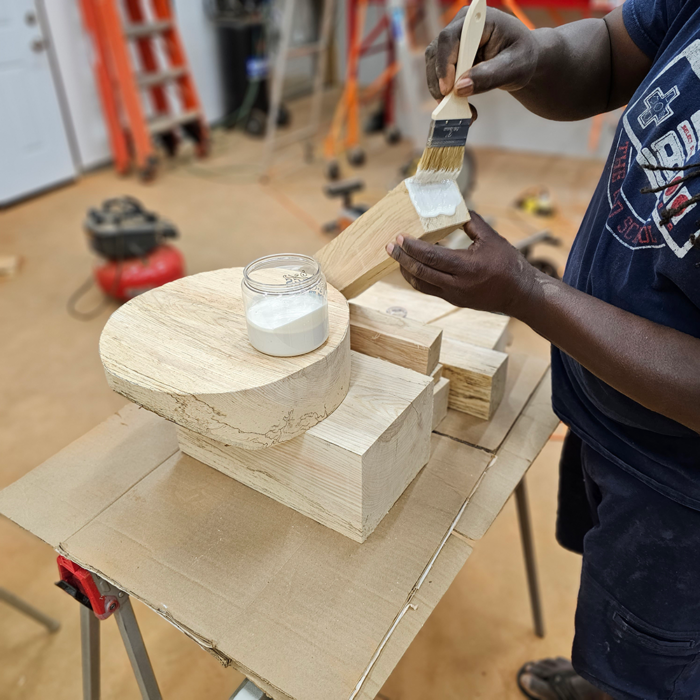
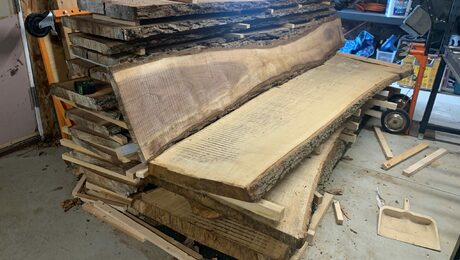
Once all of the blanks have been cut, the endgrain has to be sealed to prevent cracking. This log has some spalting which can contaminate the sealer and brush spreading the fungus to the next log that you process. This may be a positive or negative but, using a separate container will preserve that choice moving forward. I poured a small amount of Klingspor’s Green Wood Sealer into a container and will apply it to the endgrain with a chip brush. Be generous with the coverage and recoat after a few days. Cut the waste pieces into small strips and use them as stickers (spacers) when stacking your freshly milled blanks to allow air to flow evenly around all sides to help ensure even drying and minimal cracking. Air drying blanks can take a considerable amount of time, approximately one year per inch of thickness is a generally accepted guideline.
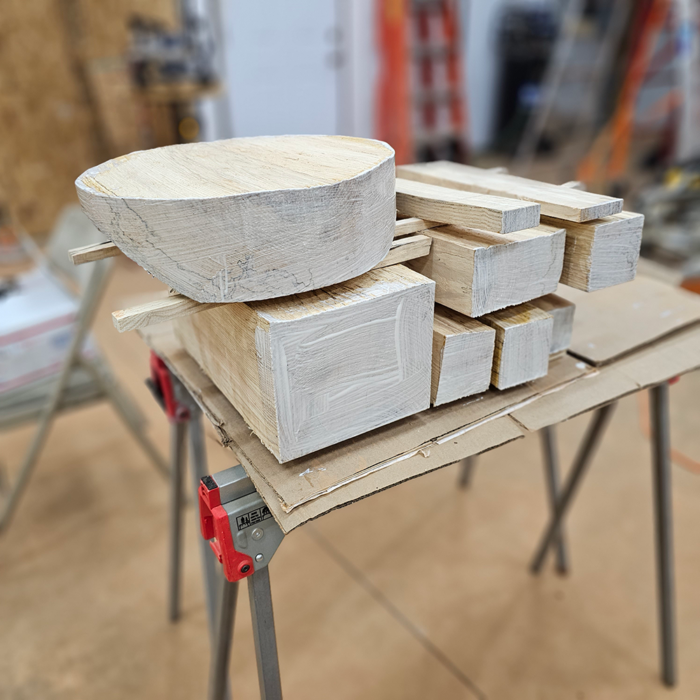
You don’t have to be a chainsaw expert to mill your own blanks. Read the manual, follow all safety guidelines, and take your time. I am by no means an expert with the chainsaw but I am able to turn this curbwood into some useable blanks for woodturning.
Fine Woodworking Recommended Products
Incra Miter 1000HD

AnchorSeal Log and Lumber End-Grain Sealer
Ridgid R4331 Planer








Log in or create an account to post a comment.
Sign up Log in