Basic shopmade banding
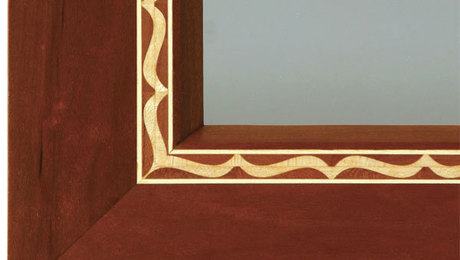
Commonly found in Federal-style furniture, Steve Latta's basic block banding is a great way to embellish all furniture, whether period or contemporary.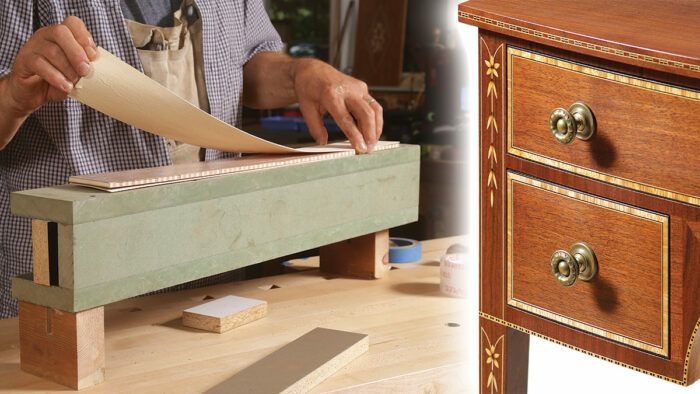
Synopsis: Commonly found in Federal-style furniture, banding is a great way to embellish all furniture, whether period or contemporary. Steve Latta describes how to make a basic block banding with a core of maple and cherry and a double band of sycamore and cherry veneers on the outside. Learn this step-by-step process and the door will be open for you to make a variety of bandings in your shop.
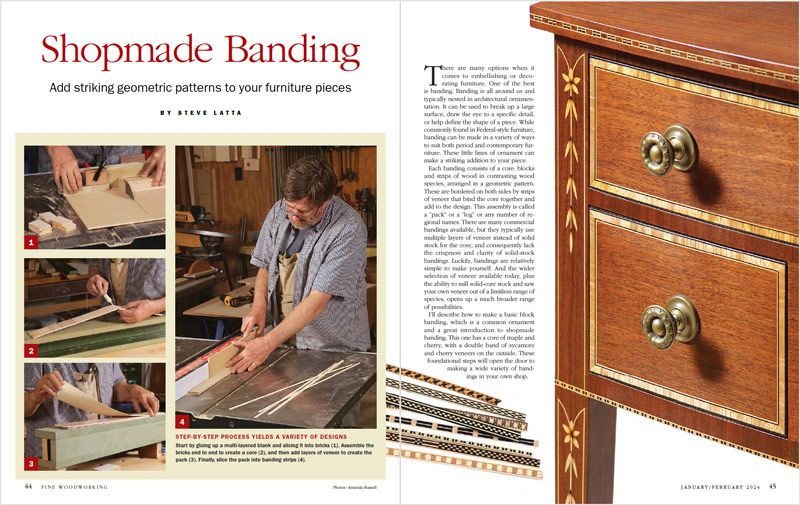
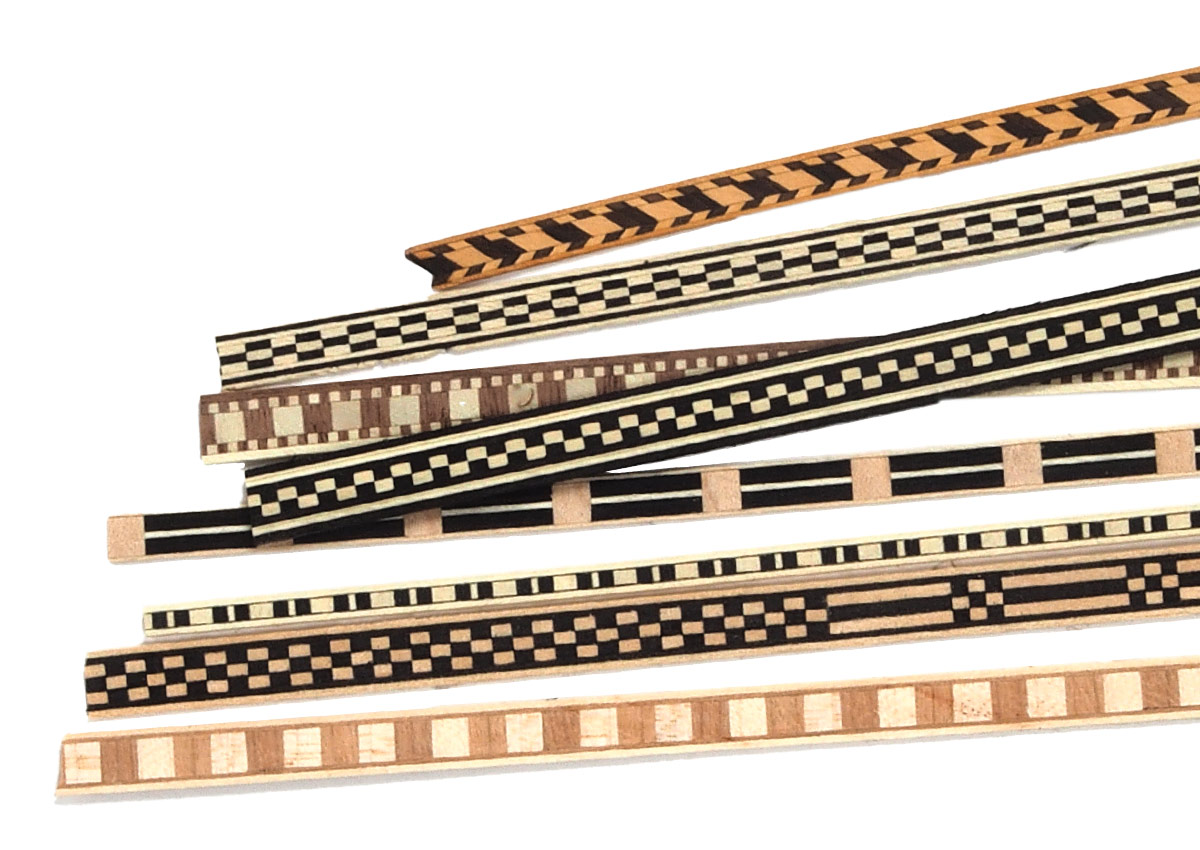
There are many options when it comes to embellishing or decorating furniture. One of the best is banding. Banding is all around us and typically nested in architectural ornamentation. It can be used to break up a large surface, draw the eye to a specific detail, or help define the shape of a piece. While commonly found in Federal-style furniture, banding can be made in a variety of ways to suit both period and contemporary furniture. These little lines of ornament can make a striking addition to your piece.
Each banding consists of a core: blocks and strips of wood in contrasting wood species, arranged in a geometric pattern. These are bordered on both sides by strips of veneer that bind the core together and add to the design. This assembly is called a “pack” or a “log” or any number of regional names. There are many commercial bandings available, but they typically use multiple layers of veneer instead of solid stock for the core, and consequently lack the crispness and clarity of solid-stock bandings. Luckily, bandings are relatively simple to make yourself. And the wider selection of veneer available today, plus the ability to mill solid-core stock and saw your own veneer out of a limitless range of species, opens up a much broader range of possibilities.
I’ll describe how to make a basic block banding, which is a common ornament and a great introduction to shopmade banding. This one has a core of maple and cherry, with a double band of sycamore and cherry veneers on the outside. These foundational steps will open the door to making a wide variety of bandings in your own shop.
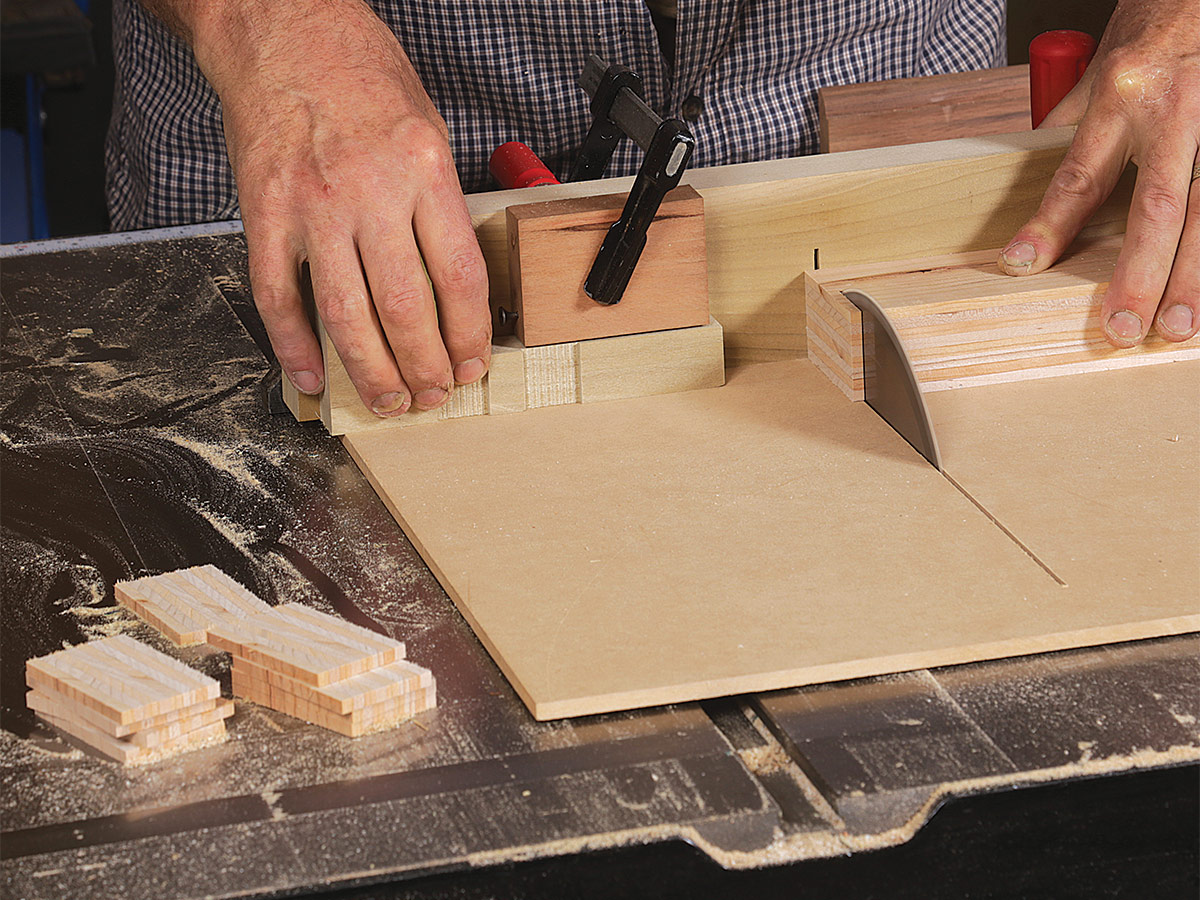
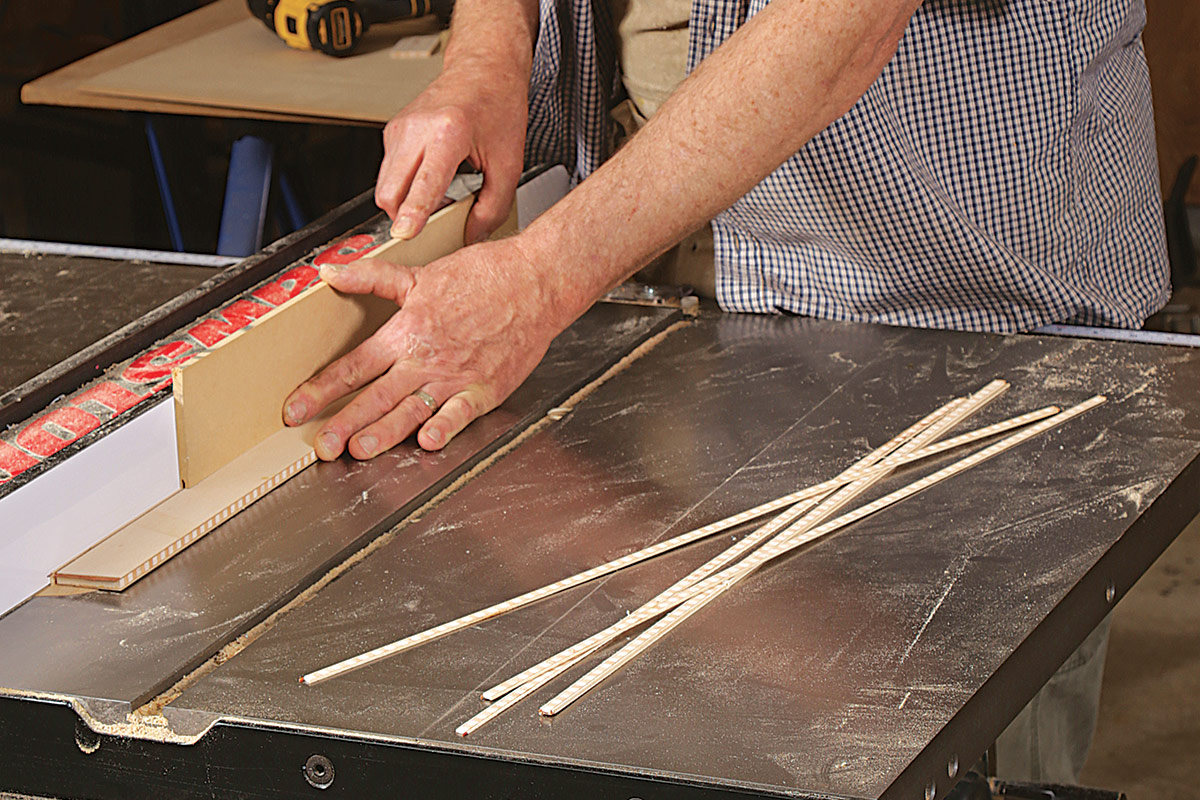
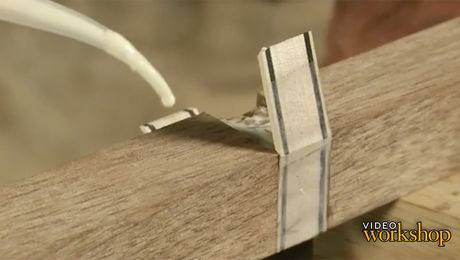
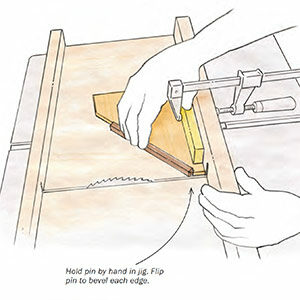
L-stop in action: Steve Latta uses a clever L-stop to cut tiny slivers of wood for his
banding. Unfortunately, it can be difficult to wrap your head around how it works.
Fortunately, this video shows you how.
Make a banding press
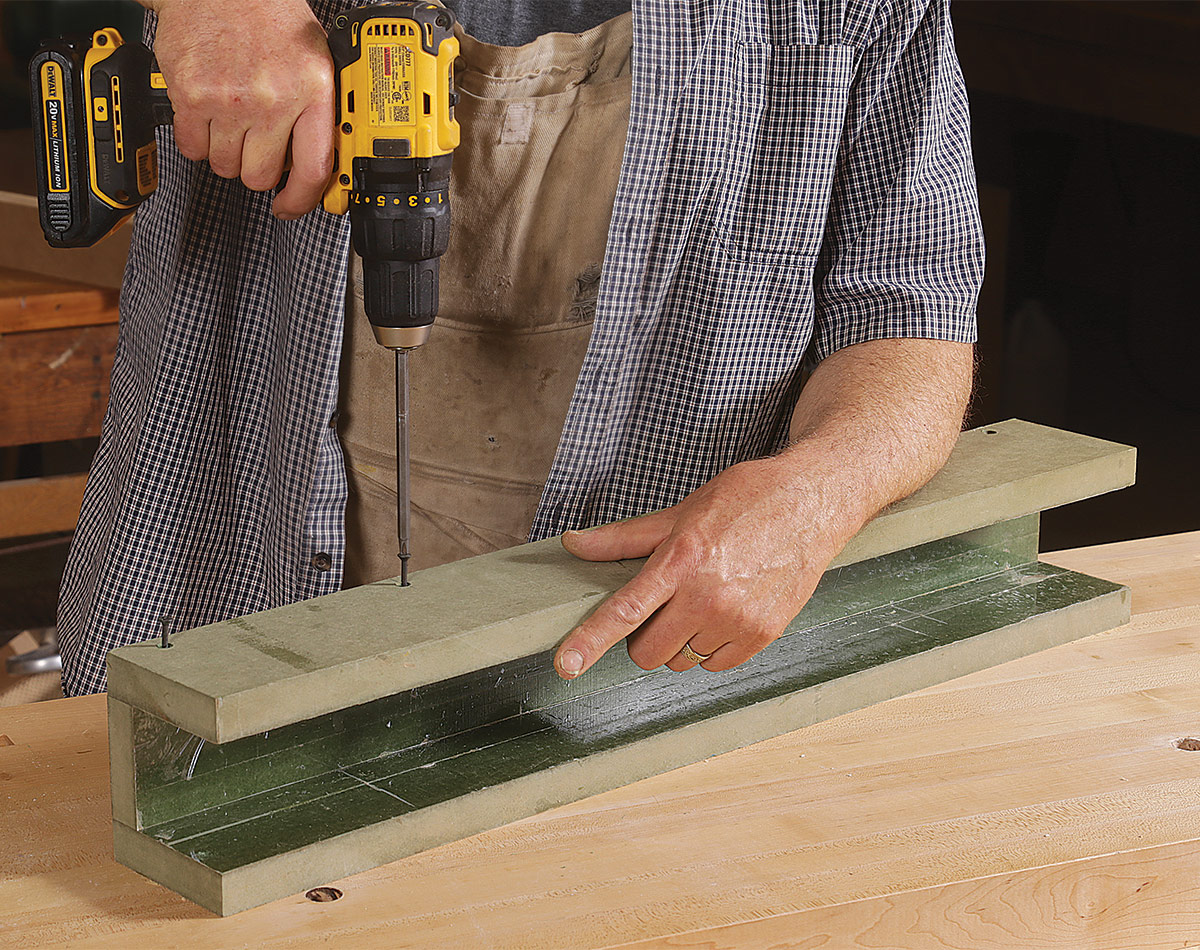
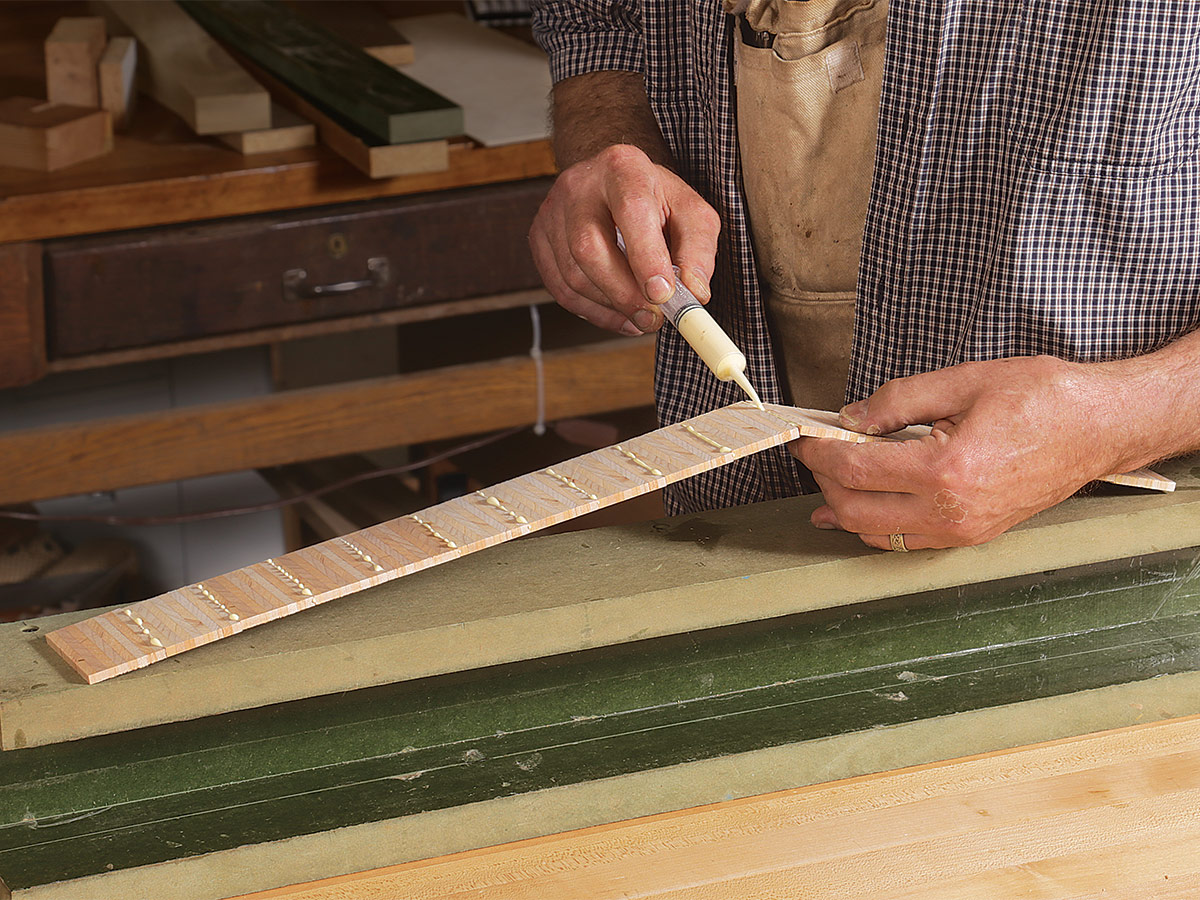
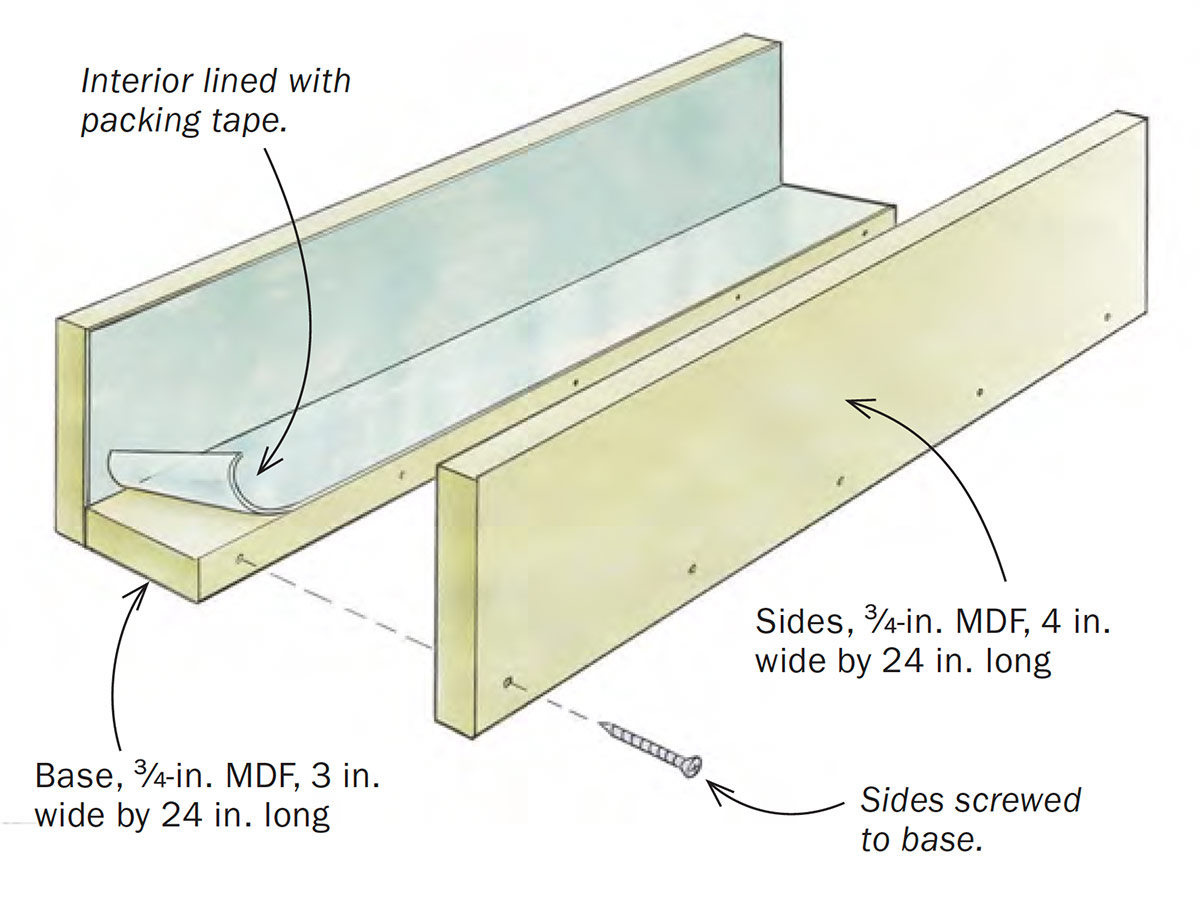
A banding press is essential for laying up bandings. I have a U-channel made of MDF, lined with clear packing tape to prevent glue from sticking to the press. Alternatively, using melamine to create the U-channel eliminates the need for tape. The U-channel assembly is screwed together without glue, which allows you to break a pack loose from the press, if needed. Several clamping cauls, also made from MDF and lined with packing tape, are an essential part of the banding press. I place a couple above and below the U-channel to provide more clamping pressure. To distribute the pressure evenly over a broad area, I use heavier-duty clamps with larger pads. I use regular, reliable yellow glue applied with a rubber roller to glue up banding assemblies. This leaves enough glue and the film is even.
Laminate the core stock
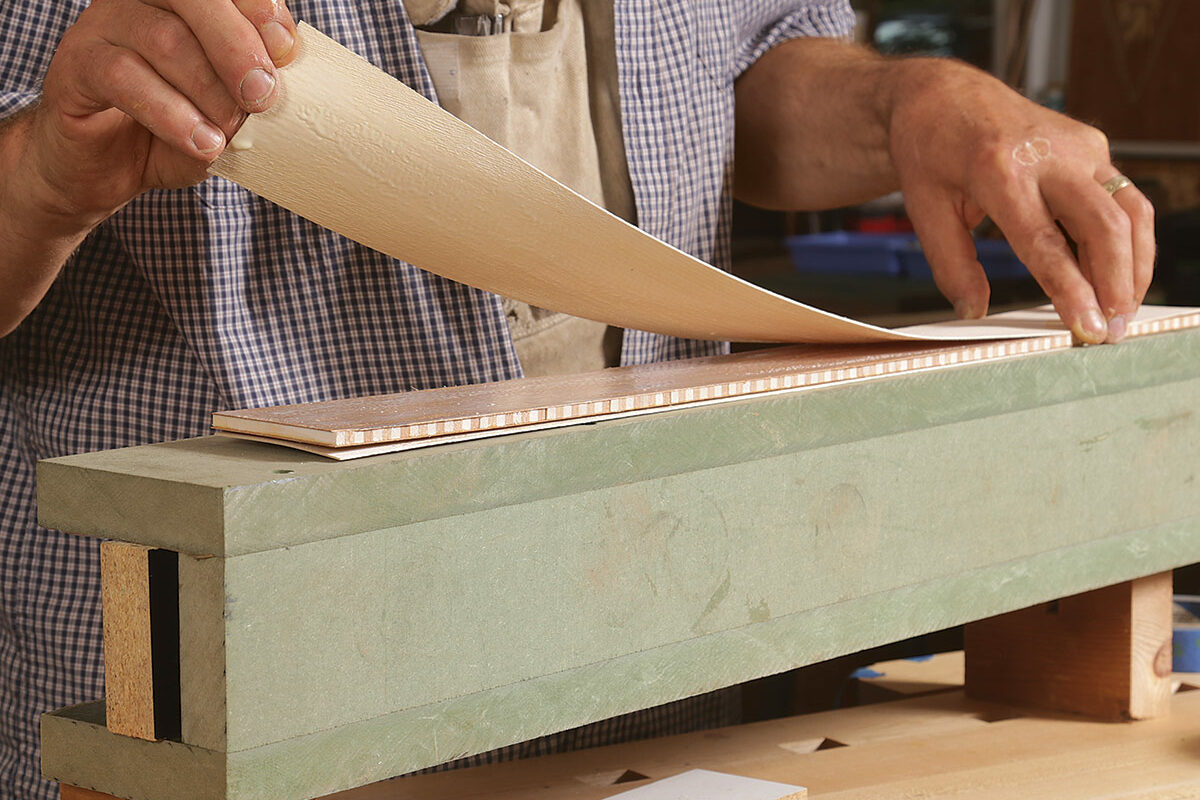
The first step is creating the core stock. Begin by milling up eight pieces, 3⁄16 in. thick by 3 in. wide by 24 in. long, four in maple and four in cherry. Mill them at the same time so that their thicknesses are identical. Apply a thin film of glue to each face of the cherry and maple, stack them together by alternating species, and place the assembly into the banding press. Place a couple of cauls on top of the pack, and apply clamps starting from the middle and working outward. This prevents pockets of air from being trapped in the glue-up and directs squeeze-out.
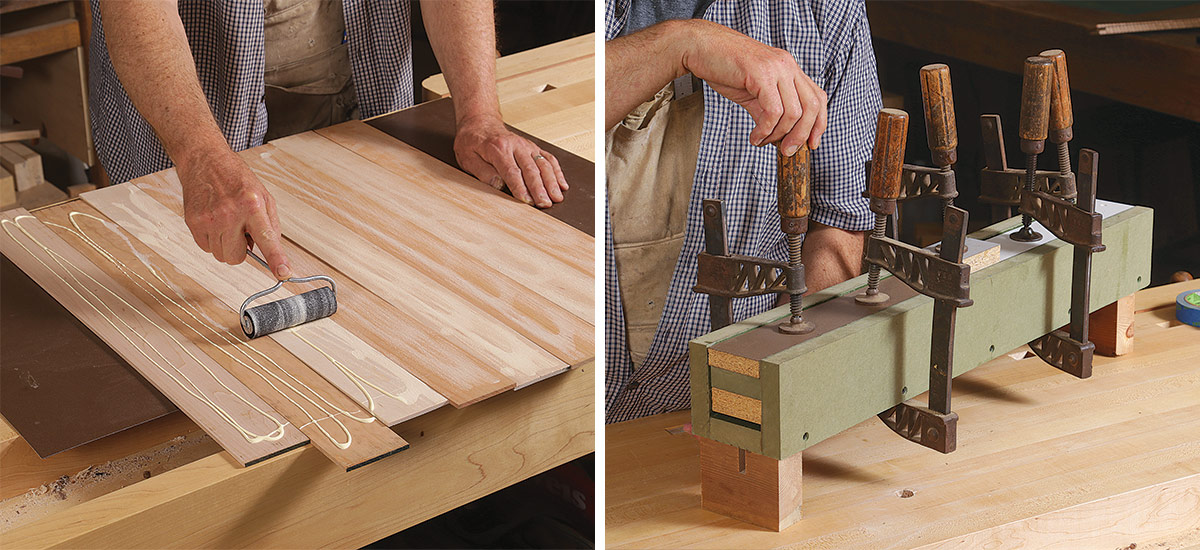
After 45 minutes, remove the pack from the press and scrape off excess glue. Then, reclamp the pack outside of the press so air can speed up the curing process. Once the glue is completely dry, get one edge flat. This depends entirely on tool preference, but I use my jointer with a carbide cutterhead. Once the edge is flat, rip the core to maximum width on the table saw.
Contributing editor Steve Latta teaches woodworking at Thaddeus Stevens College in Lancaster, Pa.
Photos: Amanda Russell
From Fine Woodworking #308
To view the entire article, please click the View PDF button below.
Fine Woodworking Recommended Products

Glue Bottle
4-oz. Glue Bottle - 3 Pack

Dividers






Log in or create an account to post a comment.
Sign up Log in