Review: Taytools Drill Press Sharpening System, V2
Low-cost system keeps chisels razor-sharp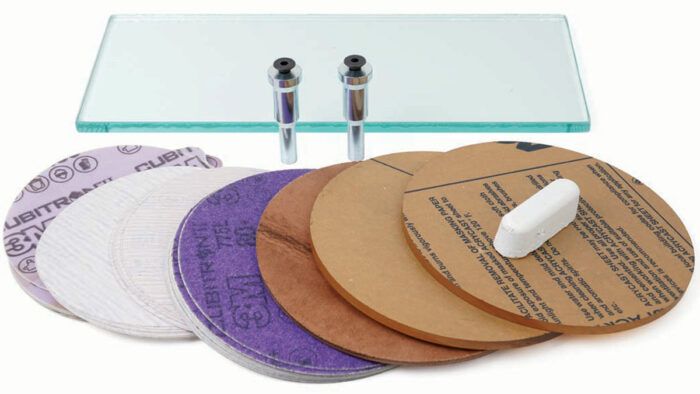
Taytools Drill Press Sharpening System, V2 Taytools.com $50 (for model with 6-in. disks)
At the heart of Taylor Toolworks’s simple new sharpening system are two thick acrylic disks that mount in your drill press and accept a variety of sanding disks, along with a leather stropping disk. The kit also includes a length of thick, flat float glass, which accepts the same self-adhesive disks—or any other sandpaper—for flattening the backs of blades.
The user has to build one or two simple ramps (instructions are included) that sit on the drill-press table and guide the blades into the disks at specific angles. These are easy to build, however, and once you have them built, the Taytools system will sharpen and hone every chisel in your shop quicker than any other method I’ve used.
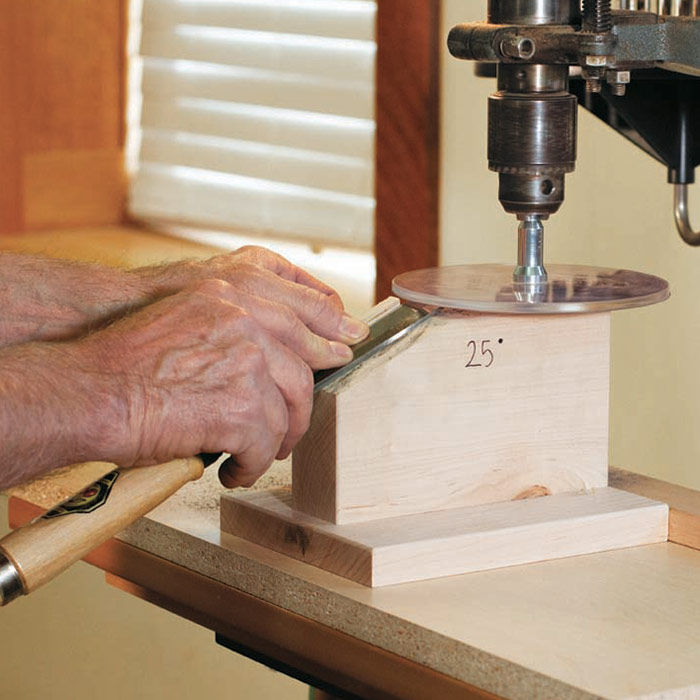
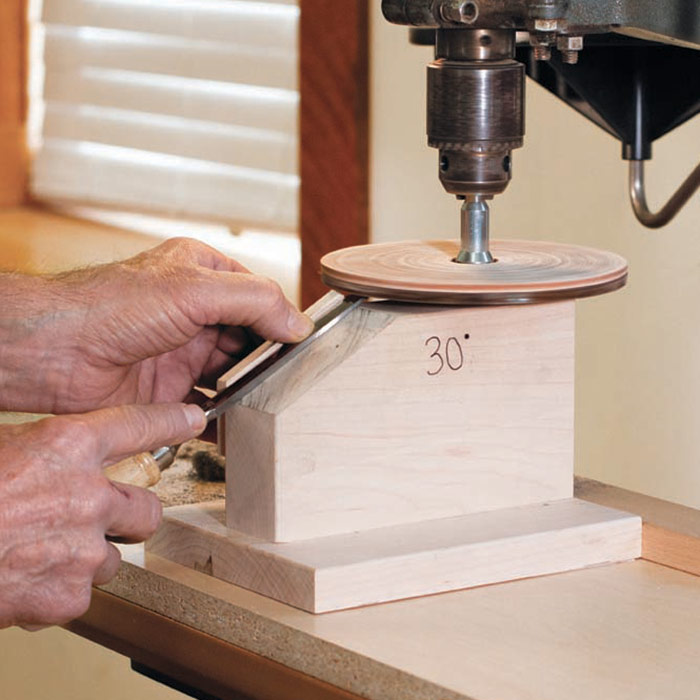
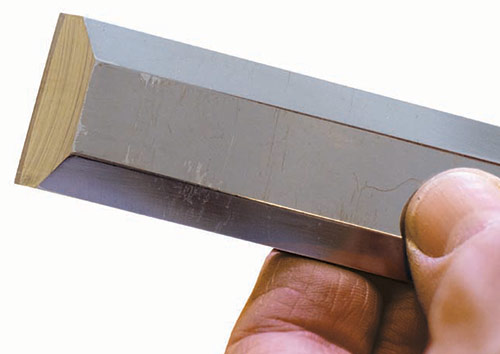
To get the most from the system, I deviated a little from the instructions. They recommend using a 220-grit disk and a 25° ramp to form a clean bevel on a chisel or plane blade, before stropping the blade by hand on the spinning leather disk to form a polished microbevel at the tip. That approach required me to press down hard on the leather to remove the sanding scratches, which rounded the tip and left it less sharp than I would like.
So I started again with a freshly sanded 220-grit, 25° bevel, and made a second ramp, at 30°, for quickly forming a micro-bevel at the tip, using a 1000-grit disk (procured elsewhere). This small, finely ground bevel was then much faster and easier to polish on the stropping disk, without the need to press down so hard. I also adhered 1000-grit sandpaper to the float glass, and used that to remove the sharpening burr on the back of the edge before stropping the bevel.
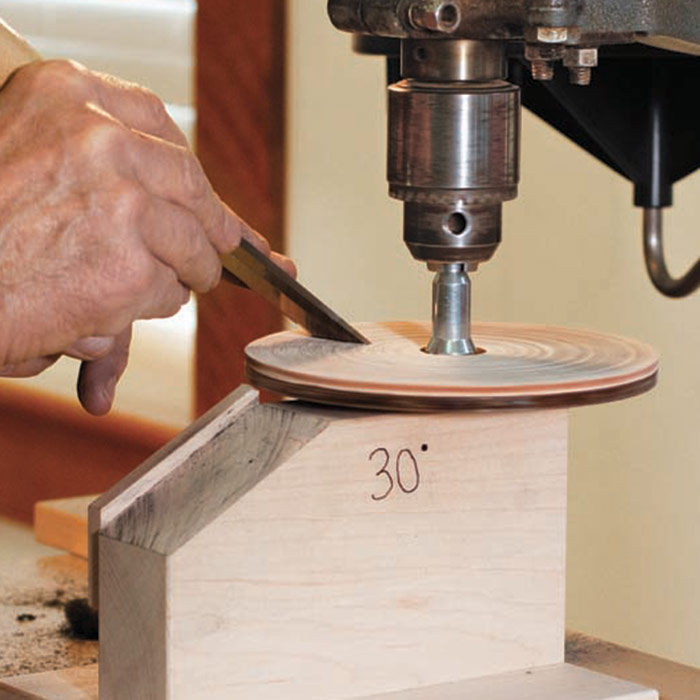
Even though you’ll need to build a couple of simple ramps, and supplement the sandpaper that comes with the kit, it’s a remarkable value and requires no special skills for success.
It’s important to note that spinning disks cut faster toward their perimeter, which can leave an edge slightly angled. The instructions explain how to counteract this effect by shimming one side of the sharpening ramp to tilt it slightly. The effect is more problematic on wider plane blades, where squareness is even more important, which is why I recommend this system for chisels only.
 —Chris Gochnour is a contributing editor.
Photos: Asa Christiana (except where noted)
From Fine Woodworking #309.
Fine Woodworking Recommended Products

Estwing Dead-Blow Mallet

Dustopper Pro
Tite-Mark Marking Gauge




Comments
“[Deleted]”
Looks like a nice way to sharpen. Are the instructions for building the blocks included? How close is the bottom of the sanding disk to the top of the block?
Looks like a DIY version of the Worksharp 3000
Log in or create an account to post a comment.
Sign up Log in