Woodworking safely with small parts
From handles and pulls to feet, wedges, wheels, drawer stops, and table-attachment tabs, Asa Christiana shows us how to manufacture a lot of small parts.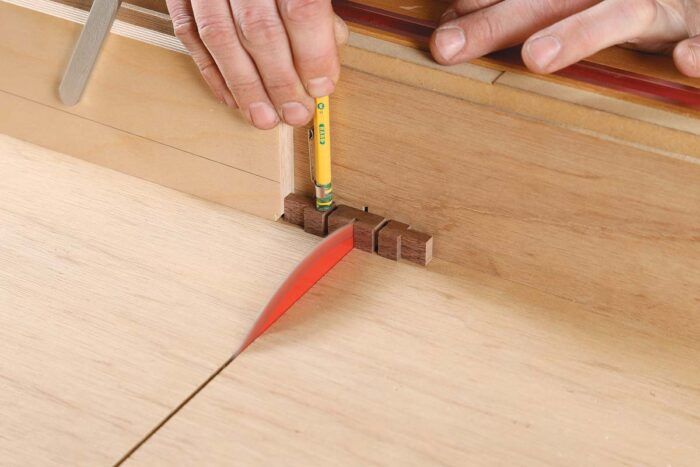
The tips in this article sprang from a comment sent in to Fine Woodworking’s Shop Talk Live podcast. “Yesterday I was cutting some shims on my bandsaw,” the listener wrote. “The piece I was cutting them from was pretty small, but I thought to myself, ‘I can get another one out of this.’ When my finger was about an inch from the blade, the shim and the offcut got dragged into the throat. There was a loud bang, and I jerked back. It hurt a lot. After a moment to collect myself, I opened my fist to find my finger intact. The pain came from the wood exploding and hitting it. I fell asleep last night thanking God for the amazing blessing of my hands.”
From handles and pulls to feet, wedges, wheels, drawer stops, and table-attachment tabs, woodworkers manufacture a fair amount of small parts. A lot can go wrong when we do.
While these little parts can be tricky to handle with both hand tools and power tools, hand tools are usually safer, so always consider those as an alternative to power. That said, it’s easier to achieve speed and precision with machines. And that’s where small workpieces are their most dangerous.
The good news is that the solutions are simple and straightforward. And, as is so often the case in woodworking, safe techniques also yield better results, so best practices are a win-win.
The first solution: Close the throat
The first pitfall in cutting small parts is the one our podcast listener fell into—an opening around the blade that allows a small workpiece or offcut to be pulled into it, damaging it and possibly pulling your fingers with it. Table saws, miter saws, and bandsaws come with large blade slots that accommodate blades of various thicknesses, set at various angles. Many woodworkers find a way to address this problem on their table saws, knowing that a zero-clearance throat plate will prevent chipping on the bottom edge of all sorts of cuts. But we tend not to address the issue on miter saws and bandsaws, partly because zero-clearance is harder to maintain on those machines, and because it isn’t always necessary.
On all three machines, a panel or two of 1⁄4-in.-thick MDF is all you need to create zero clearance around the bit or blade. These tight blade gaps will not only ensure clean cuts and keep small pieces from diving dangerously into a gap, but they will also show you exactly where the blade will cut, so you can align a layout line with the slot, or hook a tape measure on it when setting up a stop.
-Table saw sled
 |
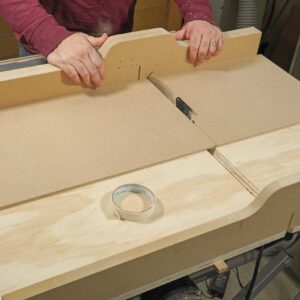 |
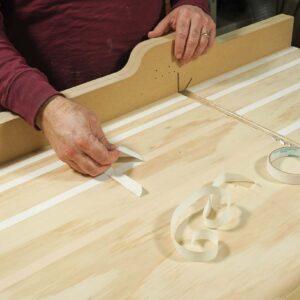
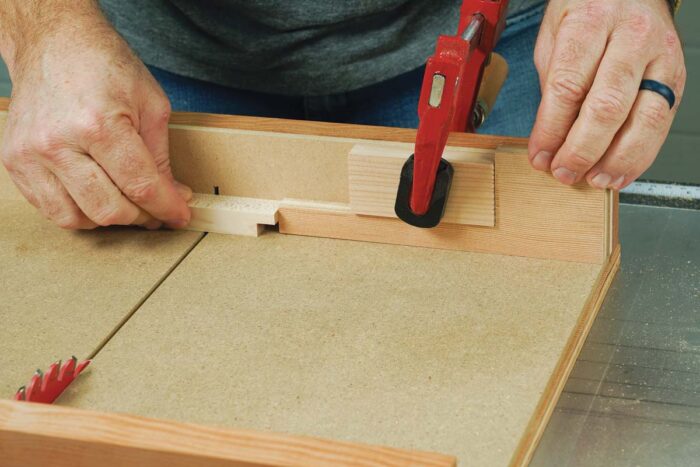
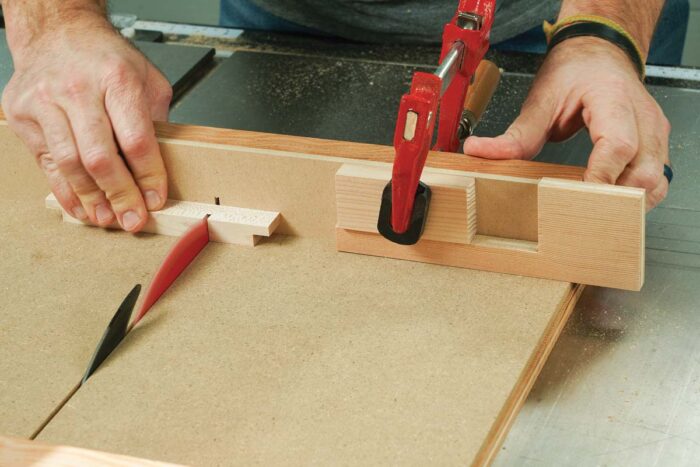
Start with your table-saw sled. Set the blade to the miter angle you want, and use double-stick tape to attach a large piece of 1⁄4-in. MDF. Do the same to the fence if needed. Then cut through the MDF (right) to create zero-clearance support around the blade.
-Miter saw
-Bandsaw
 |
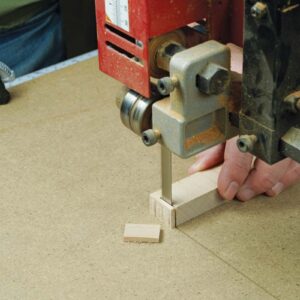 |
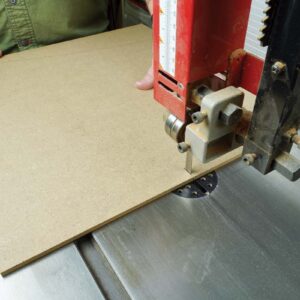
Zero clearance at the bandsaw. Cut partway into a piece of 1⁄4-in. MDF, then clamp it in place to create support around the blade.
Wait to turn a long piece into a small one
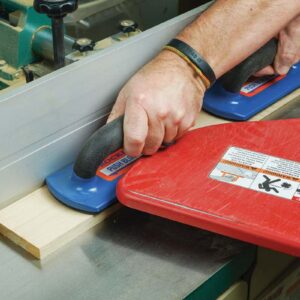
The second solution is one of the universal principles of safe, effective woodworking. Consider the standard milling process. The reason we joint, plane, and rip parts to thickness and width first—before cutting them to length—is that longer pieces are safer and easier to handle on the jointer, planer, and table saw.
The same goes for small workpieces. The idea here is to do everything you can to a small part (or parts)—including milling, shaping, drilling, etc.—while it is still part of a larger piece. This will make a world of difference when it comes to safety and control, and it’s usually a more efficient way to work.
You’ll be surprised at all the things you can do to a small workpiece before cutting it free from a larger one.
 |
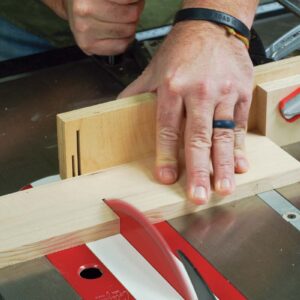 |
Same principle as the normal milling process. Milling short parts on a jointer or planer can range from difficult to unsafe. That’s why woodworkers mill parts to thickness and width (above left) before cutting them to length (above right).
 |
 |
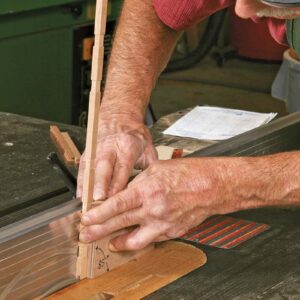
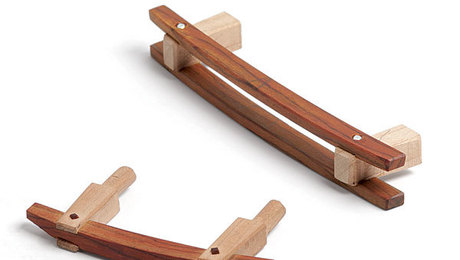
Long parts are safer than short ones. In his Master Class on furniture pulls (FWW #245), Ross Day cut dadoes and slots in a long workpiece, which became a series of small posts (above left and right).
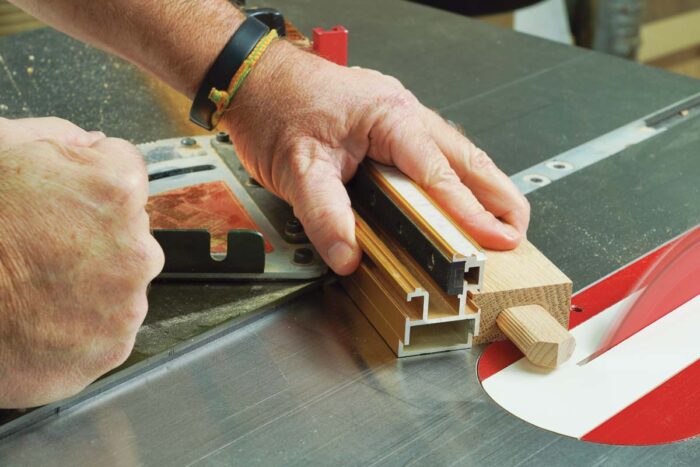
Add a carrier. To cut 60° angles on the ends of Festool Domino tenons, so they could form a threeway joint, FWW contributor Phil Gruppuso inserted the tenons in a long scrap (below). Small workpieces can also be glued to larger scraps for safe cutting or shaping, then cut off afterward.
Cutting, shaping, and drilling small workpieces safely
For very small workpieces, like little mitered moldings, small pins, miter keys, and so on, my favorite cutoff tool is a Japanese handsaw. But when I need even more precision, or a bunch of parts cut to the same exact length, I turn to the table saw or miter saw, adding a stop of some sort. It’s imperative to control the piece that’s trapped between the blade and the stop. There are a variety of effective ways to control small cutoffs, as shown in the photos.
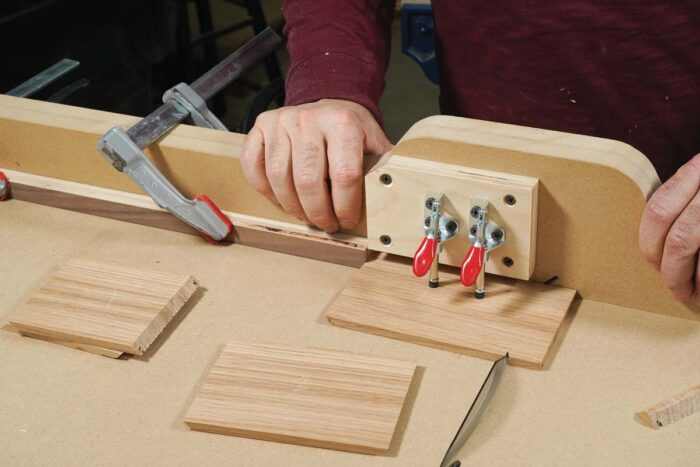
Toggle clamps are indispensable. They come in a number of handy sizes and configurations, and can be attached to all sorts of jigs and sleds. |
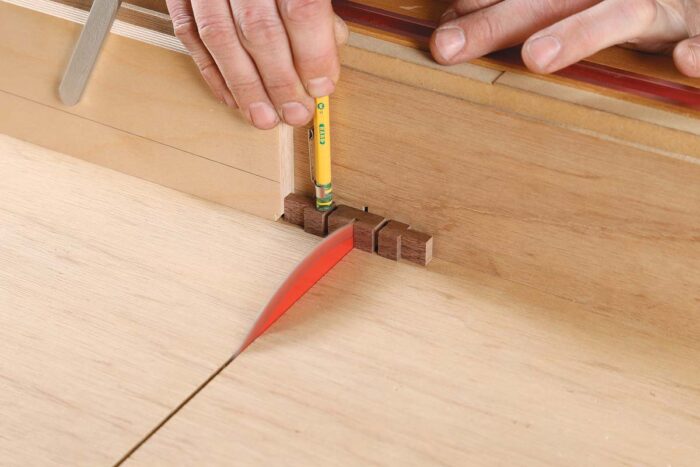
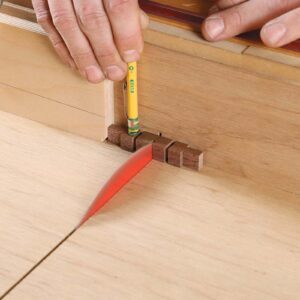
A pencil works in a pinch. In his article on pendant pulls (FWW #271), Philip Morley controlled a small cutoff with the eraser-end of a pencil. |
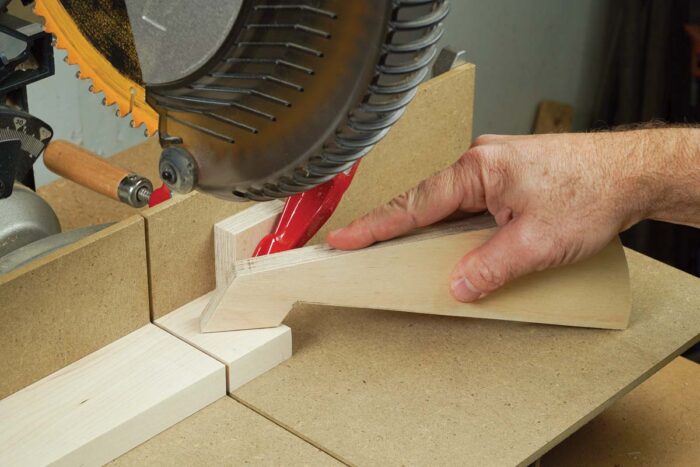
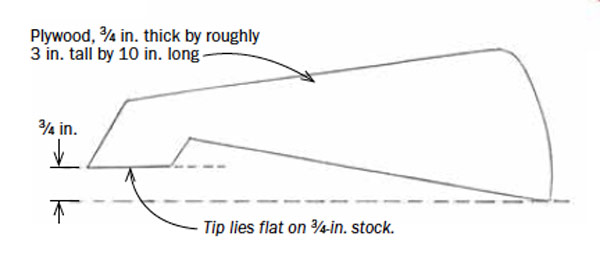
Pivoting Hold-DownTry this handy hold-down. This clever helper from FWW contributing editor Michael Fortune controls small parts safely. Unlike toggle clamps, it requires no setup. This is the general shape of the hold-down. Christiana angles the tip to come down flat on 3⁄4-in. workpieces, but it will hold down thicker and thinner stock too. |
Although there’s a lot of drilling and shaping you can do to small parts before cutting them off a longer piece, there will be times you’ll have to wait until the part is small and unwieldy. Sometimes it’s easiest to hold a small part in a bench vise, allowing you to work on it with a hand tool or sanding block.
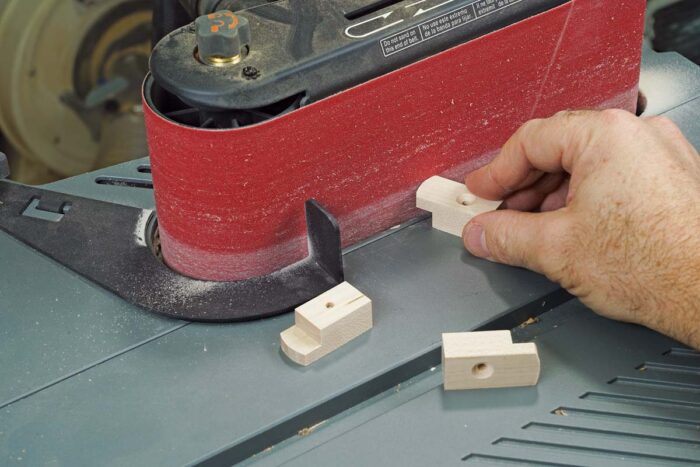
More often than not, however, to finish shaping small parts, I turn to my benchtop sanding unit, which has a belt and a drum. It’s a good option for small parts because the most likely accident is a skin abrasion, which is pretty easy to avoid. When sanding small parts on a disk, belt, or drum, keep the piece on the table if you can. Use a firm grip and a light touch.
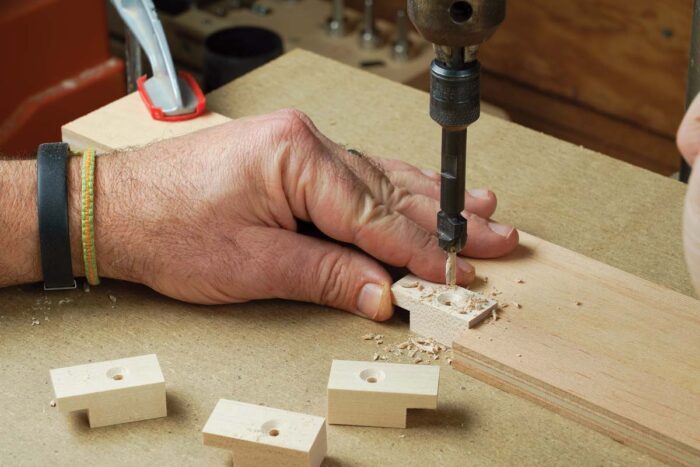
Drilling small parts is less dangerous than shaping them in most cases. I usually do this on the drill press. All you’ll need in most cases is a fence and a stop, with your fingers holding the part in place. But if the drill bit is large, or the part wants to pull upward in a strong way, I secure it in the jaws of a large hand-screw clamp.
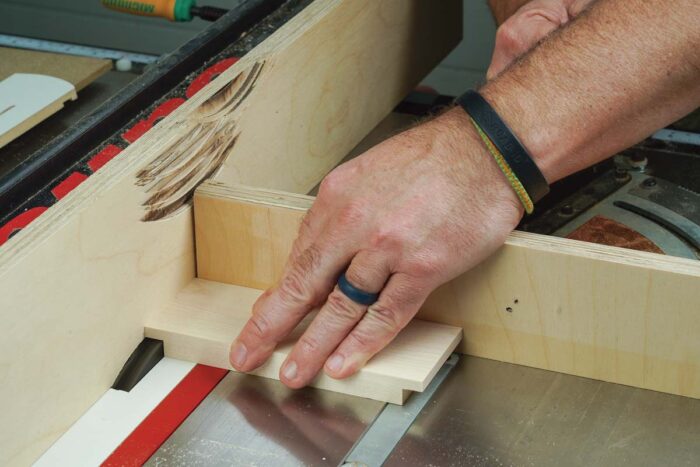
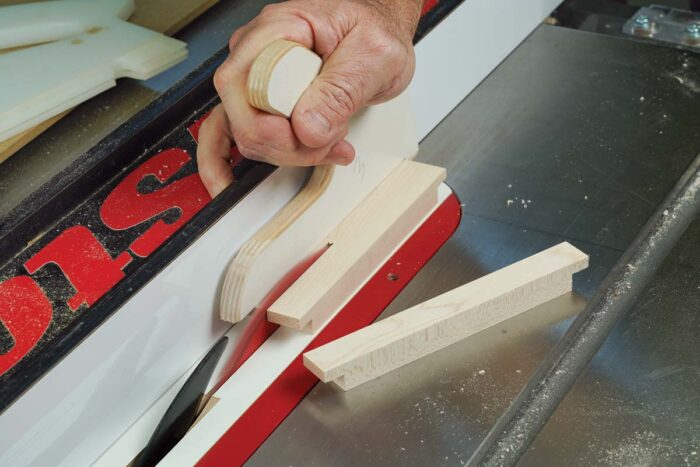
Tabletop tabs teach lots of lessonsThese tongued blocks screw onto the underside of tabletops, fitting into slots in the table aprons to attach the top firmly while allowing it to shrink and expand. The techniques covered here will help you make them safely and efficiently. Rabbet both ends of a block. Make the block long enough to control safely with a miter gauge. Then rabbet both of its ends using a dado set buried in a sacrificial rip fence (clamped to the normal rip fence).
Chop off the tabs. To do this safely, use a table-saw sled, with zeroclearance panels added to its base and fence, and an L-shaped stop. Bump the stop against a clamped block to position the workpiece. Then hold the workpiece there, slide away the stop, and make the cut (right). This lets the cutoff move away from the blade without danger. Use a fence and a stop on the drill press. To drill the countersunk screw holes, clamp a fresh piece of 1⁄4-in. MDF on the table, along with a simple fence and stop, and you’ll be able to control these parts safely with your fingers. Shape the tips on a stationary sander. A benchtop sander is great for shaping small workpieces. When sanding end grain, flip the workpiece to avoid sanding against the grain, which can cause the piece to catch. |
There are lots of ways to work small parts safely. These are some of the easiest and best I know.
Asa Christiana is FWW’s editor-at-large.
Fine Woodworking Recommended Products
Fein Turbo II HEPA Wet/Dry Dust Extractor
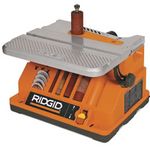
Ridgid EB4424 Oscillating Spindle/Belt Sander
Rockler Dust Right 650 CFM

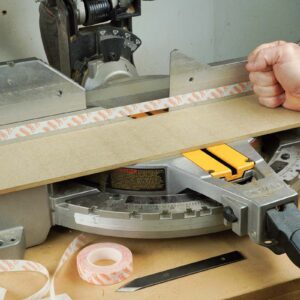
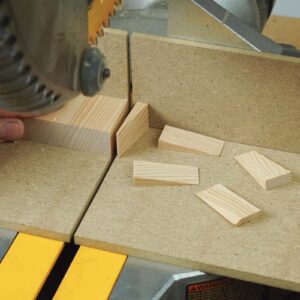
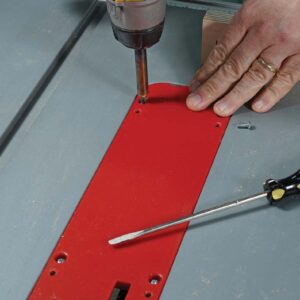
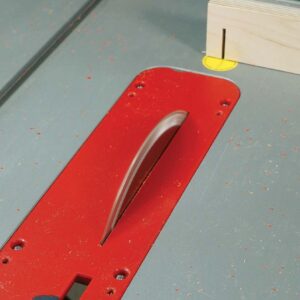
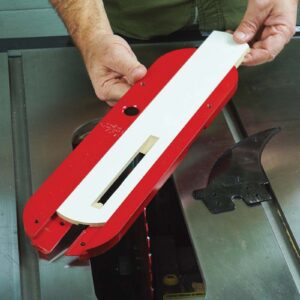
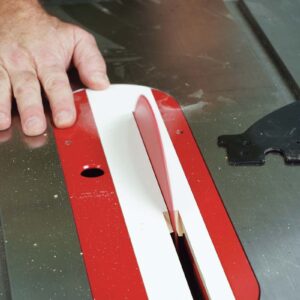
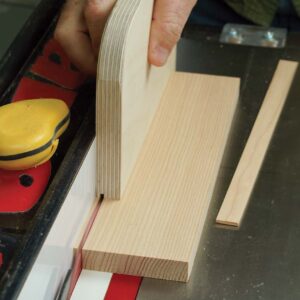 Aftermarket model with a sacrificial strip. This throat plate has a solid metal body with inexpensive MDF inserts. It’s available at InfinityTools.com for SawStop and DeWalt table saws, and a number of miter saws as well.




Comments
The article has the title wrong. It should be:
Woodworking UNsafely with small parts.
Or do all US WW machines now have that sawstop mechanism in 'em?
Log in or create an account to post a comment.
Sign up Log in