How to Turn a Pepper Grinder
Turn a sleek pepper grinder without visible hardware using Matt Monaco's design.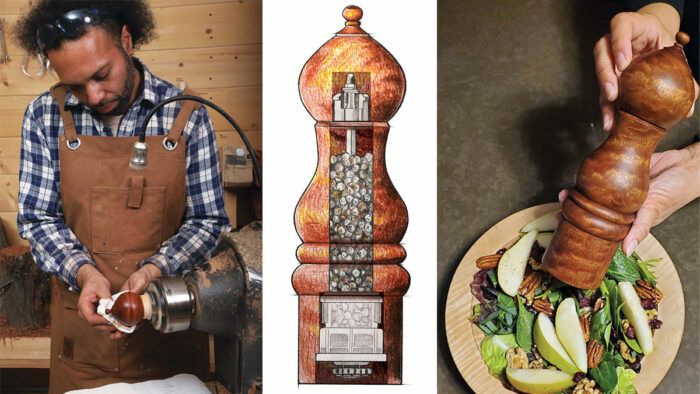
I enjoy cooking delectable meals nearly as much as I love turning lustrous, figured wood, and this turning a pepper grinder happily brings those two passions together. We’re calling it a pepper mill, but it can grind salt and spices just as well.
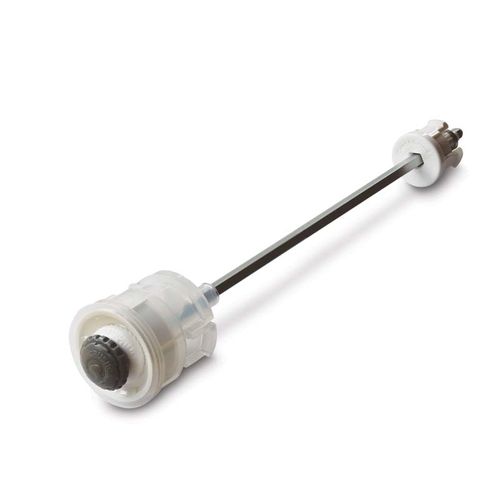
I designed it to accept the CrushGrind mill mechanism, which I like because it doesn’t require drilling through the top of the mill’s cap and having hardware exposed on top. Instead, the cap is a friction fit onto the mechanism’s stem. This allows the outer contours of the mill to flow together and appear as a single, uninterrupted form all the way from the table to the top of the cap. While on mills with exposed hardware the grind is often adjusted by loosening or tightening the cap nut, the CrushGrind mechanism has a small, circular knob accessible on the underside that lets you adjust for coarse or finely ground spices.
You can turn your mill using my design, but you don’t need to. As long as you provide adequate space inside for the mechanism, there is nearly limitless latitude for experimenting with the form. Your choice of material is also wide open. I turned this mill from a chunk of pomelle sapele, a strong and stable fine-grained hardwood from West Africa. It’s a pleasure to turn and exudes a wonderful, bright, natural iridescence. But of course just about any chunk of wood you have rattling around in your shop that fits the rough dimensions—about 3 in. square and 1 ft. long—could be an excellent candidate as well.
Author Recommended
CrushGrind Pepper Mill Mechanism
Start with a cylinder
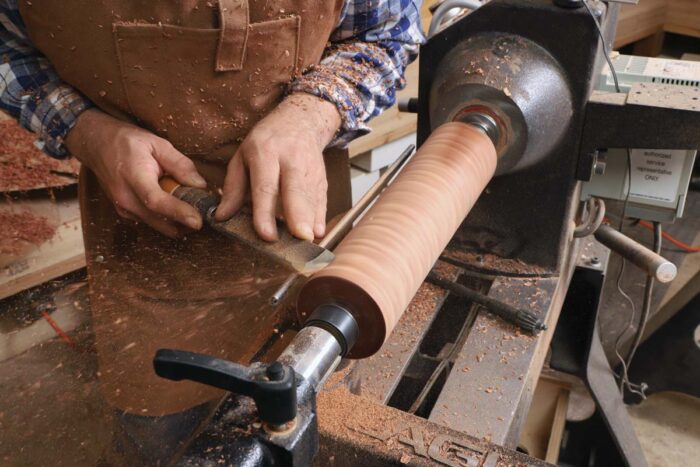
Rounding the blank. After turning his blank to a cylinder with a roughing gouge, Monaco here uses a 1-in. skew to do the final planing.
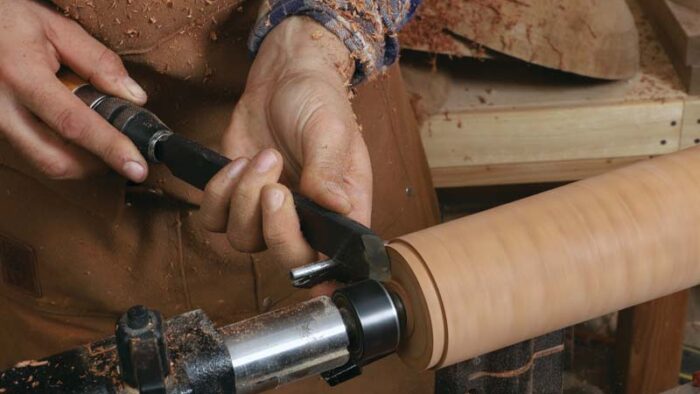
Tenons top and bottom. With the blank still between centers, Monaco uses a skew to cut 1⁄4-in.-wide tenons at each end of the workpiece. These will let him mount the work in a four-jaw chuck.
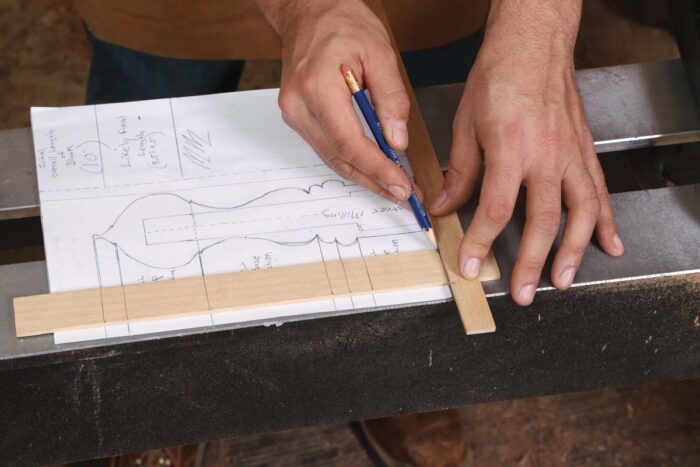
Stick figures. Monaco transfers key transitions from his drawing of the mill onto a story stick.
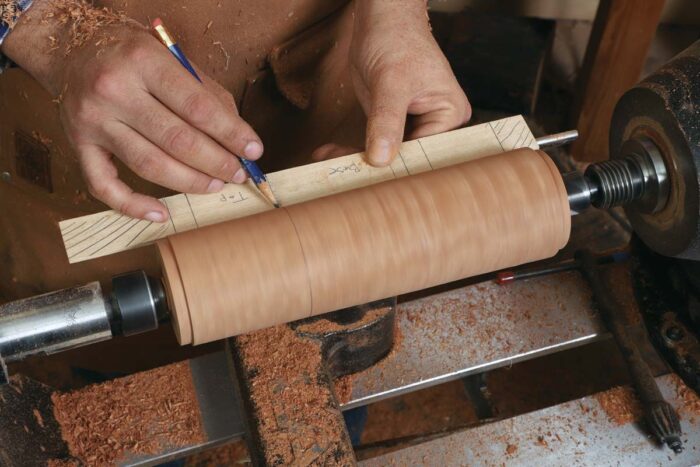
Layout on the spin. While the cylinder spins, Monaco makes pencil marks on the blank at each transition point on the story stick.
When making a pepper grinder, Matt Monaco reaches for his
skew more than any other tool. In this excerpt from our eLearning
class, he demonstrates how he sharpens it.
Split the mill
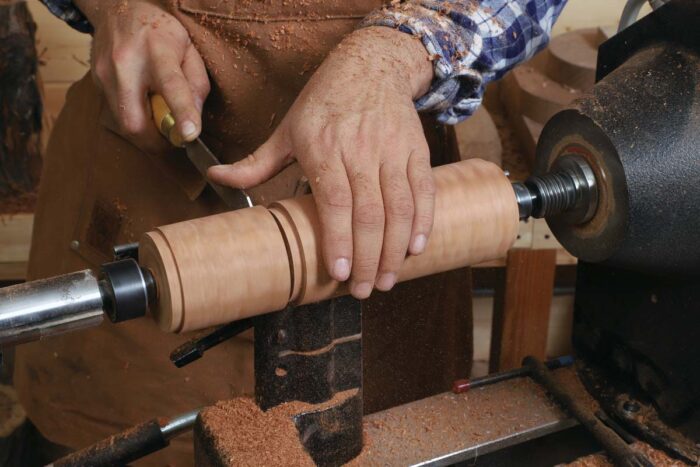
Separate the body from the cap. Using a parting tool, Monaco cuts a 3⁄8-in.-wide recess where the mill body meets the cap. Then he parts nearly all the way through the work on the cap side of the recess. That leaves a 1⁄4-in.-wide tenon at the top of the body for mounting in the four-jaw chuck.
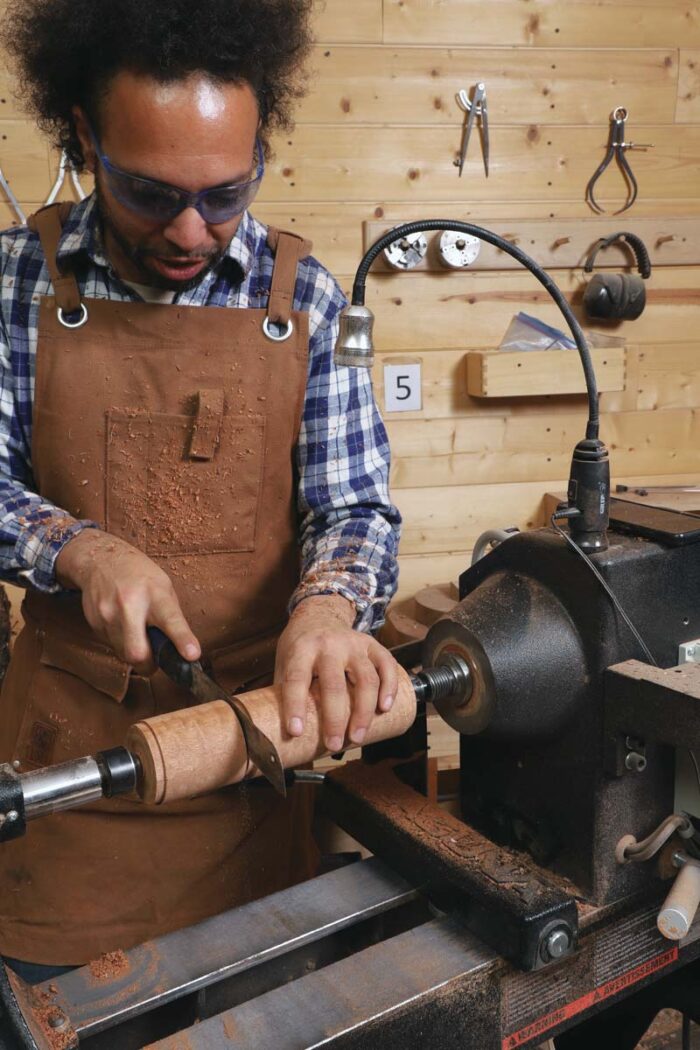
He uses a hand saw with the lathe turned off to finish the parting cut.
Hollow the body
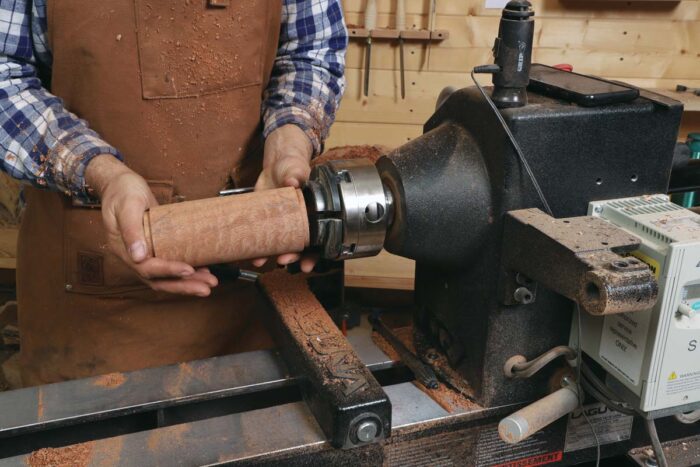
Make way for the mechanism. The body blank has tenons at both ends; mount the bottom tenon first. Mark the body and the cap to avoid confusion over which end is which.
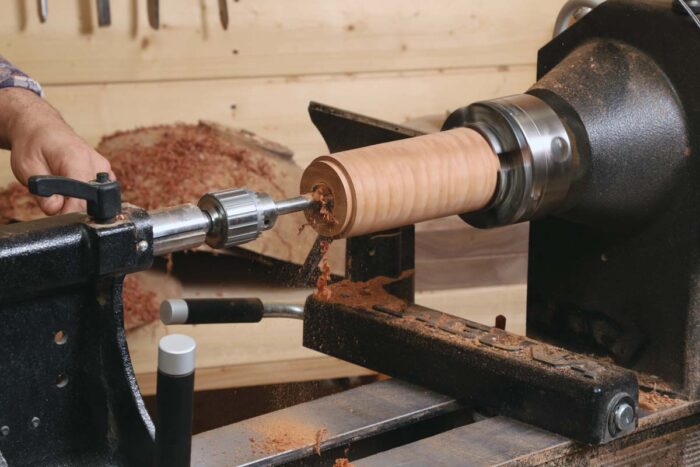
Deep drilling. Using a 11⁄16-in.-dia. Forstner bit, drill to the halfway point in the body or just beyond. Before turning on the lathe to do the drilling, engage only the point of the bit at the centerpoint of the blank; then start the lathe and advance the tailstock to do the drilling.
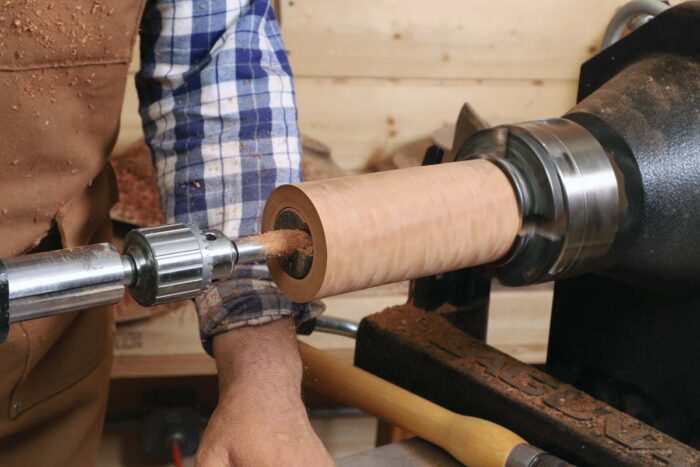
Boring from the bottom. After turning the body end for end, part off the bottom tenon and drill a three-step hole. First, as shown above, drill 3⁄4 in. deep with a 13⁄4-in.-dia. Forstner bit. Then drill 21⁄4 in. deep with a 19⁄16-in.- dia. Forstner. And last, use the 11⁄16-in. Forstner to finish the hole.
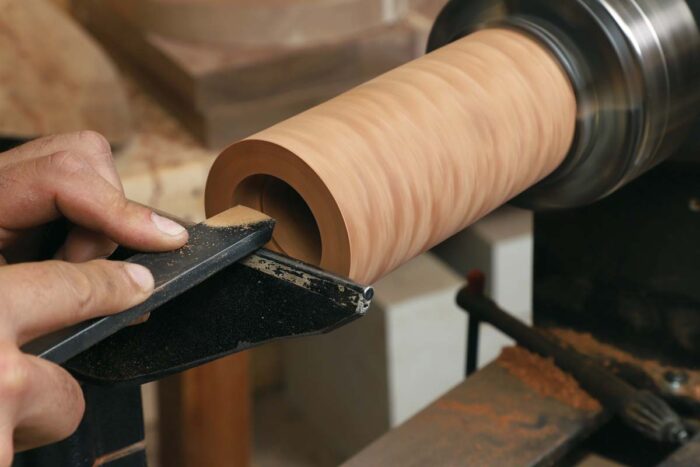
Smoother still. Monaco uses a 3⁄4-in.-square end scraper to refine the drilled walls of the outer recess at the bottom of the body.
Shape the body
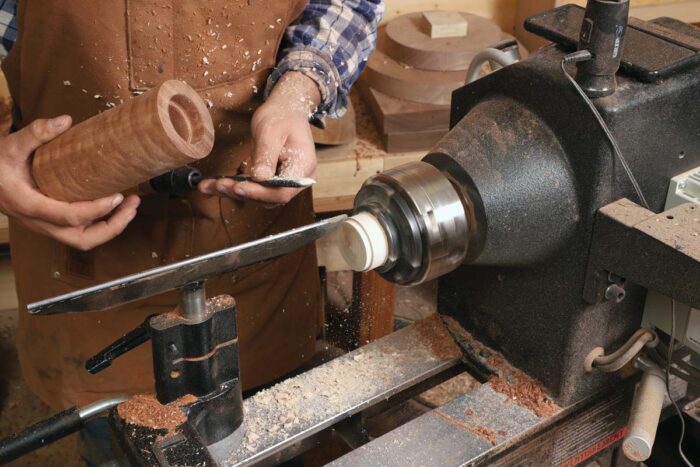
New chuck for the bottom. Make a jam chuck to fit the 13⁄4-in. hole at the bottom end of the body.
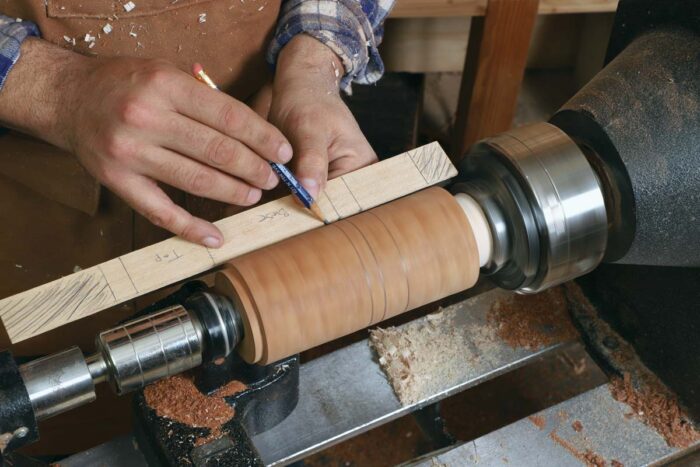
Base notes. Transfer the transition points from the story stick onto the mill body. Use a revolving cone center to steady the tailstock end of the workpiece.
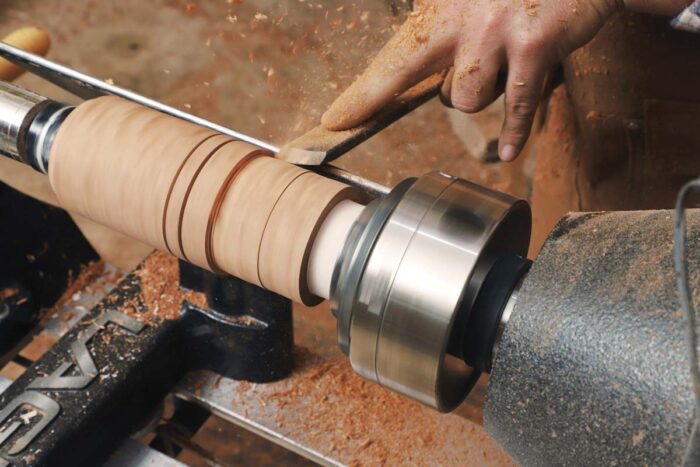
Groove and grade. After cutting V-grooves at all of the penciled transition points, Monaco uses a 1-in. skew to shape the straight lower section of the body.
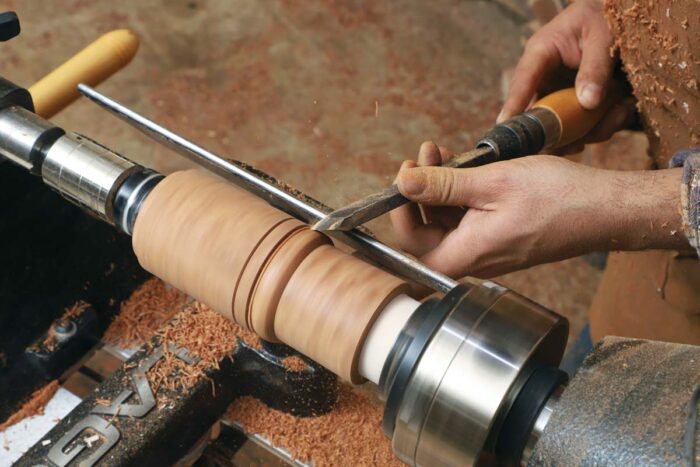
Beadwork. Using the 1-in. skew again, Monaco rolls the beads at the waist of the mill body.
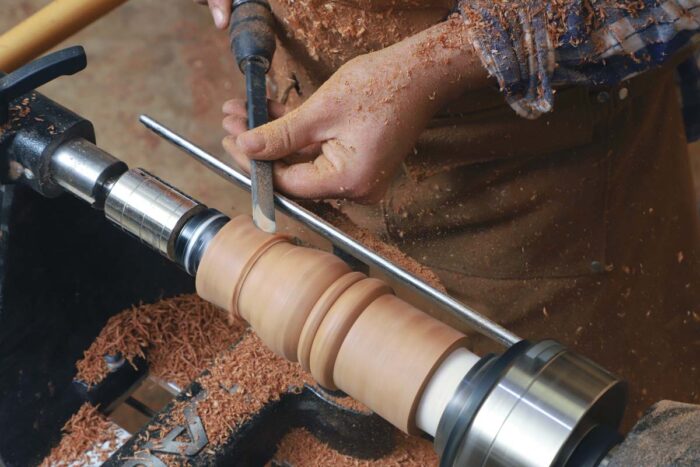
The wide cove. Monaco uses a 3⁄4-in. skew with a convex sweep to create the wide cove at the top of the mill body.
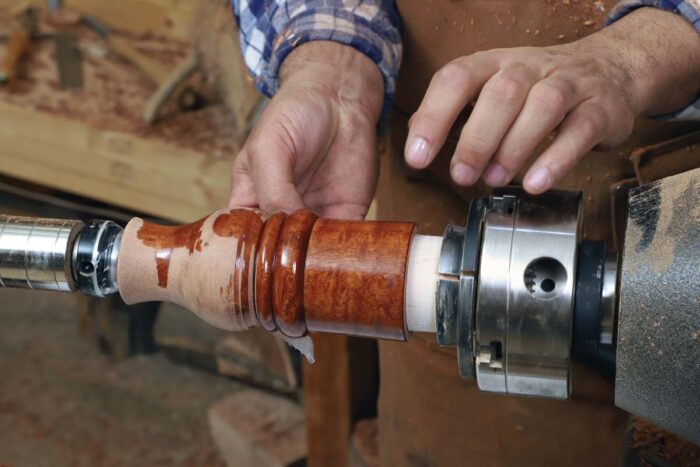
Sand and finish. With the shaping complete, Monaco dry-sands the body with 180-grit paper, then wet-sands with oil. Before applying a carnauba and paste wax mixture with steel wool, he cuts a chamfer at the top end of the body.
Create the cap
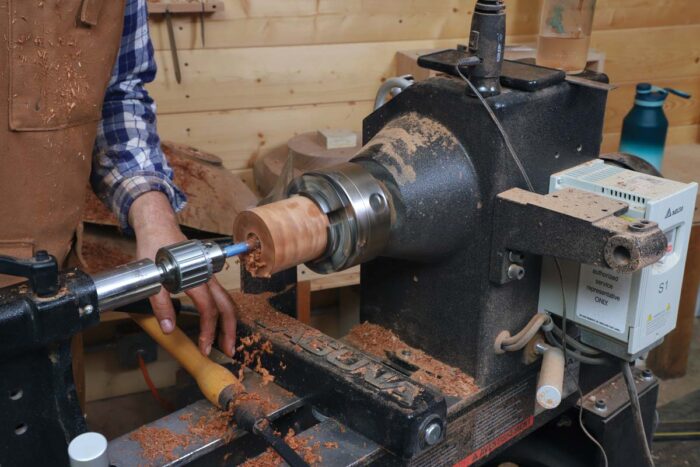
Drill it. After truing up the cap, use a 15⁄16-in.- dia. Forstner bit to drill a hole 11⁄4 in. deep to receive the top part of the grinder mechanism.
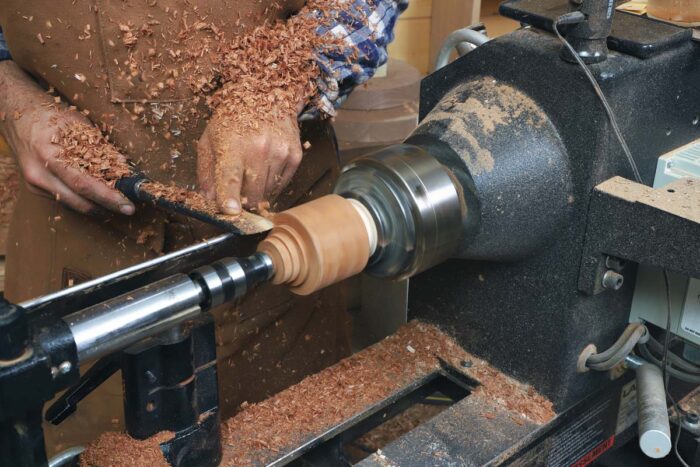
Remount and begin shaping. After making a jam chuck to fit the hole, mount the cap, snug up the tail stock, and turn the rough shape.
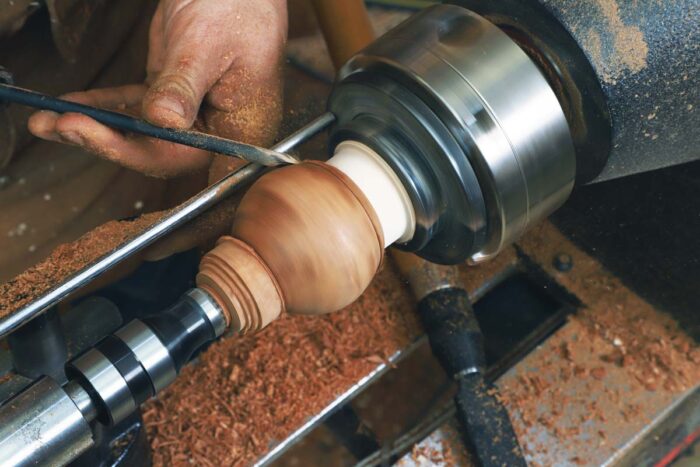
Sculpting with the skew. Monaco uses rolling sweeps of his skew to shape the convex curves of the cap
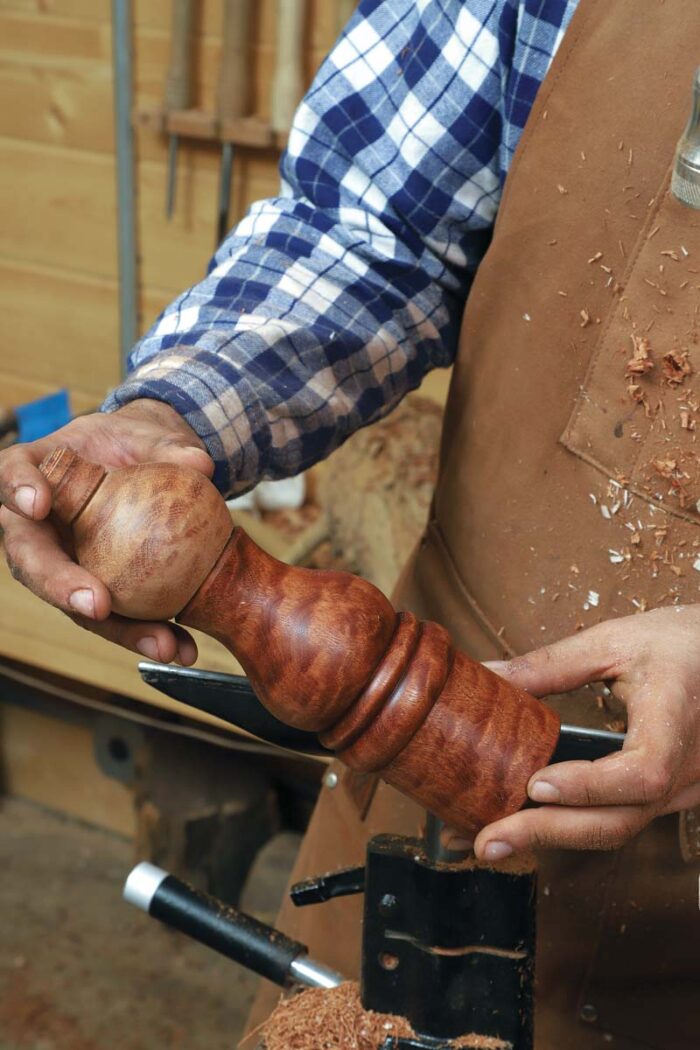
A quick, critical assessment. Before committing to the final contours of the cap’s finial, Monaco removes the cap from the lathe and places it on the body to assess the overall form.
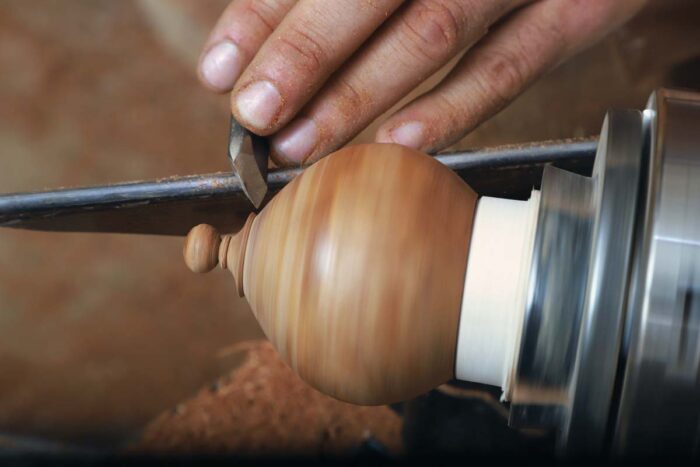
Finally, the finial. To make the last defining cuts on the finial, including this V-groove that establishes its bottom edge, Monaco backs off the tailstock and, using very light pressure, relies on the jam chuck alone to hold the workpiece steady.
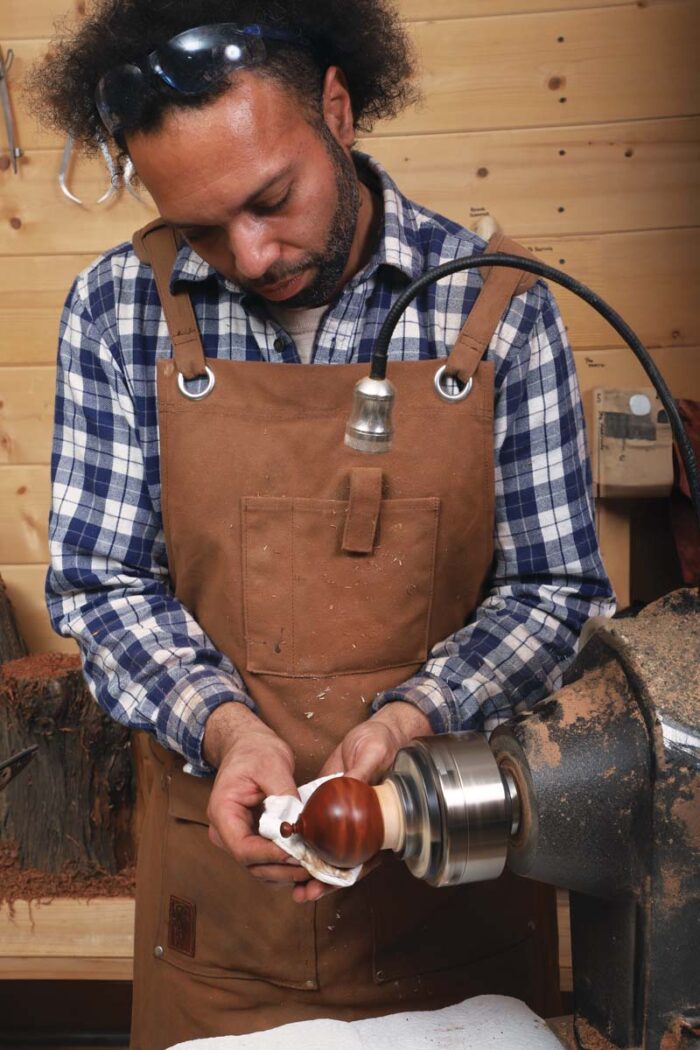
Fit the mechanism
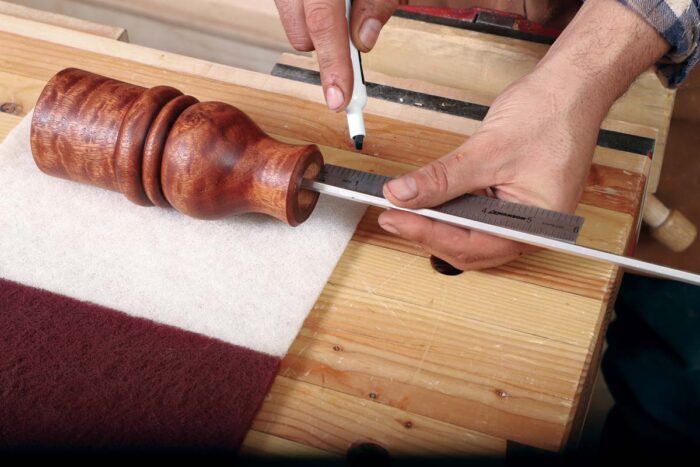
Trim the stem. With the bottom of the hardware dry-fitted in the body, mark the metal shaft 11⁄8 in. above the top of the body.
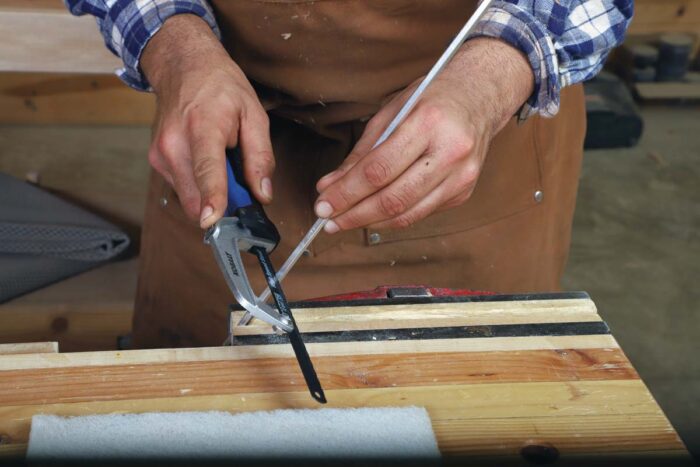
Then cut to your line with a hacksaw. Follow that by filing or sanding the sawn edges of the shaft.
 |
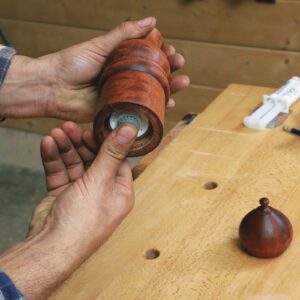 |
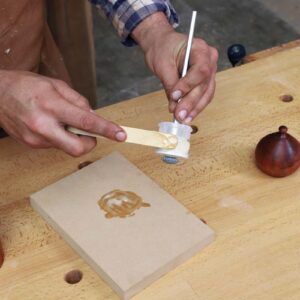
Glue it in. Apply epoxy or CA glue to the lower part of the mechanism, then press it into place.
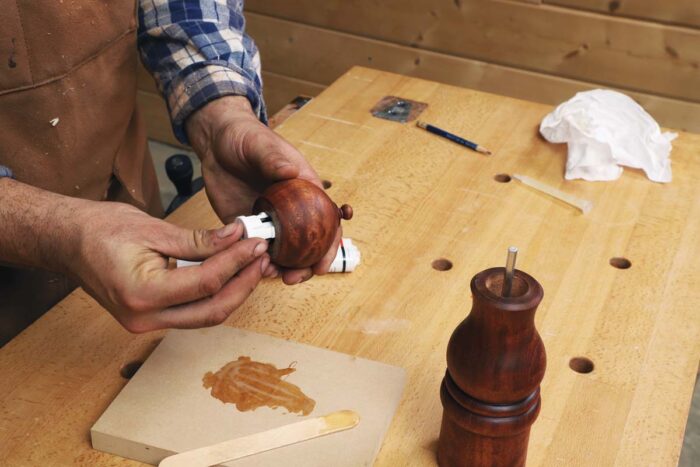
To the top. Glue the top part of the mechanism into the cap. When the glue dries, press-fit the top mechanism onto the shaft, and get grinding.
-Matt Monaco occasionally alights at home briefly in Kansas City, Mo., before heading back out on the road to teach turning.








Log in or create an account to post a comment.
Sign up Log in