Extracting Hardware from Reclaimed Timber, Part 1
Yoav uses a handful of different tools to pull harware and nails from boards with minimal damage.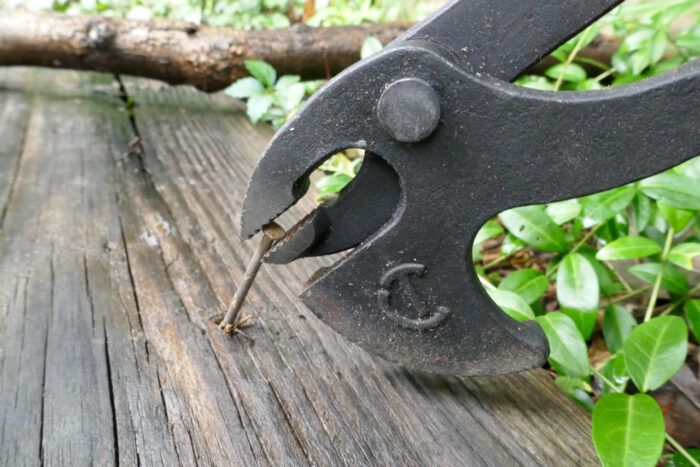
In my previous blog entry, I shared insights on disassembling pallet wood—a resource I frequently use in my work and in the projects my students build. I also demonstrated a quick technique for extracting long nails.
While pallet wood can occasionally yield remarkable boards, it’s the old and seasoned reclaimed timber that truly offers esteemed lumber saturated with character—perfect for making your projects stand out. However, using reclaimed timber can be tricky, mainly because it often comes with a myriad of embedded fasteners, from nails to screws to staples and more.
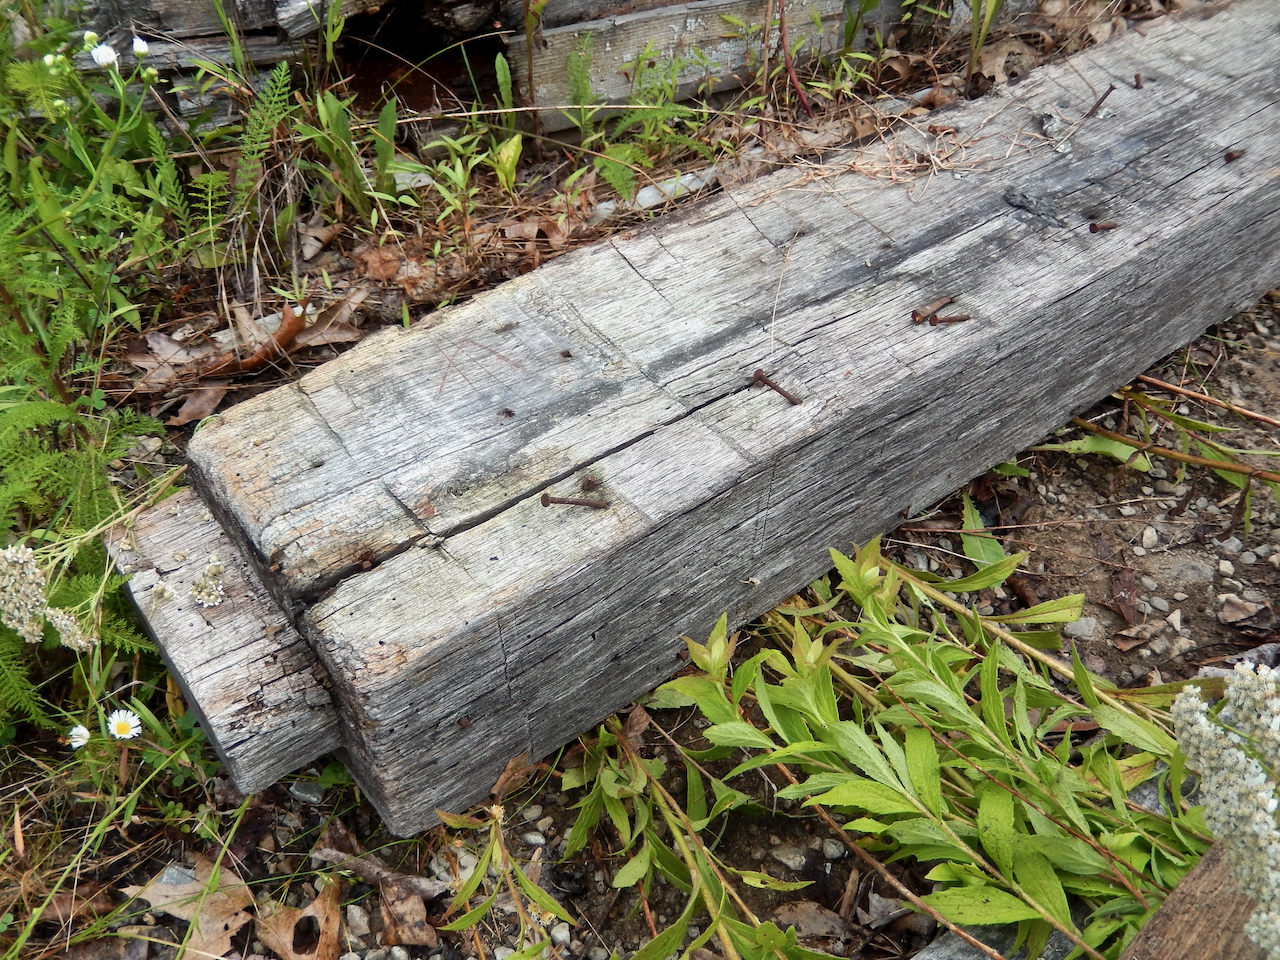
This entry, along with my next one, will focus on tried-and-true extraction techniques to help you in your reclaiming endeavors should you choose to work with reclaimed wood. I’ve sourced reclaimed timber from various places: side-of-the-road piles of building materials discarded at the end of demolition, diving into dumpsters, and responding to ads on Craigslist’s “Free Stuff” category.
Additionally, specialized lumber yards harvest timber from dismantled sites like old factories or historic buildings. Some of these yards perform hardware extractions, while others sell the timber in its raw state, leaving you with the meticulous task of removing embedded fasteners.
In this blog entry, I’ll discuss methods for extracting stubborn hardware deeply embedded in lumber. Removing this hardware is crucial for milling the wood into beautiful planks. My approach focuses on surgically removing the metal pieces with minimal damage to the surrounding grain.
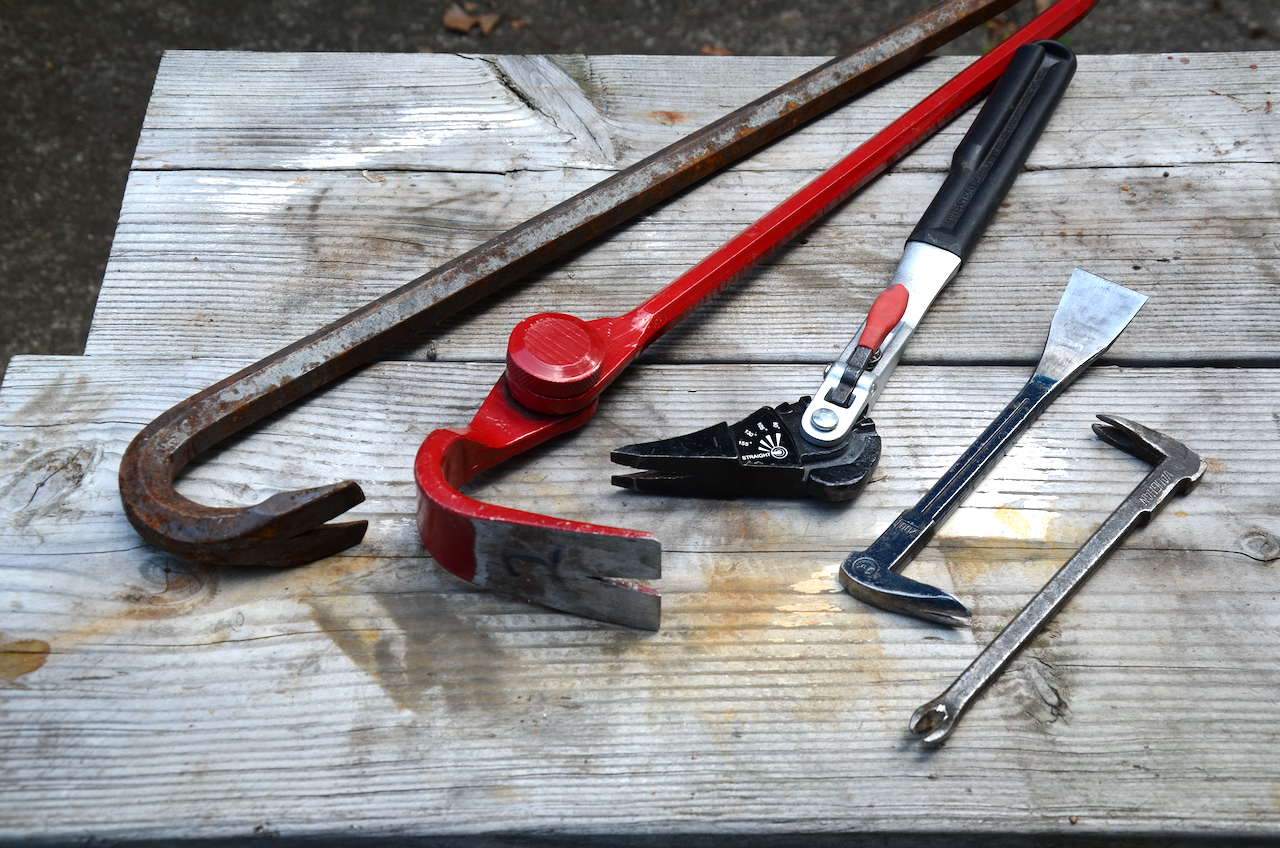
My main tools for the job include pry bars, wrecking bars, cat’s paws, nippers, and Crescent’s dedicated nail extractor. Each of these tools has its place in the process, so let’s dive into the details.
Nails
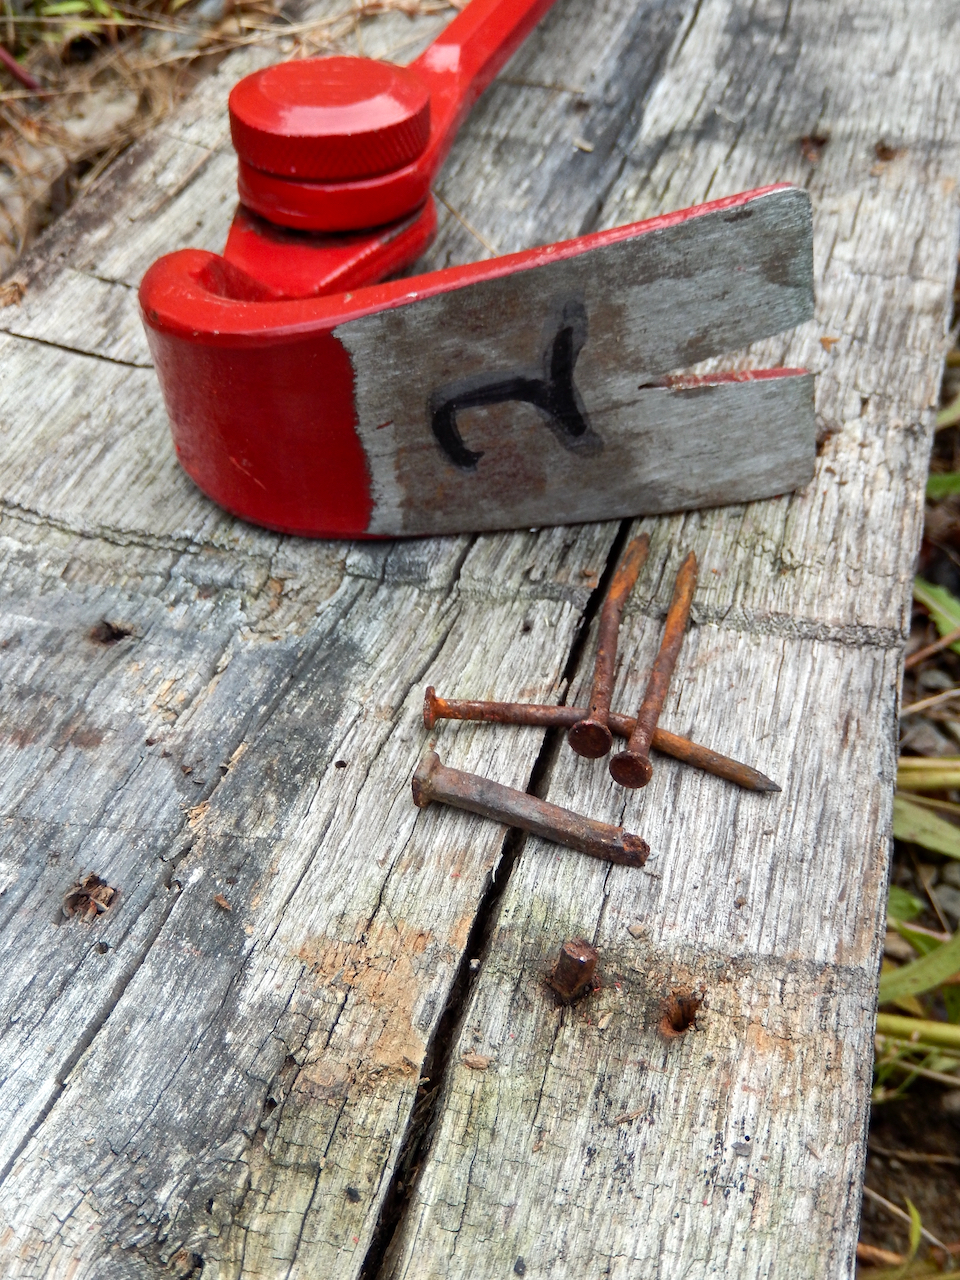
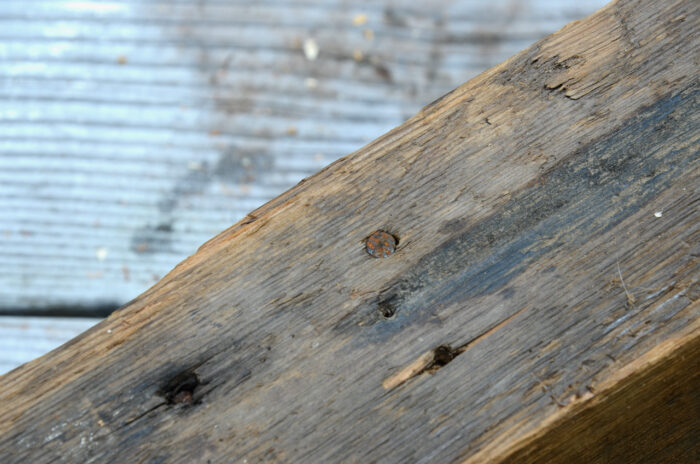
Nails that have been embedded in lumber for decades—or even centuries—require significant effort to extract. As the nails rust, their grip on the surrounding wood fiber tightens and the weakened metal can break during extraction. Old nail heads are also prone to decapitation before the entire nail is removed.
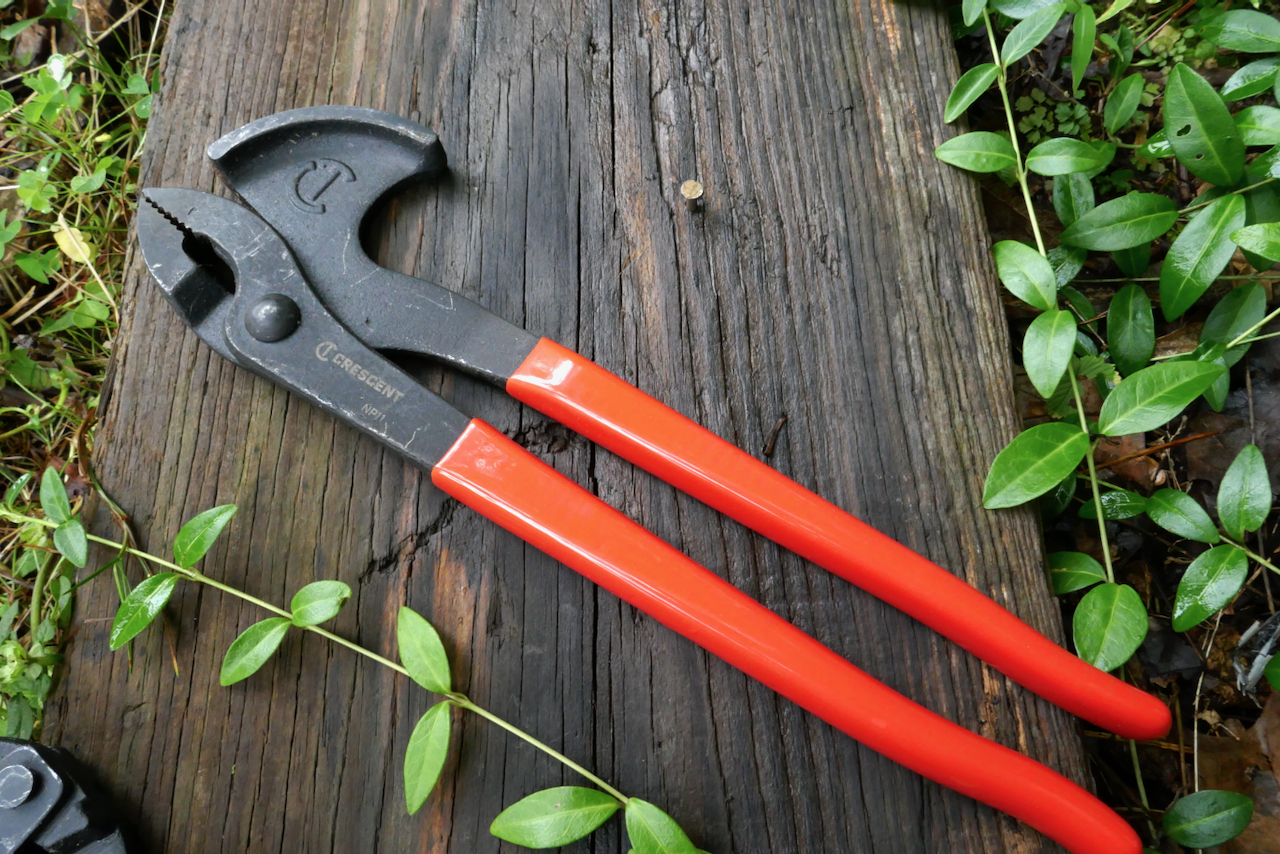
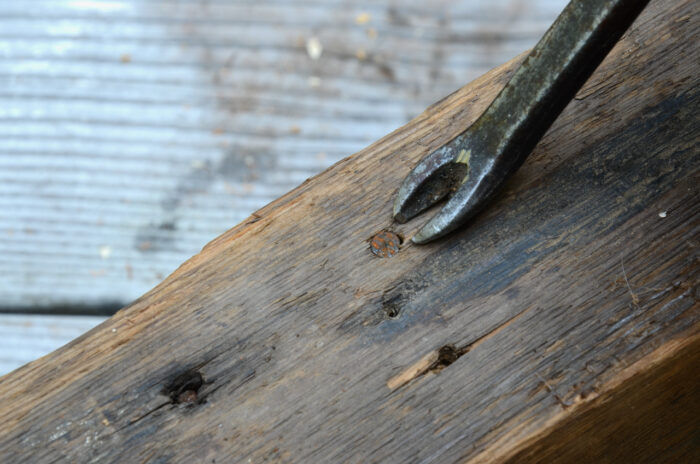
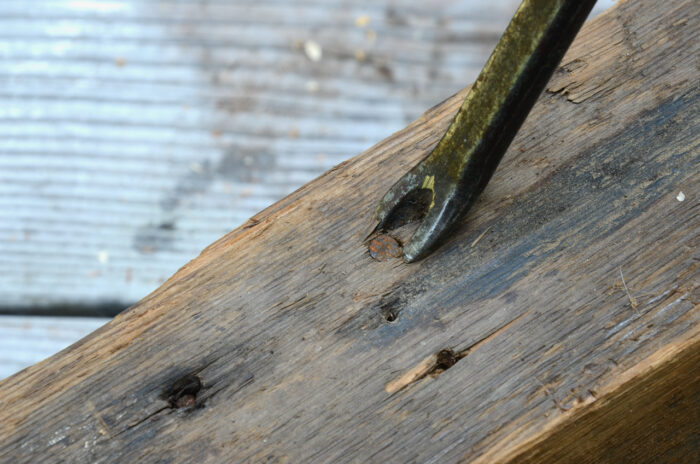
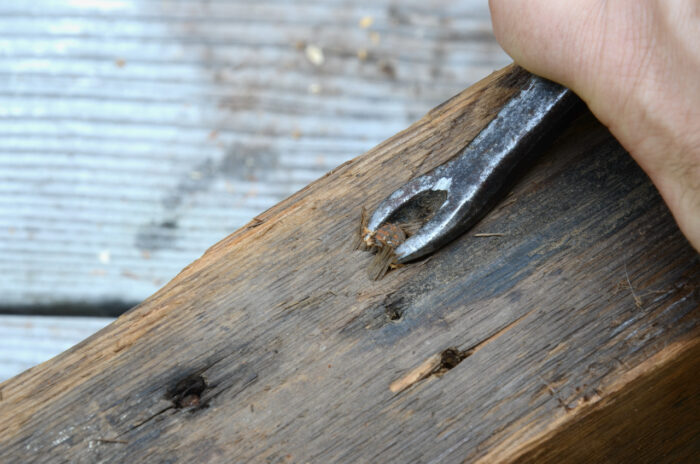
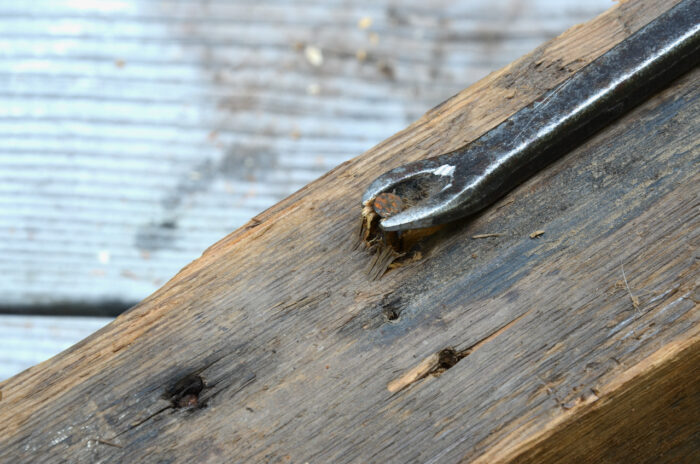
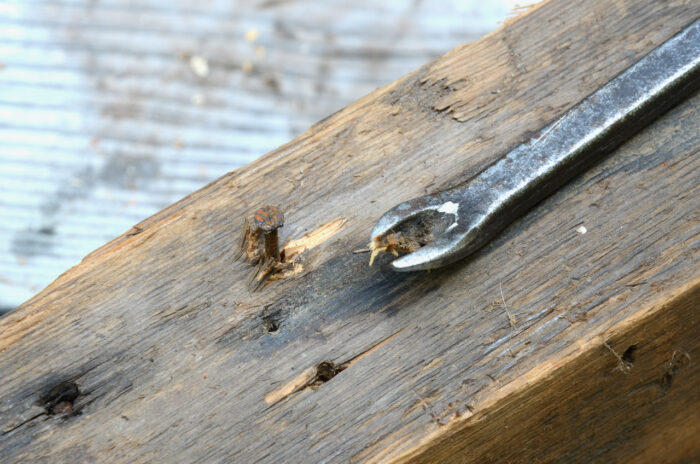
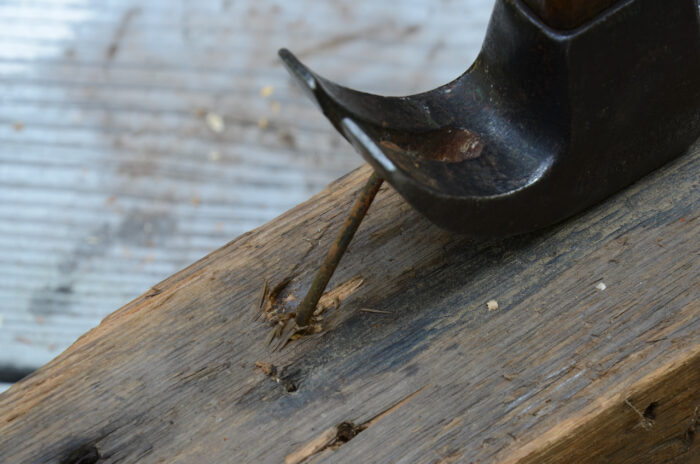
The easiest nails to extract are those protruding above the lumber’s surface. I usually tuck the nail head between a pry bar’s claws and carefully swing the pry bar to extract the nail. If the head breaks or folds inward, making the pry bar ineffective, I turn to the Crescent Nail Puller Pliers. This tool’s serrated jaws grip the nail shank securely, and its rounded chin-looking sector facilitates a controlled swinging action. Tightening the jaws and swinging the pliers increases clamping pressure on the shank, preventing nail slippage—a handy tool in these situations.
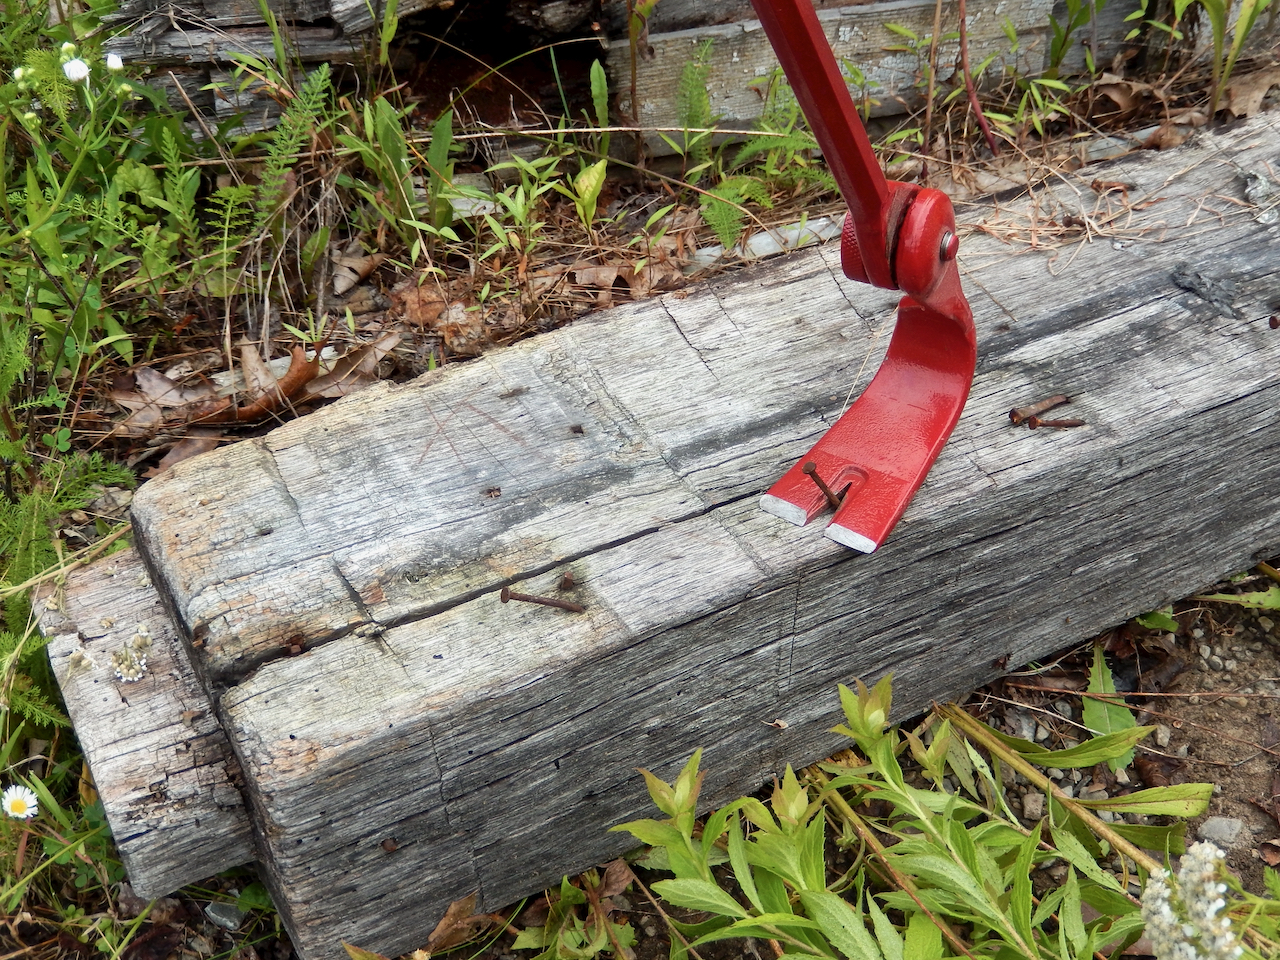
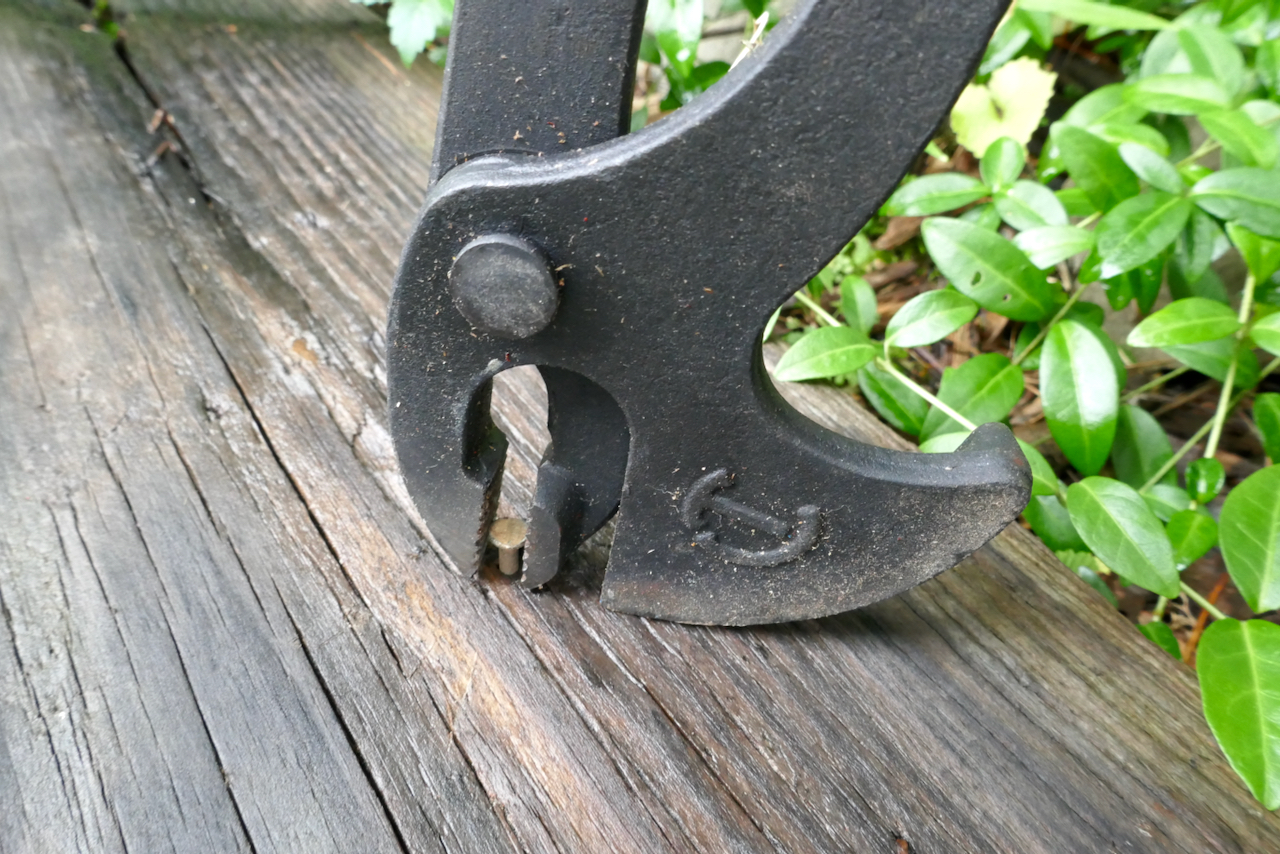
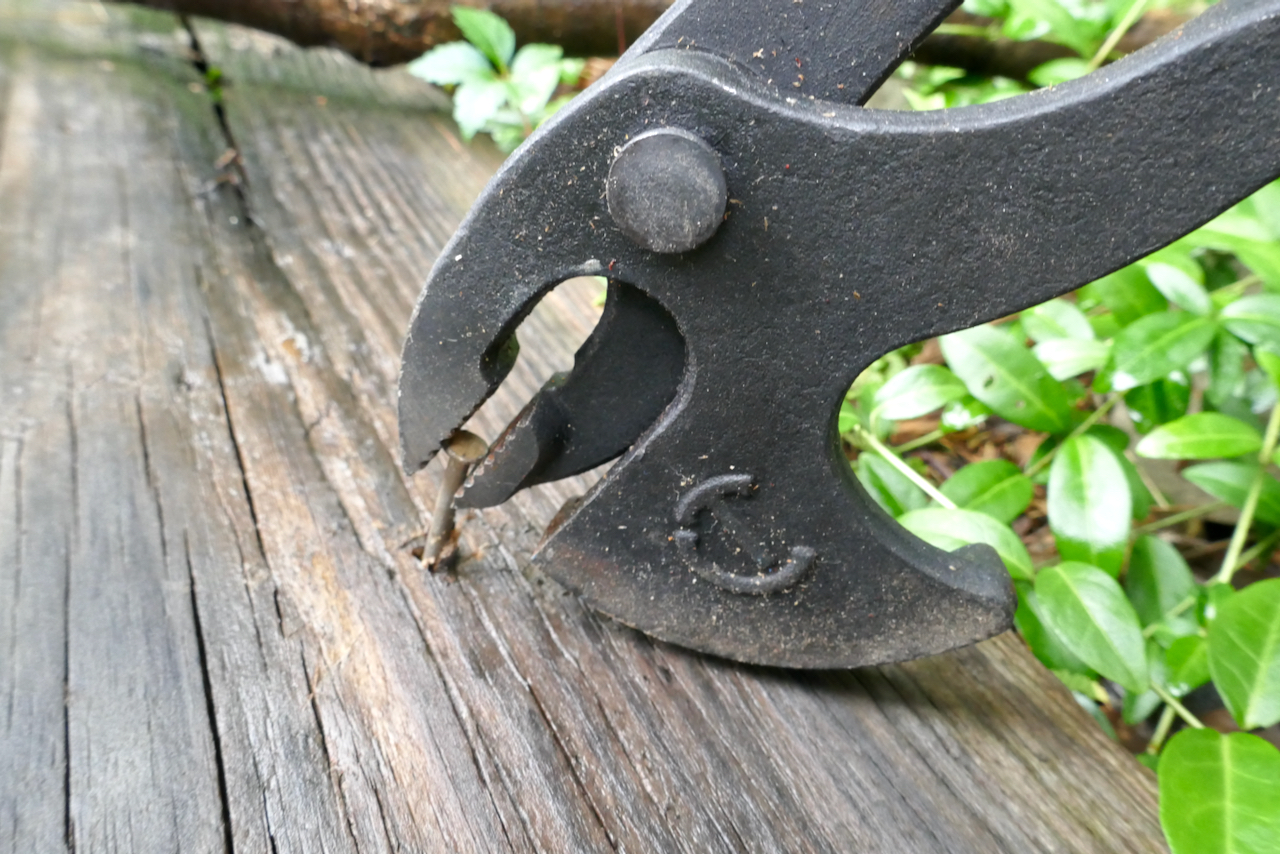
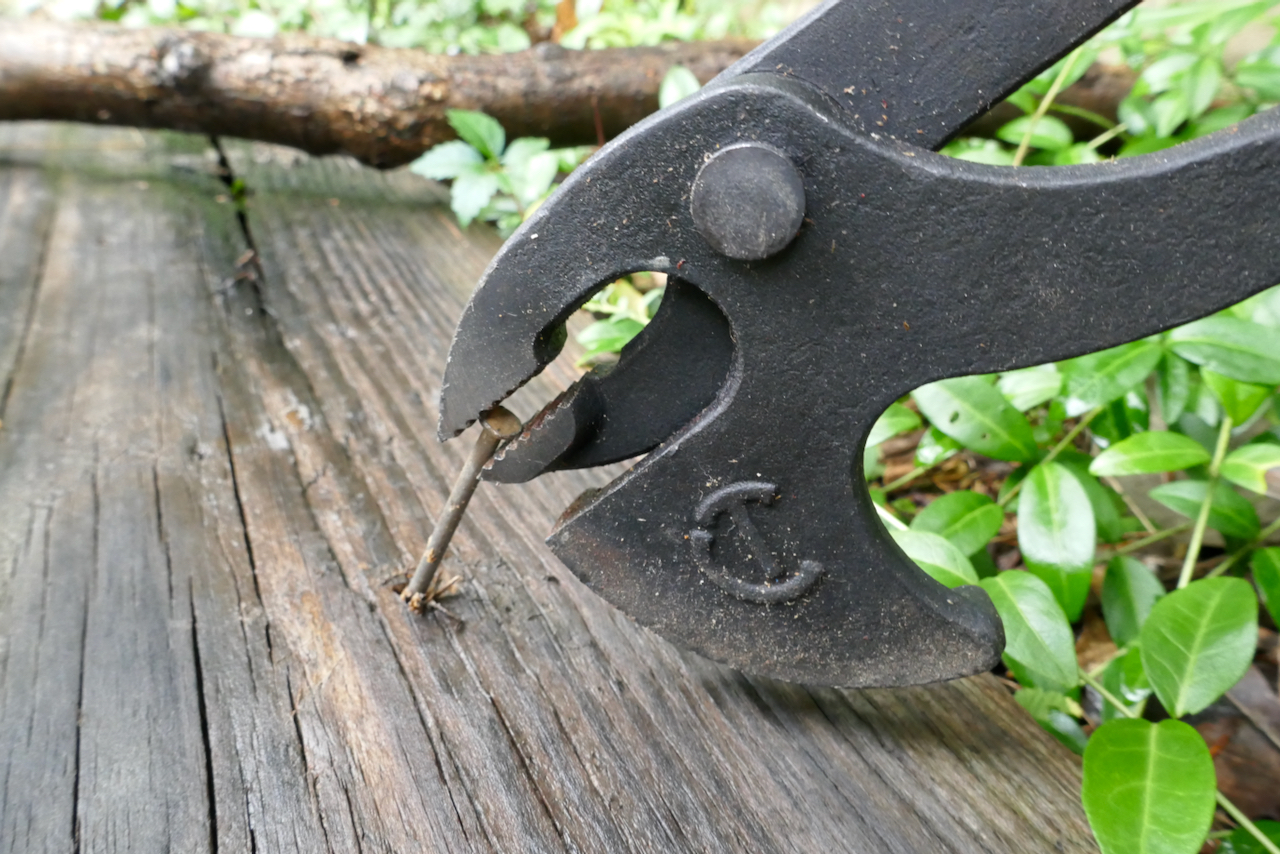
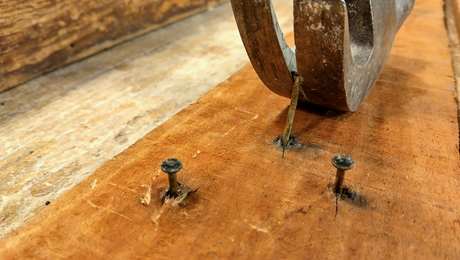
If the nail head is flush with or below the lumber’s surface, you’ll need to lift it up first before using the pry bar. The best tool for this initial lift is a cat’s paw—a hoof-like tool hammered under the sunken head and swung to raise it above the surface. To use it correctly, align the hoof under the head, tap the tool’s heel with a hammer to drive the points under the head, and then pry the cat’s paw to lift it.
Nails and Nippers
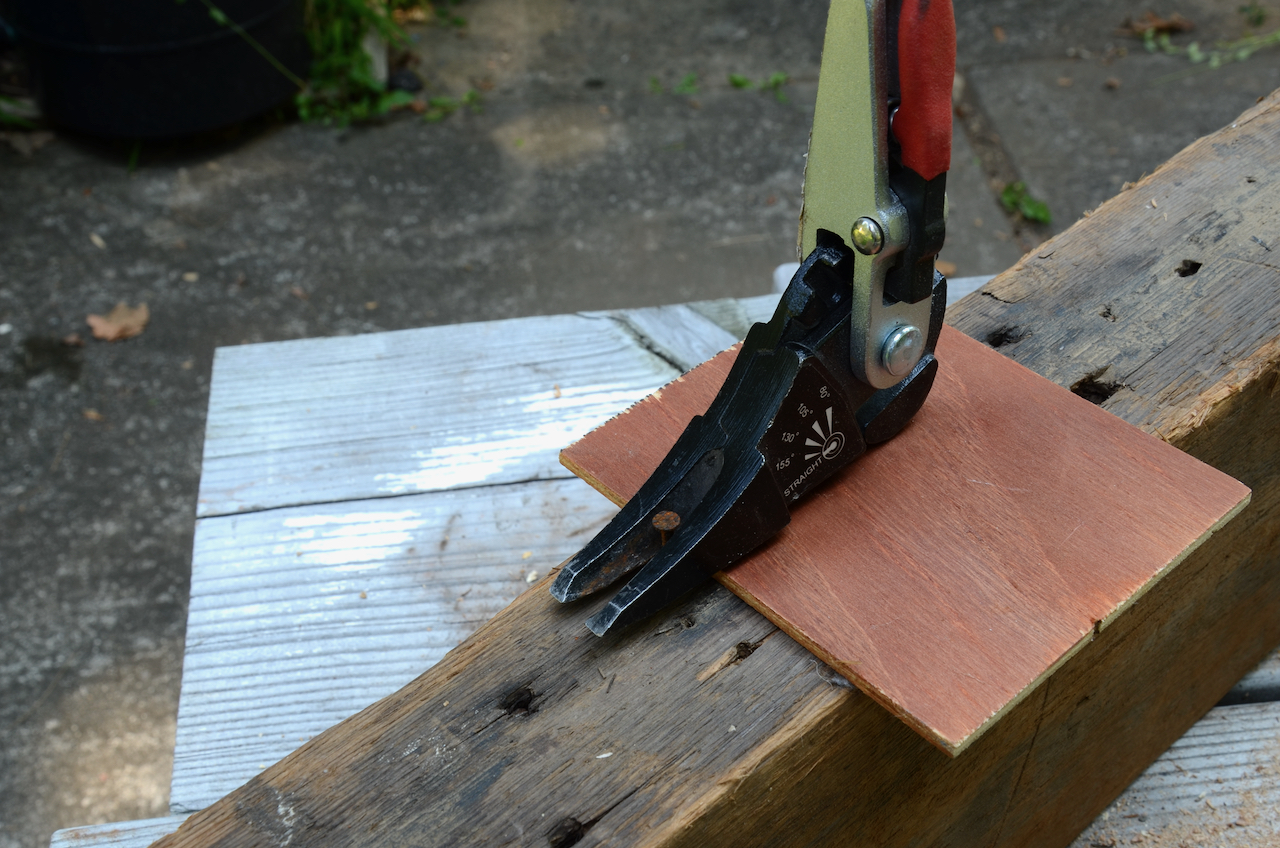
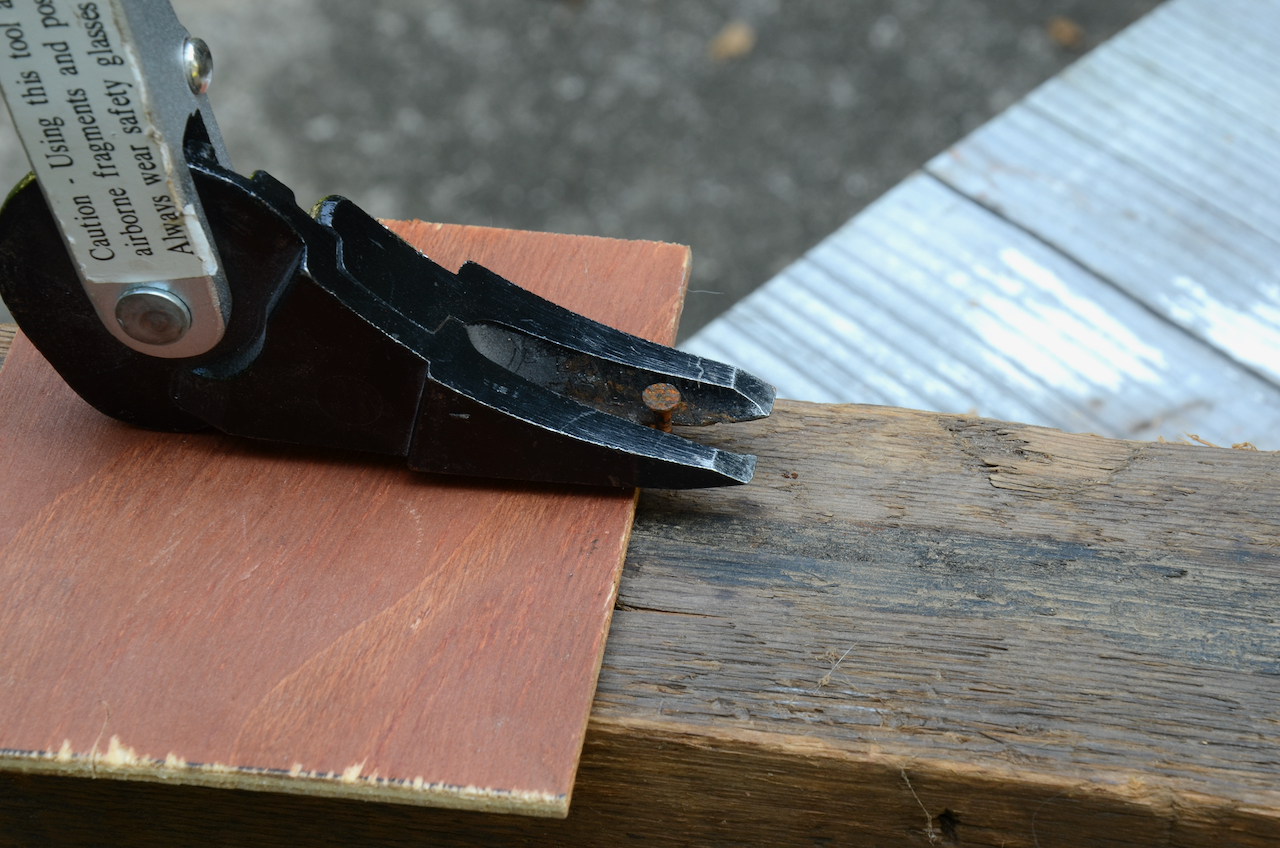
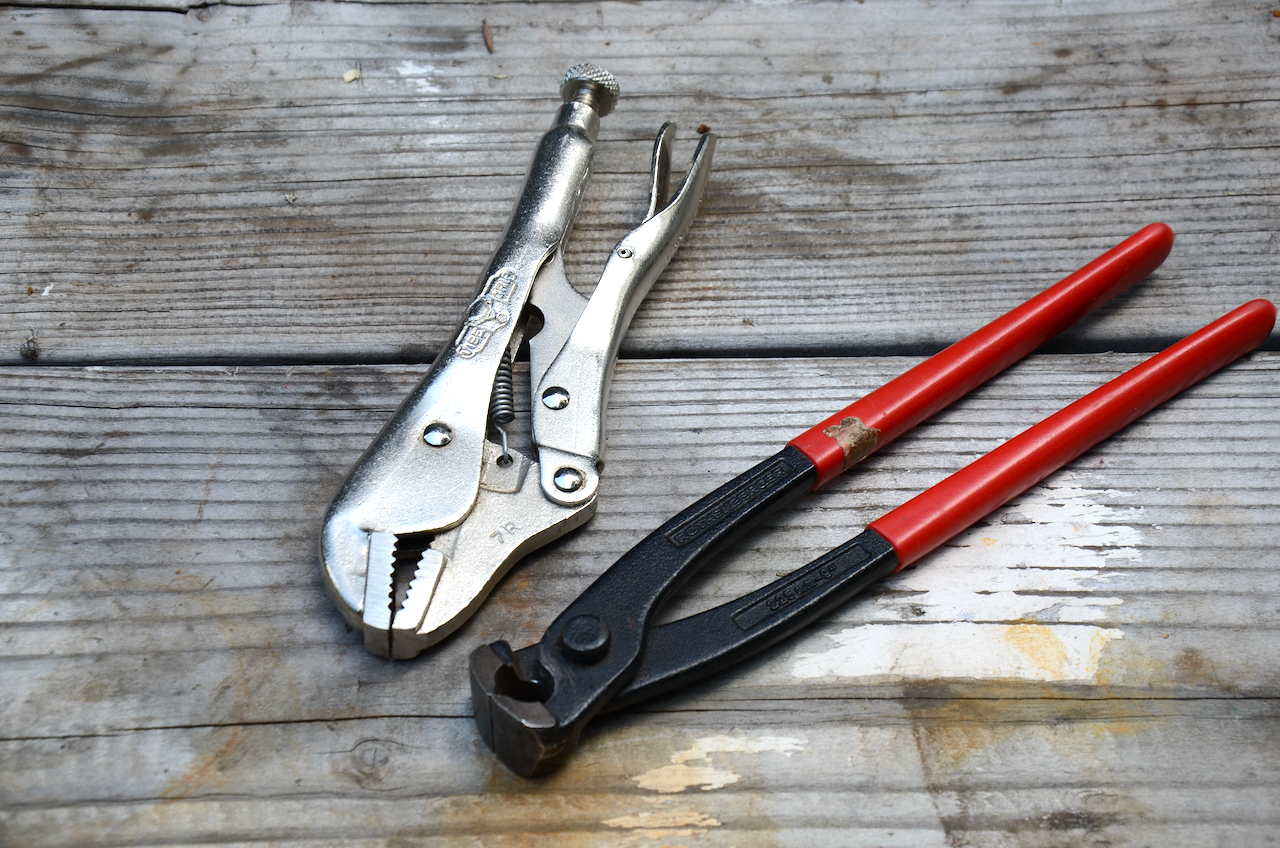
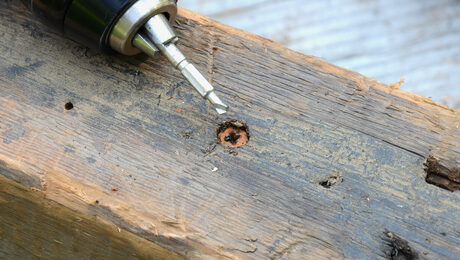
Nippers, commonly found in every woodworker’s shop, are designed to shear fasteners rather than extract them. However, skilled woodworkers can use them to grab a nail and swing it up into freedom. When using nippers, be careful not to squeeze too tightly, as this could cut the nail and leave a stump that only Vise-Grip pliers or the Crescent tool can hold onto and extract.
In my next blog entry, I will tackle the most challenging extractions: headless nails embedded deep in the lumber and screws that stubbornly resist screwdriver extraction.
Fine Woodworking Recommended Products
Ridgid R4331 Planer
DeWalt 735X Planer

AnchorSeal Log and Lumber End-Grain Sealer





Log in or create an account to post a comment.
Sign up Log in