Made You Look: Adrian Ferrazzutti’s Chair Prototypes
Take a look at Ferrazzutti's latest work from his residency at the Center for Furniture Craftsmanship.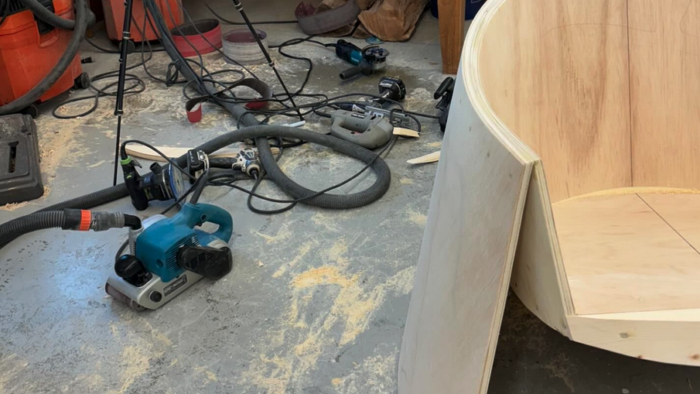
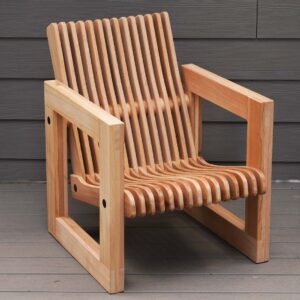
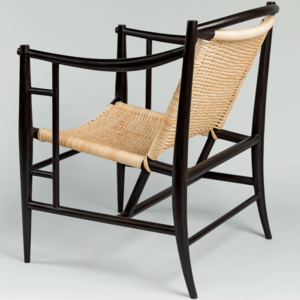
Adrian Ferrazzutti spent the last month at Center for Furniture Craftsmanship as a resident artist. He’s dedicated most of his time on prototyping chairs from sketches he’s gathered over the years and it’s been incredible getting to watch his progress online. I’m even more impressed he is documenting while building a prototype a day. I’ve included two of the builds: Chair 3 and Chair 4 in three parts.
Chair 3
“Chair 3 mockup process going on here, from sketch to test sit. Currently I’m a ‘visiting artist’ here at the Center for Furniture Craftsmanship in Maine. In the remaining weeks I’m trying to build a mockup a day based on sketches I’ve pulled from 25 years of sketchbook drawings. This is the third version of this chair concept, and I like where it’s gone; however, it’s time to move in a new direction for Chair 4.”
Chair 4
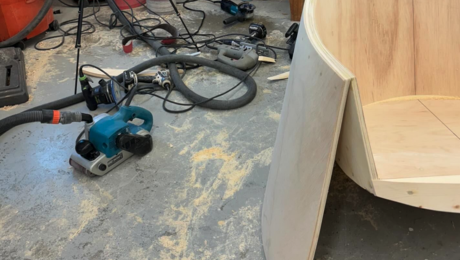
“Here’s a look at my typical chair prototyping process, part 1 of maybe 3 videos. It starts with a little thumbnail sketch and maybe a paper model. Then I generally make a full-scale side elevation drawing to get some seat and back angles and a seat height. With some basic info and an idea, I’ll start making components and piecing parts together. Small modifications are made along the way, and the refinement of each part starts to get more clear as I can see everything in 3D at full scale. This chair started with the seat, 2 layers of 3/4 ply glued together. It’s then cut to a curved shape with a beveled edge so the bending ply back has an inviting conical flare. The bendy ply is cut into a rainbow shape to conform to the beveled seat edge, and it’s screwed in. I eventually do a second wrap of ply that’s glued on to the first. The seat and back assembly is then mounted to a setup base with the seat height and angle in order to test the feel of the chair. Next comes shaping the back rest. It’s a curved back, and I find cutting curves on curves can be very tricky! The two combined will read very different depending on the angle the chair is viewed from, and sometimes it can look really bad from one angle but great from another.”
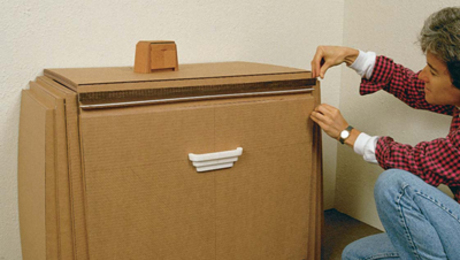
“Chair mockup process part 2. Here I’m using cardboard and hot glue to flush out an idea for the main structure of this chair. A plywood rib on the floor helps keep the cardboard in place and helps to form it. What’s kind of crazy is that I was able to sit in this cardboard version. So I then trace the cardboard shape onto paper to then trace onto bending ply, 3 layers. This sandwich is then ‘free bagged’ over the chair (the chair being the external form).”
“Chair design/mockup process, part 3. Here’s the free-bag bend and it being joined to the seat assembly. It’s been such a fantastic experience being a visiting artist here @woodschoolmaine! It’s not just the time to do focused work that makes it so special; it’s also the people who make it possible and benchmates! The benchmates! @timber.works @josephine.jelicich.furniture @linelkinsdesign @philipmorleyfurniture
“I encourage people to inquire if interested. It’s been an absolute honor.”
Made You Look are videos we’ve found on the web that we thought were worth sharing with our audience. Let us know in the comments below if you find anything you think is worth a look!






Log in or create an account to post a comment.
Sign up Log in