Perfect Reveals with Mechanical Drawer Slides
Setting drawer fronts on cabinet drawers doesn't have to be tricky. Mark Edmundson shows you how.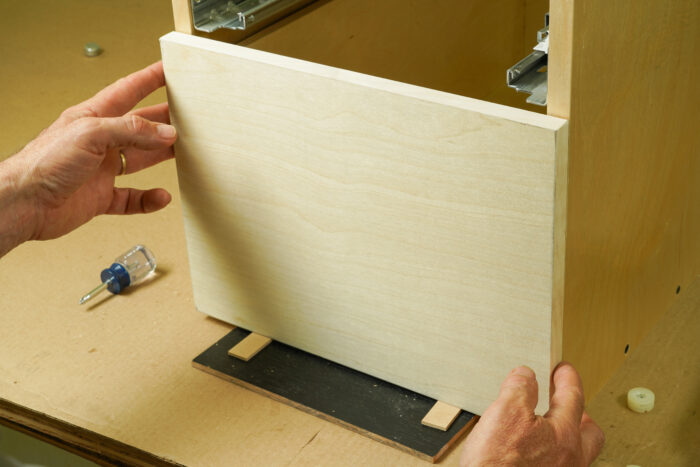
In FWW #313, I showed how to choose and use the three main types of mechanical drawer slides. Mechanical slides are used most often in built-in cabinetry, on drawers with applied (or “false”) fronts, which are attached to separate drawer boxes.
These applied fronts can be attached after the cabinets are installed, which allows the cabinetmaker to align them as a separate step. This takes a lot of pressure off the installation of the drawer boxes and mechanical slides.
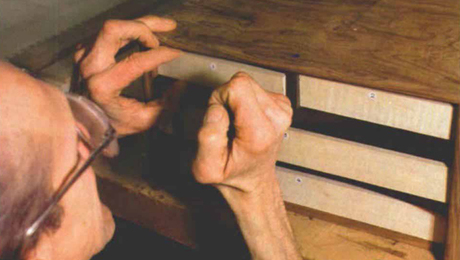
 |
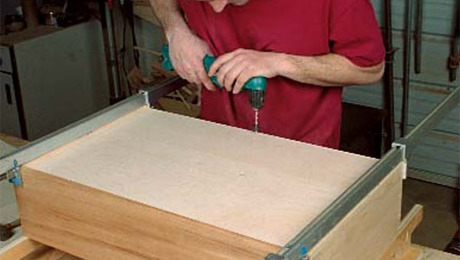
 |
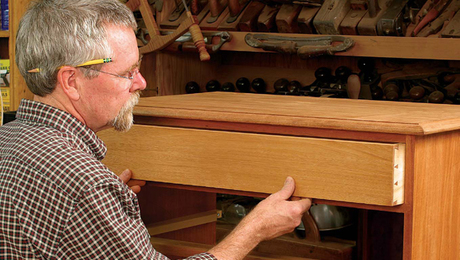
Applied fronts. The drawers in built-in cabinets often get mechanical drawer slides—and drawer boxes with separate fronts. The fronts are attached after the drawers are installed, making it easier to have nice even gaps all around.
What we didn’t have room for in the article were the Blum drawer-front adjusters I use to locate drawer fronts accurately.
There are a number of low-tech methods for locating fronts temporarily (involving hot-glue or double-stick tape) after shimming them into position. Then you remove the drawers from the cabinet and drive screws to attach the fronts permanently.
The problem with the hot-glue/tape methods is that you have one shot to nail the position of the front. If you get it wrong, or things shift during cabinet installation, you have to peel off the front, remove the tape or glue, and start again.
Instead, I highly recommend using drawer-front adjusters. My favorites are the ones made by Blum. These are especially helpful for flush, inset drawer fronts, where the smallest misalignment will be obvious. But I use them to locate all of my applied drawer fronts these days.

Inexpensive parts and pieces. You’ll need (from left) a 20mm Forstner bit, two of Blum’s “marking templates” (dowel centers, basically), a pack of the adjusters, and the right-length #8-32, pan-head machine screws for the thickness of your drawer.
Compared with the tape/hot-glue methods, the adjusters require a few more steps and supplies, but they speed things up considerably and relieve a lot of stress. Most importantly, they allow a generous amount of wiggle room in case you get the location slightly wrong. As a pro cabinetmaker, this lets me attach the drawer fronts in the workshop, and then refine their position after installing the cabinets, which tends to shift them slightly.
If the gaps aren’t perfect when I’m done, the locators make it simple to shift the fronts slightly onsite, without needing to peel them off the boxes and start over.
Once the fronts are perfectly aligned in the cabinets, the locators hold them firmly in place while I drive wood screws and make them permanent.
If you are installing a bank of drawers, begin with the lowest one, so each successive drawer front can be shimmed and stacked on the previous one as you go.

Step 1: Drill for the locators. Use the Forstner bit to drill two holes in the back of the drawer front.

Mark the drawer box. Place the marking centers (called “marking templates”) into the holes, set the drawer front on shims, and press it against the drawer box. This marks the drawer box with two small dents.

Drill the drawer box. Following the dents made in the previous step, drill 3/16-in. clearance holes for the #8-32 machine screws.

Tap in the locators. Remove the marking centers and replace them with the plastic adjuster disks, which are tapped into the holes, where hold tight with a friction fit. The locators have a trapped, threaded metal disk inside, which grabs the machine screw when the front is attached, allowing a small range of movement in every direction.

Attach the drawer front. Insert the pan-head screws, and tighten them so the fronts are held in place but can still be shifted.

Adjust the front. Push the drawer closed and shift the front until the its alignment is perfect. After installing the cabinets, if things shift a bit, the adjusters can be loosened and the fronts realigned.

Lock it in place. When the cabinets and drawers have been installed, and you are happy with the gaps around the fronts, lock them in place as follows. Remove each drawer, tighten the locator screws, and then drive wood screws through the inside of the drawer box.
The above steps might seem complicated, but trust me, they aren’t. In fact, the system is many times easier to use than relying on tape or hot-glue, and hoping you nail the placement on the first try.
[Mark Edmundson is a furniture maker and cabinetmaker in Sandpoint, Idaho.]
Photos: Asa Christiana
Editor Recommended 20mm Forstner Bit
20mm Forstner Bit

Editor Recommended Drawer Front Adjuster
Blum 295.1000 Standard 3/16" Drawer Front Adjuster-10 Pack

Editor Recommended Drawer Front Adjuster Template
Blum Drawer Front Adjuster Marking Template






Log in or create an account to post a comment.
Sign up Log in