STL328: Imperfect Precision
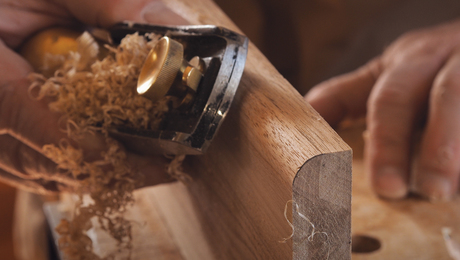
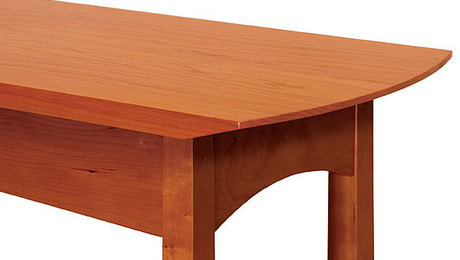
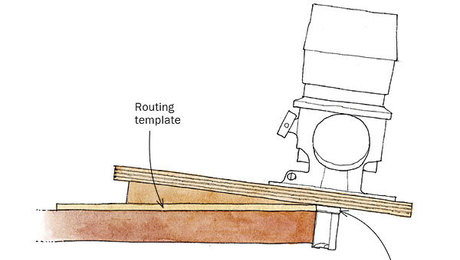
Mike, Vic, and Ben discuss the precision really needed in woodworking, methods for creating tapered bevels, and tracksaw techniques.How do you create tapered bevels?
From Brad:
In STL322, while discussing bevels, you mentioned tapered bevels, something I had never thought of before. Can you explain how you go about creating these? Are there different methods, and if so, what method is your go-to when creating them?
How much precision should we be aiming for?
From Scott:
Hi Ben (and Mike and Vic),
Listening to STL262, I was reminded of a lesson I learned when I was squaring a new sliding compound miter saw. Even though it was not a Festool saw, I was using the Festool instructions, which recommended a version of the five-cut method. At the end, it was noted that the method is capable of detecting an error that is outside the intended tolerances of the tool.
This was a lightbulb moment for me. Castings flex. Bearings have play. It all adds up. When those variances are expressed in +/- terms, I can expect that if I measure the same thing over and over again I can expect to get a variety of results within that range, and those results will be random and super frustrating if I try to force them to go away.
With the quality of measuring tools we have available, the question may not be how accurate we need to be; it’s more like how accurate are we able to be? Are we aiming for a standard that is not only unnecessary but actually not possible?
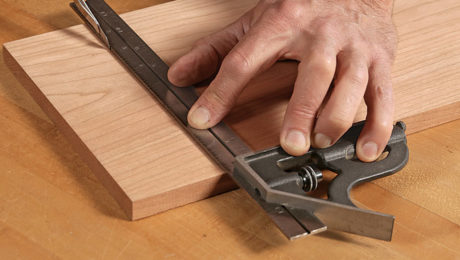
Another scenario: I consider my 12-in. Starrett combo square to be the reference tool in my shop for most things. It has a stated accuracy of +/-.002 in. over the length of the blade. If my tool is +.002 and I use it to check a crosscut for square, when I see no light, my “perfect” cut is +.002 in. out of square. If I measure the angle at the other end of the cut, it’s -.004 in. That’s a lot of photons! And per Mike’s observation about putting English on the crosscut sled when cutting, a variance of .001 in. or .002 in. could be something like having your left foot forward instead of your right. And per Vic’s observation, if my tool is +.002 because I tightened the lock bolt with a bit of sawdust between the stock and the ruler, the next time I set the square it won’t be the same. But this sled was perfect last time I used it!
It was a big lesson to me to learn that my tools and the things I use to measure them both have accuracy limits. I still use precision tools like a dial indicator when I construct some jigs and fixtures, but I try to be realistic about what they can tell me. The maximum accuracy I can attain is not perfect, but it is sufficient. If I try to reach perfection, I have created a new hobby for myself. I don’t know exactly what to call it, but it probably has more in common with statistics than with woodworking.
What is the best way to be accurate with a tracksaw?
From Dave:
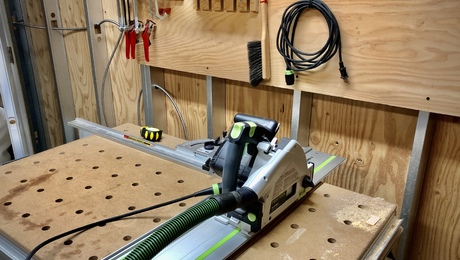
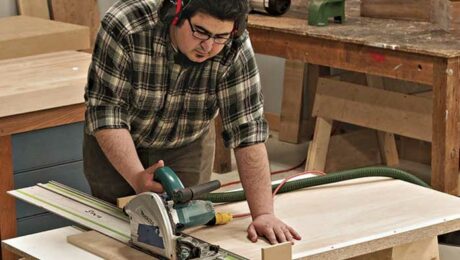
I’m going to be making some built-ins for my home later this year, and this is going to involve making a series of square and/or parallel cuts on sheet goods. I don’t have a table saw (due to a historical injury suffered by my father-in-law, my wife has forbidden it), but I have a tracksaw, and I’ll be using that to cut up the plywood.
I made a cabinet for my shop last year, and I made the carcass by cutting to a line drawn off of a square to cut it up. While this method got me close to square, I ended up clamping the pieces together and evening them up with a hand plane to get them all square. There must be a better way to get to square.
What is your recommended method for keeping the track square? But I have a couple other, related questions. When would you choose to use parallel guides versus a track square? Would a speed square or try square be adequate for a relatively small project like mine?
I’ve researched a couple of different options, including holding a speed square or try square to the noncut side of the track, or buying one of a variety of dedicated tracksaw squares or parallel guides; however, my research has been inconclusive.
I realize that you don’t know exactly how big my projects are, so, put another way, if you consider the “holding a square next to the track” method to be adequate for a small number of cuts, what would be your tipping point for getting one of the attachable squares or guides?
I am aware that this question was super long, so feel free to edit it as needed.
Every two weeks, a team of Fine Woodworking staffers answers questions from readers on Shop Talk Live, Fine Woodworking‘s biweekly podcast. Send your woodworking questions to [email protected] for consideration in the regular broadcast! Our continued existence relies upon listener support. So if you enjoy the show, be sure to leave us a five-star rating and maybe even a nice comment on our iTunes page. Join us on our Discord server here.


Comments
Precision - a variable need in woodworking, depending on the element being made in a piece.
A couple of thou when making the mitres of a picture frame or the fingers of a box corner joint can make a difference. Joint lines in these look best when you can hardly see the join. A precise router fence or table saw sliding table fence-stop is a very needful thing, as is a well set-up shooting board.
But other elements actually look better with a degree of imprecision: a rounded edge made with a spokeshave or block plane; the faint remnants of hand tool work with sharp edges - "hand of the maker" evidence that many prize in showing that a piece was hand made.
The trick is to know what should be precise and what needs no such attribute. It's easy to slip into the "just bodged" look of unfortunate gaps and wonky joints. Its also easy to make a piece look like it was made by robots in a factory, with too much precision altogether, as well as a thick coat of plasticky "finish" over a garish-colour staining.
Chippendale didn't have a dial caliper, nor did he need one.
https://www.youtube.com/watch?v=5Bhu7HjIGAk&t=10s
Watch the whole four-part series to see the amazing precision he achieved.
Log in or create an account to post a comment.
Sign up Log in