Space-Saving Sawhorses
Folding horses are remarkably light, compact, and durable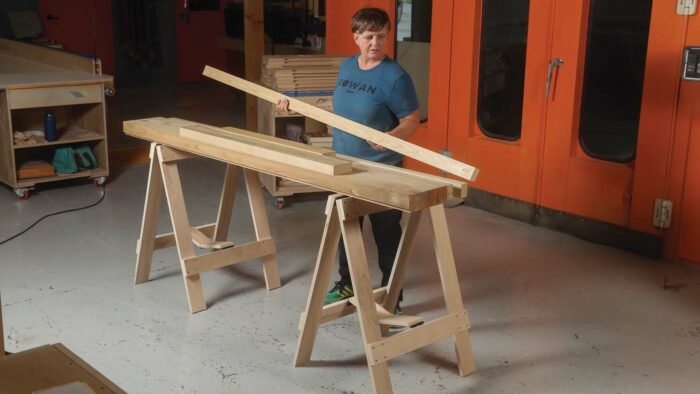
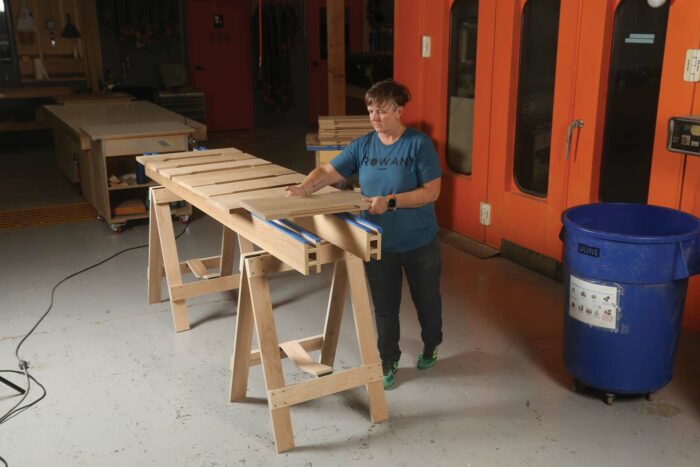
Anybody who has spent time in a shop knows that sawhorses are an essential piece of equipment. At my shop, we use sawhorses all day every day for things like storing lumber, holding boards in the milling process, finishing, staging parts to go into the finishing booth, and raising pieces to a higher level to work on them. The uses are endless. And we don’t just use horses in the shop. We also take them with us on installations. There they hold workpieces, serve as job-site workbenches with beams or plywood on top, and much more.
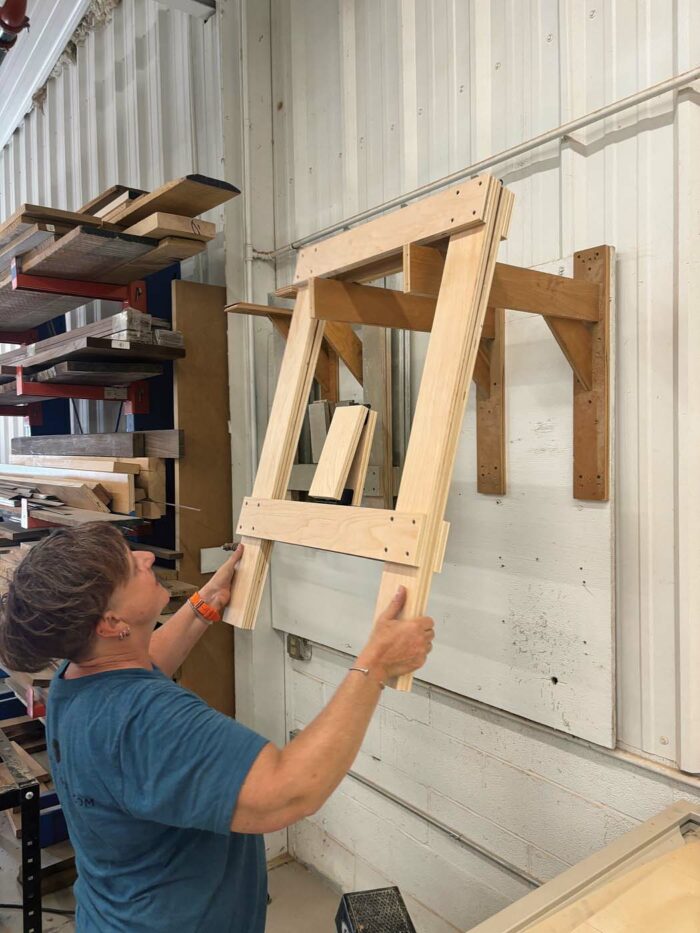
Our sawhorse standards are high. We need them to hold a lot of weight, not take up too much space, and be light enough to move around the shop and take on the road. They also must be easy to make and last a long time. I don’t remember where I first came across this sawhorse design, but it checks all the required boxes. The best thing about these horses is that they fold up and store out of the way on wall-mounted racks when we’re not using them. I’ve been building and using them now for about 20 years and have never had one fail. Made from strips of 3/4-in. plywood and 3-in. hinges, they are fast and easy to build, and they have a clean aesthetic.
The parts

The ingredients list for one of these horses is short: The two identical sides each have two legs and two rails, and two short braces link the sides. The sides are hinged at the top, and the braces are hinged to the sides as well as to each other.
Build the sides
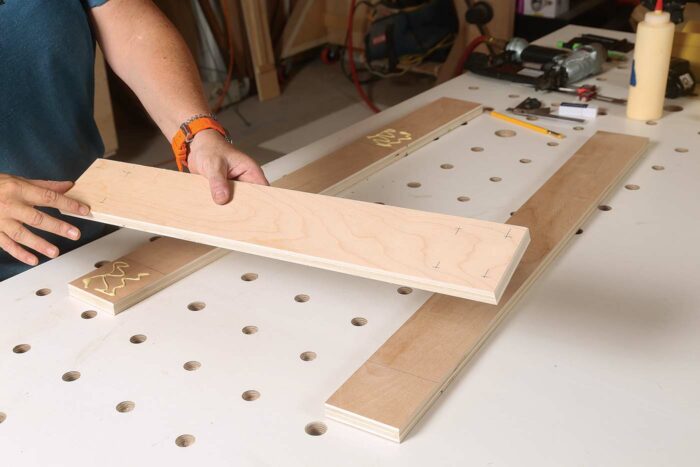
Start by ripping and then crosscutting strips of plywood to size. If you’re starting with a full sheet of plywood, you can rip enough to make at least two pairs of horses. You also can mix and match any plywood scraps you have kicking around. I’ve never tried it, but I suppose you could also use solid wood if you wanted. Once I have the parts cut to size, I begin to assemble the horses. They are quick and easy to put together. I can have a pair ready to go in less than half an hour.
 |
 |
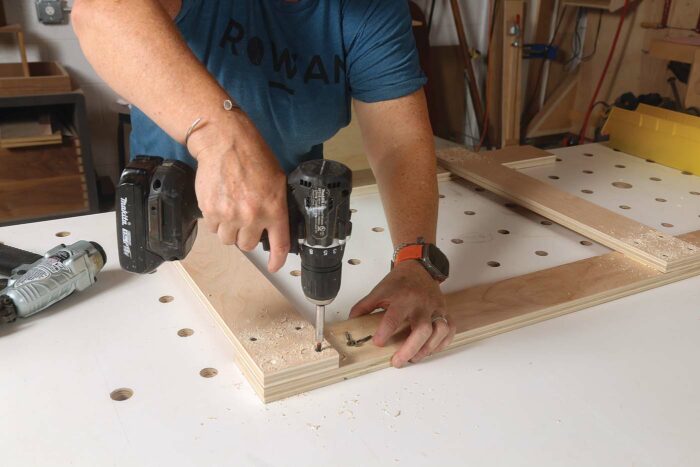
The key to putting them together is spacers. First, I glue and tack one end of the top rail to one of the legs, flushing up the corners. Then I bump a spacer against that rail and locate the bottom rail at the other end of the spacer. I glue and tack one end of the bottom rail to the same leg. Then I glue and tack the other ends of both rails to the second leg. Once the rails are tacked to both legs I screw them together, driving four countersunk screws at each connection. I repeat all those steps to build the second side of the sawhorse.
Attach both braces to one side
 |
 |
 |
 |
The hinged center braces keep the sides from splaying too far apart in use, and afterward they allow the sides to fold flat. The braces get three hinges, one between them and one on each end to attach to the bottom rail of each side assembly. To locate a hinge at the center of the bottom rail, I use another spacer, this one referenced off the leg. I screw a hinge to the bottom rail and attach the hinge’s other leaf to one of the braces. Then I hinge the other end of that brace to the second brace and add the third hinge to the far end of the second brace. I’ll soon attach the second leaf of that last hinge to the other side assembly, but for now it remains loose.
Join the sides
 |
 |
On a flat work surface, I screw two hinges to the top rail of one side. Then I line the two sides up end to end and screw the other leaf of each hinge to the second side of the horse. Once the two sides are hinged at the top, I finish by attaching the free brace to the bottom rail of the second side.
 |
 |
Finally, I use a router to run a small roundover on the edges of the rails. It makes carrying the horse a bit more gentle on the hands and makes it easier to slide pieces onto the horse.
Fine Woodworking Recommended Products
Woodriver Rechargeable Desiccant Bag
WoodRiver Router Bit Storage Case







Log in or create an account to post a comment.
Sign up Log in