Extracting Screws from Reclaimed Wood, Part 3: Cutting Around Stubborn Fasteners
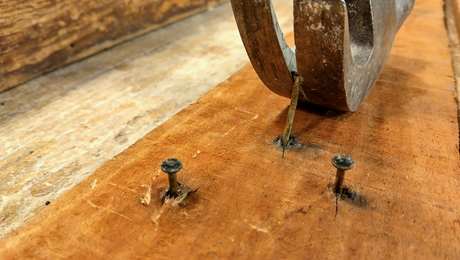
After the more surgical extraction methods fail, your last resort is to cut around the fastener and remove it with the wood surrounding it.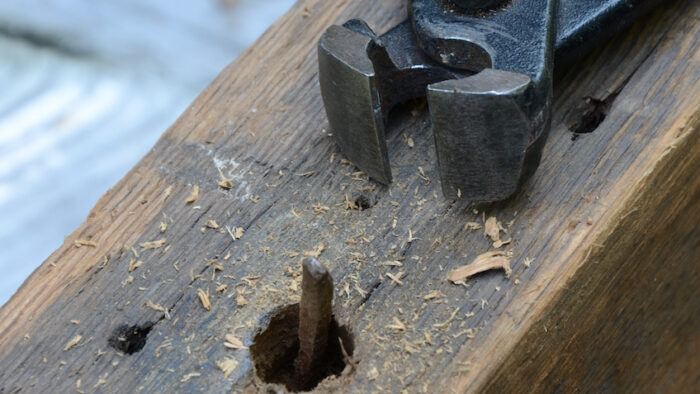
In my previous entry, I explored various tools for grabbing and unscrewing sunken fasteners, like screws or bolts, to liberate them from reclaimed wood boards. In the final part of “Tales of Extractions,” I’ll discuss the most drastic solution: cutting around stubborn fasteners and removing both the fastener and the surrounding wood.
Sometimes, all the more surgical extraction methods fail, and your last resort is to cut around the fastener and remove it with the wood surrounding it. Depending on the fastener’s size, a few tools can help with this process.
Small Tacks, Screws, and Nails
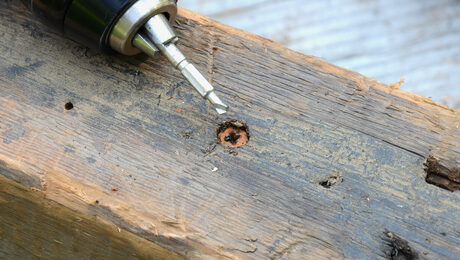
A high-speed steel (HSS) toothed boring cylinder is highly effective for smaller fasteners. This tool’s utility spans from removing fasteners that break off inside furniture parts to fasteners embedded in reclaimed boards. Learning how to use it correctly will help you across the woodworking spectrum. However, there’s a catch—this tool requires precision to work correctly.

Building the Template for the Boring Cylinder
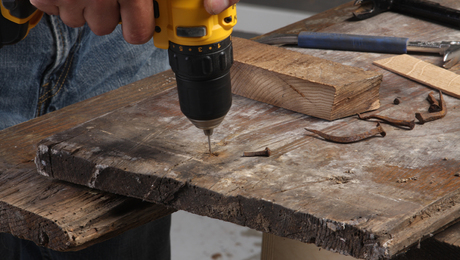
First, clamp a scrap board to the drill press table and attach the HSS boring cylinder inside the chuck. Then drill the template to create the drilling guide. Since most boring cylinders’ exterior diameter matches common drill sizes (½ in. and ⅜ in.), you can use a matching drill bit to shape the template’s hole. In this case, just find and drill a scrap; there is no need for a drill press setup.
 |
 |
 |
 |
Aligning and Drilling
Position the template over the stuck fastener, clamp it securely to the reclaimed board, and begin drilling. The boring cylinder will cut a core of both the fastener and the surrounding wood. Applying a lubricant like Boelube will reduce friction and help extend the tool’s life.
Extracting the Core
Once the core is fully formed, remove the boring cylinder from the chuck and push the core out using a golf tee or a wooden dowel. If the core is still attached to the reclaimed wood at the bottom, break it free using pliers, a screwdriver, or an awl.
Considerations for Fragility
The boring cylinder can break when encountering tough fasteners, which is a concern. To minimize this risk, it’s essential to apply a non-oil lubrication, such as Boelube, during the drilling process. Lubrication reduces friction, ensures smoother operation, and protects the cylinder from overheating, extending its lifespan and preventing breakage.

Larger Nails, Screws, and Bolts

For larger fasteners like lag screws or big nails, you will need to switch to a hole saw with bi-metal or carbide teeth. The boring cylinder is better suited for smaller tasks, but a hole saw is more robust for handling larger fasteners.
Hole saw assemblies come with a central drill bit, which is not needed during the core formation but helps create the guide template. To make the template, mount the hole saw in a hand drill and use the drill bit to guide the hole saw in forming a hole in your template. After this, remove the central drill bit and use the hole saw in the same way as you would with the boring cylinder—ensuring the saw cuts around the fastener, not through it.
 |
 |
 |
 |
 |
 |
 |
 |
As with the boring cylinder, this method allows you to remove the surrounding wood while leaving the fastener intact, which can then be discarded.
Filling the Hole
In many cases, filling the hole isn’t necessary, as the primary goal of the extraction was to remove fasteners that could damage jointing, planing, or shaping tools. In this case, the hole(s) may be strategically hidden within furniture carcasses or other interior elements. Alternatively, plan your cut list to avoid the location of the extracted fasteners.
However, when preserving the entire reclaimed board is crucial, filling the holes becomes essential. To do so:
Create plugs from the same type of reclaimed wood. Pick an area of the reclaimed lumber that can’t easily be repurposed, and craft the plugs using a plug cutter. Standard plug cutters can patch smaller holes (such as those from boring cylinders), but check for plug cutters in both metric and imperial sizes for larger holes made by hole saws. If no plug cutter of the appropriate diameter is available, use a lathe to make a custom plug.
Wait until after milling to plug the holes. It’s essential to wait until after the initial milling to plug the holes. Plugging raw reclaimed wood can cause the plug to loosen or even break away during the consecutive milling process. This means you should joint, mill, and resaw the boards before plugging the holes. This will ensure a clean, uniform surface for further work.
Conclusion
When reclaiming wood with stubborn fasteners, using the right tools and techniques is critical for efficient extraction and preserving the board’s integrity. Whether working with small nails or large bolts, selecting the appropriate cutting tool and applying proper lubrication will ensure a smoother process and longer-lasting results. By following the steps outlined here, you can remove fasteners safely, minimize damage to the surrounding wood, and prepare the reclaimed material for its next life in your woodworking projects.
Fine Woodworking Recommended Products
Grout float
Incra Miter 1000HD
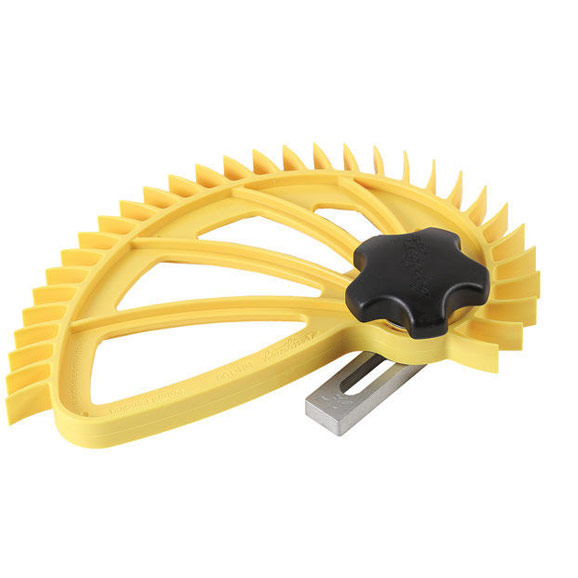
Hedgehog featherboards








Log in or create an account to post a comment.
Sign up Log in