Cold-Weather Woodworking
Looking to brave the cold and keep moving in the shop? Bonnie Elisabeth Hawk shares tips to make winter woodworking more manageable.
Winter has arrived in many a woodshop in the Northern Hemisphere, but our love of the craft keeps us battling cold temperatures just for a few hours at the bench. Cold-weather woodworking is not for the faint of heart, but here are some considerations for making the best of it.
Let’s Start With You
A winter woodshop wardrobe is a function of both warmth and safety. Dress in lots of thin layers and avoid bulky clothes that may get caught in machines. I could wax poetic about the merits of merino wool, but I’ll spare you. Vests are a great choice for the woodshop, and if you’ve never experienced the wonder of a battery-powered vest, you’re missing out. For about $160, a heated vest will give you 6 hours of warmth day after day. The heating elements are located in the back of the vest as well as the front pockets, so they’re great for warming up cold hands. Best of all, heated vests are often machine washable, and they easily recharge overnight.
While keeping your upper body and core warm is the best way to keep your entire body warm, don’t forget to take care of hands and toes. Boots are a no-brainer, but almost any boot can be improved with a shearling lining. Gloves are generally frowned upon in fine woodworking, mostly for their tendency to get caught in machines. But for certain operations, I swear by a pair of tight-fitting nitrile-dipped HPPE gloves. If I hold them in front of the pellet stove for a few seconds, they warm up nicely. Hot Hands disposable warmers for hands and toes are a treat. Woodworker Anna Robinson suggests making reusable hand-warmers out of scrap denim and filling them with rice. Pop these into the microwave for 90 seconds and you’ll find out why they’re her favorite tool in the winter woodshop.

Your Woodshop
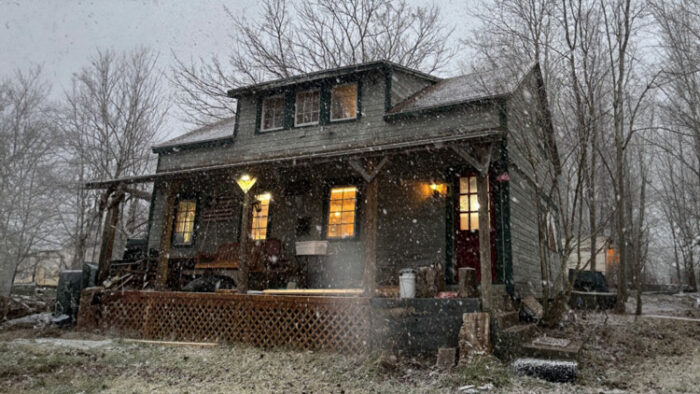
Whether you work in a garage, a basement, an industrial building, or an early 1900s farmhouse like me, there is only so much you can do to control the shop climate. There are varieties of heat sources to consider—radiant heat, electric, mini-splits, a wood or pellet stove, and propane heaters to name a few. It’s worth consulting local building codes to see what’s legal in your area. Consider energy cost, safety, and any byproducts of your heat source, like water vapor. Most blue-flame propane heaters, for example, will introduce humidity into the room, leading to unwanted rust. Furniture maker Dennis Turbeville of Austin/Morris Furniture suggests using dry bags for your hand planes and chisels while using a humidity-raising heater.
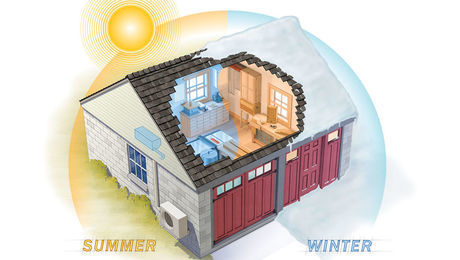
Many woodworkers have few choices about the ways they can safely heat their shops. But furniture maker Shea Alexander warns against focusing too much on the heat source. Rather, he suggests, “focus on insulation and air-sealing.” Retaining your heat with as much insulation as you can afford will pay for itself over the years. I insulated my shop—ceilings, walls, and floors—with a mineral-wool insulation that is a cotton-candy-like byproduct of the steel industry. Mineral wool is nonflammable, sound-absorbing, and easier to install than traditional pink batting. At wintertime, I staple 20-millimeter marine vinyl over the windows to minimize air leakage. And the drafty sliding barn door, which I occasionally need access to, gets covered with a 2-in.-thick sheet of foam insulation.
And don’t forget about your dust collector. When designing a system for your shop, it’s helpful to consider the weather. Exhausting your dust collection outdoors may be ideal for cleaning the air, but it may mean that you’ll be exchanging heated indoor air for freezing outdoor air. If your dust collector is outside the building, it may need to be winterized to manage differentials in humidity and temperature.

Glues and Finishes
I’m afraid we do need to think about proper use and storage of glues and finishes in cold woodshop environments. For details on a number of glues and finishes, check out the following articles in this series. In general, glues and finishes have minimum application temperatures beneath which they will not properly cure. A glue may flow at a very cold temperature, but that doesn’t mean it can create a strong bond. Chalkpoint is a term used to describe the temperature at or beneath which a glue will dry chalky and lack strength. Some glues can be used at colder temperatures than others. Beware that epoxy loses its self-leveling capacity when used below room temperature. Hide glue, on the other hand, is a longtime favorite of furniture makers in cold climates because the glue is often heated before use, and it can be used successfully in the cold. Here’s a tip from the creator of Old Brown Hide Glue: When working in cold weather, dampen a cotton cloth with hot water and wipe it on the wood joint just before applying the hot hide glue. The little bit of moisture will extend the open time of hide glue just enough to give you a stronger joint.
Proper storage of glues and finishes is equally important. Some glues, like PVA glue and hide glue, are freeze-thaw-stable, meaning you can leave them in your freezing cold woodshop and they will thaw out just fine. Other glues, like epoxy, will crystallize when frozen and need to be resuscitated in a warm water bath before reuse. It never hurts to stir the glue and check for consistency of color and texture before use. When in doubt, test your glue or finish on a sample piece to ensure proper cure. One shellac enthusiast I spoke to suggested having a sample board that’s 24 hours (or one full coat of finish) ahead of your showpiece. That way you can ensure that a finish cures properly before applying it to the showpiece. If you work in a garage, store your glues and finishes on an inside wall rather than an outside wall.
There are a few more tricks for giving cold-weather glue-ups or finishing projects a chance. Whenever possible, keep the wood indoors until just before finishing time, because the temperature of the wood itself makes a difference. You can often throw an electric blanket over glue-up. Several makers recommend creating a small plastic tent around your glue/finish project and placing a small space heater with a fan inside the “tent.” But always be safe. A fire blanket, smoke and carbon-monoxide detector, and fire extinguisher are shop necessities.

Work the Seasons
We do the best we can, and when it’s just too cold, we go inside. The seasons can be an opportunity to expand our skill set indoors. Perhaps you can focus on a little indoor hand-tool work, take up chip carving, or weave chair seats. Winter is a great time to learn a fiber craft, complete a residency at a well-heated craft school, or practice trim carpentry at home. Spring is coming. Until it does, keep warm.


Comments
Posted before about insulation and heat. Shop is installed with R-19 insulation, walls and ceiling. No overhead or sliding barn door, double entry door. Mobile home propane furnace for heat when I am out there. Never freezes liquids even when outside temperatures drop to-10F and the furnace is off. (-23C for our metric friends.)
Log in or create an account to post a comment.
Sign up Log in