Video: 4 Glue-brush tips
If you don’t like getting geeky about glue-up stuff—glue brushes specifically—then this is not the video for you. Jan 31, 2025
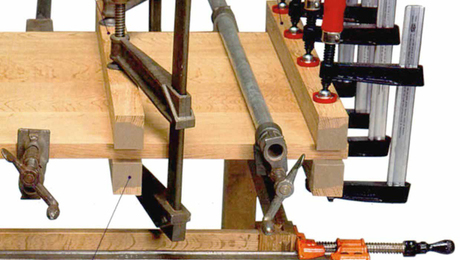
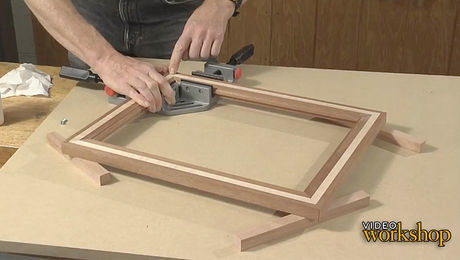
Glue-ups can be stressful, so anything you can do ahead of time to make them a little easier is worth doing. Today I want to share three workshop tips from the pages of Fine Woodworking magazine that you might want to add to your “go-bag” for gluing up.
No more stray bristles
In Fine Woodworking #266, Mike Cyr of Westport, Mass., wrote:
 I buy cheap acid brushes in packs of 36 and use them for spreading glue. They work great but always seem to drop some bristles in the glue joint. I’ve tried hammering the base of the brush, but bristles still drop out. I recently found a better solution. Put just a drop of thin cyanoacrylate (CA) glue on both sides of the brush at the base of the bristles, and you won’t lose a single one. To apply the glue, hold up the brush at an angle so the glue doesn’t run down to the tip and harden all the bristles. The thin CA glue is like water, so don’t squeeze the bottle; just rub it along the bristles on both sides and let a little glue soak into the ferrule area. I have also used this on 1-in. and 2-in. chip brushes, and it works great every time.
I love this tip because I too like to buy cheap brushes and find myself frustrated trying to pick out lost bristles stuck in a freshly spread layer of glue. To take things one step further and to really gussy up my glue brushes, I like to take a chisel and trim down the length of the bristles, giving me a brush with a stiffer feel that I’ve found spreads glue more effectively.
A better brush for mortises
 In Fine Woodworking #233, Charlie Morrison of Powell River, B.C., Canada, wrote:
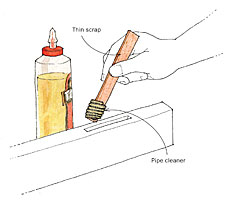
I recently completed a project with a large number of mortise-and-tenon joints, all of which had to be glued more or less simultaneously. I made a simple glue applicator from a slim piece of hardwood and a 12-in. pipe stem cleaner (available at craft stores). Drill a small hole at the lower end of the stick, push a bit of the cleaner through it, and clinch. Wind the cleaner around the stick. Now drill another hole, push the tail end of the cleaner through it, and clinch. Just dip the applicator in the glue and spread it around. It works a lot faster than a brush, and the size can be customized to fit your mortises.
Clever glue-brush holder
 In Fine Woodworking #230, Chip Ogg of Chittenden, Vt., wrote:
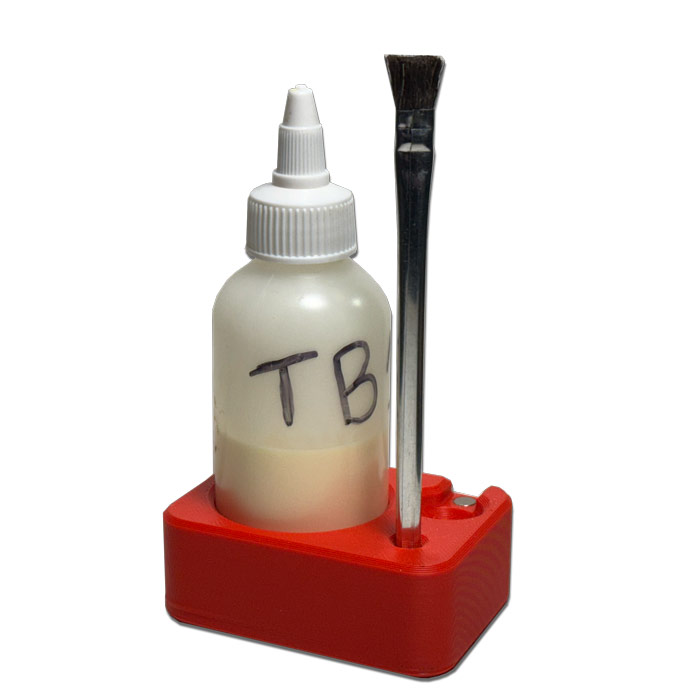
Those little metal-handled bristle brushes sold as flux or acid brushes make great glue brushes. They spread the glue evenly and cost about a dime apiece. If you’re not careful where you leave the brush, though, you can wind up with a trail of unwanted glue spots on your work or your workbench.
I solved that problem by taping a small rare earth magnet to my glue bottle to hold the brush there temporarily during assembly. It avoids the mess and keeps the brush handy. The brushes are also reusable if you rinse them in water when you’re done.
4-oz. Glue Bottle - 3 Pack
A 3D-printed glue caddy
In this edition of “Anything you can do I can do better,” I decided to 3D-print a riff on this idea that I think takes everything one step further. I modeled a glue bottle/brush holder in Fusion 360, and it’s quite honestly made me a little too happy. I’ve always found smaller glue bottles easier to deal with—anything between 2 oz. and 4 oz. is perfect for me. For the past few months, I’ve been experimenting with a 4-oz. condiment bottle I bought online. While I do like an even smaller bottle more, I think the screw-top lid on my new bottle is worth the trade-off, and it’s time to commit to it as my go-to bottle. The 3D print holds the bottle and has a hole to put an acid brush in for storage. But most importantly, it has a trough to suspend the glue brush over with a magnet to hold it in place. Download the STL file and print one for yourself.


Comments
Handy tips all. I find that toothbrushes work great as well. When I do tiny work I use Q-Tips or pointed wooden skewers. Save up a few polypropylene lids from yogurt or margarine containers. They make a great place to squirt a small puddle of glue to dip your brush in. When you’re done just set them aside to dry. The dried glue just flakes off into the trash. If you’re really dedicated you can wash them off when you rinse your brush.
Good tips. Ordered the bottles and 3D printed the caddy.
Got any other 3D prints for around the workshop?
I'd like to see more discussions on using the 3D printer in the workshop. I'm using TurboCad Platinum for my 3D drawings and a Creality K1 for printing. I enjoy it just as much as woodworking, certainly requires less room space.
Log in or create an account to post a comment.
Sign up Log in