Orient the grain of the spline parallel to that of the panel for greater strength.
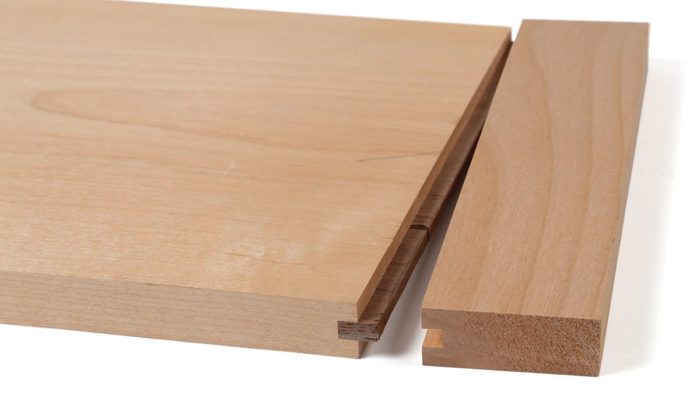
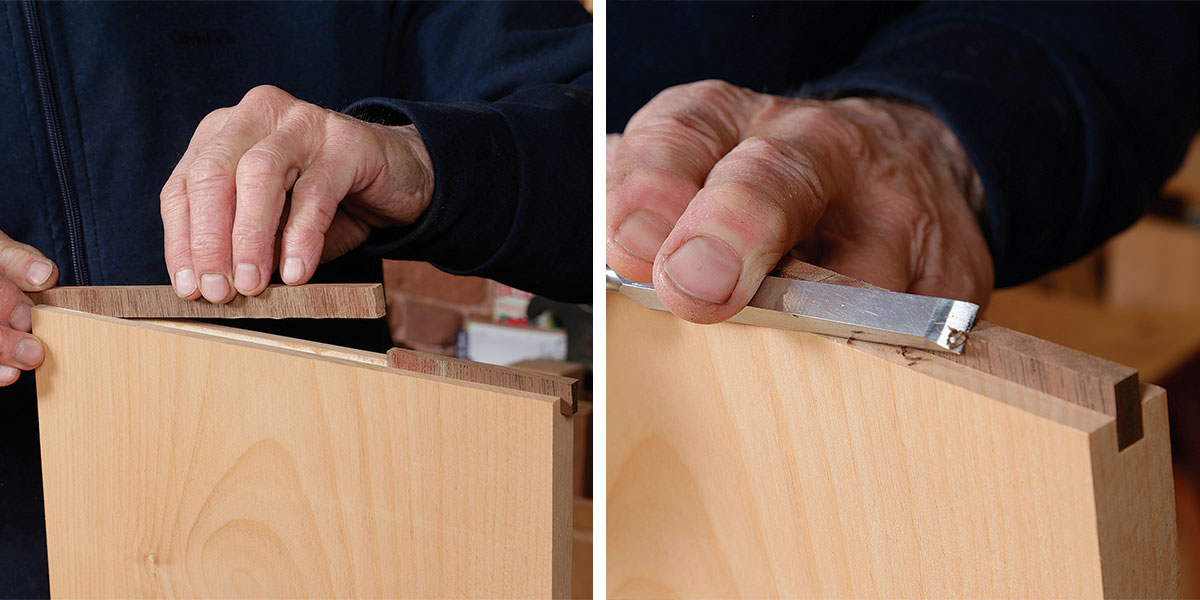
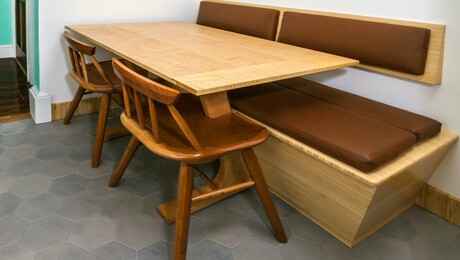
An easier and potentially more decorative alternative to the tongue and groove is two grooves with a spline between them. The spline can be made of a contrasting wood, but its grain has to run in the same direction as the panel’s for strength and so the two will expand and contract together. This method is good for littler projects and small tabletops. To make life simple, mill the panel and ends to the same thickness. Make the spline out of a board wider than your panel, or use multiple pieces. If your panel is pretty wide, say over 12 in. or so, then using two or even three splines is a much easier way of working because the splines, all short grain, will be less likely to break. No one will know there’s more than one spline in there.
Two grooves. The panel and breadboard both get grooved. Set the bit to final depth, and temporarily clamp a piece of masonite to the tabletop for the first pass to avoid taking too deep a cut.Cut the spline. To make the spline stock, first crosscut a piece a bit over length. Next, cut it to thickness at the tablesaw (right).Cut the spline to length. Dry-fit the assembly so you can measure the gap between the panel and the breadboard end (left). Trim this much from the spline stock.
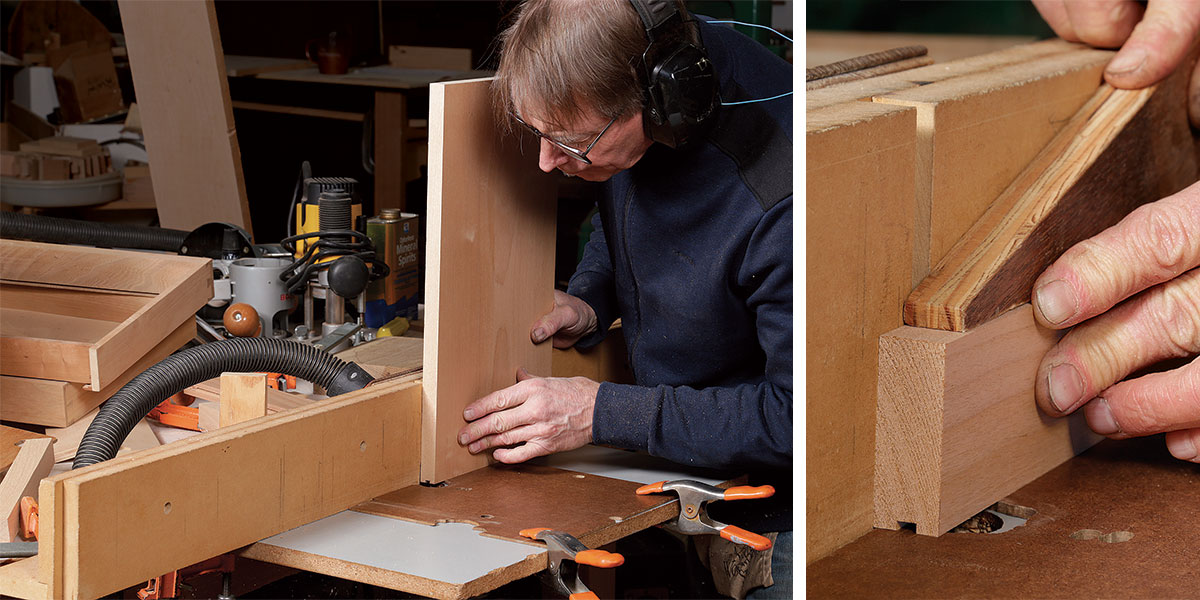
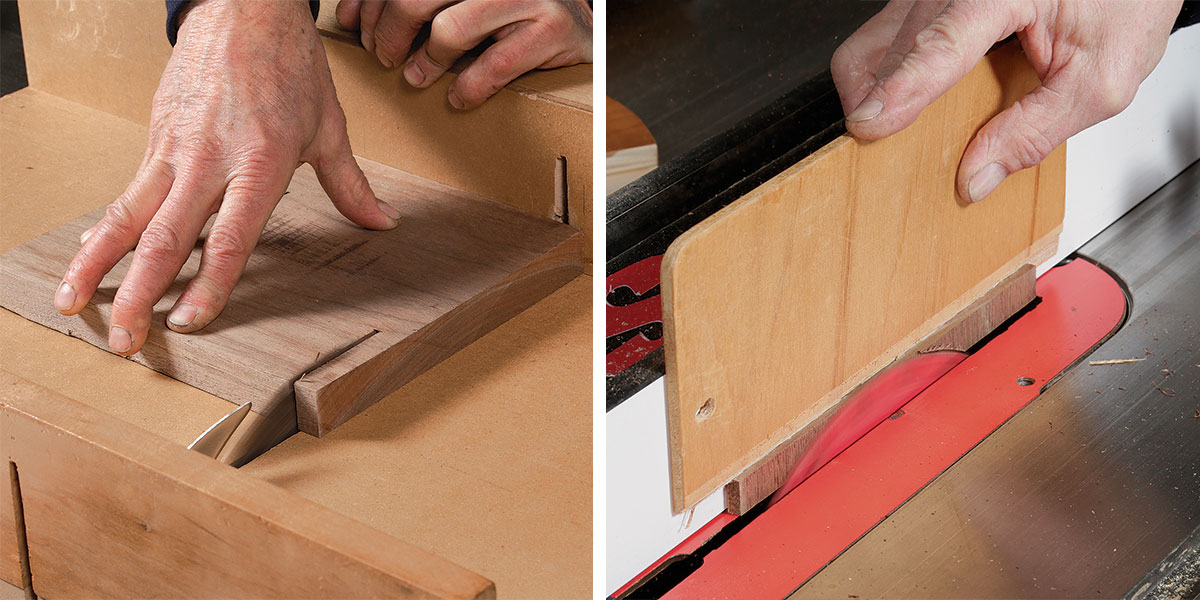
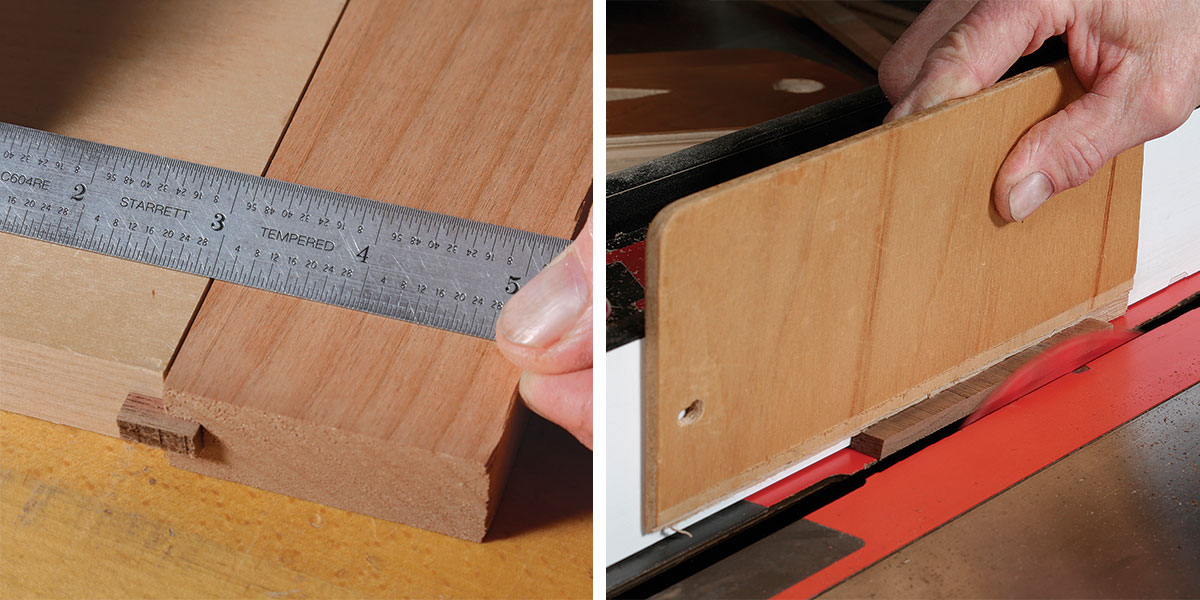
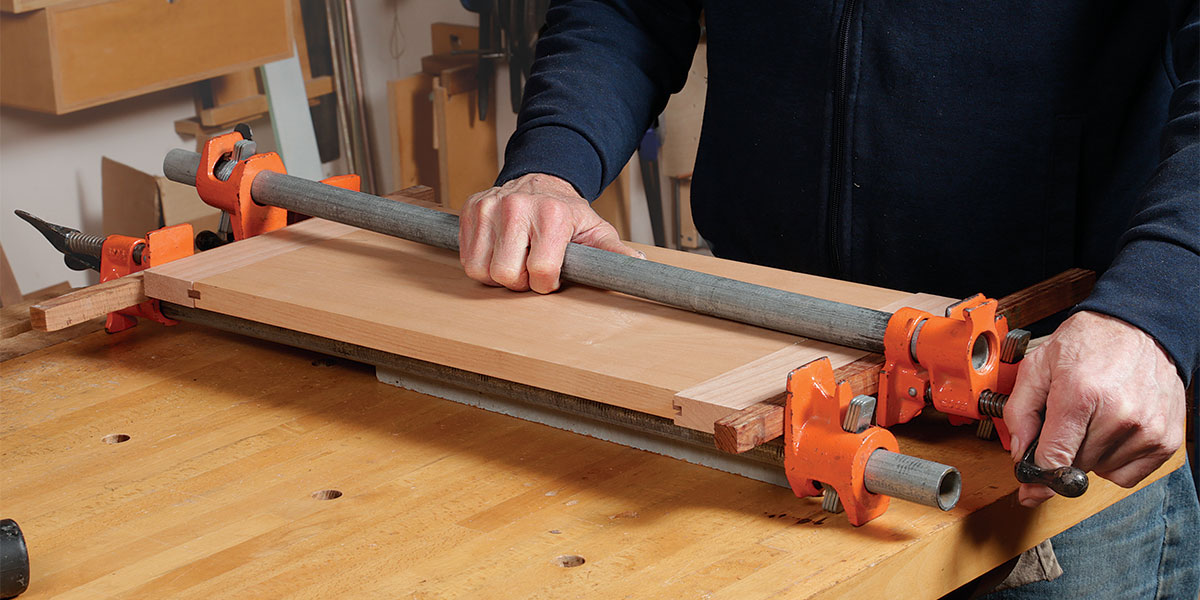
Glue the splines into the panel. Trim them to length. Like before, use a spring joint on the breadboard ends and glue only the middle 2 in. or 3 in. of the joint.
Glue splines to the panel. Because the splines’ grain runs in the same direction as the panel’s, you can glue it in the whole length of the groove. For wider panels, use multiple shorter splines, which are less likely to break as you handle them. Lightly chamfer the corners afterward.Glue up. As usual, Rogowski adds a spring joint to the breadboard end, glues the middle of the workpiece, and makes sure clamping pressure is straight across the joint.
The D4R Pro is Leigh’s flagship jig. Like the other Leigh jigs in our test, it represents a different world of quality, from its clear, comprehensive instructions to its ingenious engineering, impeccable manufacturing, and unmatched capabilities.
Head is easy to remove, replace, and lock down; narrowest blade, at 5⁄8 in., made it easier to fit into tight places; hard to read under bright lights.
With its graceful curves, cabriole legs, and ornamental back splat, a Queen Anne side chair is a bucket list build for many woodworkers. Dan Faia had a very specific Queen…
Become an UNLIMITED member and get it all: searchable online archive of every issue, how-to videos, Complete Illustrated Guide to Woodworking digital series, print magazine, e-newsletter, and more.
We use cookies, pixels, script and other tracking technologies to analyze and improve our service, to improve and personalize content, and for advertising to you.
We also share information about your use of our site with third-party social media, advertising and analytics partners.
You can view our Privacy Policy
here and our Terms of Use here.
Log in or create an account to post a comment.
Sign up Log in