The subtleties of driving a screw
Strong, budget-friendly, and reversible, screws are useful in a number of furniture making applications.
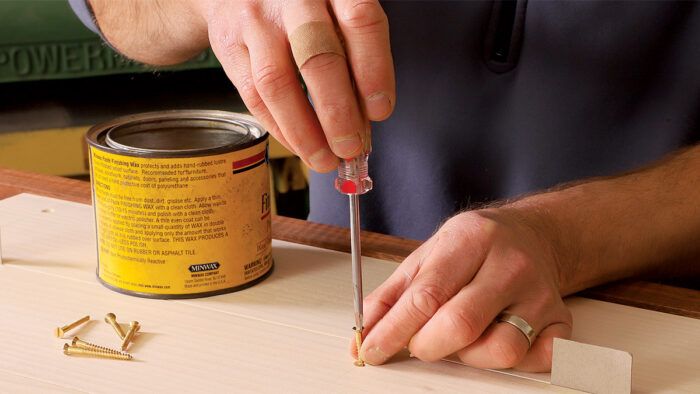
Synopsis: Strong, budget-friendly, and reversible, screws are useful in a number of furniture making applications. Mike Korsak uses them in a variety of different ways, and here he offers his expertise on how to make the most of them: choosing the right screw, sizing drill bits for the job, correctly sizing the clearance hole and countersink, and putting together a fast and efficient routine when using them to build furniture.
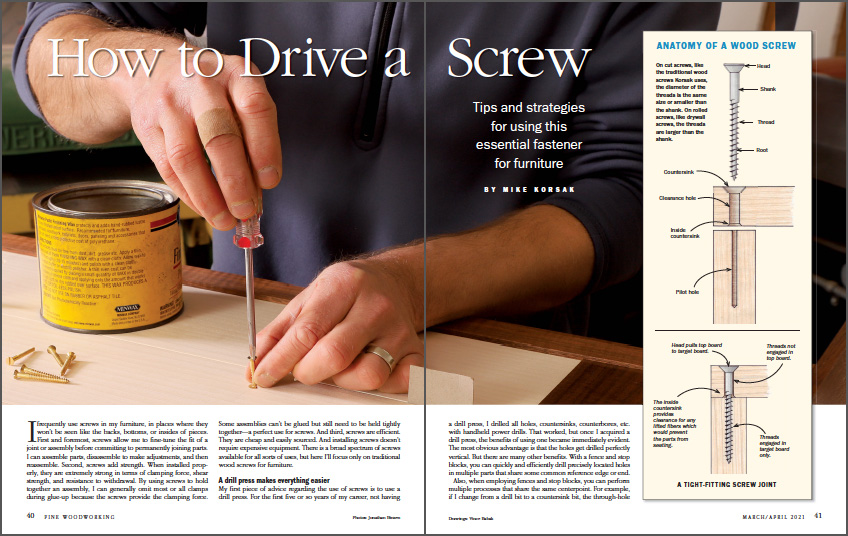
I frequently use screws in my furniture, in places where they won’t be seen like the backs, bottoms, or insides of pieces. First and foremost, screws allow me to fine-tune the fit of a joint or assembly before committing to permanently joining parts. I can assemble parts, disassemble to make adjustments, and then reassemble. Second, screws add strength. When installed properly, they are extremely strong in terms of clamping force, shear strength, and resistance to withdrawal. By using screws to hold together an assembly, I can generally omit most or all clamps during glue-up because the screws provide the clamping force. Some assemblies can’t be glued but still need to be held tightly together—a perfect use for screws. And third, screws are efficient. They are cheap and easily sourced. And installing screws doesn’t require expensive equipment. There is a broad spectrum of screws available for all sorts of uses, but here I’ll focus only on traditional wood screws for furniture.
A drill press makes everything easier
My first piece of advice regarding the use of screws is to use a drill press. For the first five or so years of my career, not having a drill press, I drilled all holes, countersinks, counterbores, etc. with handheld power drills. That worked, but once I acquired a drill press, the benefits of using one became immediately evident. The most obvious advantage is that the holes get drilled perfectly vertical. But there are many other benefits. With a fence and stop blocks, you can quickly and efficiently drill precisely located holes in multiple parts that share some common reference edge or end.
Also, when employing fences and stop blocks, you can perform multiple processes that share the same centerpoint. For example, if I change from a drill bit to a countersink bit, the through-hole and countersink will be exactly concentric, which is definitely not the case when doing this by hand. Plus, the depth stop of a drill press allows for much more accurate control over how deep countersinks and counterbores are drilled.
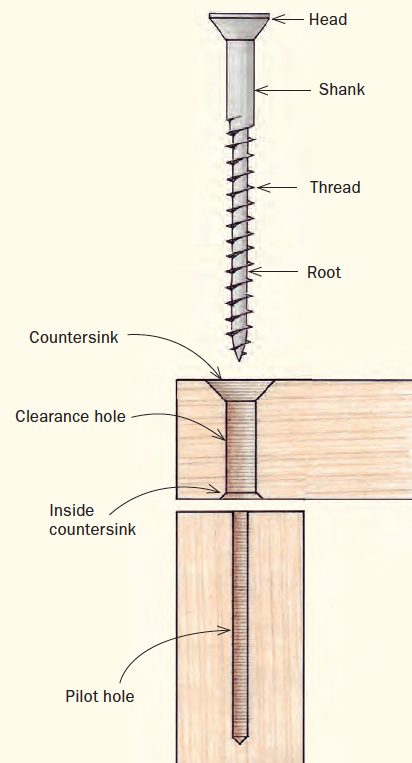
Clearance and pilot holes
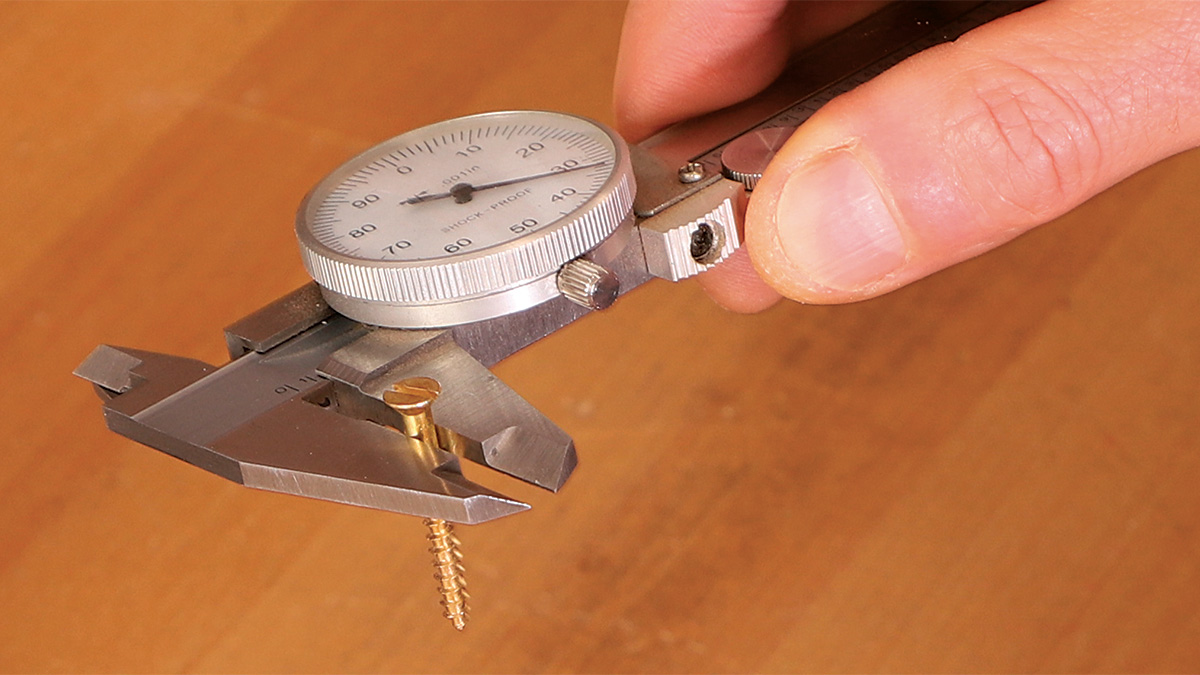
Understanding and properly sizing clearance and pilot holes is key to working with screws. Improperly sized clearance or pilot holes can lead to splitting, gaps between parts, or stripped threads or screw heads, even broken screws.
The clearance hole is sized to the outside diameter of the threads (or the outside diameter of the shank—whichever is bigger). Clearance holes should be large enough to allow the screw to slide freely in and out. This ensures that the screw’s head will act like a clamp and pull part A tightly against part B. With an undersize clearance hole, the screw threads engage with both parts and negate the clamping action of the screw.
From Fine Woodworking #288
To view the entire article, please click the View PDF button below.


Comments
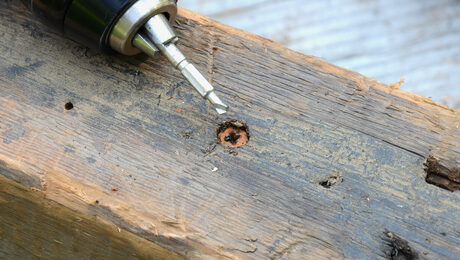
I'm curious about the countersink shown in the article. Can someone tell us what brand it is?
It looks very much like a HCS 82° Single-Flute Countersink that Lee Valley sells.
It does. Thank you. There are more crappy countersinks out there than any other kind of tool.
Agreed!
Yes, that's it. Lee Valley item 06J5008.
Thank you.
Log in or create an account to post a comment.
Sign up Log in