Tune Up Your Workbench
You can't do good work on a worn-out bench, so flatten the top, tighten the base, and adjust the vises
Synopsis: Your workbench is one of the most important tools in the shop, and it takes a terrific beating. After all, it serves as a platform for sawing, planing, chiseling, hammering, pounding, gluing, and finishing. Even the most impressive bench would need careful restoration after years of such treatment. Richard Humphreville lays out the steps that will bring your old warhorse back into shape — handplaning the surface, repairing and tuning the vises, fixing small dents and major gouges, checking the base, and finally, sanding and sealing the benchtop.
From Fine Woodworking #203
Even after 30 years as a cabinetmaker, I still vividly remember the painstaking effort it took to build my first professional workbench. The finished bench was a thing of beauty, and at first I was reluctant to use it, showing it off to anyone who walked into my shop. When I did start using it, the inevitable first ding made me cringe.
But damage to a workbench is impossible to avoid. After years of hard use as a platform for sawing, planing, chiseling, hammering, pounding, gluing, and finishing, any bench, no matter how elegant, will need some careful restoration.
I’ve revived a number of war-scarred and battle-weary benches over the years. Bench designs differ, but all benefit from a flat top, rigid base, and well-tuned vises. I’ll show you how to bring back any kind of bench to the perfect working condition that befits the most important tool in your shop.
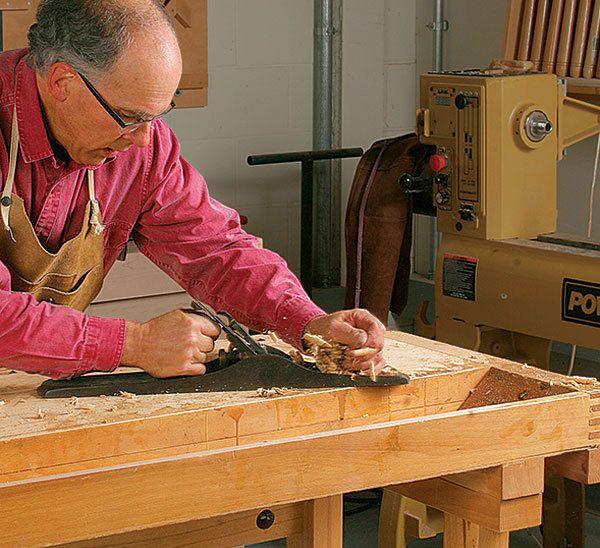
Skip the gym, and handplane your benchtop instead: Use a card scraper or cabinet scraper to remove any glue, paint, or other gunk that’s built up on the top surface and edges. After the top is clean, use a pair of winding sticks to check for twist in the benchtop, marking any high spots that will need to be removed (see Fundamentals: “use Winding Sticks to Ensure Flat Stock,” FWW #177). Then use a 4-ft. ruler or straightedge to see where the top has lost its flatness. Drag the ruler’s edge lengthwise, across the width, and diagonally over the entire top, highlighting all the high spots with a pencil.
Next, take off the vises and put them aside to be tuned up later. If your bench has stabilizing battens at each end, unbolt them and clean out any sawdust buildup on both halves of the joint. Put the battens aside, too.
Early in my career, I used a belt sander to flatten my bench, but it only made matters worse. Handplaning is the way to go. You’ll need a well-tuned no. 5, no. 6, or no. 7 plane, depending on the size of the workbench (see top right photo, p. 44). A high-quality plane from Lie-nielsen or Veritas is a major investment, but you can buy a new Stanley or Anant for $60 to $90. It is also possible to find used planes on eBay or at flea markets, or you can borrow one from a fellow woodworker. (For tips on how to tune up a plane, see “Handplane Tuneup,” by David Charlesworth, FWW #172). Planing the benchtop will be physically demanding and is not a task for those in poor shape. Traditionally, teenage apprentices were given the job on a cool day.
For the full article, download the PDF below:


Log in or create an account to post a comment.
Sign up Log in