Creating Working Drawings
How to take a design idea from rough sketch to final plans
Synopsis: The time spent getting a drawing right will pay for itself many times over, writes Jim Tolpin. He breaks the process down into stages: freehand concept sketching, refined drawing techniques, three-view drawings, isometric projections. He talks about how to get from concept sketches to orthographic drawings, and addresses drafting equipment and drafting basics. Multiple examples clearly illustrate his explanations, and side information shows how to develop a three-view drawing from a photo.
For much of my woodworking career, I dreaded the drawing stage of a project. It was always a daunting, tedious process that only put off the true fun—shaping real wood into real objects. After erasing a misplaced or poorly drawn line for the umpteenth time, I’d often think that I could have built the darn thing in the time it took to do the drawings. Considering the way I was producing drawings, I was probably right.
Today, however, I thoroughly enjoy the drawing process, and I relish seeing my ideas first come to life on paper. I’ve learned to appreciate the unlimited design freedom afforded by freehand concept sketching, as well as the ability to express my ideas clearly and precisely with more refined drawing techniques. The difference in my attitude came from learning to use the right tools and techniques. In this article, I’ll share what I’ve learned about materials and techniques and explain how you can take your design ideas from rough, raw images to refined, scale working drawings. Here’s an overview.
 I begin the drawing process by first creating a series of concept sketches that show the object in a roughly accurate perspective view—in other words, the way the object would appear to your eyes. Choosing the sketch that comes closest to my design goal, I commit its dimensions to a scaled-down, three-view drawing—an orthographic projection. This gives me a way to see the parts of the piece in their true proportion to one another. But because this type of drawing limits me to viewing each face independently from the others, I will often go on to draw an assembled view of the drawing—an isometric projection. This drawing shows me how all the parts relate to one another, and it gives me an accurate feel for how a piece will look when it’s built.
Concept sketching
This is where the fun begins. You get your first look at the project-to-be, and you can work out the bugs in the overall look of the piece without laboring over the details. Approach concept sketching by giving your hand free rein to draw and redraw any inspiration that comes to mind. This is not the time to worry about crisp lines, perfect symmetry, properly scaled proportions or fair curves. You can take care of all that later when you produce the mechanical drawings. Do not, however, go on from sketching to drafting until you have something you really like. It’s too time-consuming to make major design changes at the drafting stage.
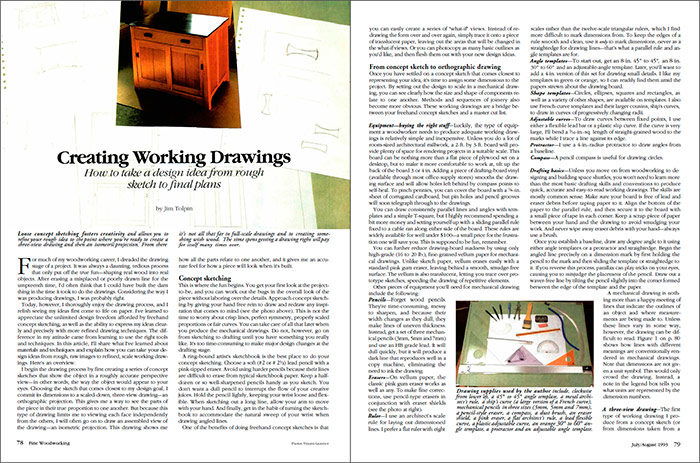
To view the entire article, please click the View PDF button below:
Fine Woodworking Recommended Products

Stanley Powerlock 16-ft. tape measure


Dividers


Log in or create an account to post a comment.
Sign up Log in