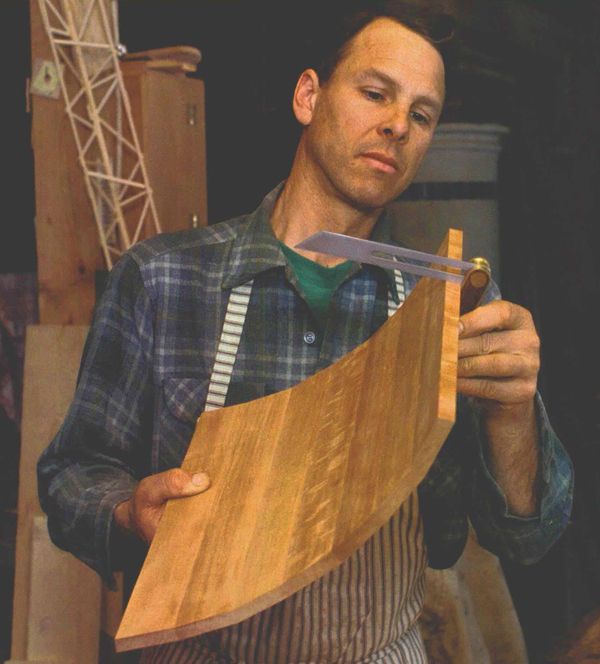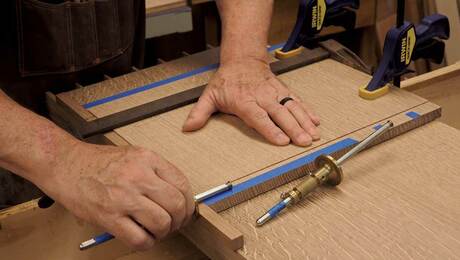
Synopsis: Garrett Hack explains what coopering is and how to achieve predictable results with a minimum of effort. He uses a pattern to figure the number of staves, their width, thickness, and the bevel angles at each joint. A detailed drawing shows how he lays out and bevels the staves. He rips the bevels on the tablesaw and then joints with a handplane. He advises that you should glue and clamp just one joint at a time, and he describes how to fit the door to its opening for a snug fit.
Before I went to woodworking school, all of my work tended to be flat, straight and square. It wasn’t intentional. Rectilinear work was all I had ever seen. When I arrived at school, everyone was designing and building curved forms, making tapered laminations—doing all kinds of curved work. It was a liberating experience to see beyond flat and square.
My first project with curves was a toolbox with a pair of coopered doors. I chose to cooper the doors—that is, to create the curves from a number of relatively narrow, bevel-edged pieces called staves—because I wanted the doors to be solid, not veneered. Coopering seemed like the simplest and best technique.
Coopering has been around since biblical days and has been most commonly used for making barrels and buckets. It appeals to me because it yields predictable results with a minimum of effort, and few tools or special fixtures are required. With careful layout and accurately cut bevels, I can make curved doors (or other furniture elements) of nearly any radius.
The only real alternative to coopering for making curved doors is laminating, either of solid layers or of veneer over plywood. Although laminating is somewhat stronger than coopering, it requires either carefully matched forms or a vacuum press, and results are less predictable. Laminated curves always have some degree of springback, and it’s impossible to know just how much before they come out of the press. If you’re willing to make a trial lamination or two to check springback and fine-tune the form, laminating will give you a very strong curved door. I’ve found, however, that it’s not worth the effort for just a door or two.
Coopering is not without its disadvantages, but they’re minor. If you want a smooth curve, rather than a faceted one, the whole door must be planed and scraped after assembly because the curve is fashioned from a number of flat pieces. The convex outer face is fairly easy to smooth. And I generally leave the inside faceted, intentionally revealing the method of construction. As for strength, as long as the glue joints are sound, a coopered door should last as long as any flat-panel construction. Also, a coopered door will shrink and swell as any solid timber will, but because of the angles at the joints, it can subtly change shape as it changes dimension. If you’re concerned that a single wide door might move too much (its movement will be equal to a board as wide as the length of the curve), make two narrower doors instead.
From Fine Woodworking #126
For the full article, download the PDF below:
Fine Woodworking Recommended Products

Jorgensen 6 inch Bar Clamp Set, 4 Pack

Estwing Dead-Blow Mallet

Ridgid EB4424 Oscillating Spindle/Belt Sander


Comments
Once the angle is derived on one stave edge, you have it for all of them, at least on a door that's a semi-circle (which the cabinet in the article appears to be). If building the door first (and you should!), and the cabinet around it, there are any number of online calculators that will give you the bevel angle for the staves. You just need to know the width the door will occupy and the height of the curve (how much you want it to curve). The formula is also easy to compute by hand.
Log in or create an account to post a comment.
Sign up Log in