Sand, Scrape, or Plane?
Woodworker Ari Tuckman goes in search of the best way to prepare wood for finishing...with some surprising results.
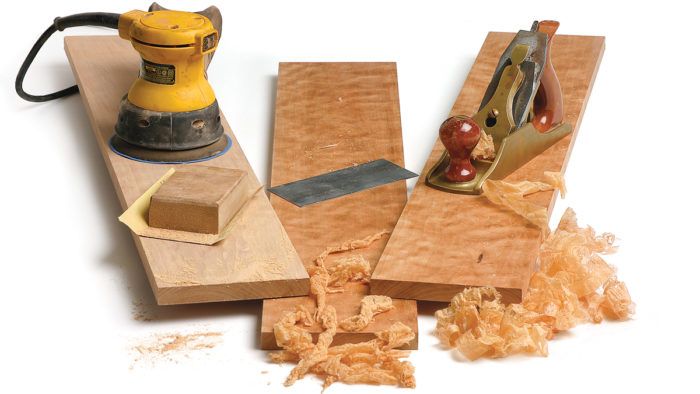
Synopsis: Few woodworkers enjoy the noise and dust of power sanding, but most recognize it as an easy way to get boards uniformly smooth. Others swear by the card scraper, which with practice will produce thin curls of wood and a flawless board. Conventional wisdom says hand-planing is the best method of surface preparation, though it’s difficult to achieve perfection that way. When all is said and done, does it really matter how a board was prepared after the surface has been finished? Woodworker Ari Tuckman wanted to find out, so he devised a test. Using two different types of wood, he sanded, scraped, or planed identical boards and sent them to be judged by Fine Woodworking editors before and after finishing. The results may surprise you.
Perhaps more than most woodworking topics, debates on surface preparation elicit strong opinions. No doubt handplaning takes more finesse and practice than sanding, and pushing out fluffy shavings with a card scraper takes practice. But which method produces the best surface for applying a finish?
When I started woodworking, I took a class on surface preparation. I remember the awe I felt as the instructor, with a few swipes of a well-worn Stanley No. 4 handplane, revealed the fire inside a piece of cherry—a staggering contrast to the slightly chalky, sanded surfaces I was used to. I was sold, and quickly bought a very used No. 6—in retrospect, a bit overenthusiastic for a starter plane.
Since then, I’ve added some better-quality handplanes and card scrapers. I have worked at mastering these techniques, and learned how to sharpen well, if not quickly. Thinking that I had discovered the secret to surface preparation, I was perplexed to see well-known woodworkers who sanded their work after handplaning and scraping, and still produced pieces that looked great after a finish was applied. Curious, I decided to test the three surfacing methods as objectively as I could.
A disclaimer is relevant at this point. I am a pretty good woodworker, but I am far from a master. This is not a test of each technique under laboratory conditions, but rather under conditions found in a typical home shop where a balance is struck between quality of work and speed.
Two types of wood were tested
To test whether the type of wood made a difference, I used cherry as a sample of a close-grained wood, and a particularly opengrained piece of mahogany. To minimize variation, I cut each board into three sections, one per method. Each board was jointed flat for a uniform starting position, using fresh jointer knives to minimize tearout and the pounding that dull blades can cause.
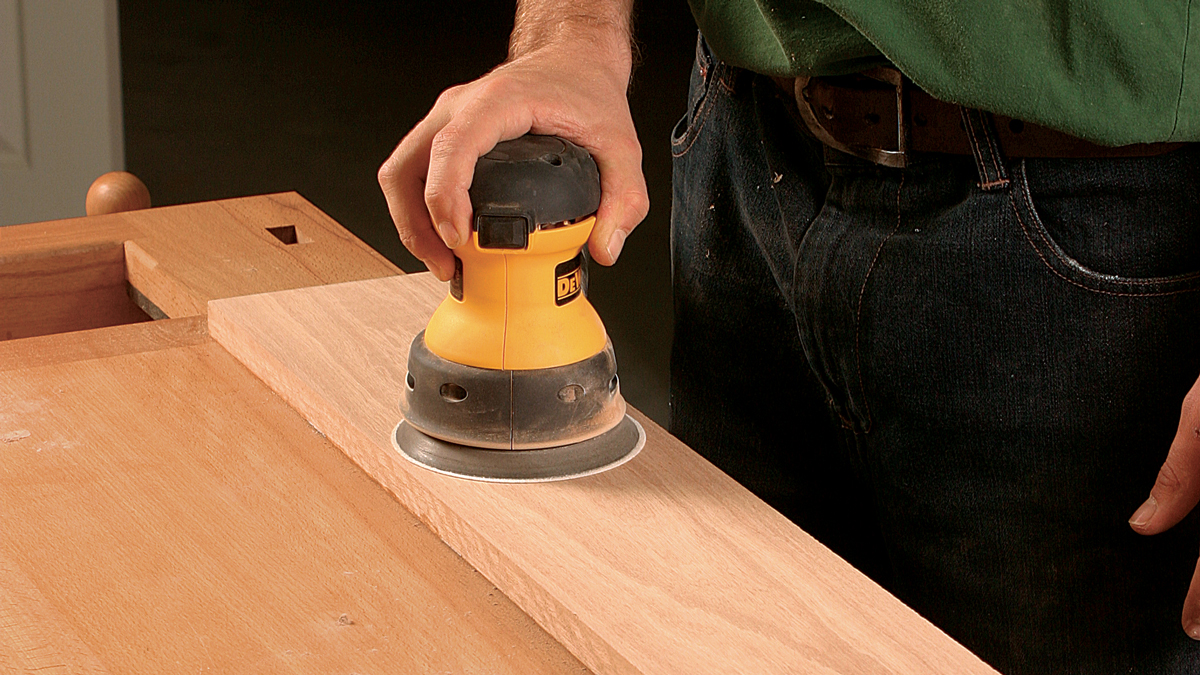
For the sanding test, I used a random-orbit sander starting with P120 grit followed by P150, P180, and P220 grits, vacuuming the surface after each. I then hand-sanded the board with the grain, using P220 grit. Finally, using a paintbrush to loosen as much dust as possible, I vacuumed the surface again.
I moved on to the scraper for the next board, choosing a 0.4 mm card scraper from Lee Valley, rounding the corners with a file to prevent damage to sharpening stones and fingers. I polished the flat faces and long edges of the card with a pair of 220/1000-grit and 4000/8000-grit combination waterstones, finishing with a green buffing compound. I used a block of wood to hold the card vertical when working the bottom edge, moving it around the stones to prevent it from gouging. Finally, I put a small hook onto the scraper with a burnisher.
 From Fine Woodworking #180
For the full article, download the PDF below:
Fine Woodworking Recommended Products

Craftsman Random Orbit Sander
Diablo ‘SandNet’ Sanding Discs


Log in or create an account to post a comment.
Sign up Log in