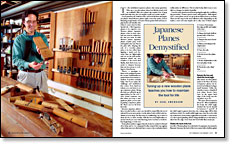
Japanese Planes Demystified
Tuning up a new wooden plane teaches you how to maintain the tool for life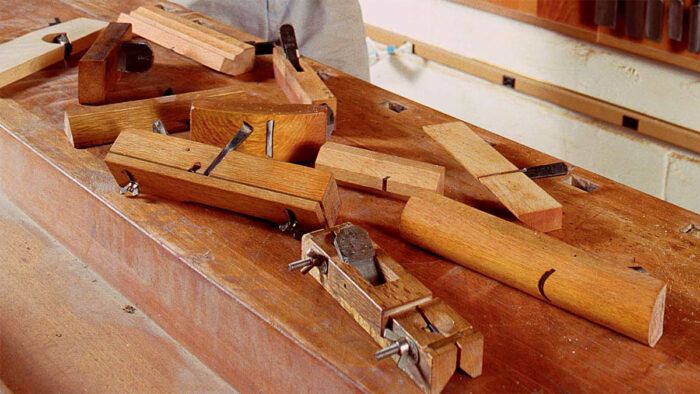
Synopsis: When it comes time for fine handwork, the author finds Japanese planes superior. Carl Swensson, who teaches hand-tool techniques and builds furniture, finds that Japanese planes are best for fine handwork. Here, he explains all the steps to conditioning one and details how to tune it, starting off with leaving it alone in your shop to acclimate. His tips for tuning include removing the iron and checking the bevel angle; flattening the back of the iron and sharpening the bevel; working the chipbreaker, shaping the plane’s sole and fitting the iron to the body; fitting the chipbreaker, making a final check of the sole, and maintaining it so it can last a lifetime.
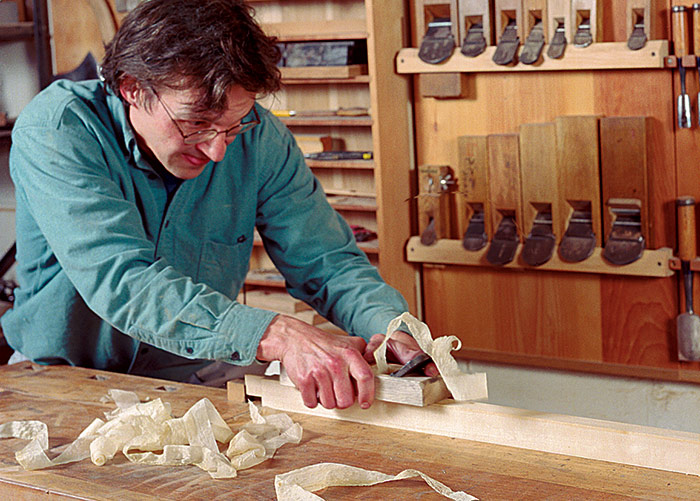
To the uninitiated, Japanese planes raise many questions. Why use a wooden plane when less-finicky metal tools are available? Why use a plane that requires lots of prep work? And why does the tool require a pull, not a push, stroke? Good questions all. Truth be told, I use both Western and Japanese planes. Metal Western planes make some jobs easier, such as flattening rough lumber, because of their greater heft and easy-to-grip knobs and handles. But when it comes time for fine handwork, I find Japanese planes to be superior over Western planes. Japanese planes come in more sizes and can even be ordered to the size you want. As with Western planes, Japanese planes require prep work and regular tune-ups. But on the plus side, shaping the sole of a wooden plane takes a lot less effort than lapping a metal tool. Because they are lightweight and cut on the pull stroke, Japanese planes are very sensitive to the touch. And finally, their thick irons are easier to sharpen because they are less prone to rocking on a benchstone.
There’s a mystique to these tools, perhaps because the secrets traditionally are passed down from master to student. A teacher certainly helps. But if you enjoy the challenge and satisfaction that comes from hand-cut joinery, you can learn to set up a Japanese plane. Along the way you will pick up an appreciation for the tool. I once heard someone say that when you buy a new Japanese plane, you’re really getting a Japanese plane kit. That’s not too far from the truth.
Because Japanese planes have wooden bodies, a new one should be treated like the wood selected for your next project. Let the plane body (called a dai) acclimate in your shop, the first step in conditioning. Try to leave it alone for two to three months, with the iron and chipbreaker removed. But if you can’t wait that long, leave it at least a week before beginning to work on it.
Some plane makers suggest that the body be soaked in linseed oil to help seal it. I’ve compared bodies treated this way against others that were not oiled and have come to the conclusion that it really makes no difference. The wooden body, oiled or not, is sensitive to changes in relative humidity.
A novice may spend several hours going through the conditioning procedure. Greater speed comes with practice. With experience, a new plane can be set up in about half an hour to an hour. These are the steps in the most-efficient order (depending on the maker, a new tool may require all or only some of these steps):
1. Correct, if necessary, the edge profile and angles of the iron.
2. Flatten the back (hollowground side) of the iron.
3. Sharpen the iron’s bevel.
4. Flatten and sharpen the chipbreaker.
5. Tune the sole.
6. Fit the iron to the plane body.
7. Fit the chipbreaker to the iron and plane body.
8. Check the sole a final time.
To view the entire article, please click the View PDF button below:
Fine Woodworking Recommended Products
Tite-Mark Marking Gauge
Veritas Wheel Marking Gauge

Suizan Japanese Pull Saw





Log in or create an account to post a comment.
Sign up Log in