Quick and Sturdy Drawer Construction
Build elegant drawers in record time
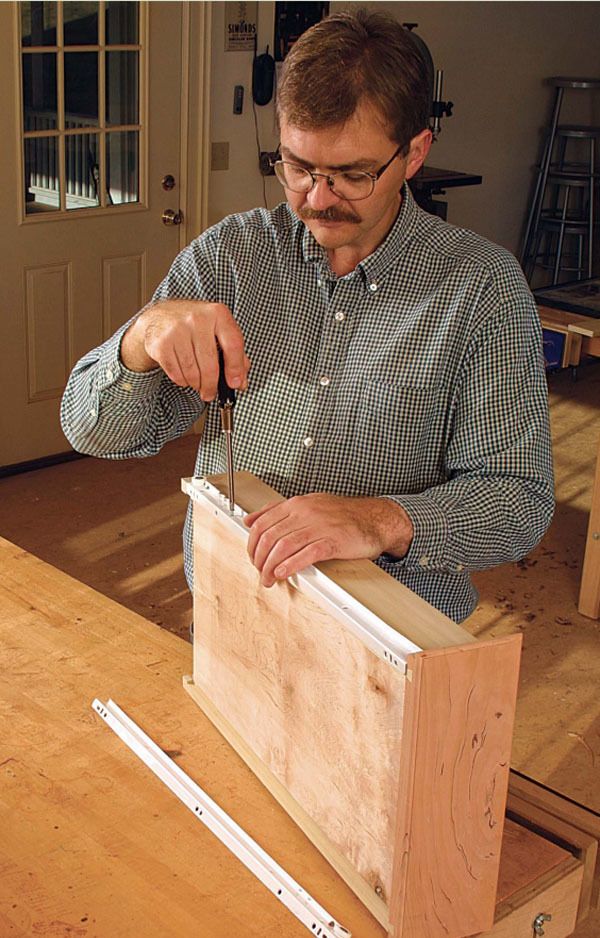
Synopsis: Speedy construction methods aren’t always associated with elegant finished products. A method of drawer construction used by Tennessee woodworker Lonnie Bird is the exception. He has devised a way to assemble drawers that resulted in strong, attractive additions to his kitchen cabinets. Sliding dovetails were the answer for strong, invisible side joints, while the drawer bottom sits in dadoes and is nailed into place. This method allowed Bird to mill, cut, and assemble 13 drawers in a day.
Lonnie Bird is an author and woodworking instructor. Visit him online at www.lonniebird.com.
From Fine Woodworking #166
My wife and I recently moved into a new home. You guessed it—it was time to build yet another set of kitchen cabinets. I wanted to build strong, natural-wood drawers with an uncluttered look, and I wanted to do it fast. I knew that traditional hand-cut dovetailed drawers would require too much time and fuss to make. And I’m not a fan of router dovetail jigs; they’re time-consuming to set up and produce machined-looking joints that don’t quite satisfy me.
After careful consideration, I came up with a drawer design that was strong and quick to make. I used sliding dovetails to connect the sides to the drawer front. The drawer back sits in dadoes in the sides and is nailed in place. With this simple system I was able to mill the stock, cut the joints, M and assemble and fit 13 drawers in just one day (though I confess it was a long one).
I measured the height and the width of each opening to determine the size of each drawer front. I wanted lipped drawers, so I added 3⁄16 in. to the measured height and 3⁄8 in. to the measured width. This gave me a 3⁄16-in. overhang on the top and sides.
I made the sides 1 in. shorter in height than the front to accommodate the side-mount nylon roller runners I chose for this project. To install each drawer in its opening, I would need the extra space that this distance (between the top of each drawer side and the drawer front) affords the rollers, which are proud at the bottom. Each drawer back was sized the same as its corresponding sides and was trimmed later. Why I did this will become clearer to you when the groove is cut for the bottom.
The sliding dovetails are 1⁄2 in. wide and centered on the 5⁄8-in.-thick poplar sides. The first step is to cut the dovetail slots in the back of each drawer front. To hide the joint, the slots begin at the bottom edge and stop 1 in. from the top edge. To locate the center of the slot, I added 3⁄16 in. for the lip, plus 1⁄2 in. for the drawer slide, plus 5⁄16 in. (half of the side thickness). This positioned the slot’s center 1 in. from the end of the drawer front. I cut the slots on the router table using a 1⁄2-in.-dia., 14° dovetail bit. I set the fence 1 in. from the center of the bit and marked a line on the fence to indicate when to stop feeding the workpiece. I didn’t attach a stop block to the fence because the drawer fronts are of different widths.
For the full article, download the PDF below.
Fine Woodworking Recommended Products

Stanley Powerlock 16-ft. tape measure

Bessey K-Body Parallel-Jaw Clamp


Log in or create an account to post a comment.
Sign up Log in