One Editor’s Foolproof Finish
Beautifies, protects, wipes on, dries quickly, enough said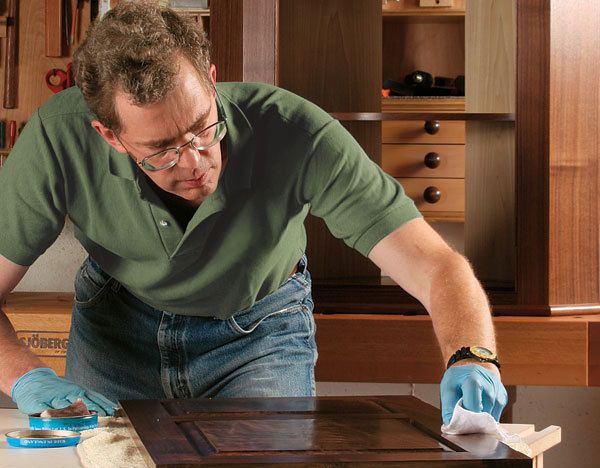
Synopsis: This medium-luster, in-the-wood finish never fails to give good results. You first seal the wood with shellac, then apply three or more coats of gel varnish, and complete the finish with a coat of paste wax. Mark Schofield takes you through the steps that will give you a finish that protects and beautifies without fuss.
When I joined Fine Woodworking in the summer of 2000, I was made responsible for the finishing articles. The editor made it seem like an honor, but in truth I don’t think any of my colleagues wanted the job. Like most woodworkers, they’d rather cut wood than finish it. But today, after hundreds of hours watching finishing experts such as Peter Gedrys, Jeff Jewitt, Teri Masaschi, and Chris Minick work their magic, I have a confession to make. I like finishing.
I haven’t completely bought in, however. While I’ll attempt a perfect French polish, I can still relate to my fellow woodworkers who above all want a finish they can’t mess up.
To meet this need, I have developed what I call the “Fine Woodworking foolproof finish.” You first seal the wood with shellac, then apply three or more coats of gel varnish, and complete the finish with a coat of paste wax. You get a medium-luster, in-thewood finish that can be built up to give varying degrees of protection. All three steps are applied by hand, the only “tools” are pieces of cloth, and I promise you’ll be proud of the results.
It all begins with careful preparation
I’ve lost track of how many projects I’ve seen (including one or two of my own early efforts) that prominently display the telltale tracks of jointer or planer knives. Like most finishes, this one doesn’t hide poor preparation; it magnifies it. So the first task is to prep the wood’s surface.
If you have mastered the bench plane and/or the scraper, you can remove machine marks fairly quickly. Then use a random-orbit sander with P180-grit sandpaper followed by P220-grit paper, and finally hand-sand with the grain using P220-grit paper wrapped around a sanding block. Remove the dust with a vacuum or compressed air. If you don’t handplane, start power sanding with P100-grit, move to P150-grit, and then follow the steps above.
The second step is to create a sample board on scraps from the project. After making this cabinet, designed by Garrett Hack (FWW #175), I could tell after wiping the bare wood with denatured alcohol that the walnut crotch used for the panels would appear darker under a finish than the walnut used for the rest of the project. I did the full finishing sequence on samples of both woods and found that a dark wax would bring the plain walnut close enough in color to the crotchwood (which gets clear wax).
From Fine Woodworking #196
For the full article, download the PDF below:
Fine Woodworking Recommended Products
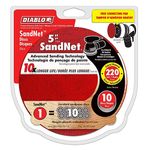
Diablo ‘SandNet’ Sanding Discs
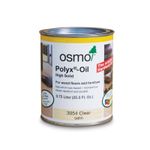
Osmo Polyx-Oil






Log in or create an account to post a comment.
Sign up Log in