Line-and-Berry Inlay
Add eye-catching inlay using motifs from 18th-century Pennsylvania furniture
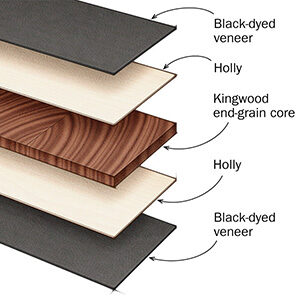
Synopsis: Learn to cut the grooves and inlay the stringing for the line-and-berry inlay design featured on the door of Steve Latta’s spice box. His simple but effective method for setting intersecting or overlapping stringing will allow you to make complicated designs without fear of chipout. Also included are instructions for making your own stringing.
To decorate the door on my Pennsylvania spice box (pp. 58- 67), I chose the line-and-berry style of inlay common on spice boxes and other 18th-century Pennsylvania furniture.
All of the motifs on the door date to this era—the central pinwheel in particular was popular among Pennsylvania Germans in Lancaster County at that time. Still, I think the various elements combine nicely to create a design that feels fresh and not outdated.
It’s not necessary to decorate the back of the door, but because this was to celebrate our 10th wedding anniversary, I wanted to make the extra effort. The techniques involved are essentially the same as those used for the front. The back also features inlaid lettering, which I’ll demonstrate on FineWoodworking.com.
Transfer the design to the panel
Leave the panel extra thick until the inlay is complete. Should the need arise (pray that it doesn’t), any mistakes can be “erased” with a pass through the thickness planer. Of course, a lot of hard work also gets erased.
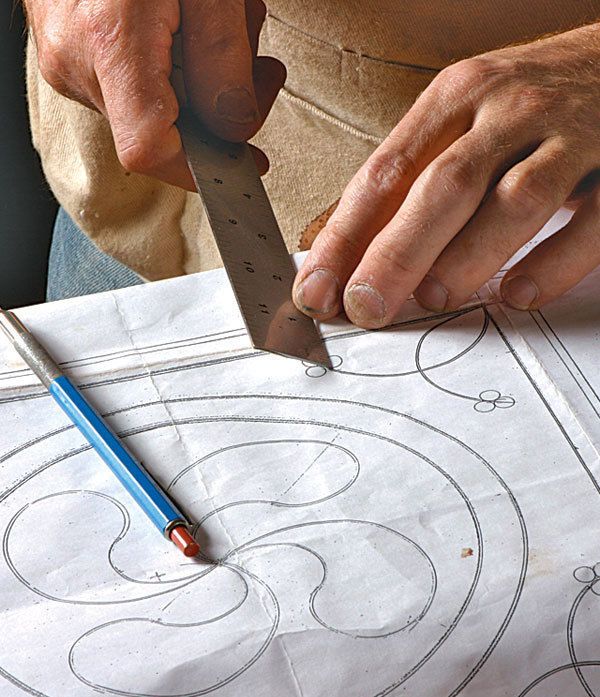
Draw the design full scale on paper, making sure to include both sides of each inlay line. These are essential to properly plot the pivot points for arcs that merge with other lines. After establishing the pattern, transfer it onto the panel. now use a combination square to mark a short line where each corner arc will end. Set the arc so that only half the width of the line actually merges into the border. This maintains a fluid sweep all the way into the corner.
Cut a groove, then fill it
My method for setting intersecting or overlapping stringing is simple but effective: Cut a groove and fill it immediately, before cutting the next.
This is especially important when it comes to arcs that merge or intersect, because the background grain at these junctions can be very fragile. Filling the first groove ensures that this grain will be supported, preventing chipout when the intersecting groove is cut. Also, since the second groove is sliced right through the first string of inlay, the two strings intersect cleanly without a lot of fussing over butt joints.
Start by cutting and filling one of the two arcs in each corner. Slice the stringing off only as needed, one string at a time. Lay a small line of glue on each wall of the groove and press the stringing into place with your fingers or the butt of a chisel. Don’t press the stringing below the surface.
From Fine Woodworking #196
Download free patterns for Latta’s inlay designs
Fine Woodworking Recommended Products

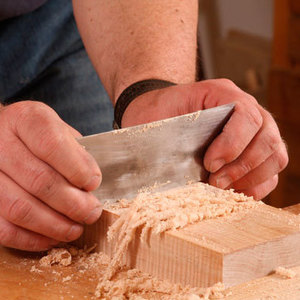
Bahco 6-Inch Card Scraper

Whiteside 9500 Solid Brass Router Inlay Router Bit Set


Comments
Thank you Steve for all these articles on stringing and banding. You’ve certainly inspired me.
Log in or create an account to post a comment.
Sign up Log in