Choosing and Milling Lumber for a Tabletop
The early decisions on grain, color, and matching can make or break your tabletop design.
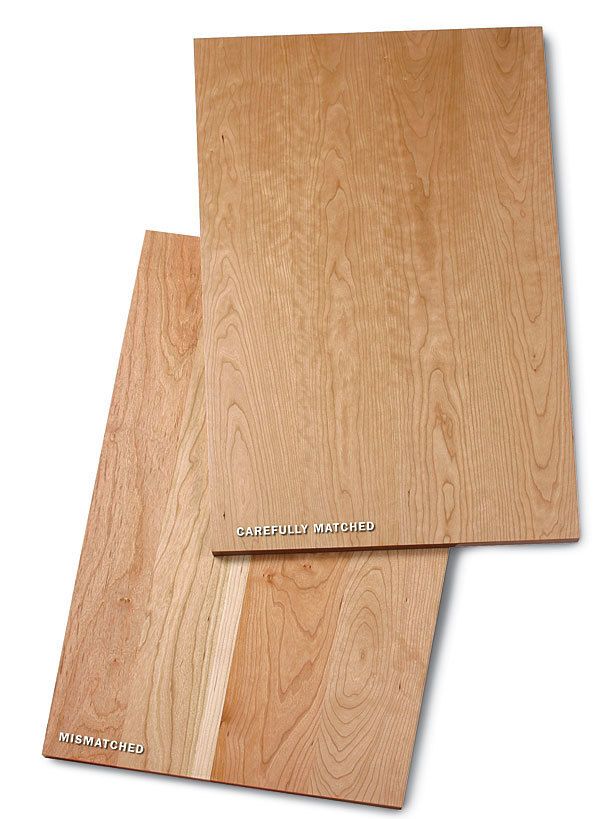
Synopsis: This first article in a three-part series on making a tabletop covers choosing the right boards, milling them, and arranging them in the proper sequence. These early decisions on grain, color, and matching can make or break a tabletop, so it’s best to take the time to do things right. Bob Van Dyke shows you how.
Read part two.
Read part three.
From Fine Woodworking #207
The top is the most visible part of the table, so you need to get it right. This sounds easy on the surface, but the process is loaded with pitfalls. In this three-part series, I’ll describe my method for producing a tabletop you can be proud of. In this issue, you’ll learn how to choose the best boards, mill them, and arrange them for the best-looking sequence. In part two, I’ll show you how three glue-ups are less traumatic than one. In part three, I’ll show you how to achieve a perfectly flat and smooth tabletop.
Remember, someone (probably you) is going to be living with this table for many years. And as a furniture maker, one of the advantages you have over the factory is that you can hand-pick beautiful boards. Those early decisions make or break a tabletop.
Pick the right boards:
The best design option is to make the top from a single wide board. Realistically, though, that is limited to small tabletops. Most often you’ll need to glue up boards, and the lumber selection will be critical.
Start thick
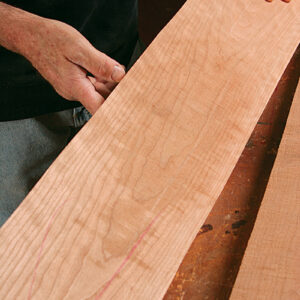
You’ll be removing a lot of material during flattening and planing, so start with lumber that is considerably thicker than the final thickness. For a top that will be 3⁄4 in. to 7 ⁄8 in. thick, plan on using roughsawn 4/4 lumber, typically 1 in. to 11⁄16 in. thick. The best-looking tops are usually made from a number of planks cut from the same board. You can cut successive sections from a long board, or resaw boards from a thicker plank. Not only will the color match perfectly when using resawn boards, but you can create symmetrical patterns such as book-matching and slip-matching. However, when resawing you will need stock at least 10/4 (2 1⁄2 in.) or even 12/4 (3 in.) thick because the resawn parts will move a lot after they are cut and may become severely cupped, twisted, or bowed.
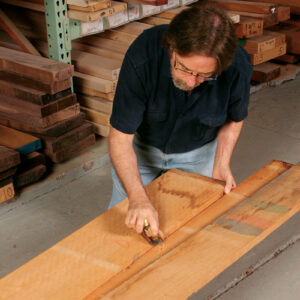
Select as many boards as you will need and try to match the color as best you can. You may have to spend a considerable amount of time sorting through the lumber stack.
Watch the grain
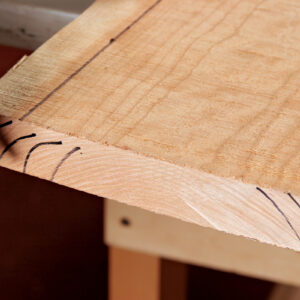
Don’t be afraid to buy lumber that is wider than you think you will need. Frequently you will bandsaw a few inches off one or both edges to yield a board with straight grain and no sapwood along the edge. If you look at the end grain of any flatsawn board with straight-grain edges, you’ll see that the growth rings near those edges are approximately 45º to the face. That part of the board is riftsawn. By joining together the riftsawn to riftsawn parts of the boards, you are ensuring that the top will stay flat.
What to look for at the yard
Rough-cut the boards to length and width
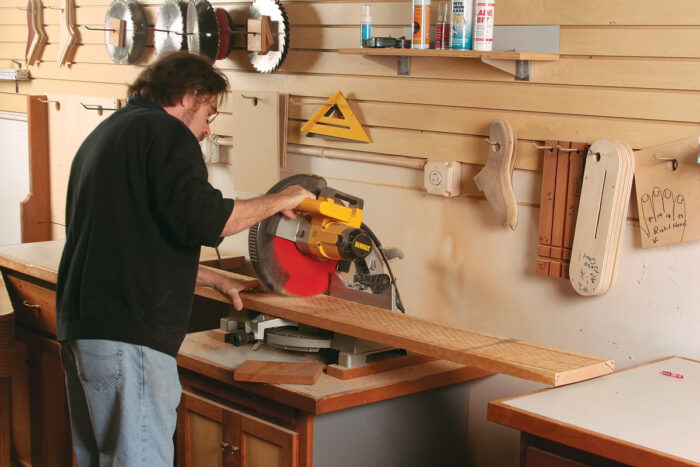
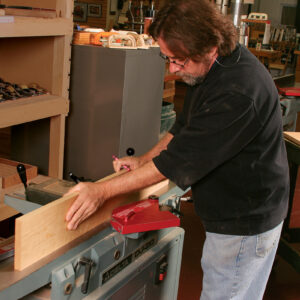
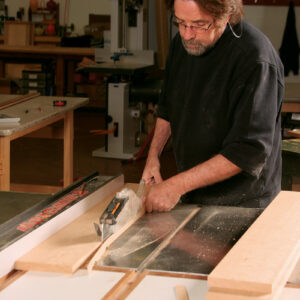
Begin rough milling by deciding where you will chop each individual board that will make up the top. Are there knots, sapwood, or other obvious defects you need to cut out or hide? All planers and jointers leave some snipe—the tendency of the tools to take a deeper bite at the end of a cut. make the sections at least 5 in. longer than final length, so you can cut away areas of snipe. Now lay out the width of the board you will need on the roughsawn plank (typically about 3⁄4 in. wider than the final width). Note which edges have straight grain that you can use for the glue joint. If the boards are wide enough, you can angle the sections so that the edges are parallel to the grain (see drawing, below left). crosscut the boards on the chopsaw and rip them on the bandsaw (or with a circular saw) and not the tablesaw.
Surface the boards and lay them out
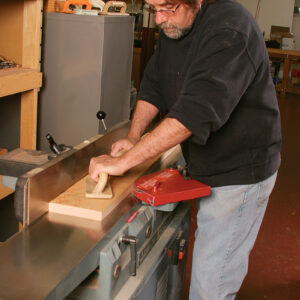
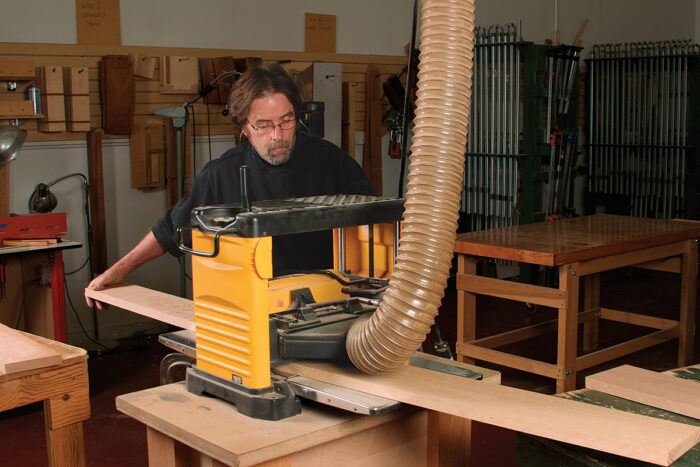
Once your boards are sawn to rough width and length, you’re ready to joint and plane them. At this point, you only want the boards
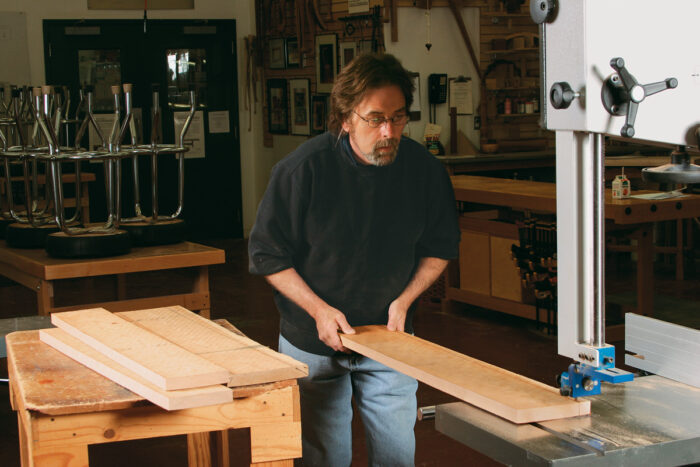
roughly flat and planed so that the faces are just parallel. If you take too many passes on the jointer and planer, you may not have enough material left to plane after the glue-up. Joint one edge straight and rip the opposite edge parallel, leaving it about 1⁄4 in. to 3⁄8 in. over final width. each pair of boards combined should be narrow enough to fit through your planer. pass the ripped edge over the jointer to remove the sawmarks.
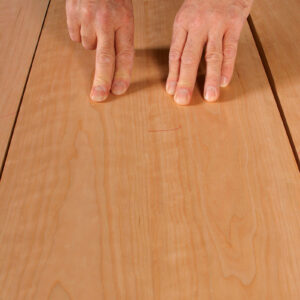
With the boards planed enough to reveal the grain and the color, you’re ready to make the final decision on how they will go together. Shuffle them to find the most pleasing combination. Don’t try to arrange boards so that the grain lines run from one board into the next. more often than not, the match will get thrown off as soon as you plane the boards to final thickness.
As you try different combinations, step back and look at them from a few angles. the color and figure of many boards will change dramatically depending on the direction from which you view them because light is being reflected differently from the wood cells within the board. this effect is known as chatoyance.
Try to align boards so the grain is going the same way. Doing so will make it easier to plane the top smooth later. But don’t sacrifice aesthetics for practicality. Appearance is the number one priority.
Rough-milling reveals true character
Many woodworkers make a big deal over alternating the direction of the end grain because they think it will help to keep the top flat over time. However, I give priority to a board’s best appearance on the top face and pay little attention to the end-grain orientation because I am milling the boards carefully before glue-up.
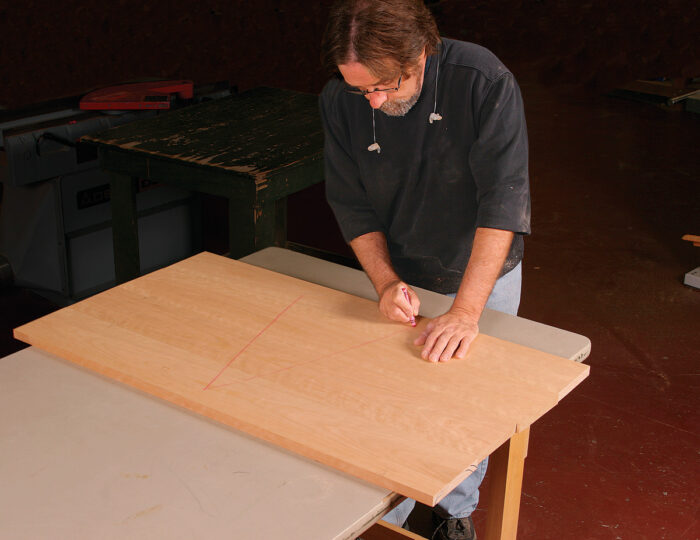
As you shuffle the boards, keep track of the different combinations by drawing small triangles with a number inside them across the gluelines. most of the time, the best combination will hit you as soon as you see it. When you’ve made the final decision, put a large triangle across all the boards to show clearly how they go together. In part two, I’ll show you how to prep the boards for glue-up.
Select the final sequence
For the full article, download the PDF below:
Fine Woodworking Recommended Products

Stanley Powerlock 16-ft. tape measure

Festool DF 500 Q-Set Domino Joiner
Bessey K-Body Parallel-Jaw Clamp




Log in or create an account to post a comment.
Sign up Log in