Dress Up Your Work With Creative Stringing
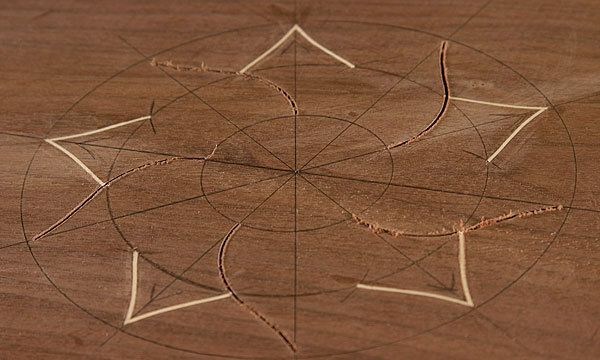
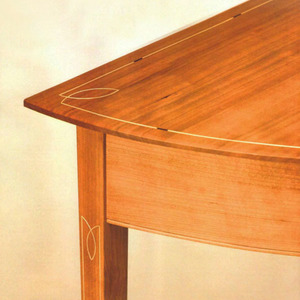
If you can imagine a shape, you can inlay it
Synopsis: Inlay is one of Steve Latta’s favorite ways to personalize his work, and he uses a technique that allows him to cut consistent grooves whether the inlay pattern is simple or complex. His approach uses a process similar to larger-scale pattern routing: Create an MDF pattern, position it on the workpiece, and use it to guide a Dremel tool or trim router. With the pattern serving as a guide for the bit’s shank, this fast and accurate technique opens up endless design possibilities. Whatever shape you can imagine, you can inlay.
There’s no better way to personalize a piece of woodworking than with inlay. It’s a decorative technique that’s highly flexible and uses common woodworking tools.
One of the most basic challenges in inlay work involves cutting the narrow grooves in which the inlay is set. If the line is straight and near the edge of the panel, you can use a router with an edge guide, or other inlay tools. But things get more complicated when you’re working away from a reference edge or cutting grooves with complex curves or irregular shapes.
The solution is to use a pattern. This approach works very much like larger-scale pattern routing for shaping furniture parts. First, you create a pattern by cutting the design into a piece of mDF. Then you position the pattern on the workpiece and use it as a guide for the router. It’s possible to use a trim router for this work, with a collet adapter for small-shank bits, but I strongly recommend a high-speed rotary tool (such as a Dremel), equipped with a router base from stewmac.com. The bits I use are twoflute, spiral upcutting end mills (1⁄32 in. from drilltechnology.com).
As for the stringing, you’ll need to cut your own (see “Line and berry inlay,” FWW #196) using 0.9-mm or 1⁄28-in. veneer in holly, sycamore, or dyed black anigre (try wood-veneers.com, rosebudveneer.com, or berkshireveneer .com). To show the possibilities, I’ll demonstrate two of my favorite designs.
A pictorial design: The songbird
This design was adapted from a decoration on early Pennsylvania German furniture. It can be sized for a variety of uses including blanket chests, door panels, and box lids.
The pattern is made in two parts—the body and the wing. Start with a piece of 1/2-in. MDF that is large enough to allow plenty of room to accommodate clamps in areas that won’t obstruct the router’s path. The stringing is dyed black anigre.
If you want the inlaid design to exactly match the size of the drawing, be sure to enlarge the drawing slightly on a photocopier before using it to cut out the pattern. This step accounts for the offset between the bit’s shank, which rides the pattern, and its cutting edge. For my 1⁄32-in. bit, that offset is about 3⁄64 in.
I make inlay patterns from 1/2-in. MDF because it wears well. The spinning shank can burn a recess into the pattern and put a ripple or wide spot in your groove. But as long as you keep the bit moving while you are routing the grooves, the pattern should last a long time. Keep the tool moving—even after you’ve cut power—until the bit stops.
The grooves for the bird design can essentially be cut all at once, without stopping to insert any inlay until the entire design is cut. The pattern has a couple of tight inside corners, which can be prone to burning.
From Fine Woodworking #215
For the full article, download the PDF below:
Fine Woodworking Recommended Products

Whiteside 9500 Solid Brass Router Inlay Router Bit Set

Bahco 6-Inch Card Scraper


Log in or create an account to post a comment.
Sign up Log in