How to Troubleshoot a Spray Gun
Learn to handle the typical problems and enjoy carefree spray-finishing.
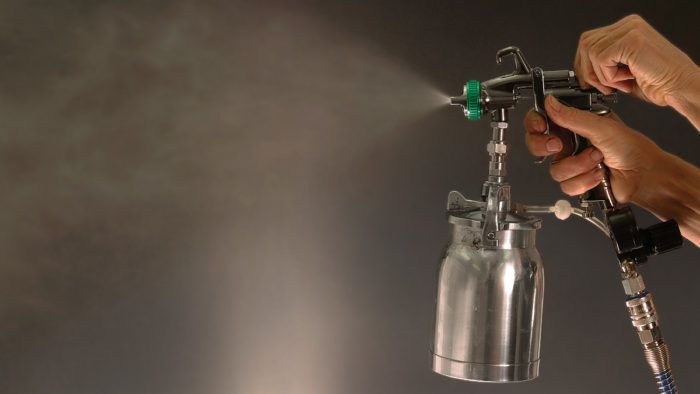
Synopsis: When everything works correctly, a spray gun delivers a thin, even coating of finish that makes furniture look fantastic. But what to do when everything is not working correctly? Learn how to troubleshoot common spraying problems by analyzing the spray pattern. Once you’ve learned to diagnose and correct the typical problems, your spray finishing will be trouble-free.
As the technical troubleshooter for my business, I’ve been asked to solve just about every spray-gun problem imaginable, from a new gun that just hisses air to an old gun that used to spray perfectly and now leaves a horrible finish. The good news is that in most cases, you can diagnose the cause of the problem by analyzing the spray pattern. In a few other situations, a slight change in your spraying technique can help. Even if you’re just considering taking the leap into spray finishing, knowing how to achieve and maintain a good spray pattern will give you the confidence you need.
Since all spray guns operate on the same basic principle, it doesn’t matter whether you have a high-volume, low-pressure (HVLP) gun or a non-HVLP gun, a turbine-driven system or a compressor-driven system. When differences exist, I’ll call them out.
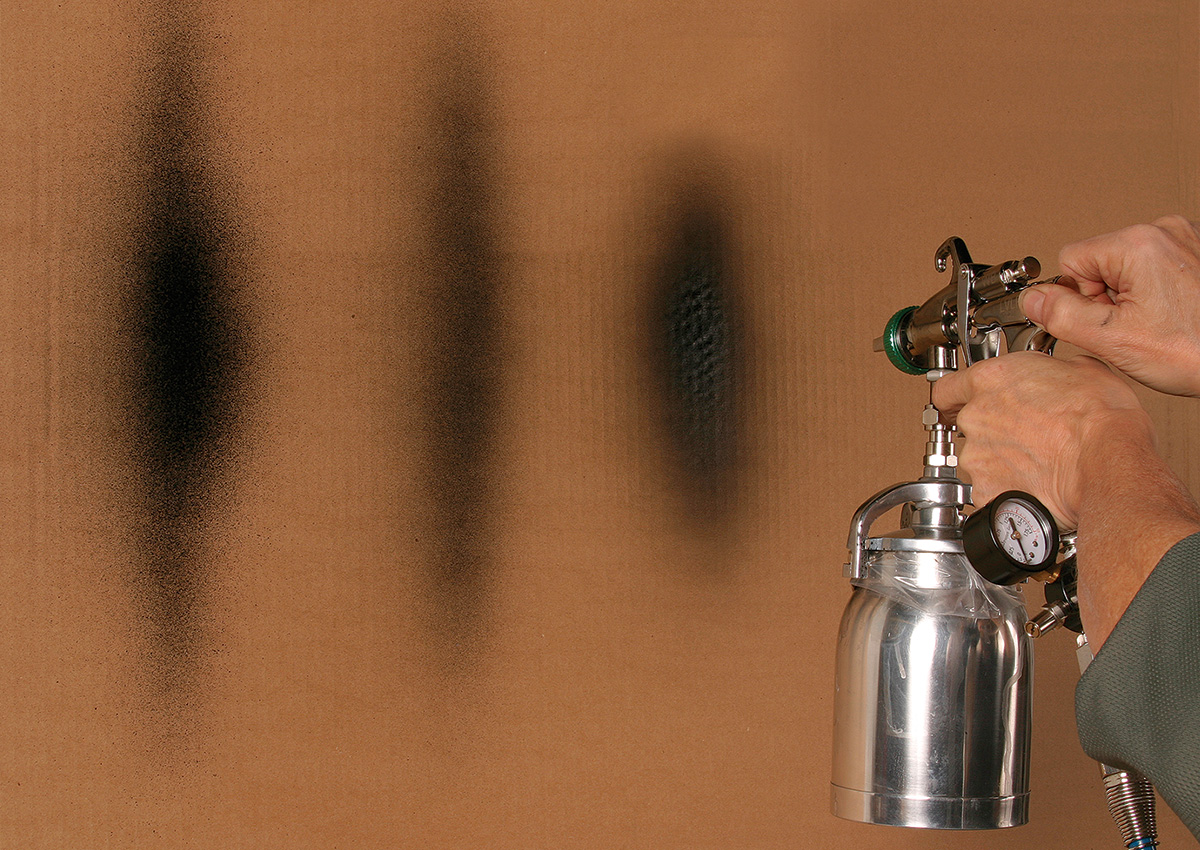
Most of the time some finish comes out of the gun, just not in a manner to give that thin, even coating that makes spraying so worthwhile. One of the most common problems is uneven coverage, which leaves a repeating light/dark effect when the finish dries. You can study the spray pattern with a light shining through it. If you find this difficult, spray some dark finish or stain onto cardboard. If you substitute a dark finish for a clear one just to test the pattern, be sure that it has a comparable viscosity.
Pattern heavy on one side
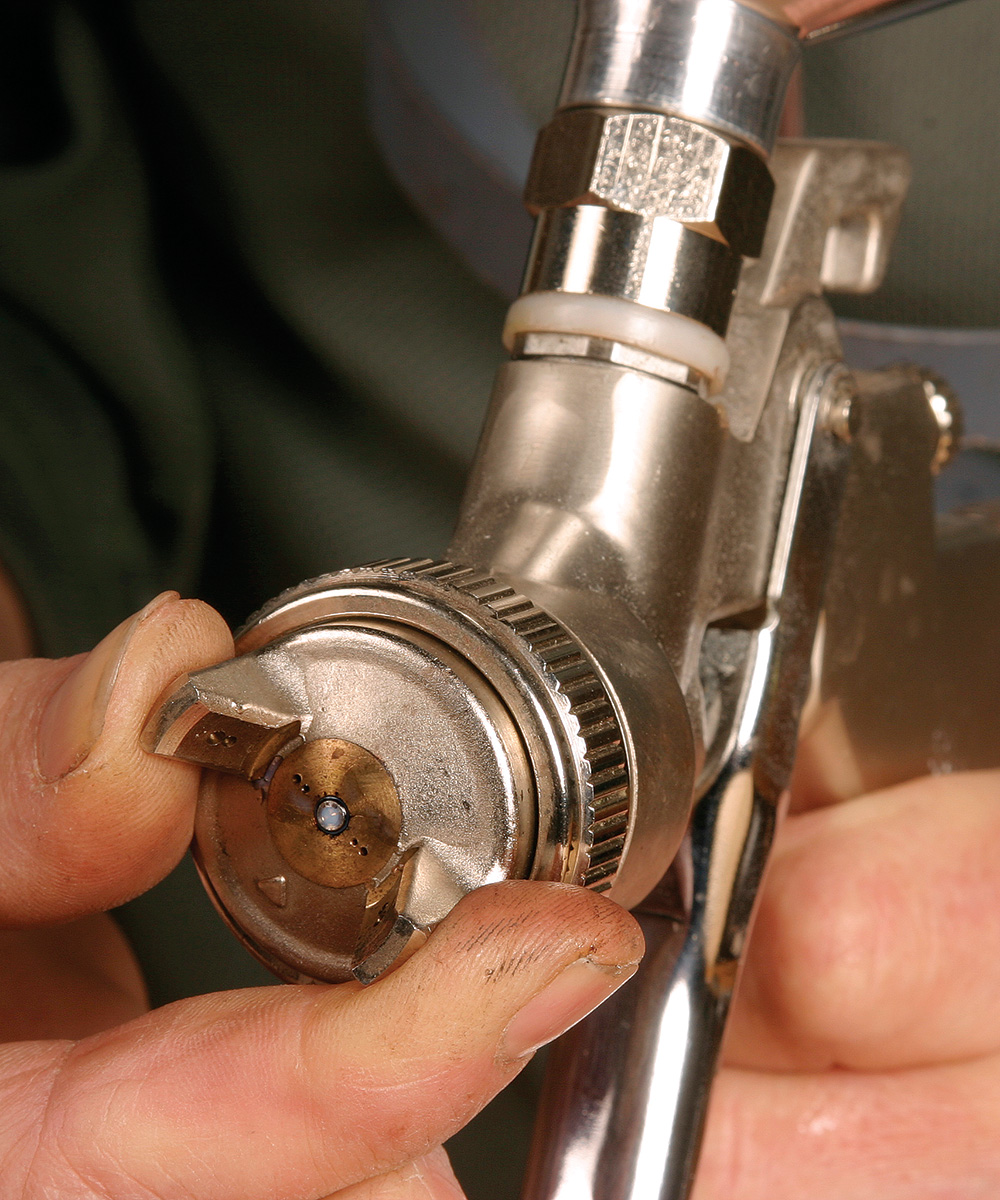
The typical culprit for this is a plugged or partially clogged air-cap port. It’s easy to diagnose: Just rotate the air cap 180° and if the problem side reverses, then it’s the air cap. Remove the air cap and soak it in lacquer thinner. Use micro-brushes to clean the air-cap ports as best you can. The ports meet inside the air cap at a 90° angle, so come in from both sides. A blow gun that has a protective rubber tip can be used to blow out the ports, but wear eye protection in case some thinner splashes out (I speak from painful experience).
If the pattern does not reverse when you rotate the air cap, then it is the fluid nozzle that is clogged, causing the spray to veer to one side as it exits the gun. If you have a gravity gun, you can easily diagnose a partially obstructed nozzle by unhooking the air line and pulling the trigger completely back with solvent or finish in the gun. The liquid should come out in a steady stream if the nozzle is clear. If you have a compressor-driven pressure cup and the gun has a cheater valve (an internal air shutoff), simply close the cheater valve and pull the trigger. Again, the finish/solvent should come straight out the front. On suction and turbine-driven pressure cup you can’t do this, so you’ll just have to see if cleaning the nozzle helps.
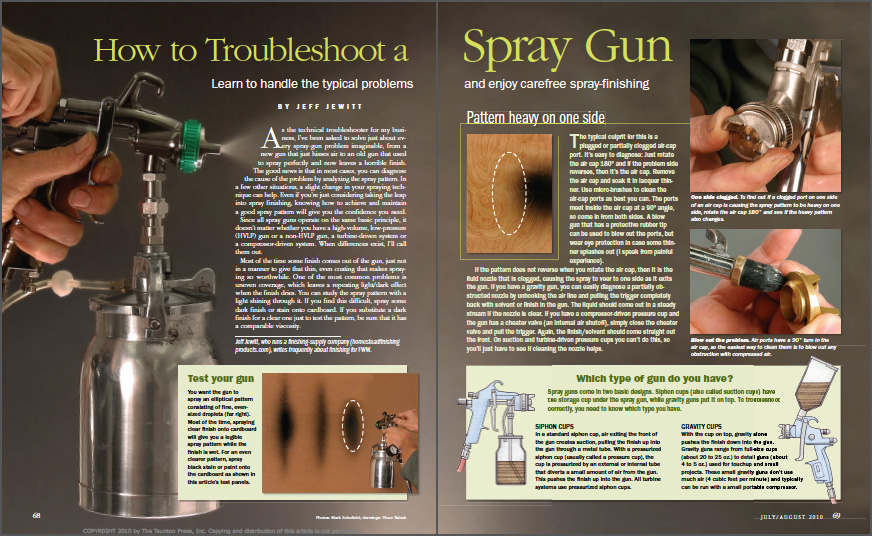
From Fine Woodworking #213
To view the entire article, please click the View PDF button below.
Fine Woodworking Recommended Products
Fein Turbo II HEPA Wet/Dry Dust Extractor
Craftsman Random Orbit Sander
Bosch 12V Trim Router


Log in or create an account to post a comment.
Sign up Log in