Soundproof a Basement Shop
A two-pronged attack to noise reduction arrests both airborne and vibratory noise.
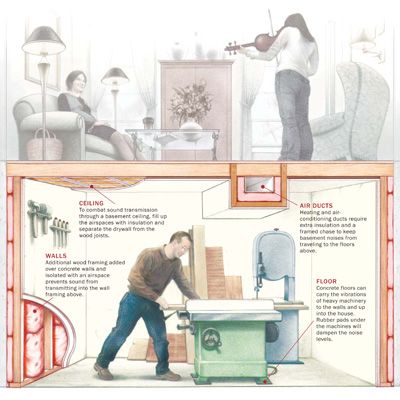
Synopsis: The best route to noise reduction in basement workshops is twofold, but figuring out the best way to achieve it can be daunting. Mark Corke’s plan muffles both vibratory and airborne noise, and he offers handy, inexpensive tips along the way, such as installing rubber feet for his machines. He explains the importance of isolating the foundation, along with insulating the ceiling and air ducts. Directions on offsetting the drywall from the ceiling joists help as well.
Basement shops often are not ideal, but their proximity to the amenities of the house makes a good deal of sense. For instance, alterations to wiring can be accommodated more easily and inexpensively than in a stand-alone workshop. My basement shop is large, 30 ft. by 50 ft., but interrupted by support columns and stairs up to the first floor of the house. Because of the shop’s proximity to my family upstairs, my main concern was reducing the noise levels of machinery and tools.
Researching the best way to tackle noise reduction can be daunting. I came across conflicting advice, much of it from manufacturers claiming the superiority of their products. To cut to the chase, I called my friend Terry Phillips, a sound architect I worked with at the BBC in Great Britain. Who better to help me find the solutions than someone who designs radio studios?
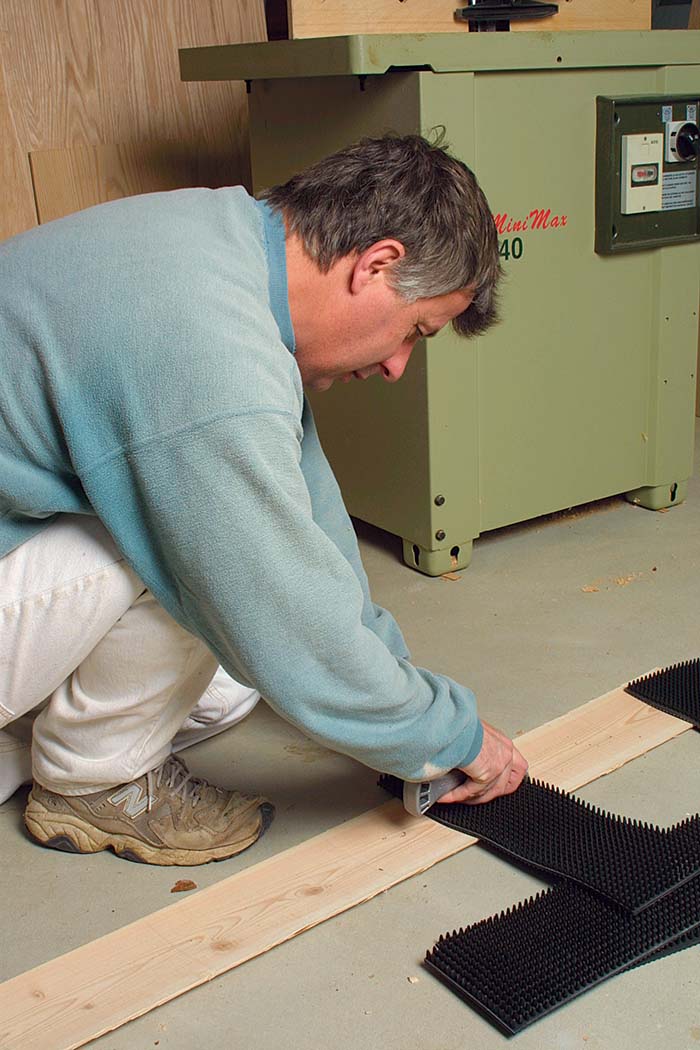
I learned there were two types of sounds that I had to deal with: airborne and vibratory. When a large woodworking machine is fired up, most of the noise that’s heard is in the form of sound waves transmitted through the air by the motor, bearings, and cutters. Each of these components transmits sound at different frequencies, some of which are audible to the human ear. Noise also is transmitted through the fabric of the house in the form of vibration. If the vibration can be isolated, the noise will diminish. Something as inexpensive as rubber pads under the feet of the machine will reduce noise levels (see the photos above).
The solutions to my noise problem were something of a compromise between cost and versatility. My friend offered sensible advice on what I could achieve without spending a fortune.
Isolate the foundation with a stud wall and airspace
By adding a stud wall around the foundation perimeter, you can introduce an air gap that reduces vibratory noises. The stud wall also increases thermal insulation and provides a convenient place to hang cabinets and tools. In my shop, I set the stud wall 1 in. out from the concrete wall to create that important dead-air space, and secured it at the bottom with a bead of construction adhesive. This method goes fast because there’s no drilling into the concrete wall or floor.
I built the 2×4 stud walls between 2×6 bottom plates and top plates, ensuring that the spacing was right for the double layer of drywall. The studs are spaced 12 in. on center and alternate front to back on the 2x6s (see the bottom drawing and photos on p. 79). The walls can be built in place, but it’s easier to build them on the floor in sections, then lift them into position. Make each section a bit undersized and shim it up from the floor or where the top plate meets the joists above it.
After the stud wall has been secured, weave fiberglass batts between the studs, starting at the bottom and working up with each layer. A few staples here and there should stop it from drooping.
As you can see from my experience, not all noise-control efforts need to be complicated or expensive. The simplest solution is to isolate machines from the floor with rubber pads to prevent vibration from traveling through the rest of the house. As a final detail, fit weatherstripping around doors and windows and add fireproof caulk around plumbing and wiring holes that penetrate to the rooms upstairs.
Insulate the ceiling
The key to blocking airborne noise is to use loose insulation in conjunction with air gaps. Fiberglass batting makes a decent sound barrier, and it’s easy to install. In my shop, I stuffed it between the overhead joists. Although my primary goal was to create a sound barrier, the additional thermal value is a plus: I have a warmer shop in winter and a cooler one in summer.
Keep in mind that plumbing pipes and heating or air-conditioning ducts are conduits for carrying loud sounds such as whirring sawblades and hammer blows. Noise bouncing onto ductwork can permeate every room in the house. The foil-backed insulation found around most ducts is intended primarily as thermal insulation, and it’s packed too tightly to absorb much noise. Looser material, such as the fiberglass batts that incorporate air gaps, will do a much better job of absorbing sound.
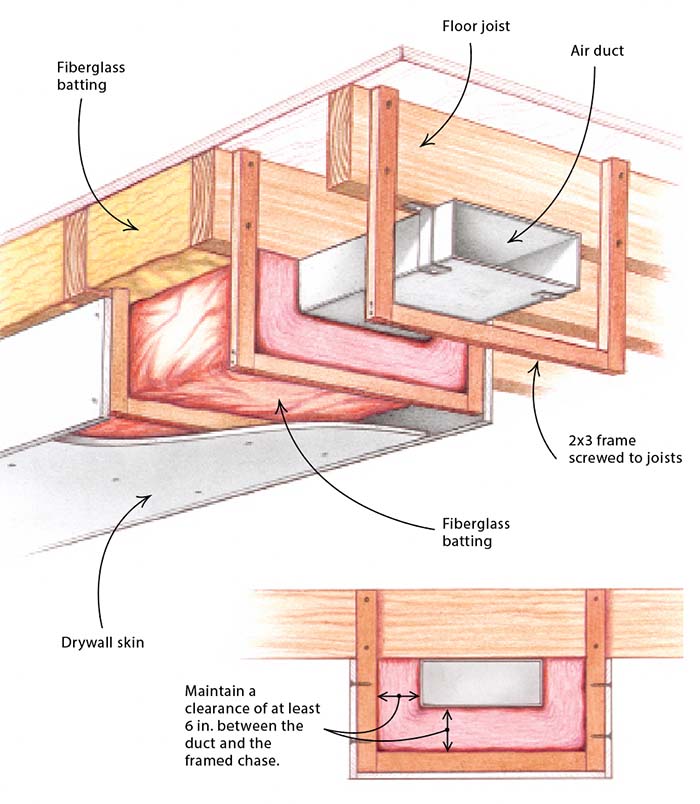
Make a basic framework to enclose pipes and ducts, and stuff fiberglass batts into all of these plumbing chases (see the photos and drawing on the facing page). The framework must be at least 6 in. away from pipes and ducts, or the sound-insulation properties will be negated.
Offset drywall from the ceiling joists
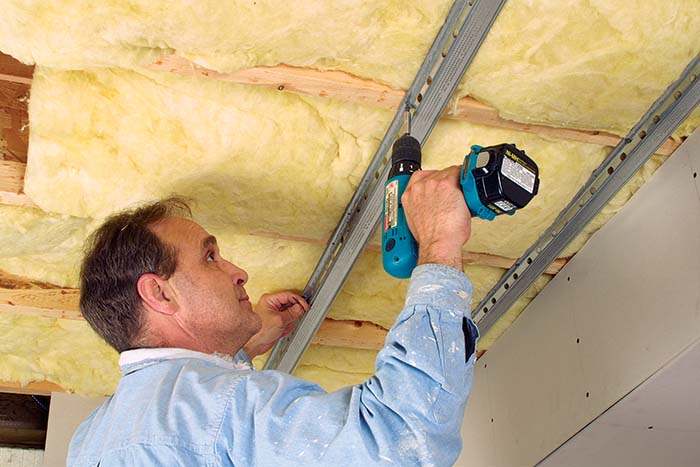
Don’t fasten a drywall ceiling directly to the underside of the joists. You can reduce sound transmission considerably by separating the drywall with airspace created by a product called resilient channel (above). Installed so that it runs perpendicular to the joists, this metal channel is sturdy enough to carry the weight of the ceiling.
Whether installed on ceilings or walls, a double layer of drywall will increase the resistance to how quickly a fire will spread as it also reduces the noise transfer, but you must stagger all of the seams between the two layers for a strong, airtight bond. Run the first layer of drywall the long dimension perpendicular to the resilient channel and parallel to the joists. Place the seams of the long dimension between the joists, not under them, and the seams of the short dimension directly along the resilient channel. I prefer 3⁄8-in.-thick drywall because I can handle a full sheet with the aid of a T-shaped strut to hold up one end. You can tape and add joint compound on the last layer, but it’s not essential for reducing sound.
Floor: Dampen

Walls: Isolate the foundation
Corke made this wall using 2x4s for the studs (verticals) and 2x6s for the top and bottom plates (horizontals). He alternated the studs front to back along the top and bottom plates and wove fiberglass batting between them, leaving airspace (1 in.) between the studs and the concrete foundation. He also covered the wall with two layers of drywall, staggering the seams.

 |
 |
Meant for heat but good for sound. Standard fiberglass batting, designed and traditionally used as thermal insulation, also happens to be a pretty good sound dampener. The second layer of drywall will decrease substantially the level of sound that penetrates the structure. Stagger seams to ensure an airtight bond.
Air Ducts: Make an insulated frame for
Sound travels through most solid material better than it travels through the air. Heating and air-conditioning ducts in a basement shop can transmit loud noises easily up through two floors of a house. An insulated plumbing chase can make a big difference.
|
|
|
|
Ceiling: Separate the ceiling from the joists
Hanging the drywall ceiling from the channel hardware shown below greatly reduces the amount of sound that travels through the structure. This technique essentially creates dead airspace between the basement and the framing above it.

 Materials to avoid
I have read accounts by people who assert the sound-deadening and cost-effective benefits of covering walls with egg cartons. The reasoning behind this technique is that the undulating surface of the carton will interrupt and refract sound. Although there is some merit to this approach, the results often are disappointing. Also, the carton can be easily damaged, looks horrid, and is a fire hazard.
Foam rubber, which is used to make mattresses, does absorb sound well, but it ignites easily and gives off toxic fumes when burning, so it, too, is best avoided.
Polystyrene has good thermal-insulation properties, but it is too densely packed to make a good acoustic insulator. It is also highly flammable.
From Fine Woodworking #167
For the full article, download the PDF below.
Fine Woodworking Recommended Products
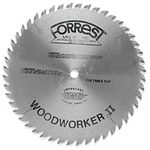
Forrest Woodworker II Blade
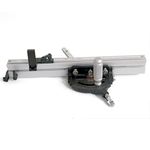
JessEm Mite-R Excel II Miter Gauge
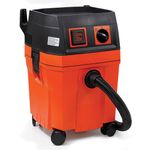
Fein Turbo II HEPA Wet/Dry Dust Extractor


Comments
Great article & reference as I'm about to start my basement shop. I was considering using a product called 'safe & sound' & was wondering if you had considered using this for ceiling sound absorption? I like ur wall framing install. Makes a lot of sense for several reasons. noise and air space to control moisture.
Log in or create an account to post a comment.
Sign up Log in