Beautiful Carving Starts with a Keen Edge
Once you've learned to sharpen a curved gouge, you’ll be able to handle most carving tools.

Synopsis: Don’t let the mechanics of how to sharpen a gouge keep you from using your carving tools. This article will teach you how to sharpen a curved gouge, one of carving’s most basic and useful tools. Dan Faia takes you through the process of grinding a smooth bevel on a grinding wheel, honing the tool on a set of oilstones, and stropping to a fine edge.
It is not the artistic side of carving that keeps some woodworkers from trying it, but the mechanics of how to sharpen the multitude of carving tools. This article will teach you how to sharpen a curved gouge, one of carving’s most basic and useful tools. Gouges of various widths and curvature (sweep) are used throughout the carving process: the initial roughing out, the “setting in” of the carving’s primary outlines, and the final details and finished surfaces. Some of the techniques you’ll learn also apply to other types of carving tools. on Finewoodworking.com, I’ll show how I sharpen two others.
Gather your equipment
To sharpen a gouge or any other carving tool, you need sharpening stones (one coarse stone, like an India stone, and one fine Arkansas). I use oilstones because they wear more slowly than other types of stones. If you plan to carve a lot, get a separate set of stones for your carving tools. otherwise, you’ll spend too much time keeping the stones flat for your straight-edge tools.
You’ll also need a fine, profiled slipstone, a leather strop, and a bench grinder with a tool rest. A slow-speed grinder is best, but a high-speed one with a white or pink wheel is fine, too.
Start by jointing the edge
The first thing to do with a new gouge is to joint the edge. Jointing flattens and trues the edge and creates a narrow, flat surface on the tip. This flat serves as a visual reference to aim for when grinding the bevel, helping you to keep the edge consistent. Jointing is also important in repairing a damaged edge or if you need to grind the edge again to re-establish the bevel angle. I joint the edge on a fine India stone. Using a two-handed grip, hold the edge perpendicular to the stone and take six to 10 strokes, drawing the tool toward you. Your goal is a flat that’s no wider than 1⁄64 in. or so.
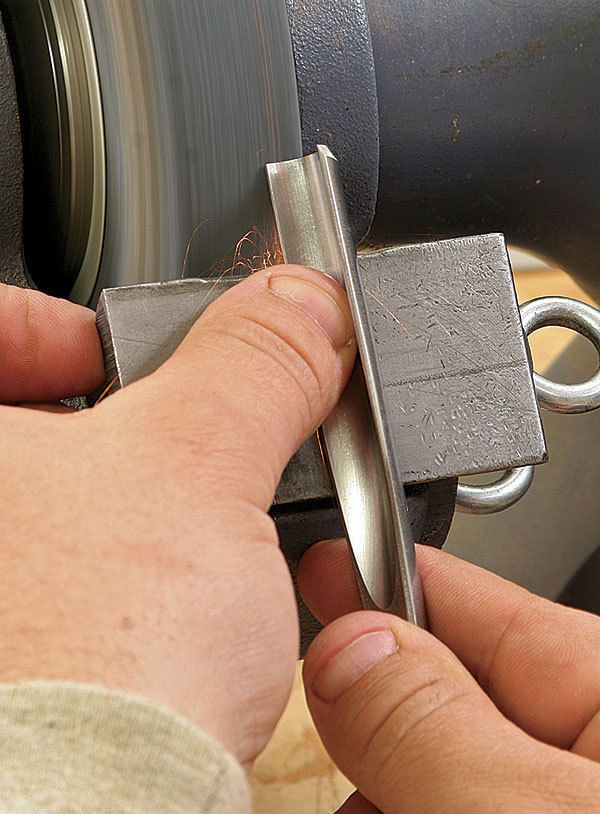
The next step is to grind the bevel. First, consider whether to bevel both sides of the edge or only one. Some carvers bevel both sides, but I find it easier to maintain the tool with a bevel only on the outside of the flute. Then consider the angle of the bevel itself. In general, a shallower bevel cuts more easily while a steeper bevel creates a longer-lasting edge. I like a 30° bevel because it gives you a durable edge that cuts effectively in all but the hardest woods. The steepness of the bevel also means that the tool’s handle sits high enough when I’m cutting that my knuckles can ride underneath without bumping the work.
 From Fine Woodworking #209
To view the entire article, please click the View PDF button below:
Fine Woodworking Recommended Products

Honing Compound

Norton Water Stones

Mist Coolant System


Log in or create an account to post a comment.
Sign up Log in