Strong Tenons in Skinny Legs
Get sturdy leg-to-apron joints without compromising your design.
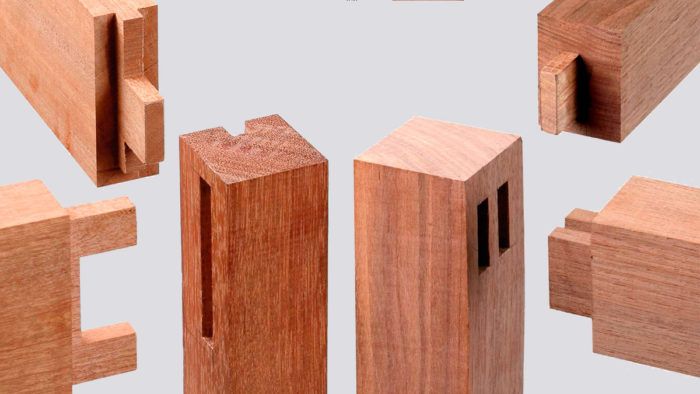
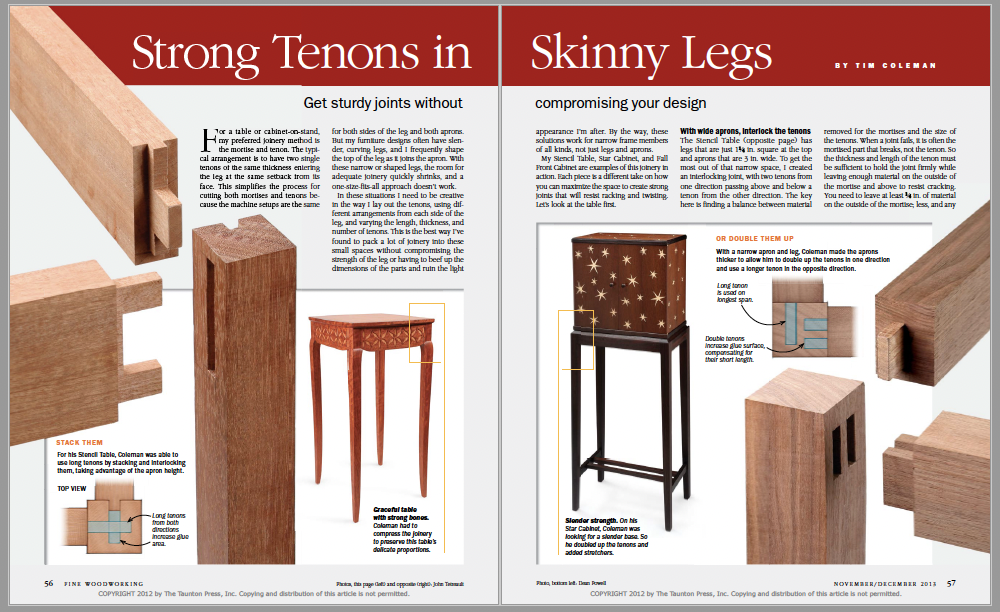
Synopsis: There’s a reason why the mortise-and-tenon is a go-to joint for a leg-to-apron joint—it’s strong, and it resists racking. But if your furniture designs feature slender, curving legs, there sometimes is not room for a traditional mortise-and-tenon. That’s when Timothy Coleman gets creative, employing different arrangements from each side of the leg, and varying the length, thickness, and number of tenons. With a wide apron, he stacks and interlocks long tenons, taking advantage of the greater glue surface, When the apron is not wide, he sometimes makes it thicker and uses double tenons. When even more strength is needed, he adds a stretcher.
For a table or cabinet-on-stand, my preferred joinery method is the mortise and tenon. The typical arrangement is to have two single tenons of the same thickness entering the leg at the same setback from its face. This simplifies the process for cutting both mortises and tenons because the machine setups are the same for both sides of the leg and both aprons. But my furniture designs often have slender, curving legs, and I frequently shape the top of the leg as it joins the apron. With these narrow or shaped legs, the room for adequate joinery quickly shrinks, and a one-size-fits-all approach doesn’t work.
In these situations I need to be creative in the way I lay out the tenons, using different arrangements from each side of the leg, and varying the length, thickness, and number of tenons. This is the best way I’ve found to pack a lot of joinery into these small spaces without compromising the strength of the leg or having to beef up the dimensions of the parts and ruin the light appearance I’m after. By the way, these solutions work for narrow frame members of all kinds, not just legs and aprons.
My Stencil Table, Star cabinet, and Fall Front cabinet are examples of this joinery in action. each piece is a different take on how you can maximize the space to create strong joints that will resist racking and twisting. Let’s look at the table first.
With wide aprons, interlock the tenons
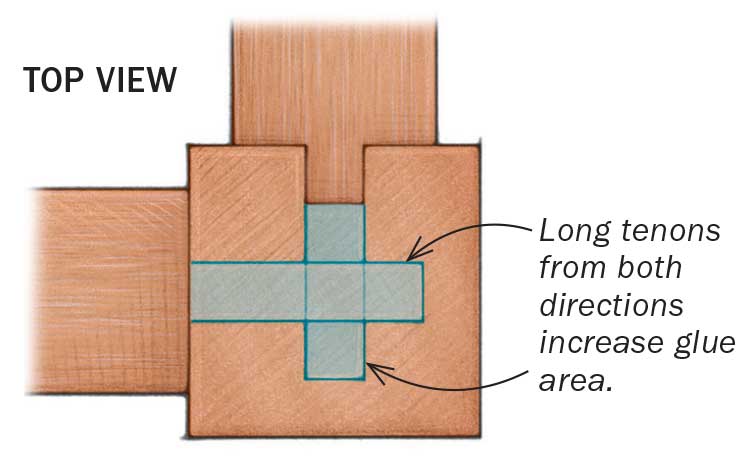
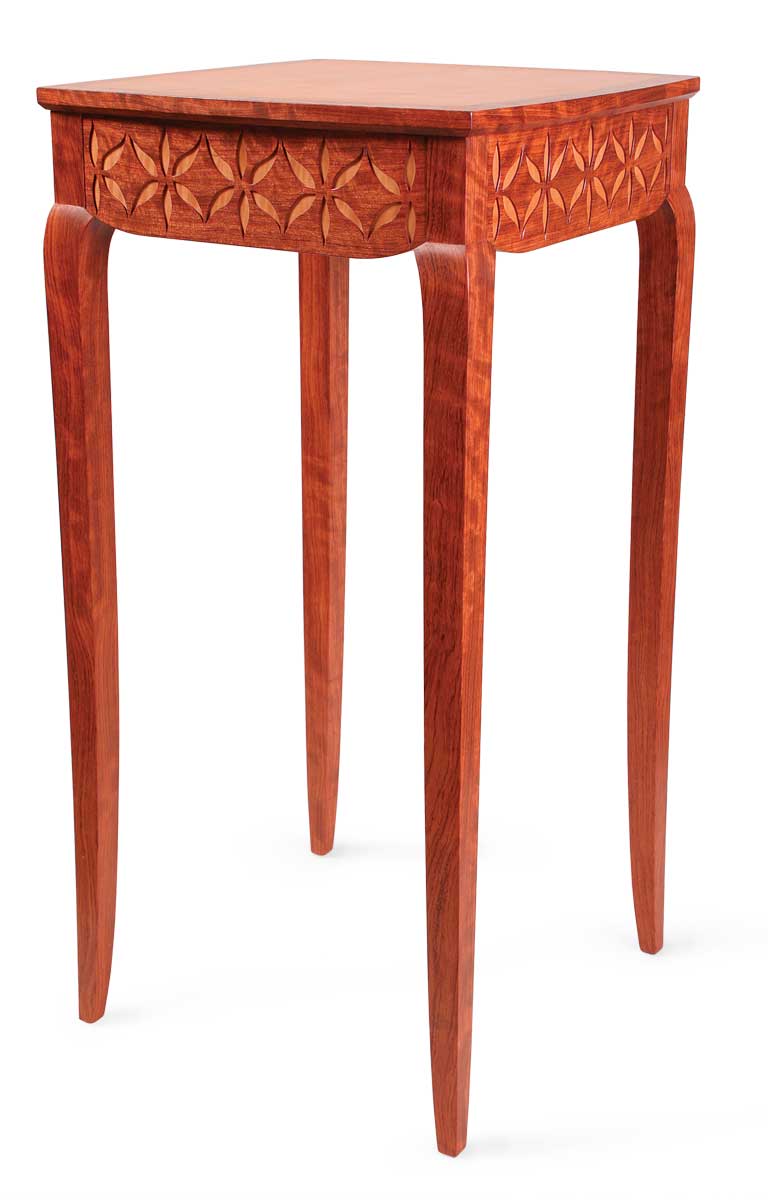
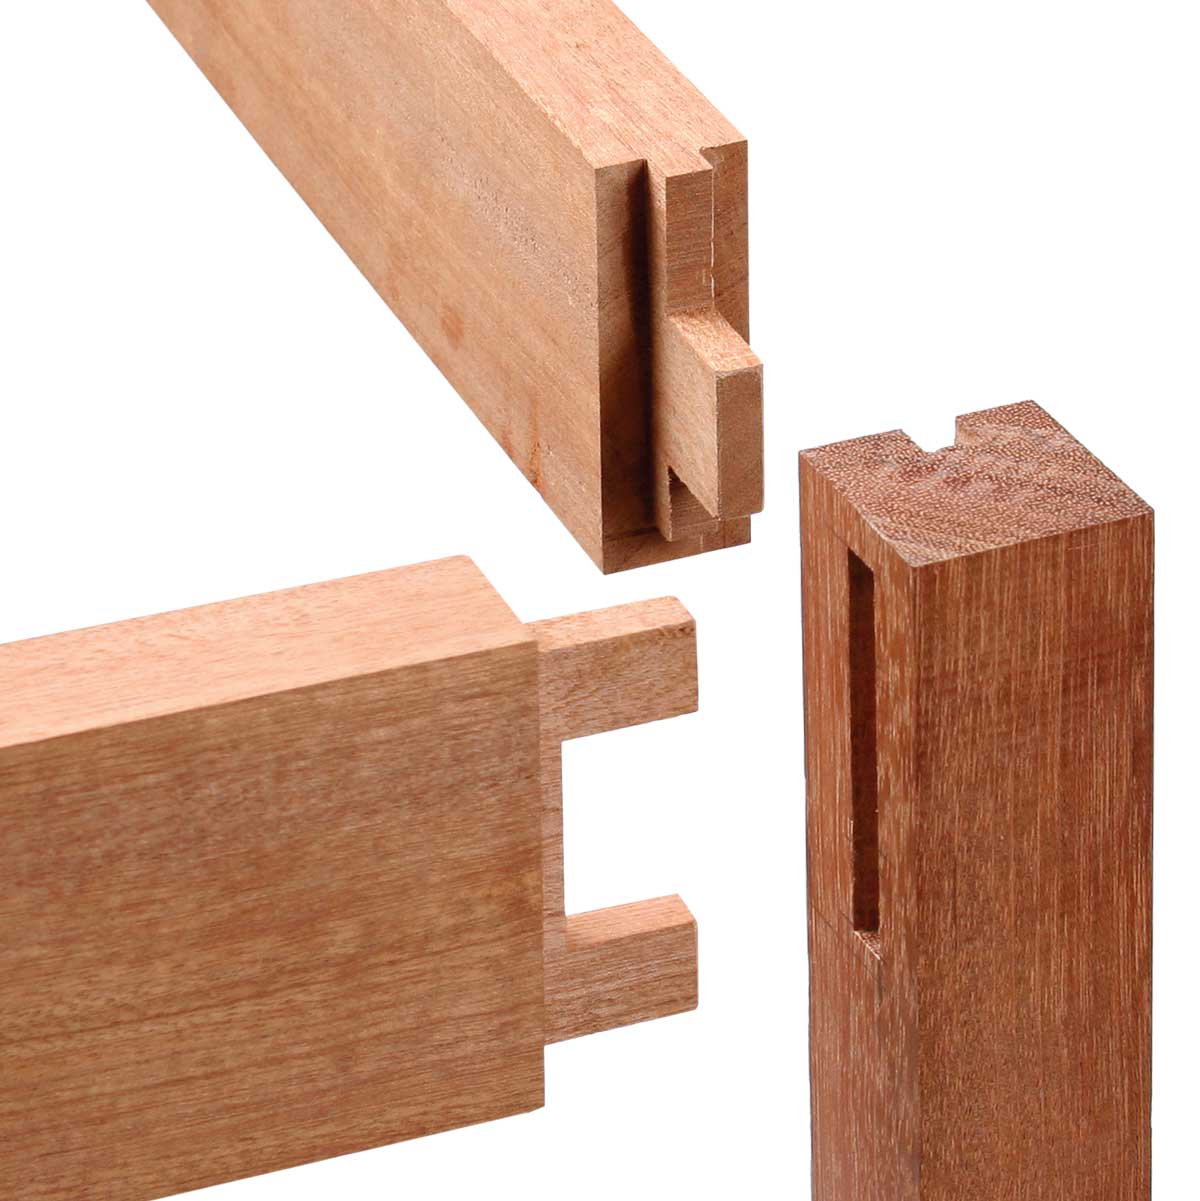
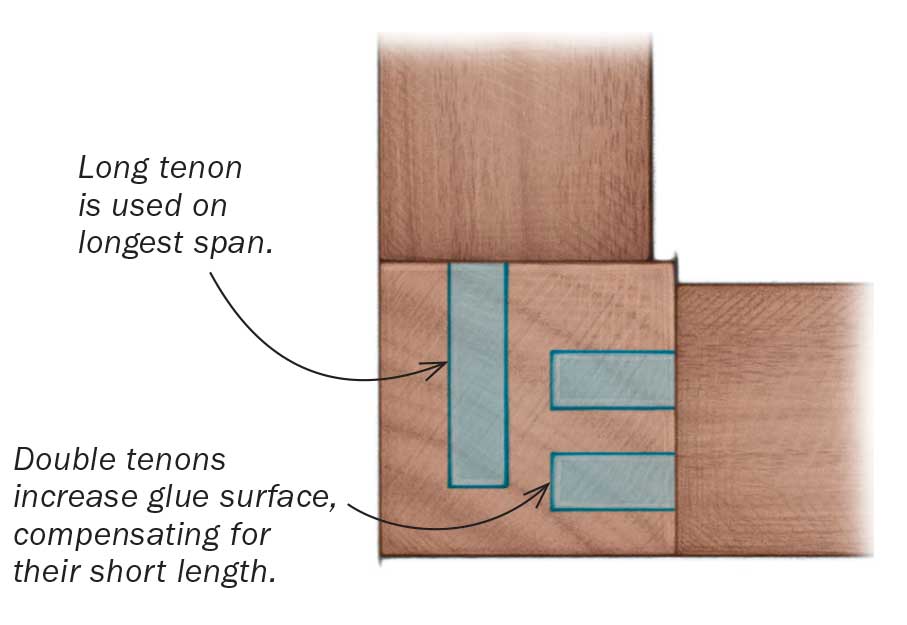
The Stencil Table has legs that are just 11⁄4 in. square at the top and aprons that are 3 in. wide. To get the most out of that narrow space, I created an interlocking joint, with two tenons from one direction passing above and below a tenon from the other direction. The key here is finding a balance between material removed for the mortises and the size of the tenons. When a joint fails, it is often the mortised part that breaks, not the tenon. So the thickness and length of the tenon must be sufficient to hold the joint firmly while leaving enough material on the outside of the mortise and above to resist cracking. You need to leave at least 1⁄4 in. of material on the outside of the mortise; less, and any racking force could cause the leg to split. Also, unless there’s a haunch, set the tenons at least 3⁄8 in. below the top of the leg. Any closer, and that weak end grain area would not have enough meat to resist leverage from the top of the tenon.
In this example I was able to use 1⁄4-in.-thick by 1-in.-long tenons, which leaves plenty of material on the outside. Both tenon designs have a haunch that supports the apron along more of its width, increasing resistance to twisting.
Double tenons for narrow aprons
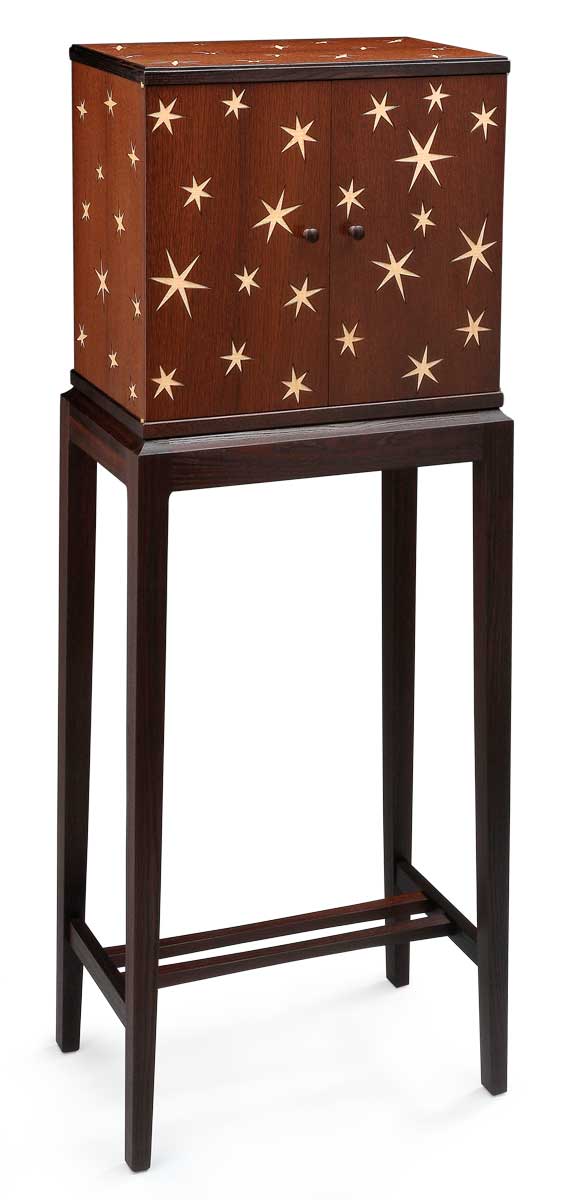
Despite their slender components, the Fall Front and Star Cabinet stands must be strong enough to support the weight of the cabinet plus its contents. The shaping at the top of the leg is different in each piece, but the layout and execution of the joinery is the same.
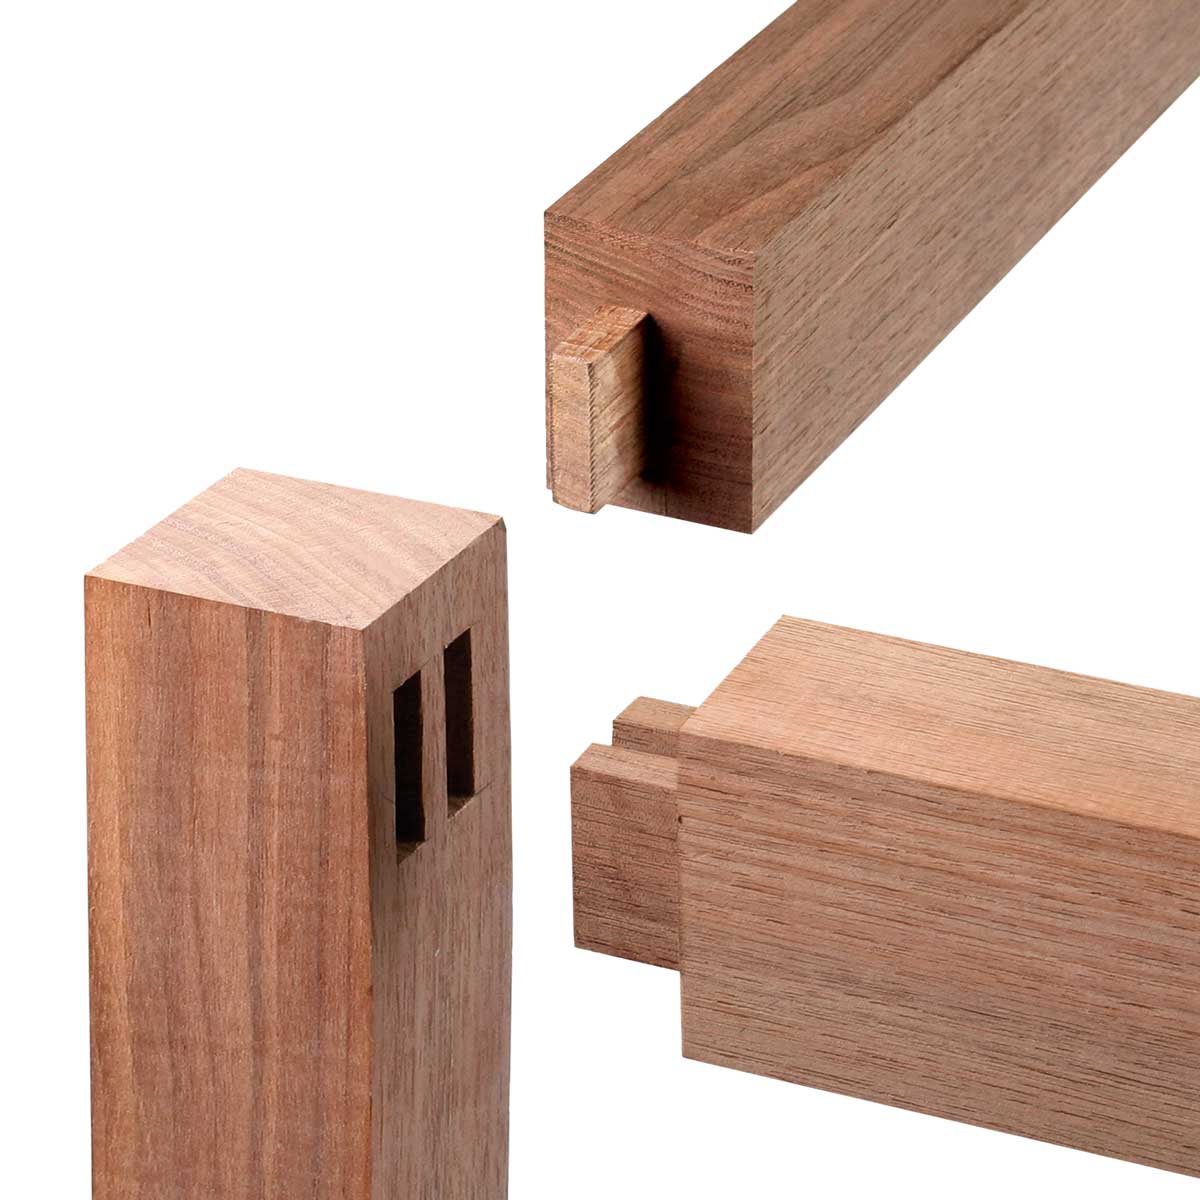
In both pieces, there is a single, long tenon from one direction, and a pair of side-by-side tenons from the other direction (the fall-front has one narrower tenon on the outside to accommodate the curve at the top of the leg). All tenons are 5⁄16 in. thick. The long tenon is 1-1⁄4 in. long, and the double tenons are 11⁄16 in. The double tenons have more overall glue surface than the single tenon, which partly compensates for their shorter length. As with the Stencil Table, the tenons are set at least 3⁄8 in. below the top of the leg, and there’s enough material on the outside of the double tenons to maintain structural integrity.
Or double them upWith a narrow apron and leg, Coleman made the aprons thicker to allow him to double up the tenons in one direction and use a longer tenon in the opposite direction.
|
The single, long tenon is a bit stronger than the double tenons because its length helps it resist leverage. So I use a single tenon on the apron that runs side to side. The legs are farther apart here so there is more stress on these joints than those that run front to back. Before shaping the legs, I cut the mortises using a hollow-chisel mortiser. Then I cut the tenons. I make all the tenons the same length and trim the shorter ones later. This way the shoulders are all cut at the same setting, and the blade height to cut the tenon cheeks is the same. It helps to have extra stock the same size as the aprons to use as setup pieces.
 From Fine Woodworking #236
To view the entire article, please click the View PDF button below.
Fine Woodworking Recommended Products

Starrett 4" Double Square

Veritas Precision Square

Suizan Japanese Pull Saw




Comments
Hi Tim, how about making the interlocking tenons as a dovetail on the inside? I tried it once in a tricky build, it added some strength but also a lot is work. I'm not sure its worth the effort. What do you think?
Log in or create an account to post a comment.
Sign up Log in