Do we really need another design for table-saw crosscut sled ? YES !
=============================================================
UPDATE: One year later.
As shown in the video, the sled is made with two runners and the runners do not have to fit snug in the table saw miter slots. One year later, having gone through the four seasons of humidity, I find the sled is a little loose in the runners. Other sleds I made with a single snug fitting runner have not become loose. My conclusion is that one runner is better than two, as long as the single runner can be made to fit snug in the miter slot. Here is a video showing how to cut snug fitting runners: https://youtu.be/MZu0JvW1g3k
=============================================================
My 30 year old sleds did not fit new table saw due to spacing of miter slots. Gave my old sleds to the guy who bought the old saw, and set out to make new sleds. Did some research on best practices in table saw sled construction and found the following great two ideas that were new to me and perhaps others:
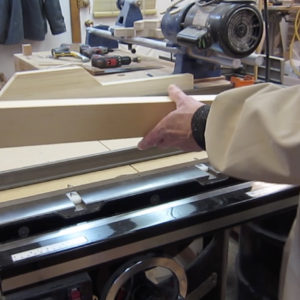
- Alan Turner in FWW July/August issue 2012, squeezes the two halves of the sled together with a clamp, before gluing the rails in place. This eliminates play in the miter rail guides. Eliminating an annoying source of variation. See my photo below.
- William Ng demonstrated in a YouTube video the 5 cut method to very accurately measure the perpendicular error between blade and fence and then calculate how much to move one end of the fence. Difficult to explain this method so I refer you to his video if you are interested. Just search YouTube for “5 Cuts to a “Perfect” Cross-Cut Sled”
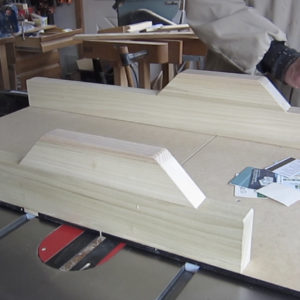
To gain better control in adjusting the fence perpendicular, I glued a sacrificial fence in place, and clamped the final fence to the sacrificial fence. Then using the 5 cut method to determine how much the fence should move at one end, I selected a shim of that thickness to place between the sacrificial fence the final fence at one end. In a single adjustment this produced “perfect” perpendicular with no fiddling. Fence could then be screwed to bace and sacrificial fence cut off. See Photo below.
Here is a video showing all the construction steps https://youtu.be/twEc6LZHlJQ
Now researching for design of a precise 45 degree miter sled for picture frames and for frame and panel doors with miter corners. If you have any suggestions please share.


This post is archived.