A Veneered Box That Earns Its Stripes
Making a patterned box using scraps of contrasting veneer is a great way to get your creative juices flowing.
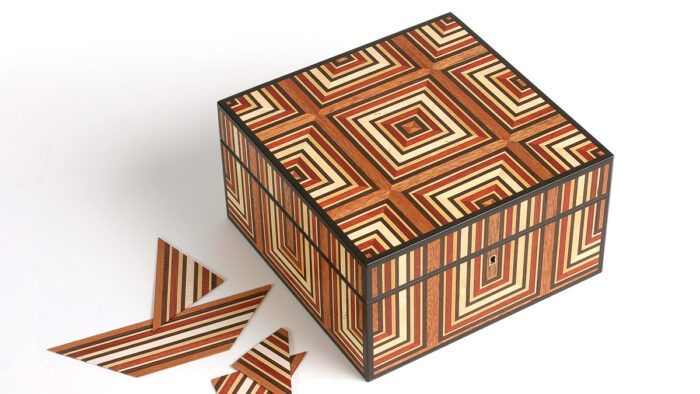
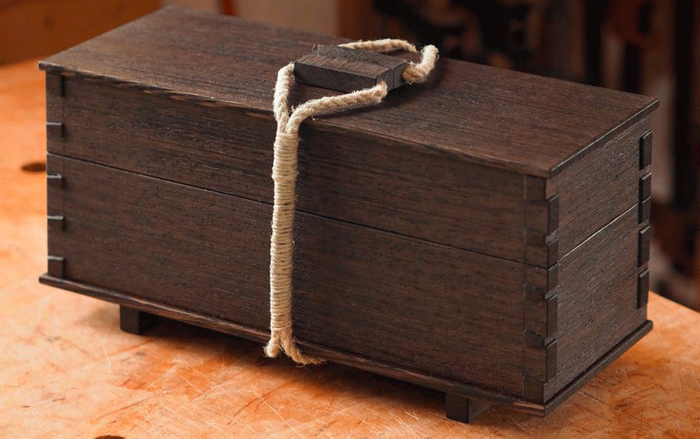
Synopsis: Making a patterned box using scraps of contrasting veneer is a great way to get your creative juices flowing. Adrian Ferrazzutti demonstrates how attention to detail can elevate these pieces into miniature masterpieces, using only simple clamps and cauls instead of a complicated vacuum bag. Once you’ve glued up a stack of contrasting strips, it’s not difficult to create your own pattern. The flowing design on the outside of this box may appear complex, but it consists of just four simple shapes with all the angles cut at 45° on the tablesaw.
Clarification: The individual veneer strips were described as being a little over 2 in. wide, but when glued together into a block they were shown and described as 3-1/2 in. wide. If you only intend to make one box, 2 in. is wide enough, but 3-1/2 in. will yield enough veneer for three or four boxes, the number the author normally makes at a time.
My first veneered box started when I noticed that some scraps destined for the fireplace were of contrasting colors. On a whim, I glued these offcuts into a thick block and then resawed that into slices of striped veneer. Cutting the slices into geometric shapes, I discovered that making patterns with contrasting veneer is a lot of fun and really gets the creative juices flowing. I’ve now made many of these veneered boxes and the process keeps evolving, but the basic tools and techniques remain simple.
Both the geometric veneer shapes and the rabbet joinery for the plywood core are cut on the tablesaw, but attention to detail elevates these small boxes into jewels.
Because of their scale, your eye sees every detail, so the workmanship must be crisp and clean. On the other hand, you won’t need a vacuum bag to glue on the veneers; simple clamps and cauls work. Once you’ve pulled off this project, you’ll have the skills to tackle larger veneered projects with confidence.
Start with woods that catch the eye
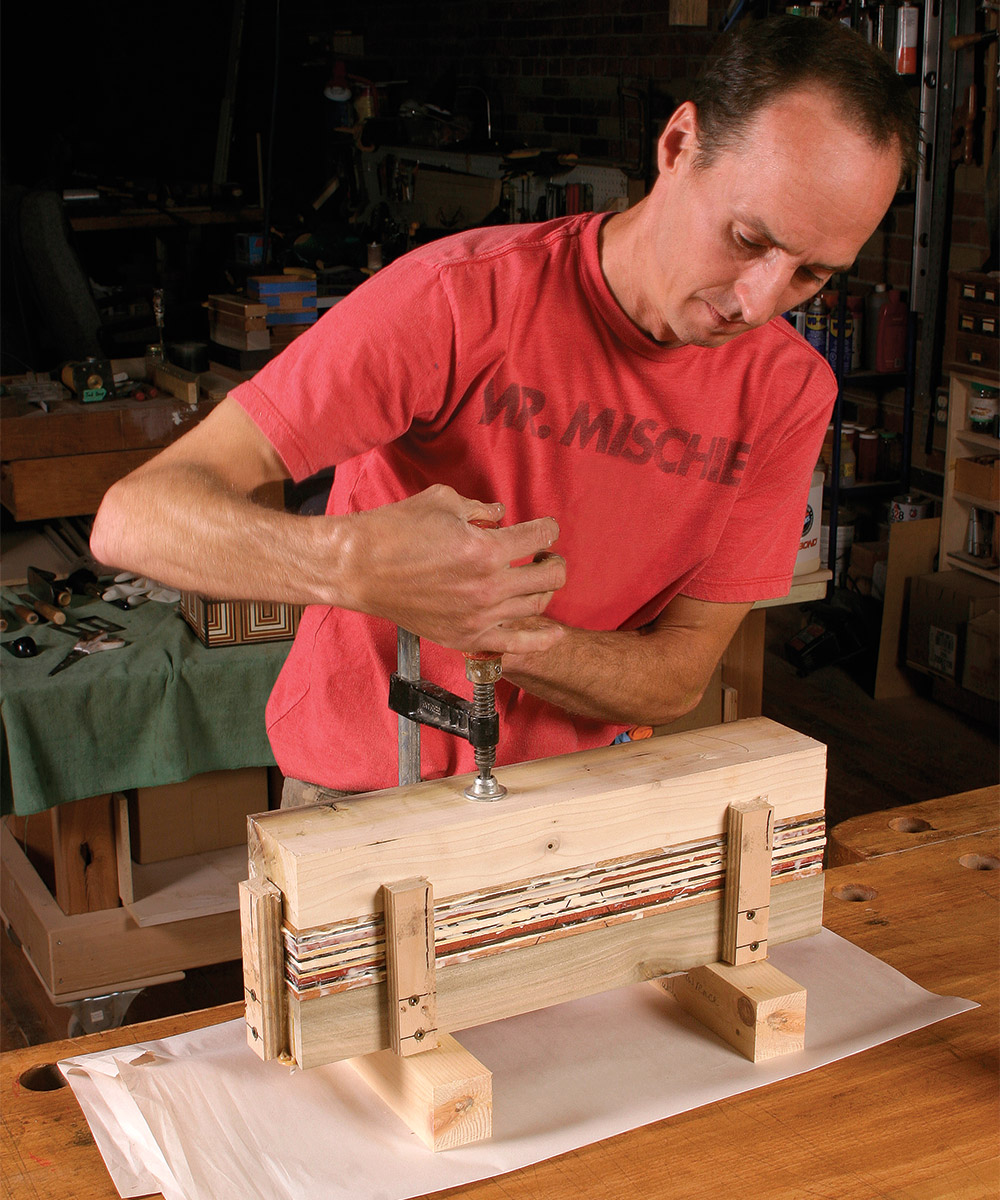
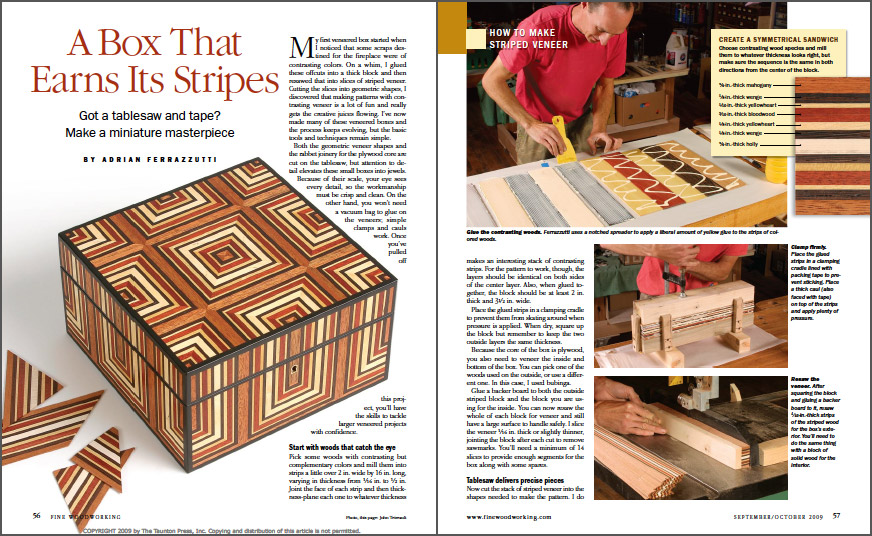
Pick some woods with contrasting but complementary colors and mill them into strips a little over 2 in. wide by 16 in. long, varying in thickness from 1/16 in. to 1/2 in. Joint the face of each strip and then thickness-plane each one to whatever thickness makes an interesting stack of contrasting strips. For the pattern to work, though, the layers should be identical on both sides of the center layer. Also, when glued together, the block should be at least 2 in. thick and 3-1/2 in. wide.
Place the glued strips in a clamping cradle to prevent them from skating around when pressure is applied. When dry, square up the block but remember to keep the two outside layers the same thickness.
Because the core of the box is plywood, you also need to veneer the inside and bottom of the box. You can pick one of the woods used on the outside, or use a different one. In this case, I used bubinga.
Glue a backer board to both the outside striped block and the block you are using for the inside. You can now resaw the whole of each block for veneer and still have a large surface to handle safely. I slice the veneer 1/16 in. thick or slightly thinner, jointing the block after each cut to remove sawmarks. You’ll need a minimum of 14 slices to provide enough segments for the box along with some spares.
Tablesaw delivers precise pieces
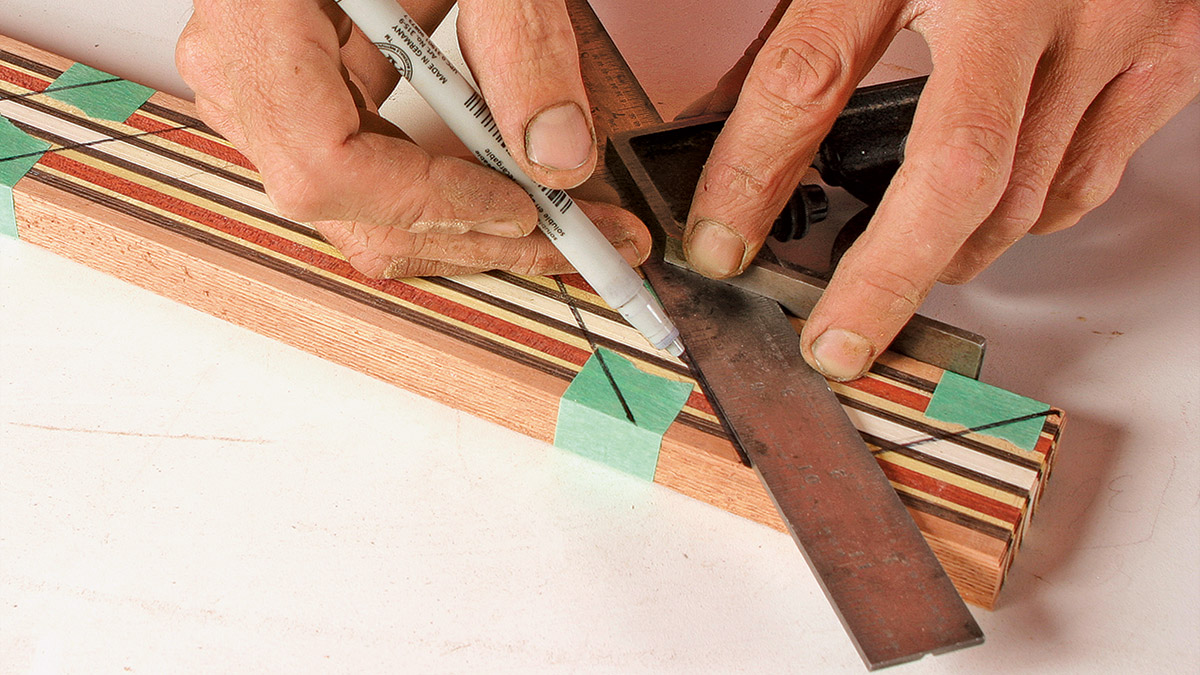
Now cut the stack of striped veneer into the shapes needed to make the pattern. I do this on the tablesaw using a clean, sharp crosscut blade and a simple sled. The sled’s base is 1/2-in.-thick plywood, a little larger than the veneer, with a piece of P220-grit sandpaper glued to the top surface, backed by a 4-in.-tall fence.
From Fine Woodworking #207
To view the entire article, please click the View PDF button below.
Fine Woodworking Recommended Products

Bahco 6-Inch Card Scraper

Suizan Japanese Pull Saw
Whiteside 9500 Solid Brass Router Inlay Router Bit Set


Comments
Fantastic method, beautifully conveyed.
Log in or create an account to post a comment.
Sign up Log in