How to Edge Veneered Parts for a Clean Look
My article in the current issue focuses on how to build cse pieces like cabinets and bookcases using veneered panels. What I don’t cover are veneered parts like doors, dividers, and drawer front, where you don’t want to apply thick, obvious pieces of solid wood edging.
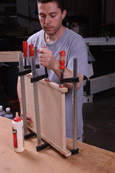
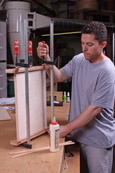
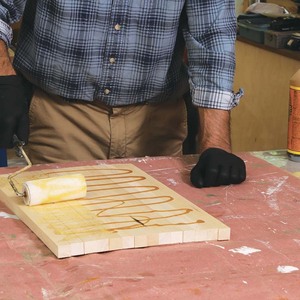
For a clean look, I apply the edging first, and then veneer the faces all the way to the edge. I don’t usually apply veneer directly to the edges of plywood, as there a chance the gluelines in the substrate will telegraph through. Instead I cut the panel slightly under its final size before veneering and skin the edges with 1/8-in. MDF. Cut the MDF strips 1/16 in. wider and about 1/8 in. longer than the panel edges, and clamp them onto two opposite edges at the same time, using cauls to spread the pressure evenly. Trim the strips flush to the panel using a block covered with 100-grit sandpaper, being careful not to round the edges or ends. Then glue more strips to the last two edges, trimming them the same way. This creates a clean, uniform surface for veneering.
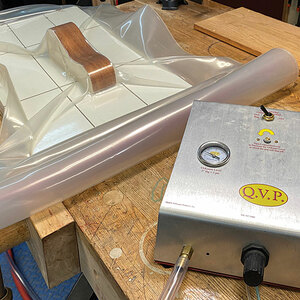
I’ve become a great fan of cork-covered cauls for gluing on veneer edging. I spray-glue 1/8-in.-thick cork to narrow plywood strips then cover the cork with packing tape to resist glue.
Cut the veneer edging slightly oversize. Once again, gluing two opposing edges at a time makes it quicker. Trim the veneer flush to the panel the same way you trimmed the excess MDF edging. Give the panel a quick pass with 100 grit to clean off any glue remnants and glue on the face veneers. Those I trim first with a Shinto rasp, which hogs off the excess veneer quickly, finishing up with a sanding block to get rid of the last bit of overhang. But the sanding block would work fine on its own.
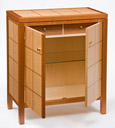
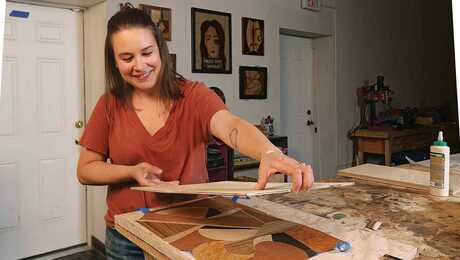
Clean looks. Many veneered case pieces have veneered doors, dividers, or drawer fronts. To get a clean look on these, Thibodeau veneers the edges first, and then veneers the faces all the way to the edge.
Two at a time. Apply slightly oversized strips of 1/8-in.-thick MDF to opposite edges of the birch plywood, using cork-covered cauls to spread the pressure evenly. Self-adhesive cork drawer liner works great. Cover the cork with packing tape to resist glue.
Sanding stick brings it flush. Thibodeau uses a sanding stick with a few wraps of blue tape at one end to bring the edges and ends of the MDF flush with the substrate. The sandpaper is p100 grit attached with spray adhesive. Afterward he adds the last two strips of MDF and trims that flush, too.

Veneer goes on the same way. Use the same cauls, and attach opposite edges, two at a time. Then sand it flush with the long sanding block.
Different tool for trimming. For a seamless surface, veneer the faces last. Thibodeau uses a Shinto rasp to hog off most of the overhang, finsihing with a sanding block.

Fine Woodworking Recommended Products
Whiteside 9500 Solid Brass Router Inlay Router Bit Set

Bahco 6-Inch Card Scraper






Comments
The pictures on this page are simply too small to see any detail and can't seem to be expanded... can we have pictures large enough to be clearly seen - the technique being described or the materials being used are the important part, so seeing it clearly is a very important part of the article. Also, the author went to the trouble to take good pictures, so let's have them big enough to see!
difficult to follow-don't understand it at all
This article as well as the related one on plywood cabinet veneering need to be edited again from the reader's standpoint. It's surprising to me that Fine Woodworking, (Taunton Press) doesn't understand this.
Thanks. I've added it to the queue. With thousands of pages, we don't know something needs editing until someone lets us know.
How's about a link to the article he references? I don't see one...
As is, I agree that this article has limited usefulness.
Log in or create an account to post a comment.
Sign up Log in