Plane Like a Pro
After milling with machines, nothing beats a handplane for smoothing wood and fitting furniture parts.

Synopsis: It’s no secret that Chris Gochnour is a fan of the handplane and the superlative surface it can leave on any piece of furniture. This article is perfect for those who are new to using a handplane, and also those whose technique could use a boost. In it, Gochnour shows when and how to incorporate the jack plane and the smoothing plane into furniture making, not only for basic stock preparation but for fine-tuning and trimming components and refining glued-up assemblies.
He’ll show you ways to make mill marks disappear, tame panel glue-ups, fine-tune frames, fit doors, clean up dovetails, and more.
From Fine Woodworking #204
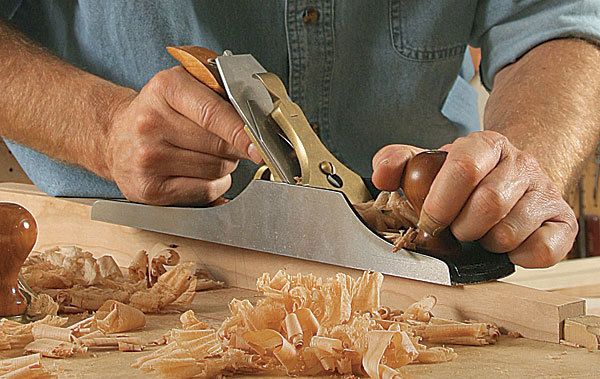
There’s no denying my love of hand tools and the romantic notions I have about building furniture by hand. To my ear, the swoosh of a sharp plane gliding along the face of a board is music worthy of an iTunes track, or at least a ringtone.
But I don’t turn a deaf ear to the need for woodworking machinery. When I’m building furniture on commission, time is money, and easy listening must give way to the heavy-metal roar of machinery. Fortunately, my hand tools, planes in particular, don’t sit backstage for long.
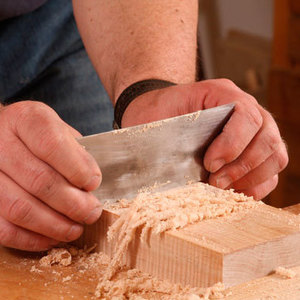
In my shop, machines tackle the rough work, with handplanes following to eliminate evidence of machine work. But planes are more than cleanup tools. No matter what piece of furniture you are building, whether a case or a table, a chair or a box, handplanes can step in to polish a surface with a sheen unmatched by machine or paper. And these tools excel at fine-tuning and trimming components, allowing you to creep up on the fit of parts in almost microscopic increments. Most of the time, I go straight from planing to finishing, but if I am dealing with tricky cross-grain situations, such as breadboard ends or some obstinate figured wood, I reach for a scraper or sandpaper to eliminate tearout.
The two bench planes I use most often are the jack and the smoother (see facing page). Here I’ll show you where and how to incorporate these planes into your furniture making, not only for basic stock preparation but also for refining glued-up assemblies such as doors and drawers. Let’s start with the basics.
Pick up where machines leave off: The most basic task of a handplane is to remove the ripples and ridges left by machines on the faces, edges, and ends of parts. In the Fundamentals on p. 30, I take you as far as planing the face of a board. So let’s begin by planing the edges.
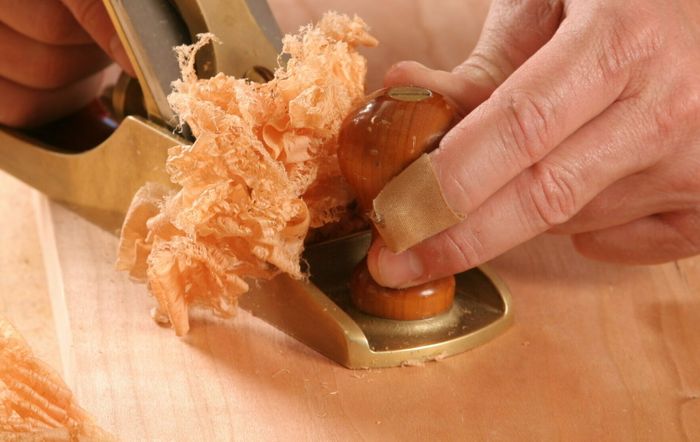
Although some woodworkers use a block plane on an edge, I prefer the heft and control that bench planes offer. Whether you choose a jack or a smoother depends on the amount of work that’s needed. If the machine work is not high-quality, start with a jack to remove heavy mill marks and finish with the smoother; otherwise, you can clean up marks with the smoother.
First, secure the board in a front vise, with the edge about 2 in. to 3 in. above the bench, and make pencil lines across the edge every 4 in. or 5 in. grasp the tote (rear handle) of the plane in one hand and the front of the plane’s side rail with the other (see bottom right photo, p. 47). Holding the tool this way will help your fingertips keep the plane level as you work the edge of the board.
For the full article, download the PDF below:
Fine Woodworking Recommended Products

Bahco 6-Inch Card Scraper

Veritas Micro-Adjust Wheel Marking Gauge

Stanley Powerlock 16-ft. tape measure


Log in or create an account to post a comment.
Sign up Log in