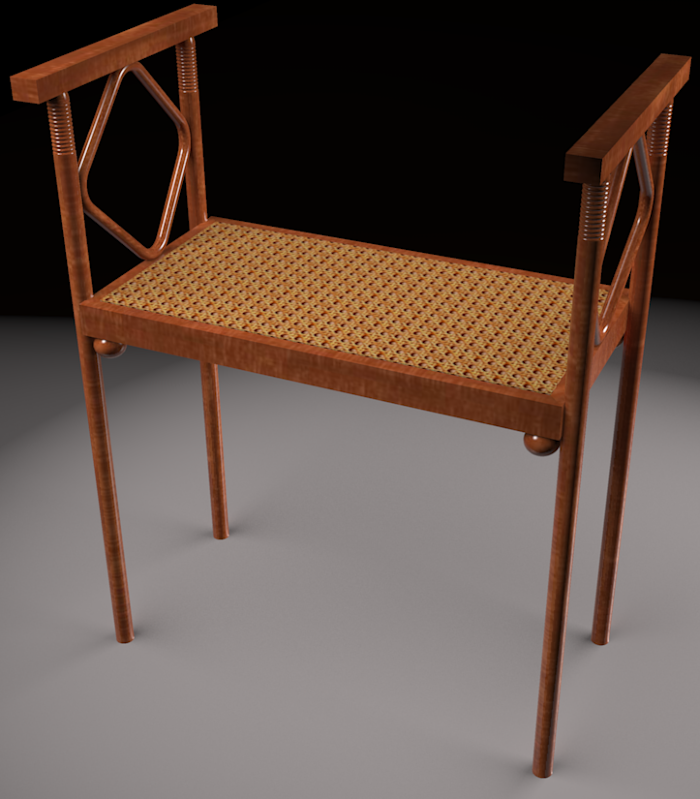
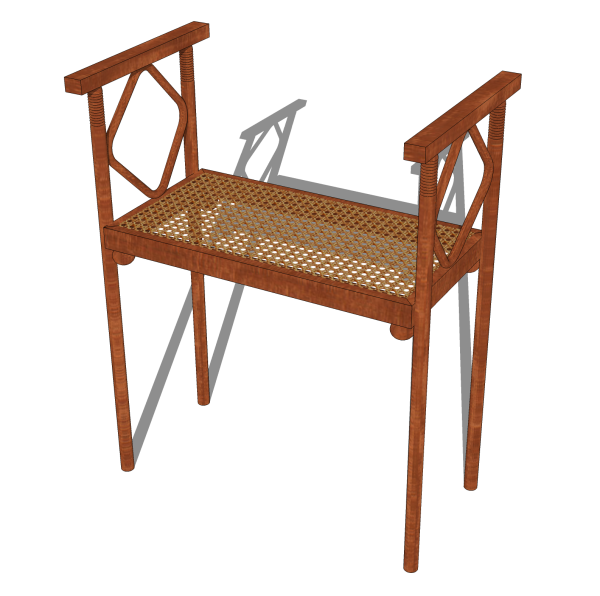
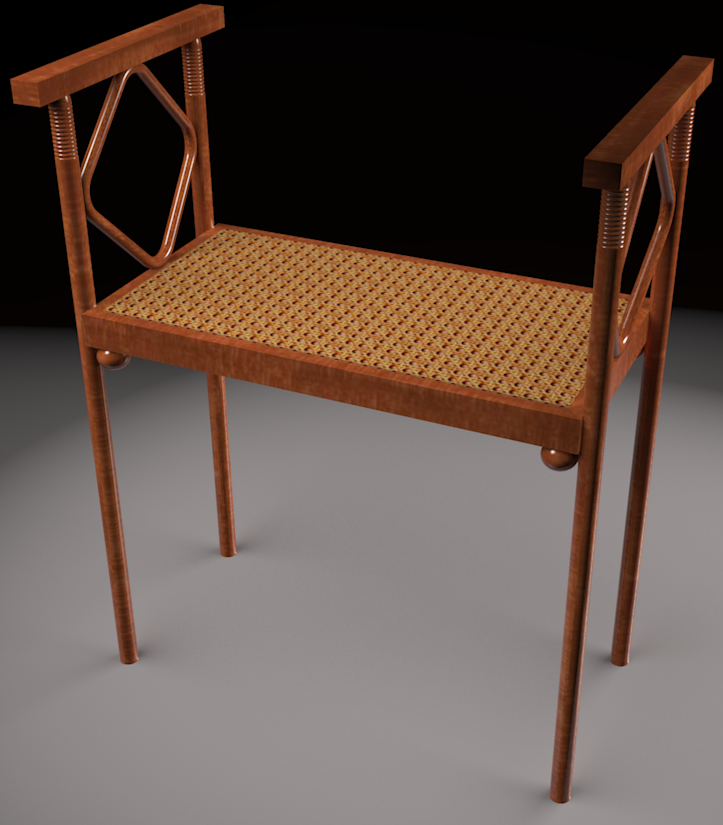
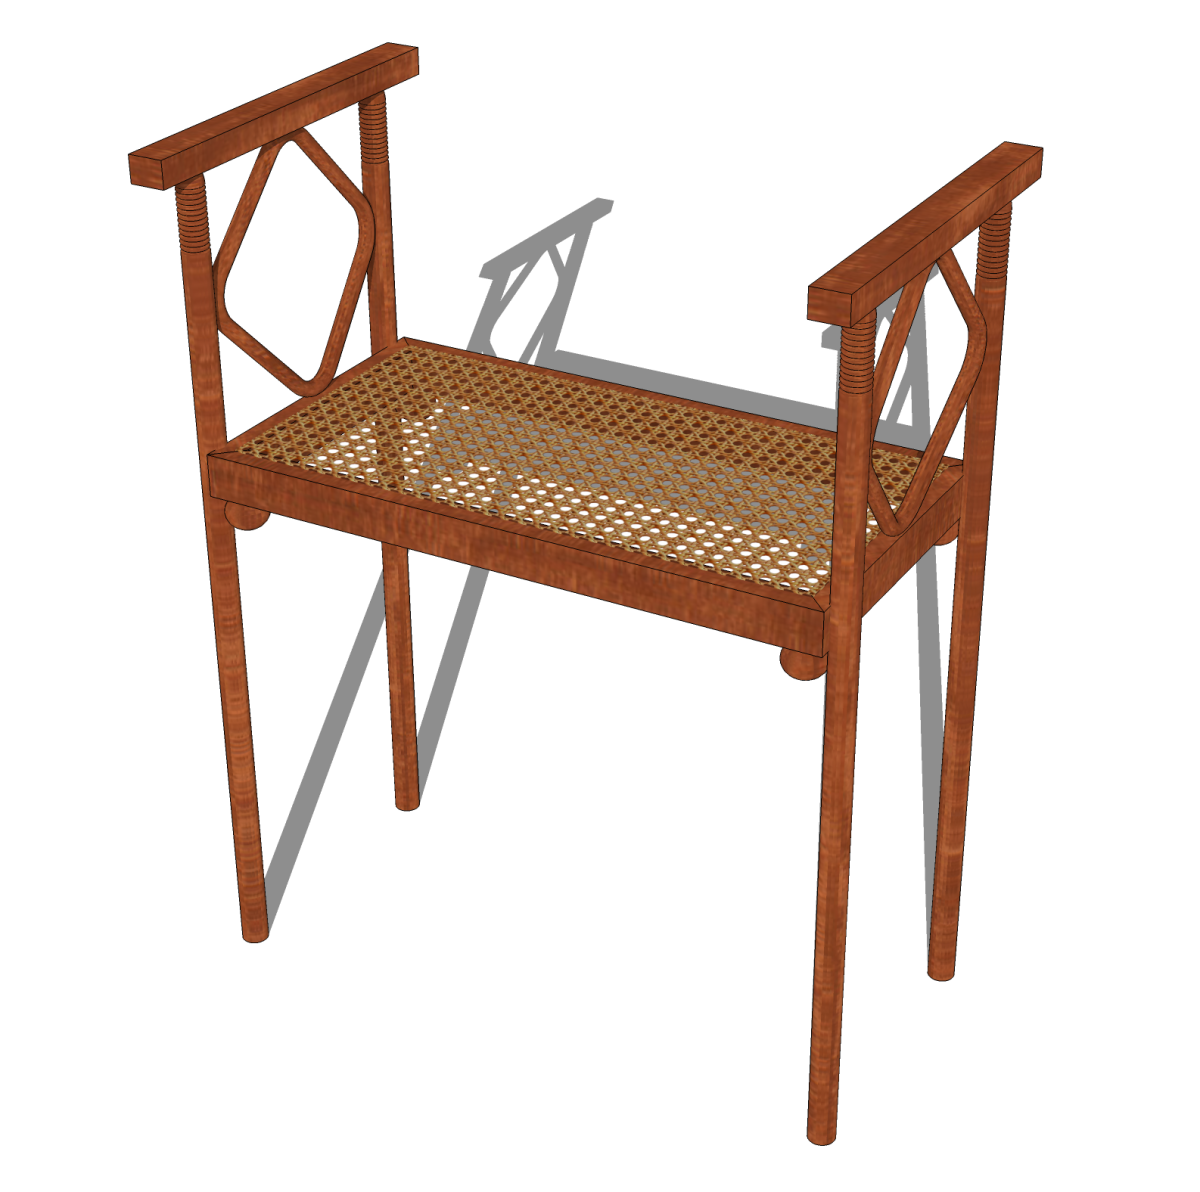
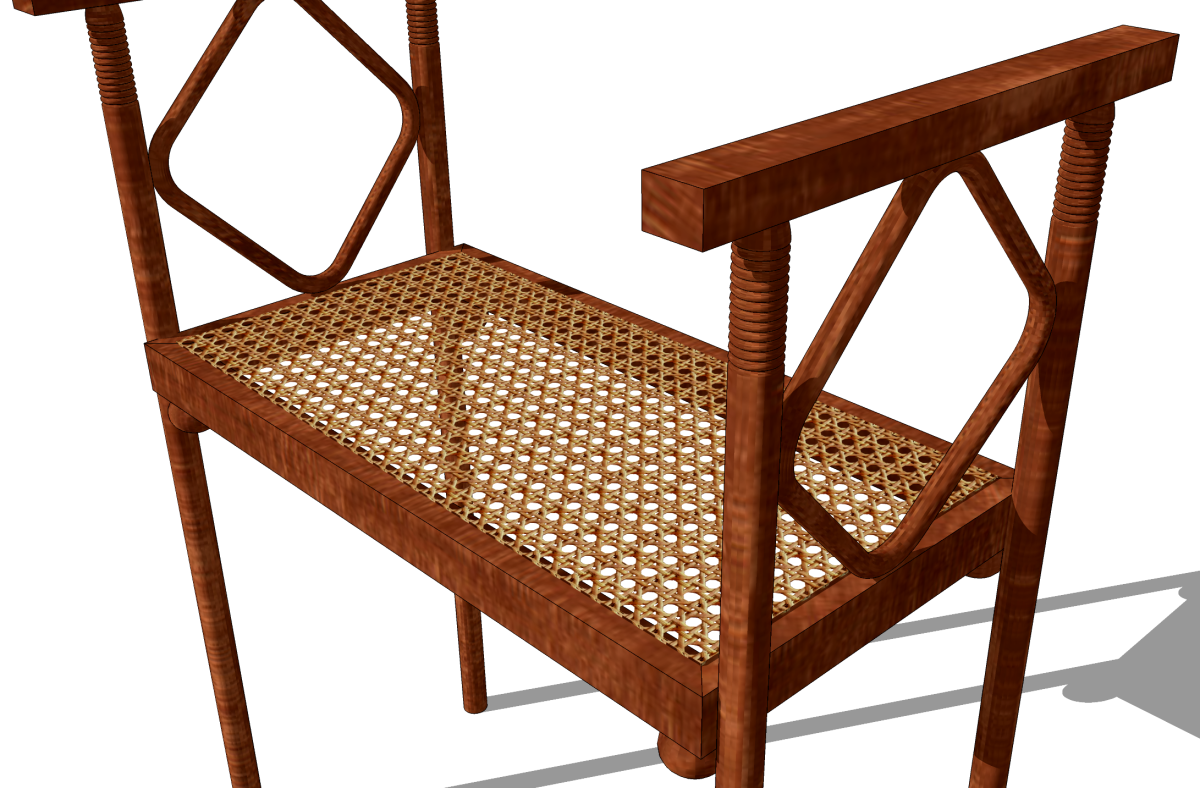
Once in awhile I need to illustrate elements such as the woven cane seat on this causeuse designed by Josef Hoffmann. Although the individual canes could be drawn, it would be tedious at best, create an awful lot of geometry and might impact the model performance. Instead, we can use a material with transparency. This will give us the appearance we need with minimal time investment.
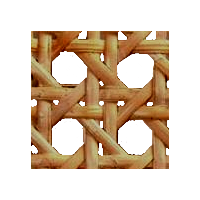
So to start with, I poked around on the internet until I found a likely image candidate. In an image editor I cropped the image tightly so I have a repeating square pattern. This is different from the wood grain materials I make. For those I use as much of entire planks as I can.
After cropping, I erase the pixels where the holes are. The result looks like this:
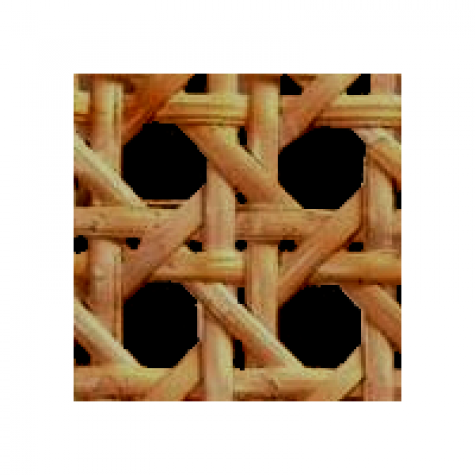
The transparent areas show as black in the image, above. Then I save the image as a PNG file because PNGs support transparency.
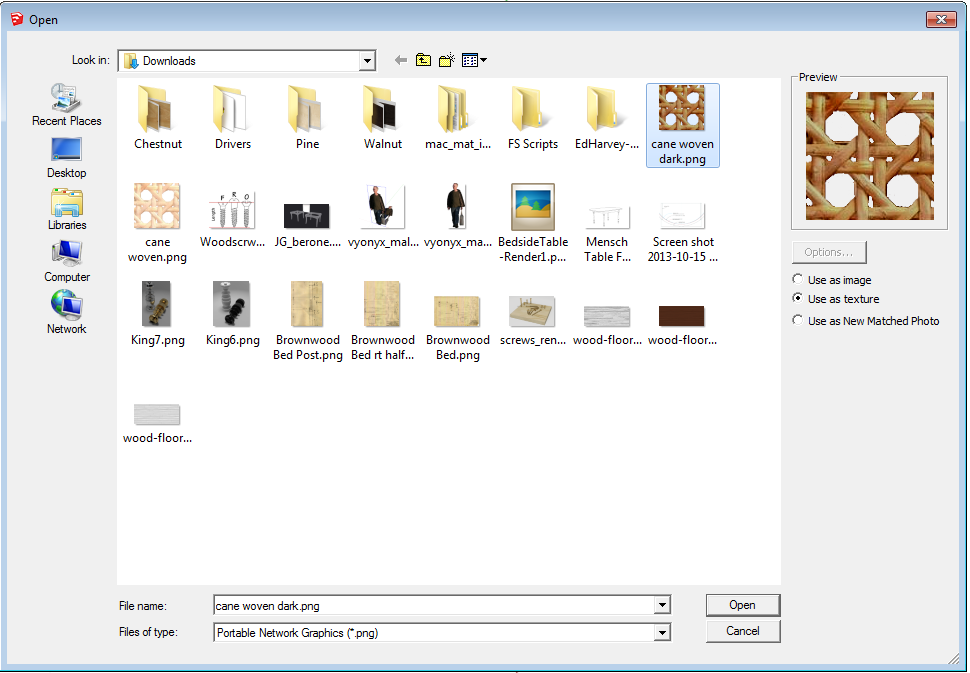
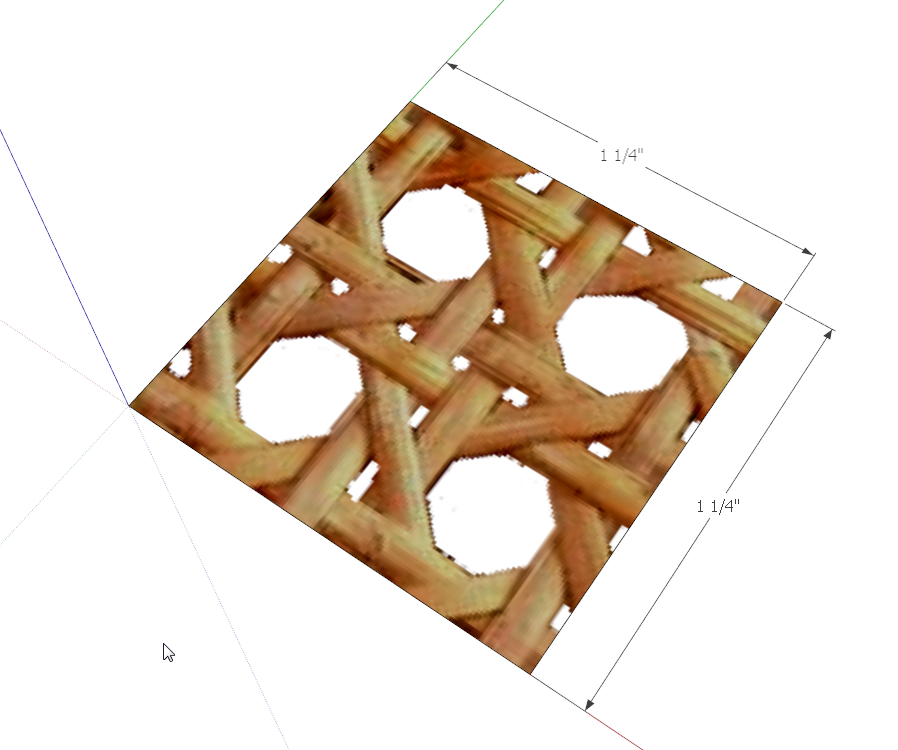
Now it’s time for SketchUp. Open a new file in SketchUp and draw a square of the appropriate size. I know the square element in this image is 5/8 in. and with two squares in each direction so I drew a square that is 1-1/4 in. by 1-1/4 in. Then go to the File menu and click on Import. Choose PNG as the file type to import and make sure to select “Use as texture”.
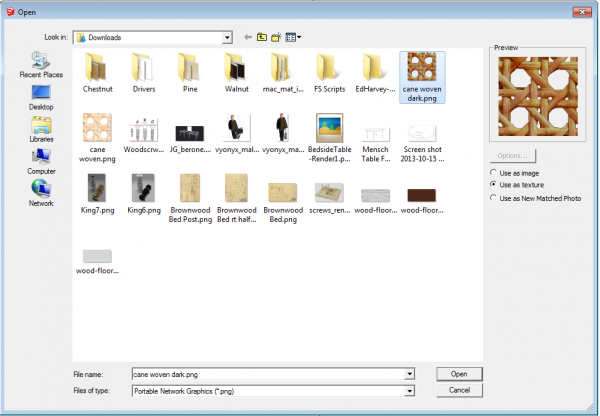
Choose the image file and click Open. The import window will close and the cursor should show the Paint Bucket tool. Click at the lower left corner and drag up across the face. Click when you get to the opposite corner.
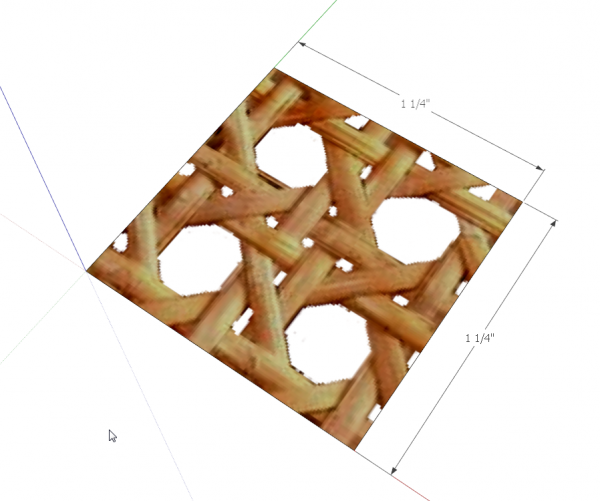
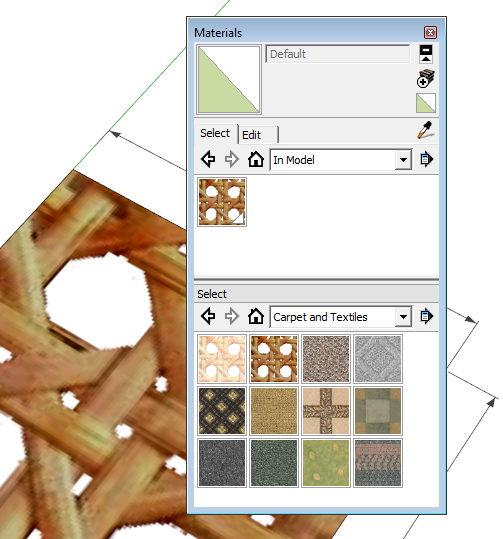
You now have the material in the model. You’ll note the edges of the holes are a bit ragged. In this close up view we’re able to see the pixels of the image. When we look at it from a normal distance, though, that raggedness won’t show.
You’ll probably want to save this texture for use in other models. Open the Materials window and the secondary pane by clicking on the little + icon immediately below the X used to close the window. Set the top pane of the window to In Model by clicking on the house icon. Set the lower pane to the library in which you wish to save the material. Then just click on and drag the thumbnail from the top to the bottom pane.
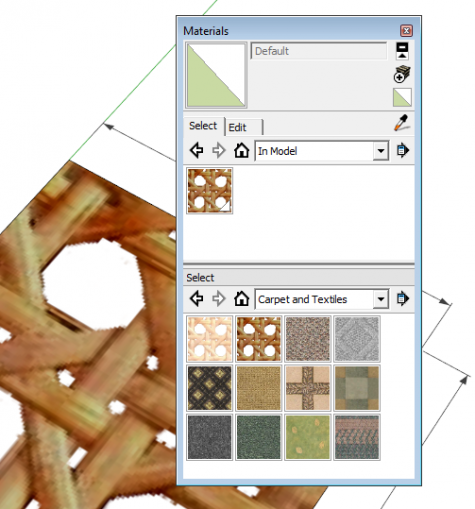
On the Mac the procedure is slightly different. Set the Materials window to show the In Model colors. Click and drag the thumbnail down into the palette at the bottom. This is the grid of tiny squares. Then change to the location where you wish to save the material for later and drag from the Palette up to that library.
Now to make the seat for this piece I drew a rectangle and used Push/Pull to give it a little thickness. It’s only 1/16 in. thick, though. Then I deleted the face on the bottom of this box. I selected all of the remaining faces and applied the material to it. If you leave the bottom face, you’ll see the back face color through the holes on the top. If you paint the back faces with the material, you’ll end up with sort of a doubled texture which won’t look so nice either. You might want to adjust the position of the textre slightly before calling it finished. Remember to make the seat a component before you move on.
You might find this useful for showing materials such as pegboard or metal grilles or who knows what.
–Dave



Log in or create an account to post a comment.
Sign up Log in