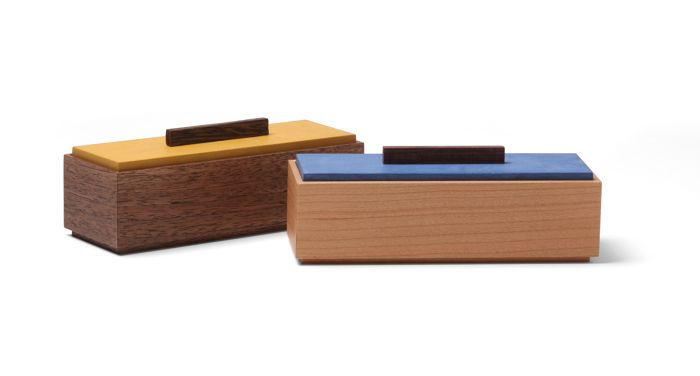
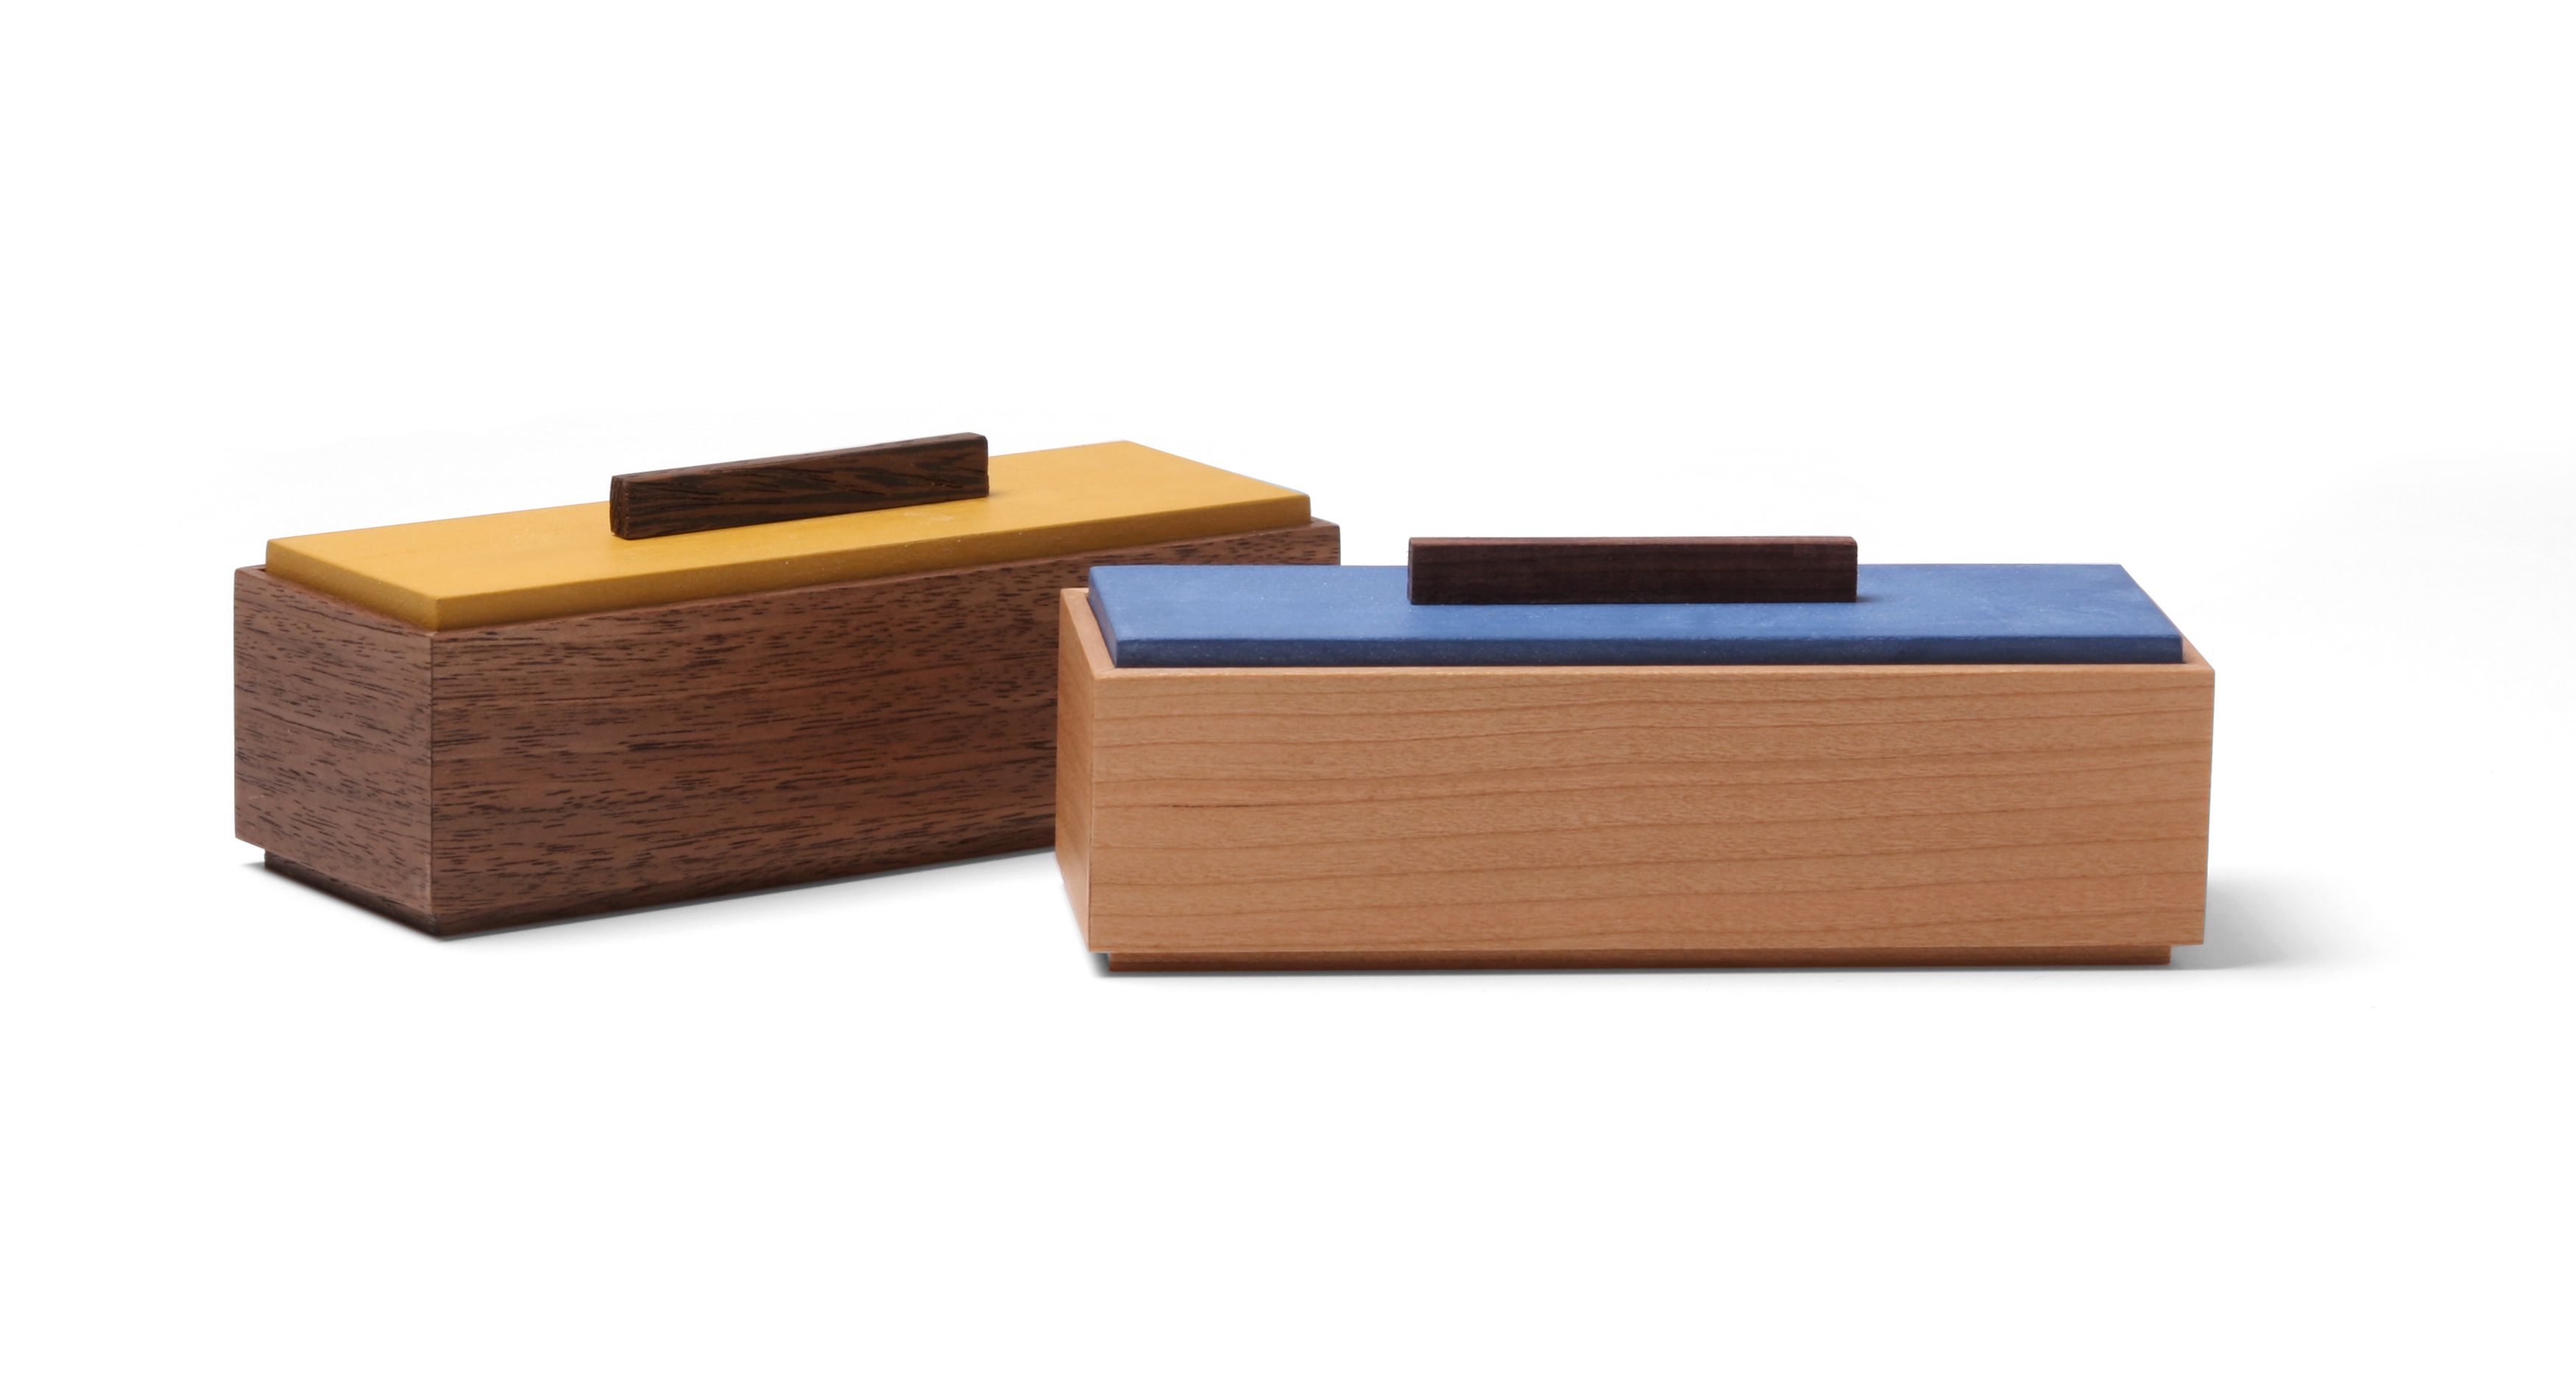
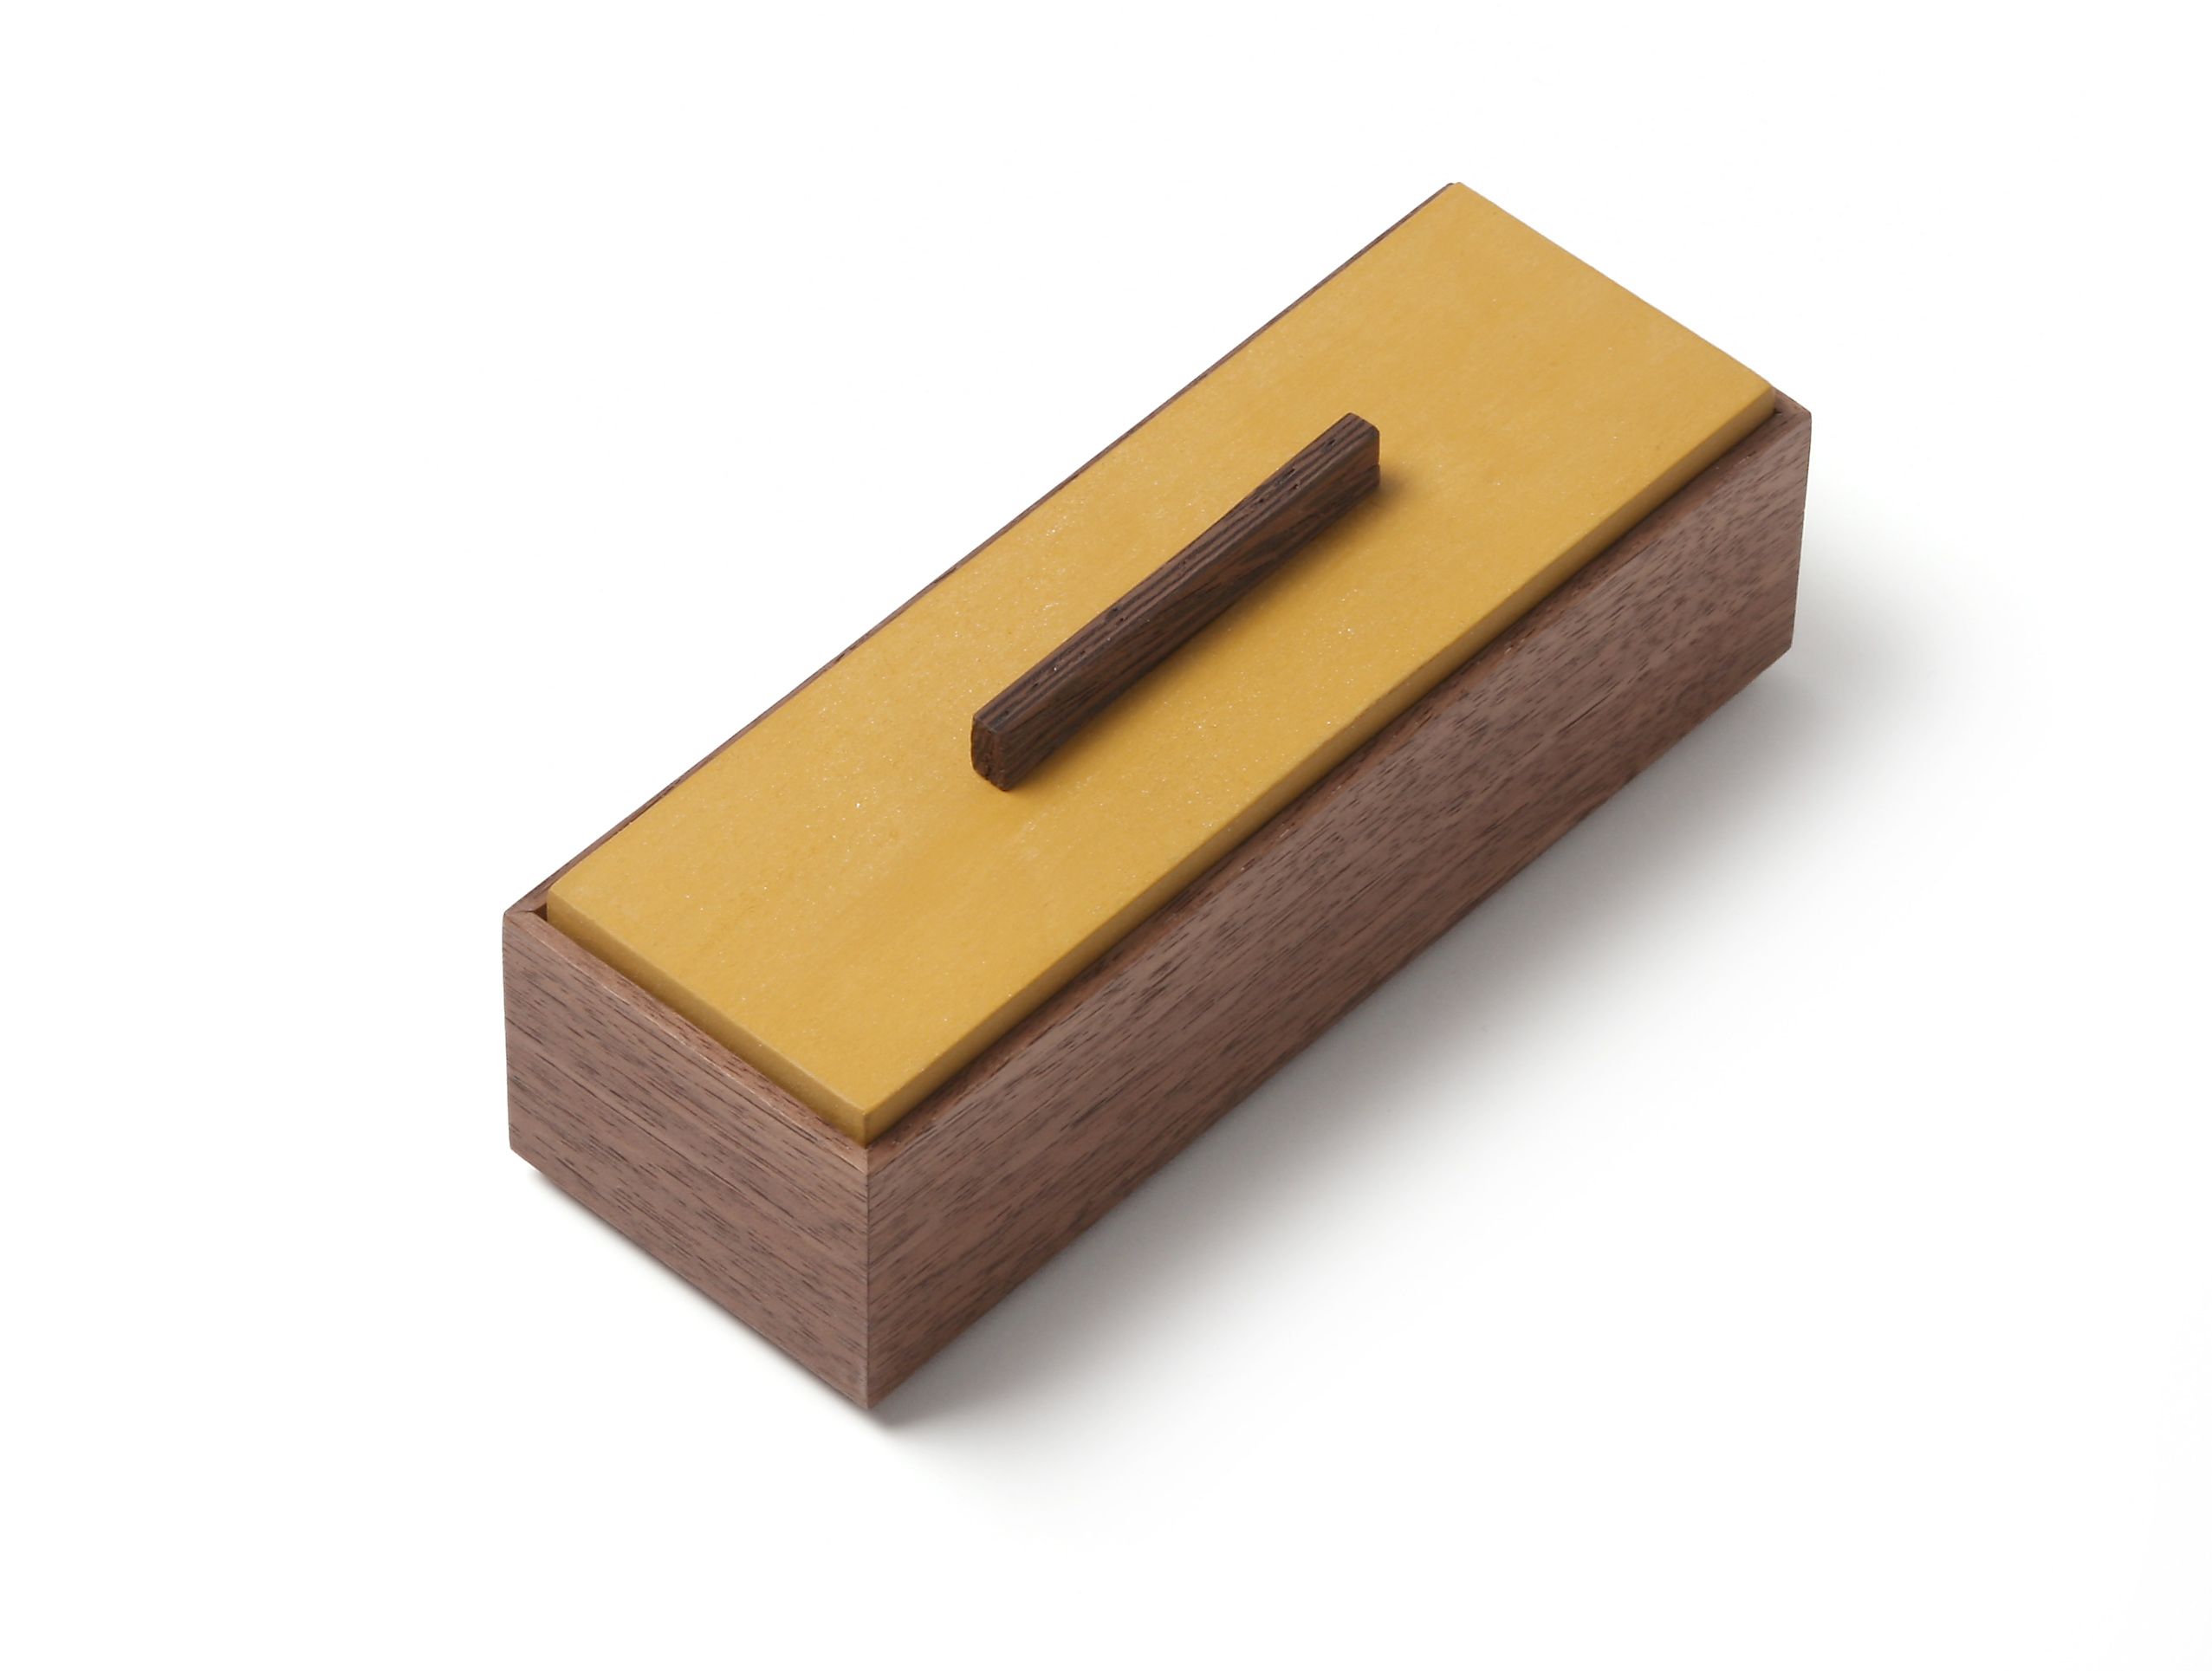
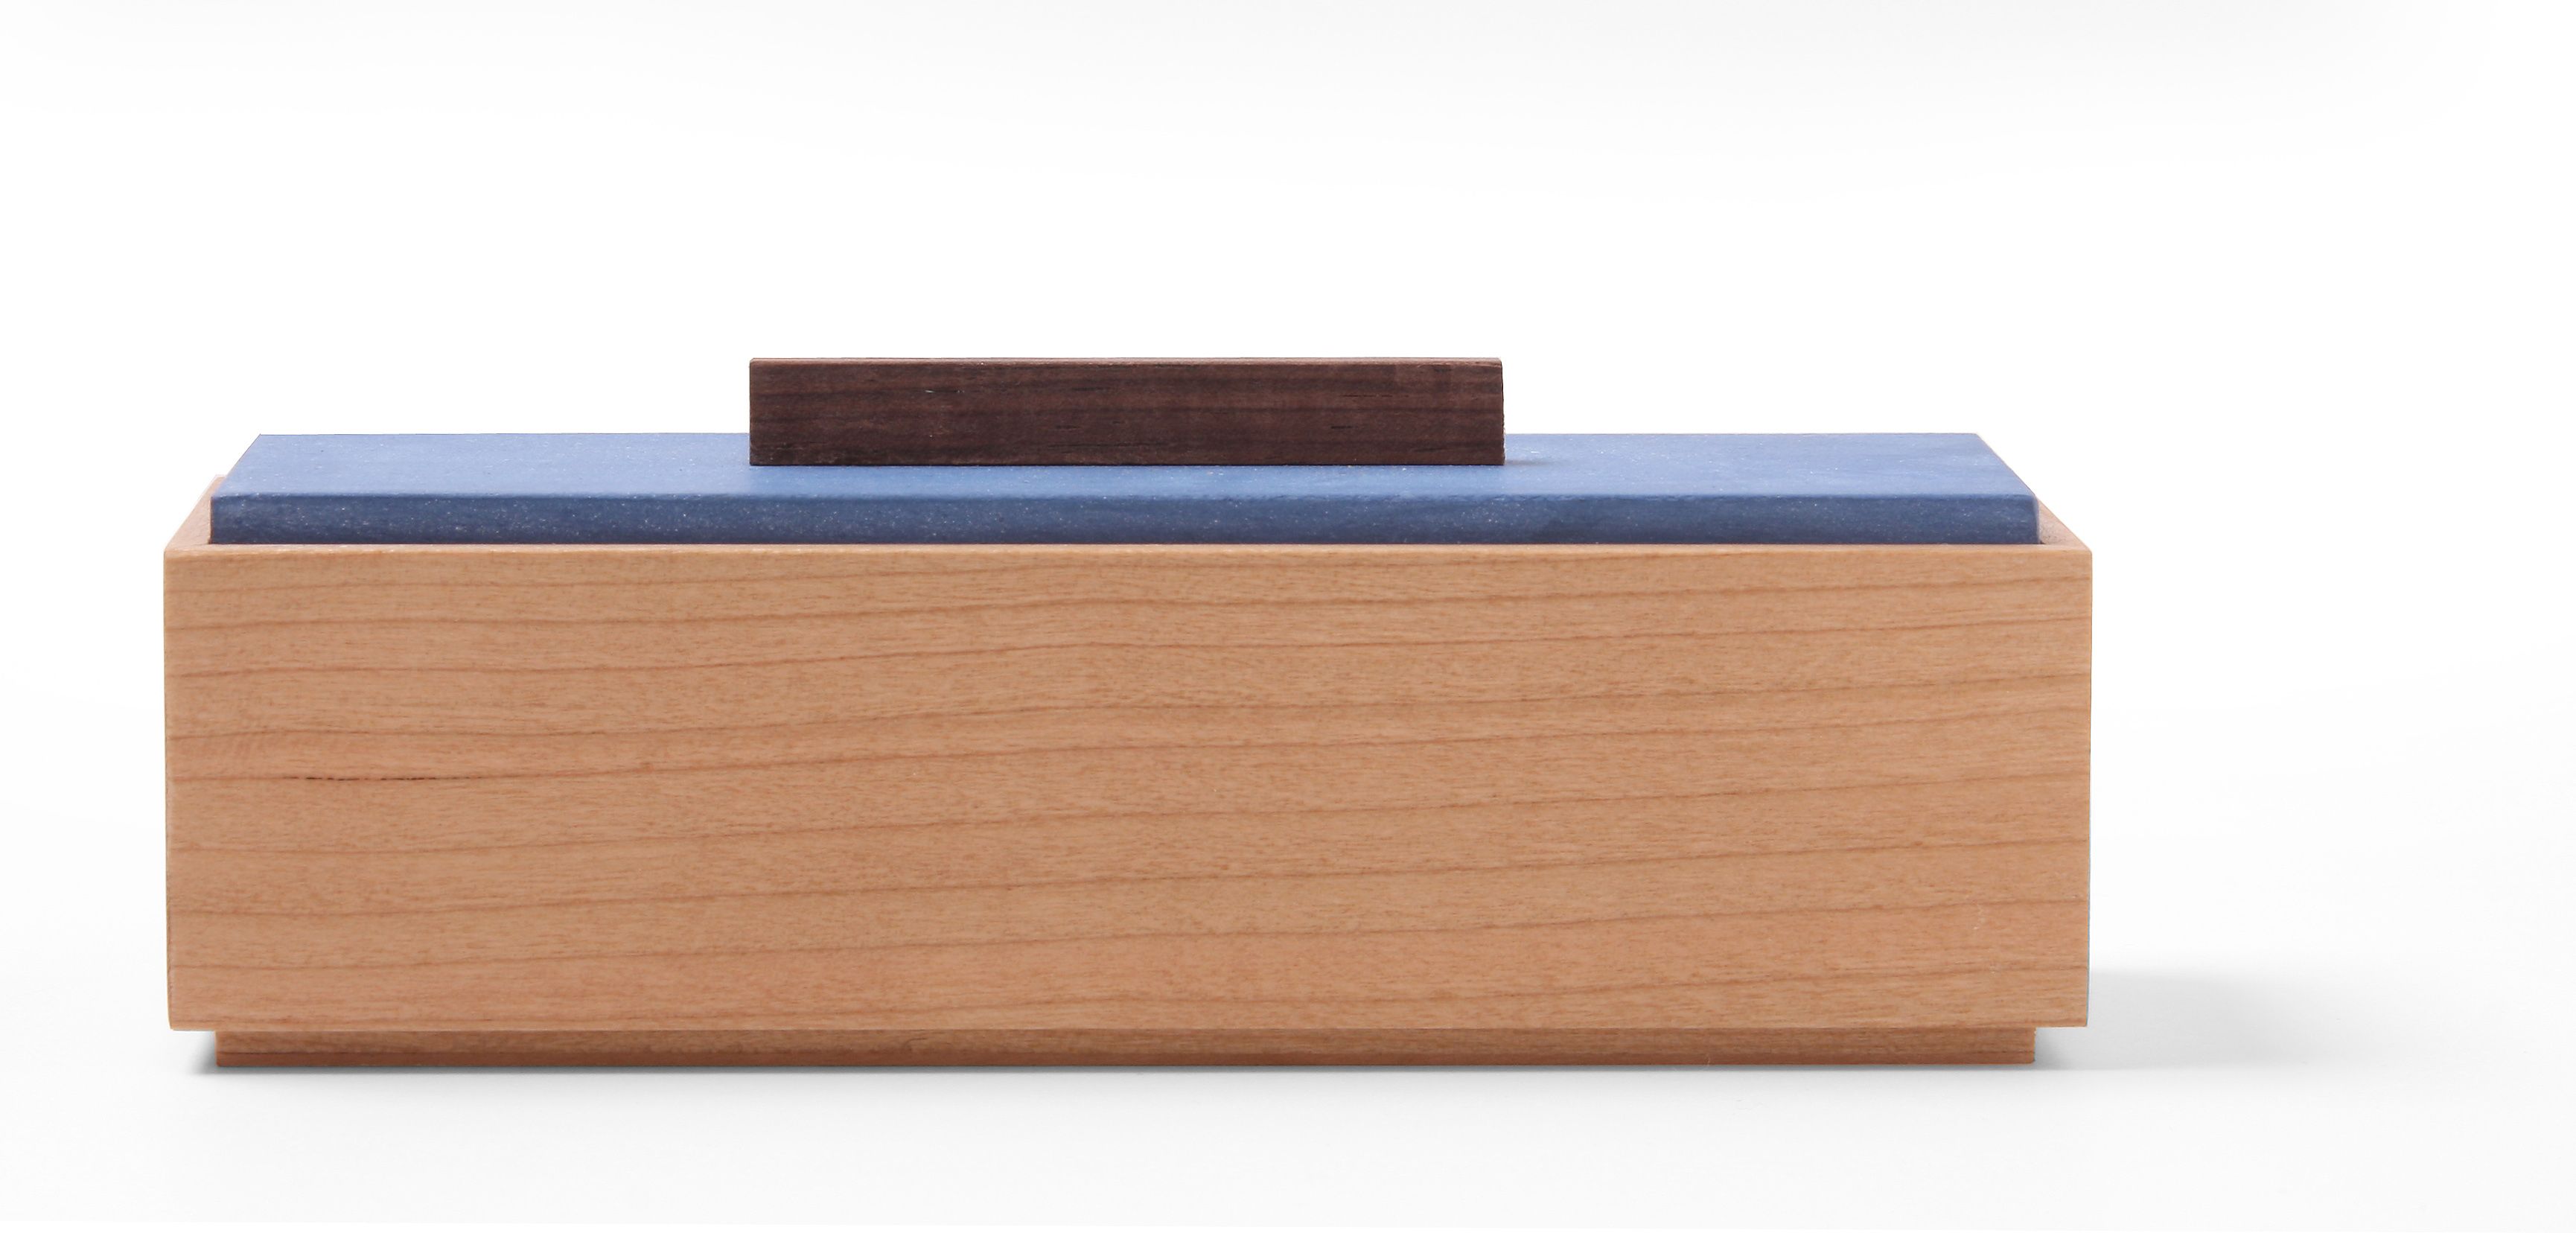
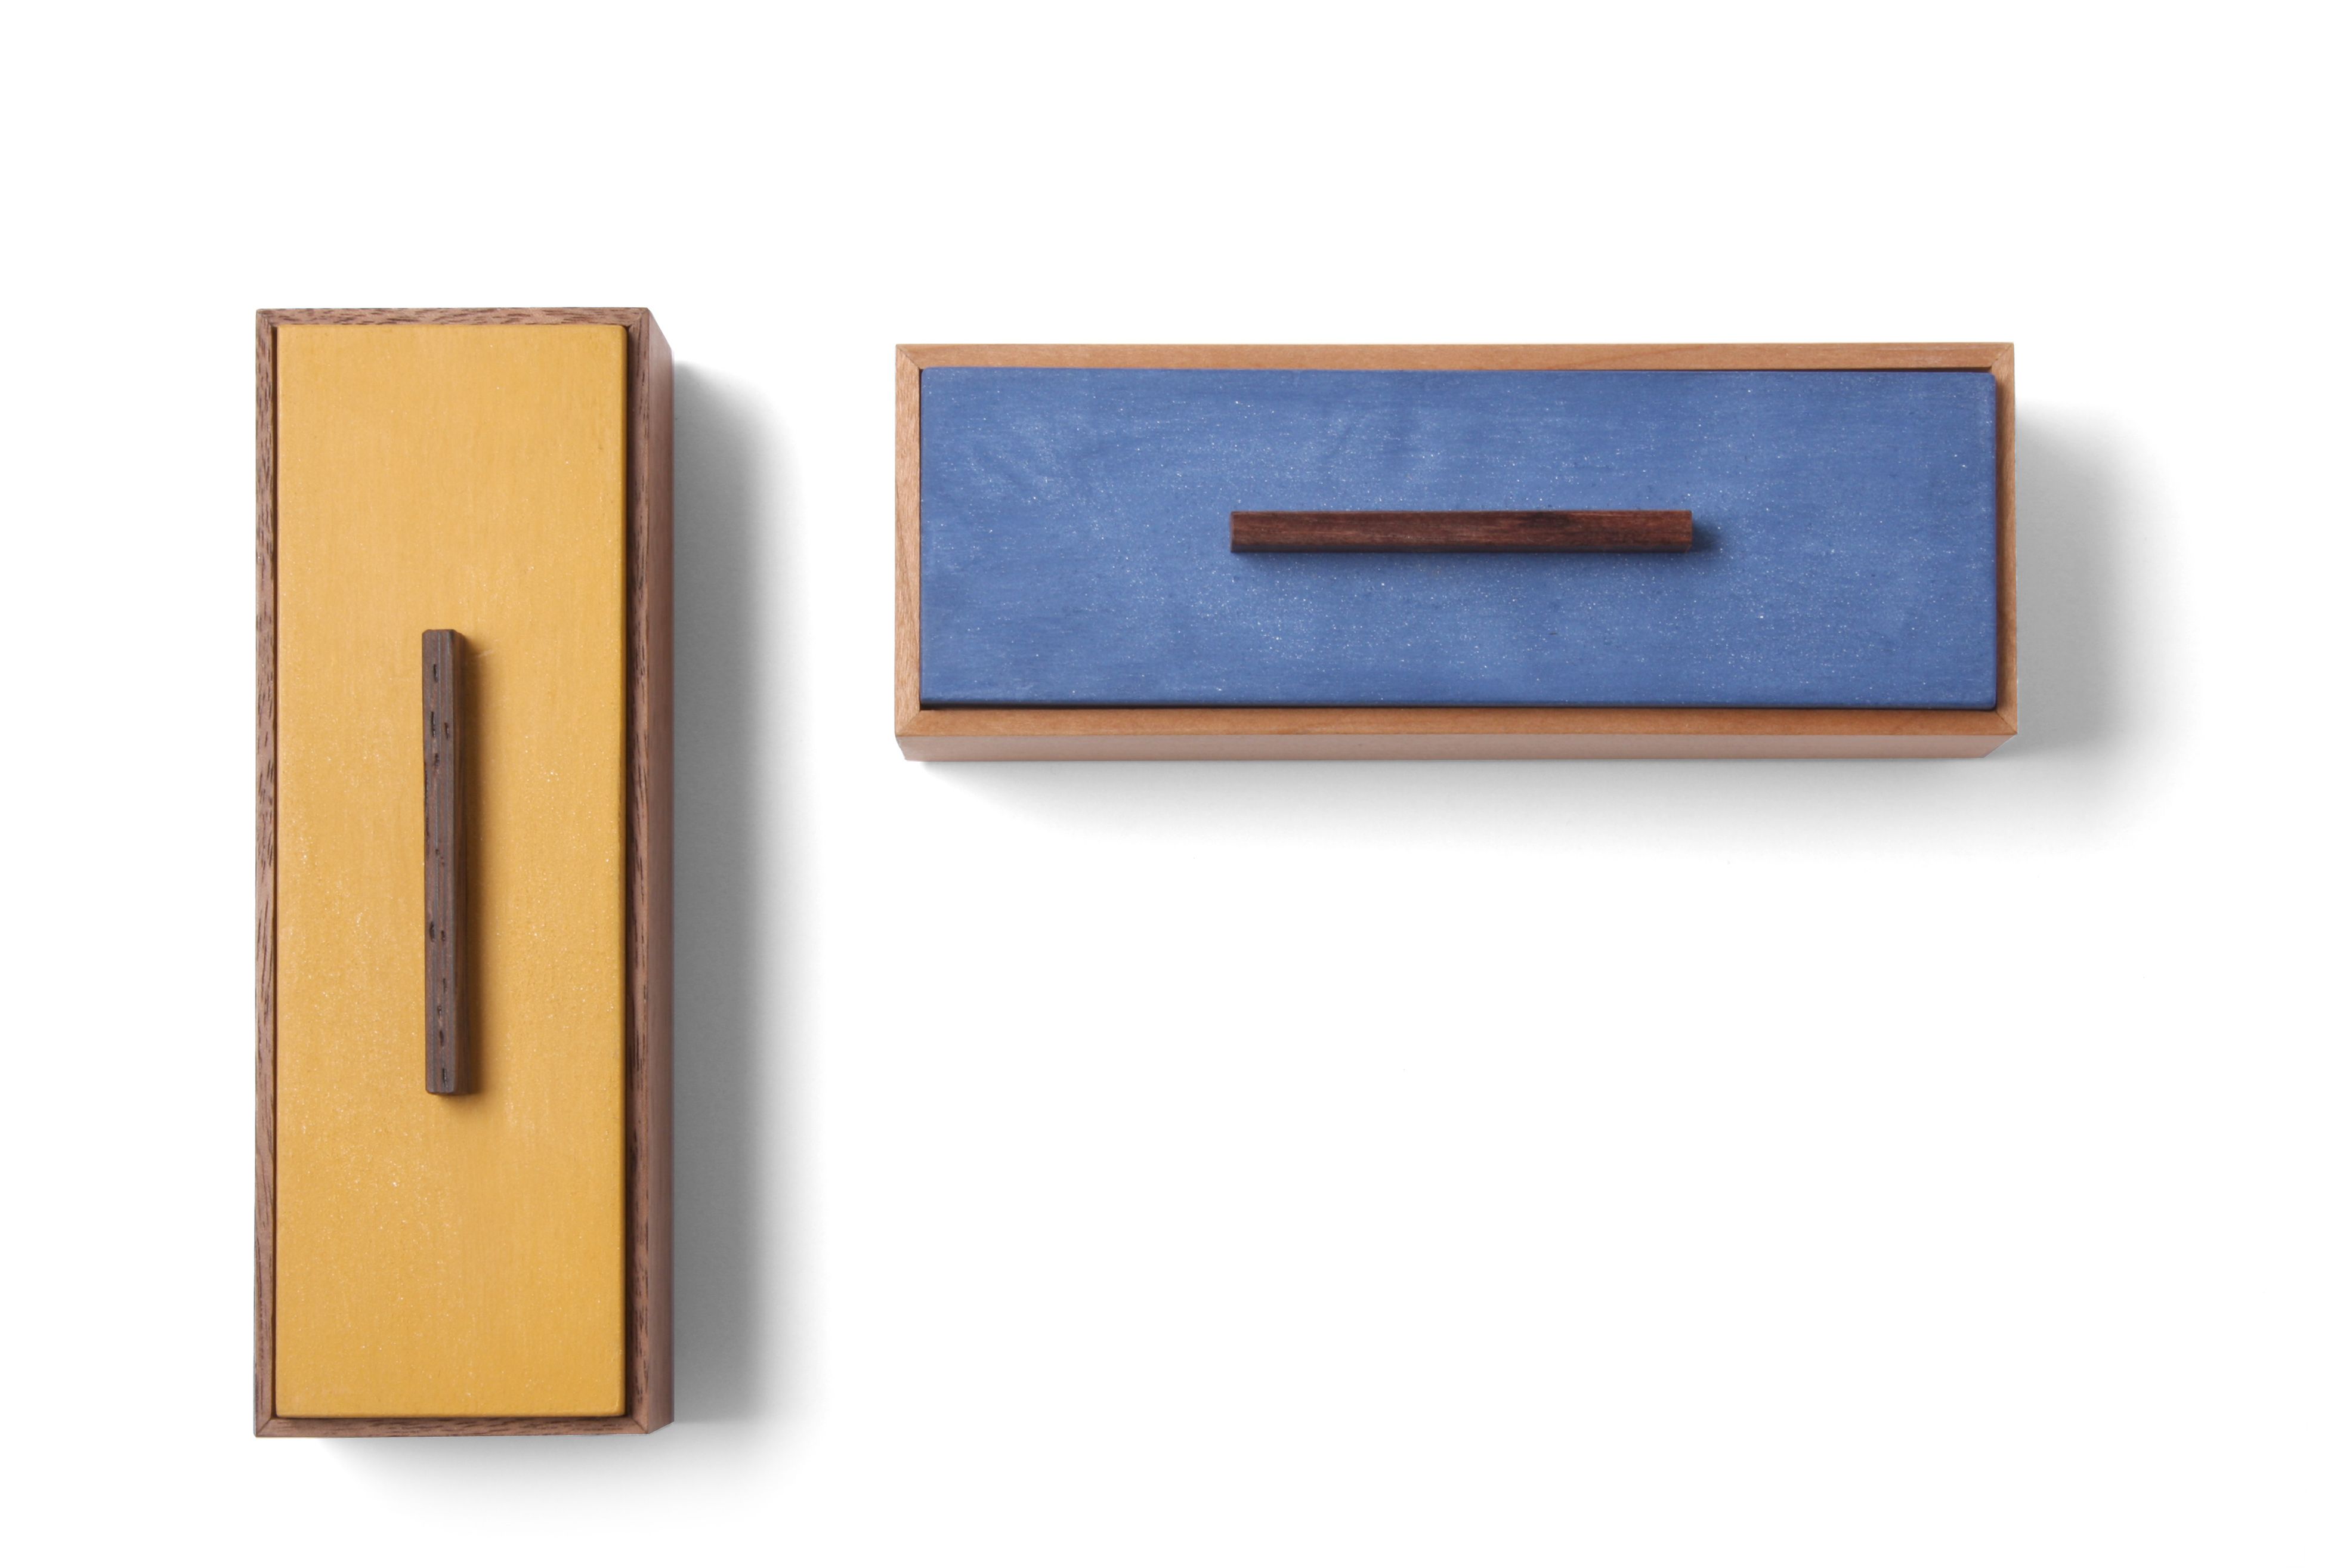
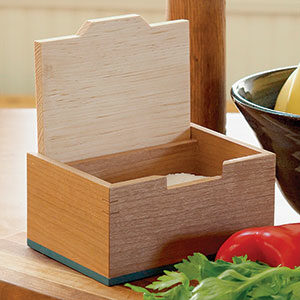
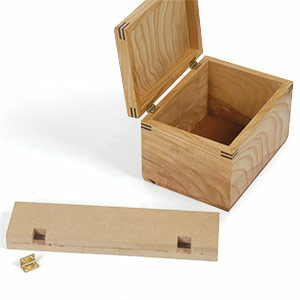
Two at a time. From the moment I drew this little box I knew that I should make a pair of them, using different woods for the bodies, and different milk paints for the lids. I think of them as always being together.
I played baseball when I was a kid. Here’s what I learned from my dad about how to get better at hitting, base running, catching fly balls and everything else baseball related: practice. Do it over and over and over until it becomes second nature.
This lesson is true of so much we do in life. When I switched to competitive distance running in high school and college, the only way to get better was to run more. At the peak of my running (in my late 20s), I was averaging 70 miles per week (and maxed out at 98 miles one week). The result? I ran faster and faster. Woodworking is no different. If you want to cut better dovetails, then you’ve got to get into the shop and cut them. Then cut some more. And after that cut several hundred more. Repeat for several years or a decade. Now you’re cutting dovetails like Chris Becksvoort.
As ever, I’m working on my dovetails and all other joinery used in furniture making. I’m getting better. However, there is a skill that I haven’t been practicing enough: design. Good design, I believe, is an acquired skill. Sure, it helps if you’ve got some natural talent, but it’s not necessary. You can still create beautiful furniture of your own design if you work at it hard enough and for long enough. (You should, of course, practice good design over and over. There are some principles and concepts that can help you in that regard. I’ll come back to them in the future, to share my limited knowledge of them.) So, I’ve set a challenge for myself: design and make 52 boxes in the next 52 weeks.
What do I hope to accomplish? Honestly, I hope to jump start the growth of my design aesthetic, helping it move more quickly toward maturity. I know that making 52 boxes in 52 weeks will also hone my woodworking chops. After a year of near non-stop building, I should have refined my skills. Tighter joints, better finishes, and more beautiful boxes. That sounds nice.
I should note that I don’t plan to make a box a week. Because I often travel for work, occasionally get corralled into acting foolish in front of a video camera, and generally have a busy life, there’s no way I could do that. One week I might make two or three boxes, then just one box over the next two weeks. Also, I know I won’t end up with 52 unique boxes. I plan to make iterations of a single design, each time changing the wood used for the body or the paint for the lid (or making some other such change), to determine which I like best. Or I might modify a design until I’ve come to a fully resolved version of it.
Finally, I’ll post each box as I make it. I’ll include some thoughts on the design, perhaps a note about a cool technique, or just tell you what I like and dislike about the box. If I’m really pressed for time, there might just be photos. I’ll get things started now with the first two boxes I made. If you’d like to read more about them, check out this post.





Comments
Endurance woodworking!!!!!!!
Looking forward to seeing what variations you can come up with.
A high level question, will you be building/designing all of these as generic boxes, or will some designs be dictated by a specific purpose (tea, jewelry, hippy-trippy-green-tobacco, etc)?
How many do you think will be flocked band-saw boxes??? ;)
I'm sure that I'll design at least a few for specific purposes (like tea packets, salt boxes—any box will hold that other stuff you mentioned, or so I've been told). And I know that I will not be flocking any boxes, but I do plan to make some bandsaw boxes to see what can be done.
Matt
Love 'em! Sleek, very MCM. I see you still have some of the milkpaint left from your turned boxes inspired by the round Shaker village building.
I'm looking thru some of your old posts, but haven't found how you might have done the bottoms of these boxes. Can you describe?
caub,
Sorry not to respond sooner. The bottoms are made from 1/4 in. plywood, with shop sawn veneers and solid wood edge banding that match the box body in species. They are glued into a rabbet. The bottom is thicker than the rabbet is deep by about 1/8 in., so the bottom raises the box up off the surface.
The primary reason I went this route with the bottoms is that the sides are too thin (3/16 in.) for a groove. However, when I groove the sides and fit a rabbeted bottom into them, the bottom ends up being inset too far from the outside of the box. This technique brings it much closer, so that you can see it when the box is sitting on a table or whatever.
Hope this helps.
Matt
Download over 16,000 WOODWORKING PLANS at here tiny.cc/woodboat Woodworking guide offers anyone of any skill level the ability to build amazing projects. The guide is extra helpful because it offers more detailed explanations, videos and blueprints then your typical woodworker magazine .
Hope it will help you next time !
Log in or create an account to post a comment.
Sign up Log in