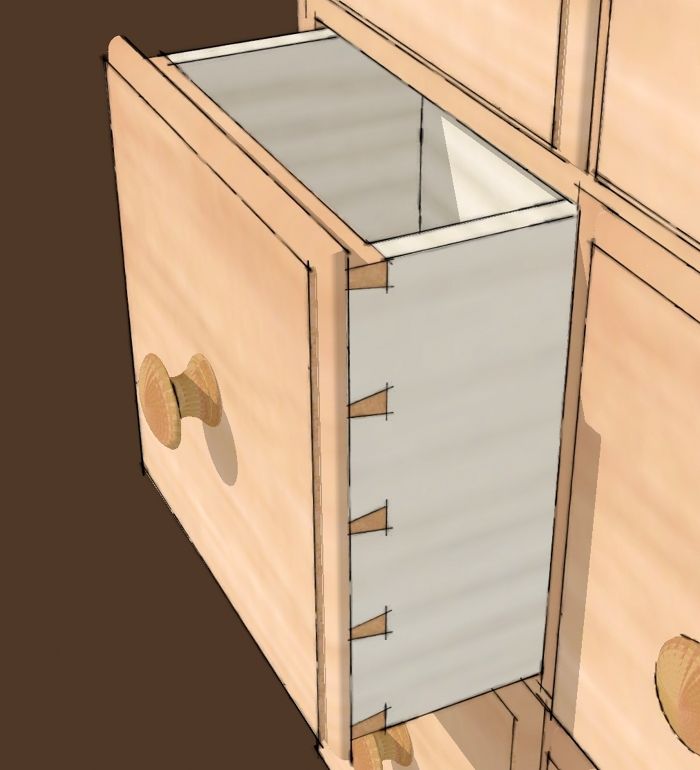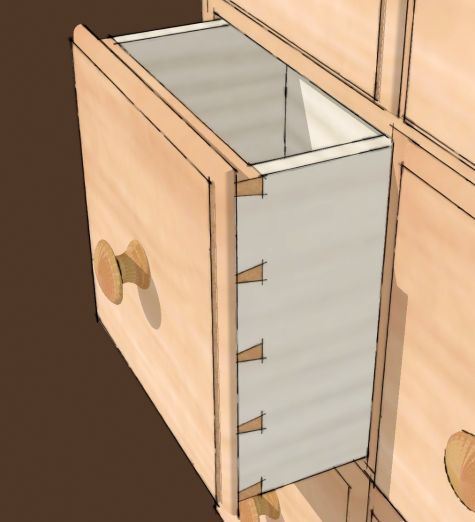

In a previous blog entry I demonstrated a very handy plugin for drawing dovetails. It works very well and is exceedingly fast. After seeing that demonstration, several readers asked me about how to draw dovetails by hand. Even with plugins to automate operations in SketchUp, I think it is a good idea to know how to do them the long way. With that in mind, I did a quick little demo of hand cutting dovetails. The cabinet is Chris Gochnour’s 12-Drawer Shaker Wall Cabinet. Originally, I drew it with the locked rabbets he showed. He also did a version of the drawers with dovetails. His dovetails have a slope of 1:6 and he made his half pins 1/4″ wide so I did the same. Mr. Gochnour also spaced the pins evenly so they are evenly spaced in this example. I did simplify the layout by making all of the pins the same width. You could of course make the pins of varying width and you could vary their spacing as well.


Comments
I dunno, Dave. Those look an awful lot like machine-cut dovetails to me. How can I be sure you didn't use a jig? ;-)
-Steve
Perhaps I should have spaced them a little less evenly and made them all different angles and left gaps. Then you'd know that I hand cut them. I wanted to make them look more like ones you cut by hand. You know, all the same angle and tightly fitted. ;)
Dave, I really appreciate your tutorials. I am new to Sketchup, and Have some questions about the dovetail video. It is not clear to me how you started out, to create the components to begin with. Do the components, the board, include the ends? Do the ends of the two boards occupy the same space? Thank you.
Frank
Hi Frank,
Each 'board' that makes up the drawer is a component. They are drawn to the full dimensions required for the board and they do overlap. The sides are instances (copies) of the same component but one is flipped (mirrored) relative to the other.
Ignoring the grooves for the bottom and the rabbets on the edges of the front, the entire board has six faces just as the real wooden ones would have.
I hope that makes sense.
I am still having trouble doing the tutorial. When I draw the half pin outside the component, I can draw the lower line at an angle, but when I try to draw the top line at an angle, it does not work. I put a guide line at the edge of the side board (or the end of the back board). Then when I try to rotate the guide line by clicking at the intersection of that guide line with the other guide line, it wants to rotate the back board component rather than the guide line. I tried clicking outside of the model to unselect everything; the edit menu option to close component/group is grayed out, so I cannot click it. But everything I do with the rotate tool selects (makes blue) either the side component or the back component. It is clear that I am doing something wrong, but I can't figure out what. Thank you.
FrankE
Frank, when I put the angled guideline in, I use the yellow Protractor tool instead of putting in a guideline with the Tape Measure and then rotating it. Give that a try and see how that goes for you.
Dave
Log in or create an account to post a comment.
Sign up Log in