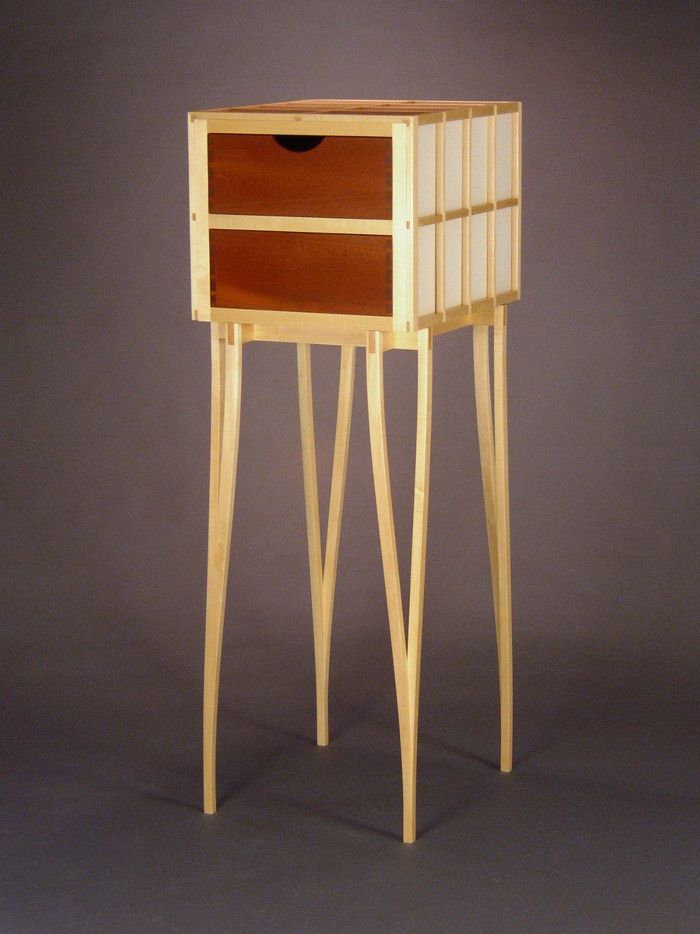
See the "Breathing Drawers" in action in a short video clip.
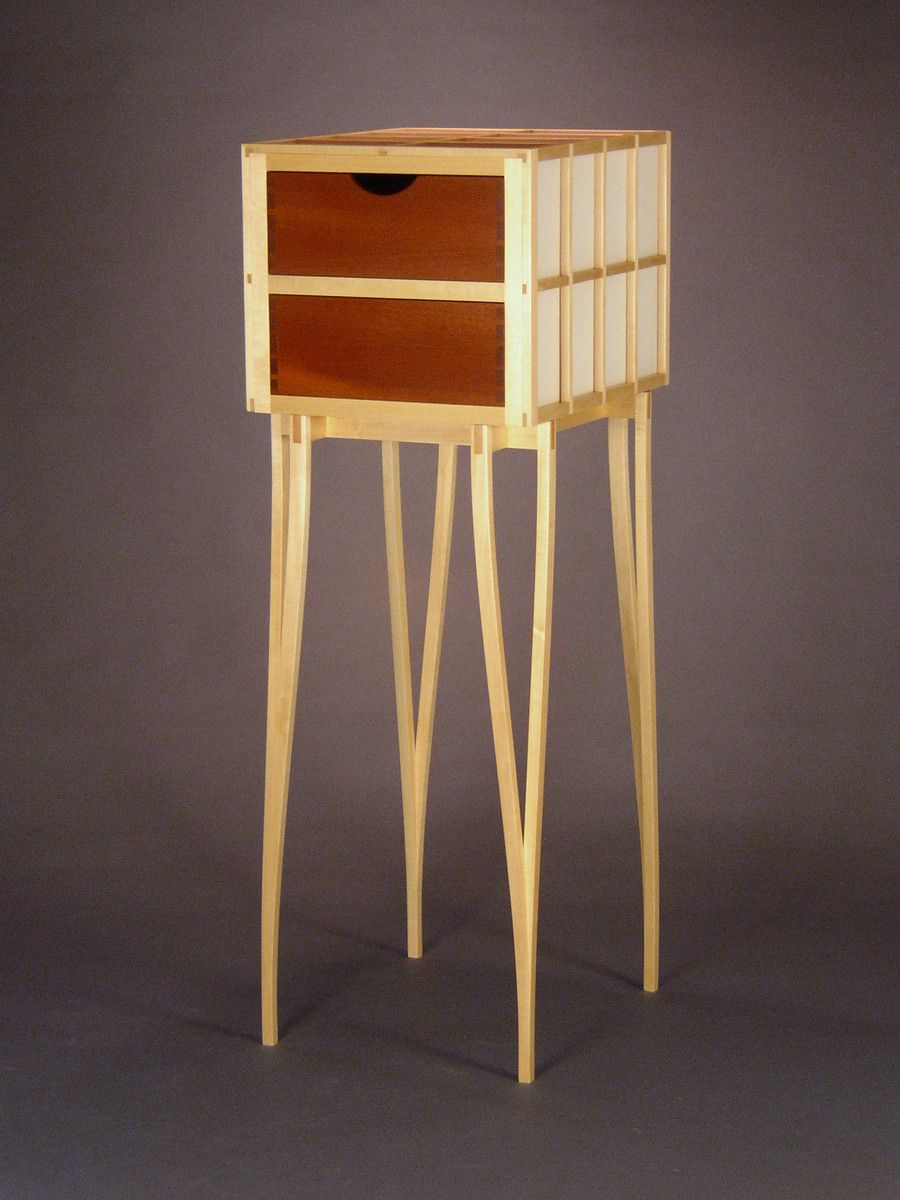
Fine Woodworking featured Peter Schlebecker’s Breathing Drawers in the FWW #203 Readers Gallery. The unusual and delicate base deserved extra treatment so we’re posting the how-to information here in our blog. (Watch the Breathing Drawers in action in a companion video.)
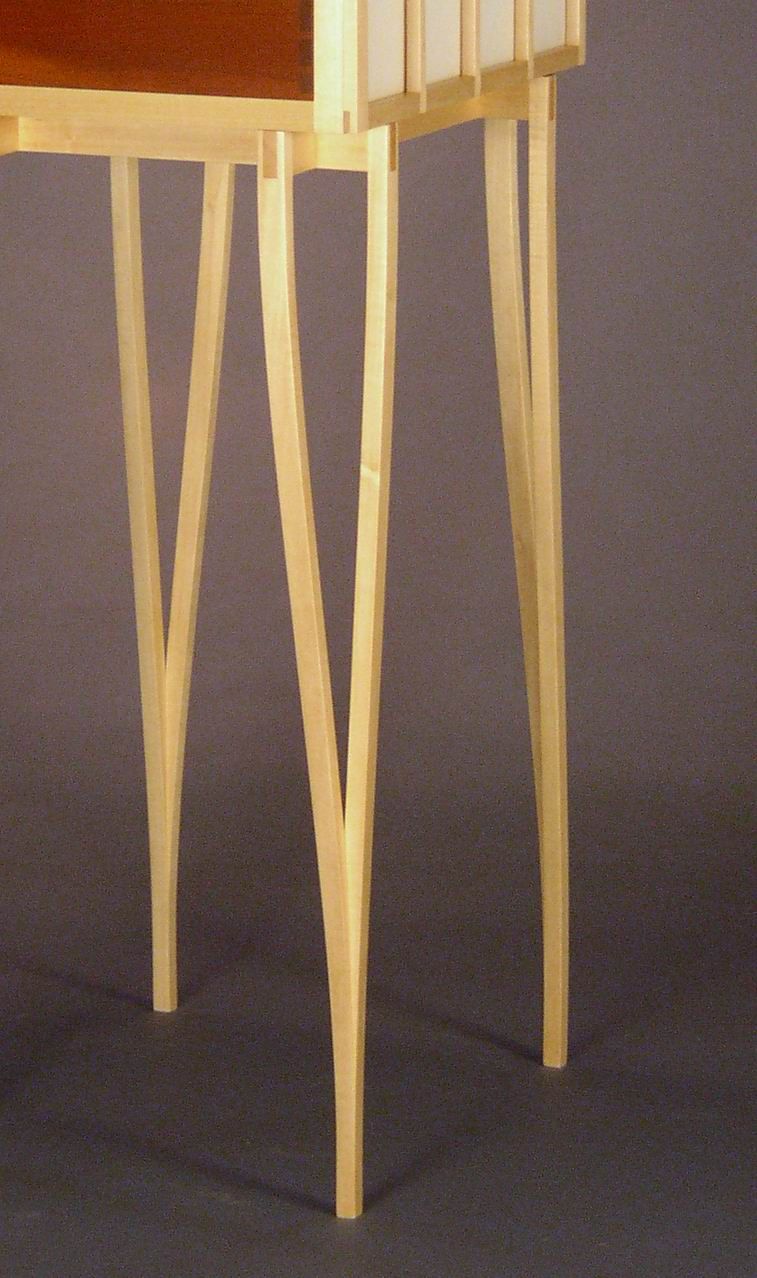
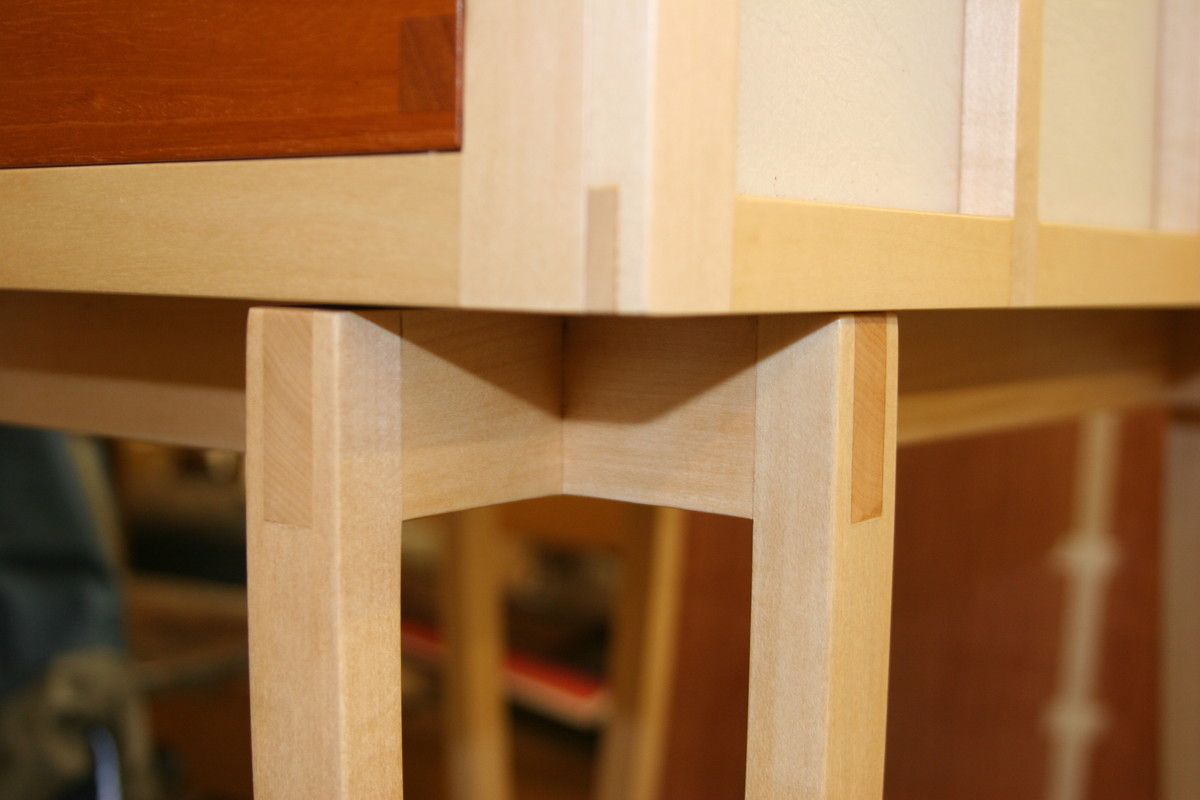
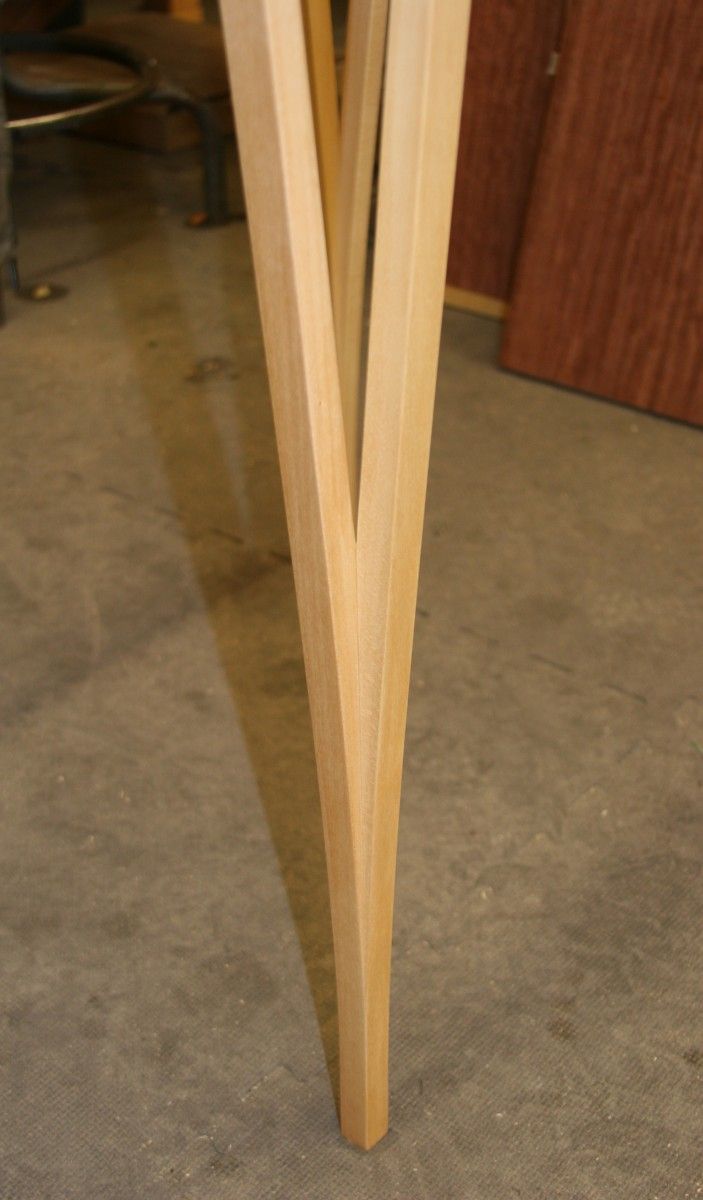
Each of the legs consists of two components that are mitered, shaped, glued and clamped, and connected with a bridle joint to the case. Making the legs isn’t as complicated as it may appear. These four easy steps will walk you through the process.
Step 1

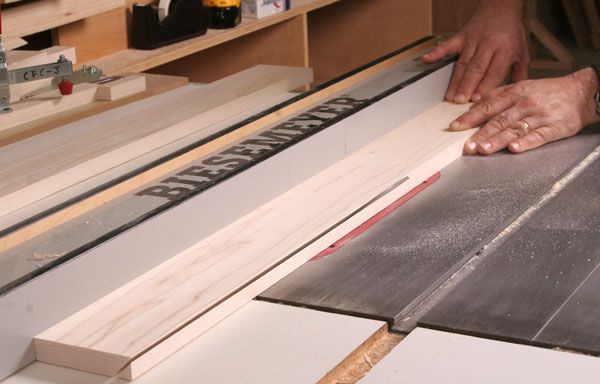
The miter. Cut a 45º miter along the length of your stock. Make sure the stock is wide enough to accommodate the shape of the curved part.
Step 2

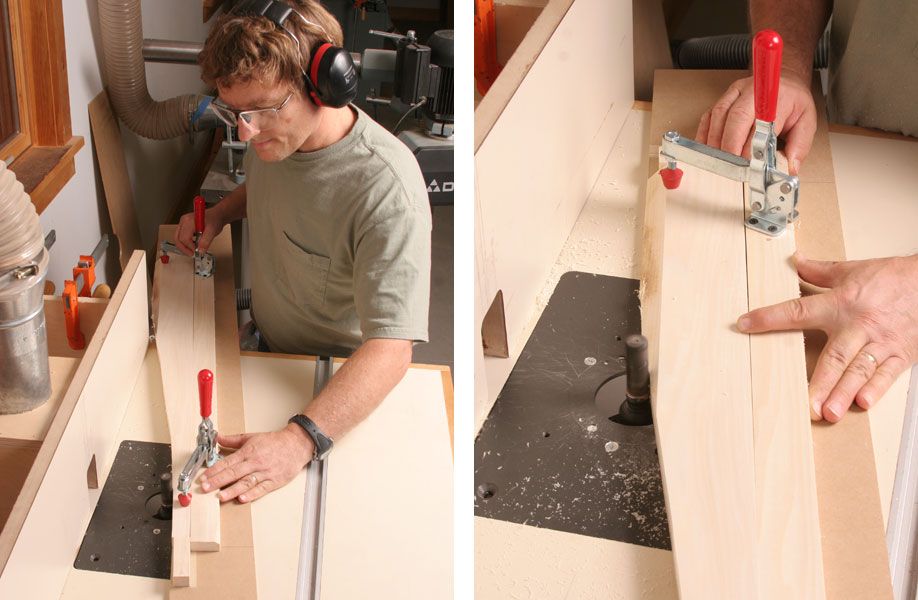
Shaping. Once the miters are cut on the leg parts, use a pattern-routing jig to cut the legs to final shape. Before using the jig, rough out the shape on the bandsaw. Want to learn more about pattern-routing jigs? Click here to read Schlebeckers article “5 Essential Jigs for the Router Table” or see a video of Schlebecker making and using a pattern-routing jig.
Step 3

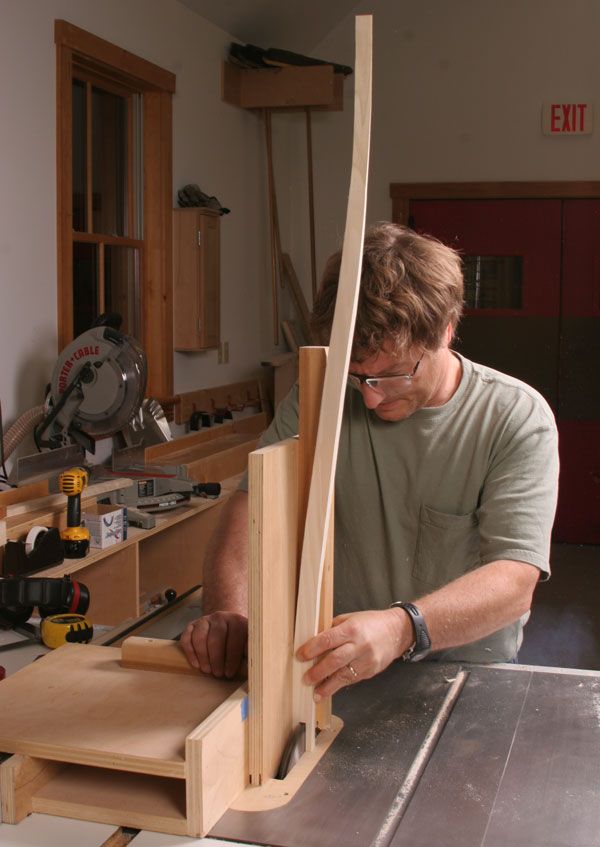
The bridle joint. Schlebecker uses a tenoning jig on the tablesaw to cut the bridle joints on the top of the leg parts, registering the flat sides of the curved parts in the jig.
Step 4

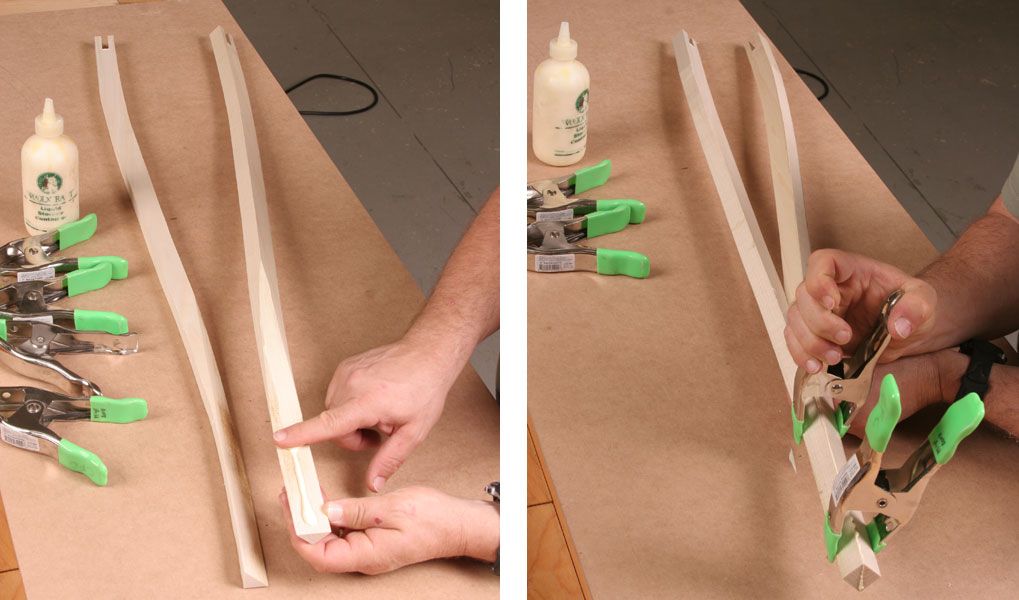
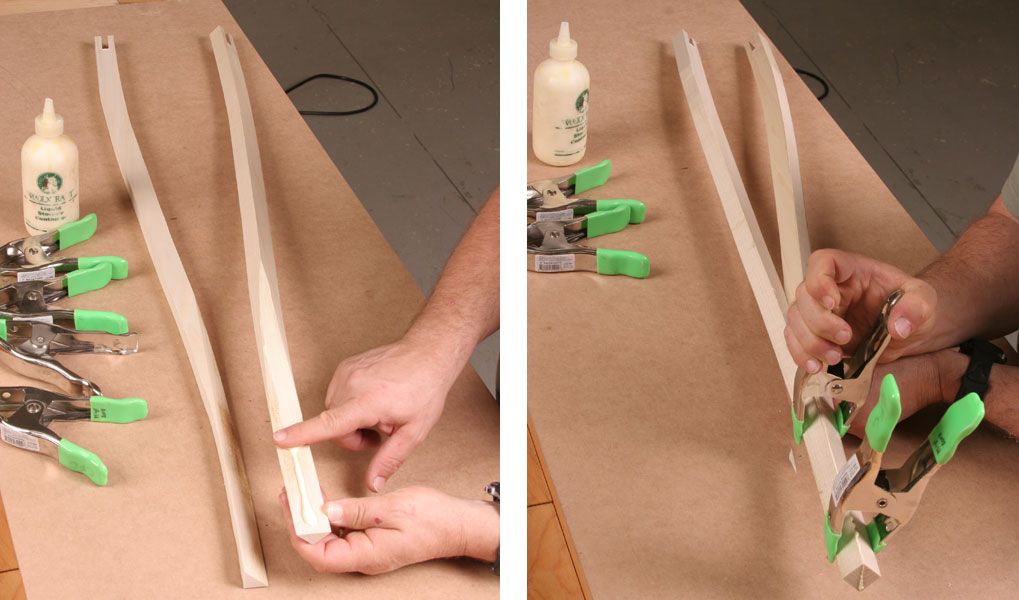
Gluing and clamping. Apply glue only to the mitered portion of the leg parts, and use spring clamps to apply pressure where the miters meet. The long grain glue joint is as strong as any mechanical joint.


Comments
Peter,
Nice legs! They are elegant and "relatively" simple whigh is good.
Joe
Log in or create an account to post a comment.
Sign up Log in