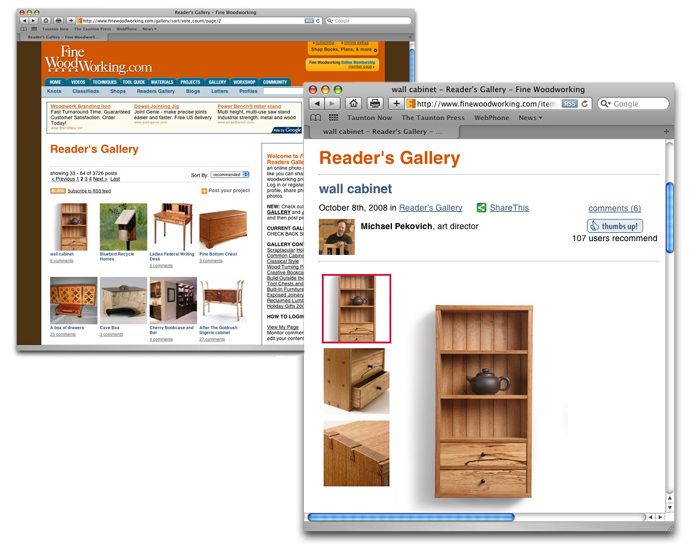
Online galleries are a free and easy way to get your work seen.
It seems that most woodworkers with a project or two under their belt start to think about selling their work or drumming up commissions, even if it’s just to pay for materials. A lot of my so-called commissions starting out were simply to cover the cost of woodworking and give me an excuse to head out to the shop. In the past it was difficult to get the word out the I made furniture and even harder to show interested people my work. I’d spend a bundle on glossy 8x10s and put them in a nice portfolio only to guard it with my life. Of course it contained every piece in every style that I had made.
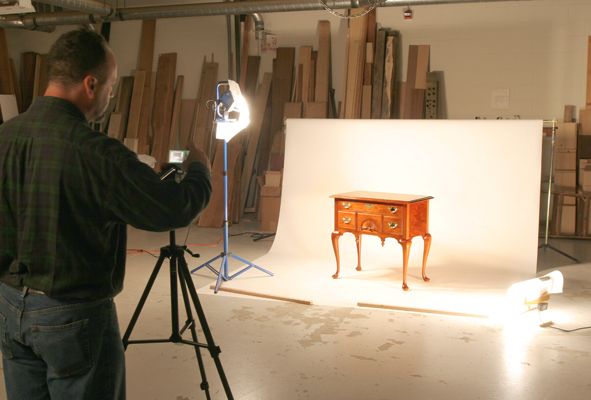
I recently wrote an article on a simple way to take great photos of your work. Not only has the digital age has made it easy to take good pictures, it’s also easier to put them to use. Today it’s a breeze to share your work through emails, on-line galleries, and even make your own website. While you’re at it, you can even submit your photos to Fine Woodworking magazine for a shot at getting published in our Readers Gallery.
Here are four ways your photos can be working harder to show off your work. Plus, be sure to read our previous blog post on how to photograph your work!
Gallery
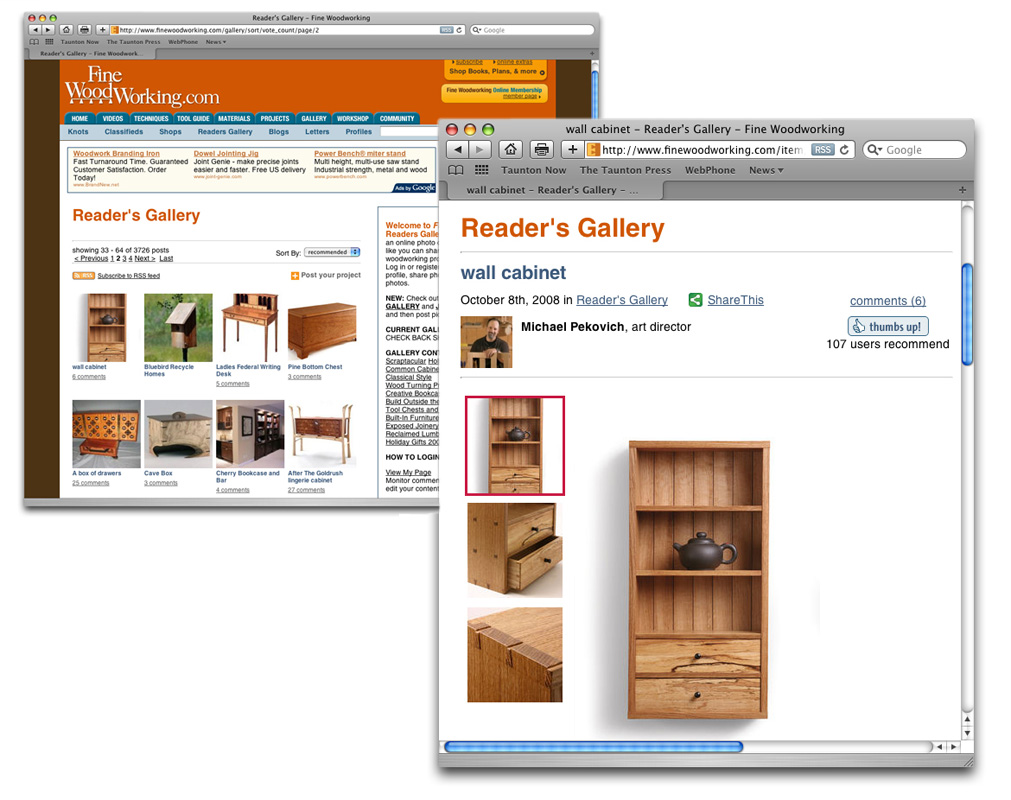
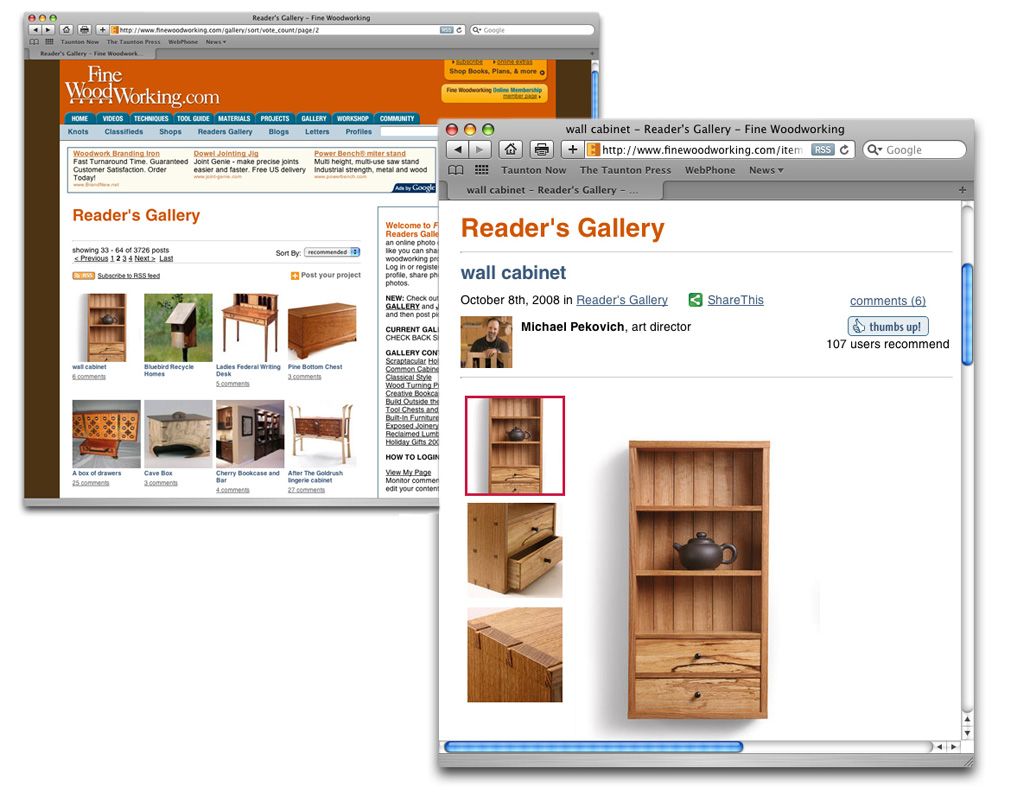
An online gallery is a great way to get your work on the web, and it’s free. If you’ve spent any time on FineWoodworking.com, you’ve probably seen our online gallery. It’s a good place to start posting your work. You can upload photos and include details and descriptions of all your work. You can set up your own page on the website that contains links to all of your posted work. It’s a good place to point prospective customers to.
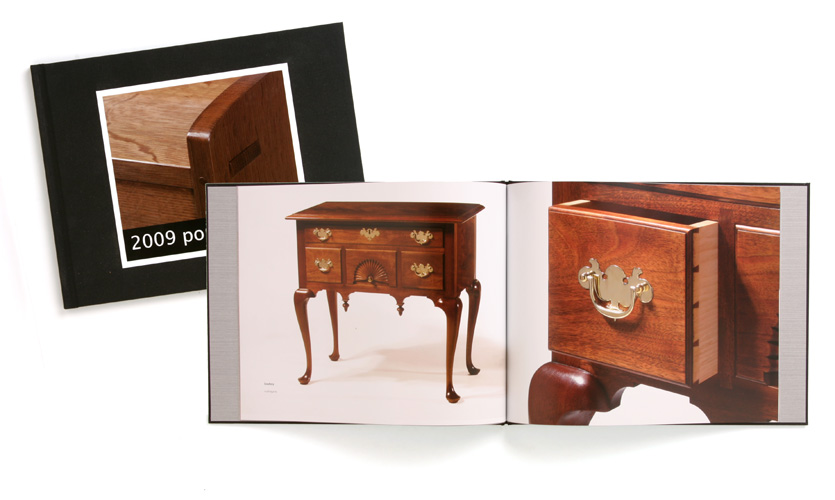
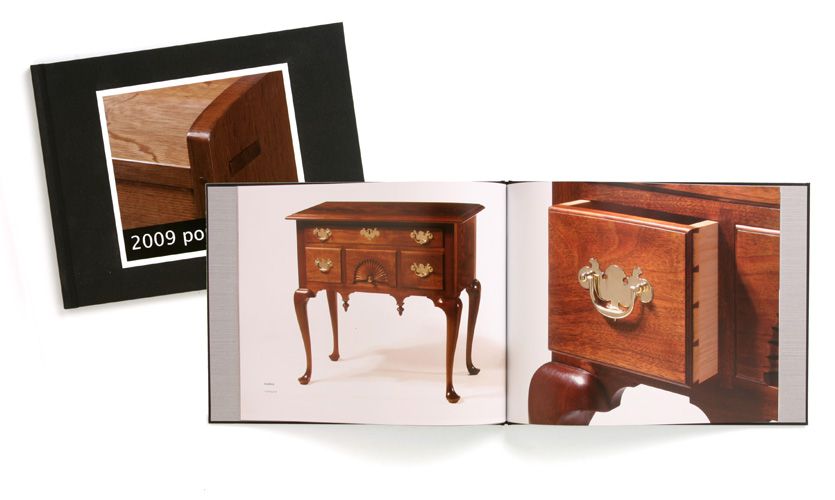
Publish Your Own Hardcover Portfolio
Custom portfolios are easier than ever. Many online photo services offer the ability to print hard-bound photo albums. While typically reserved for baby showers and summer vacations to the Grand Canyon, photo books are also a great way to create custom portfolios. Templates make it easy to drag and drop photos and add text for a very professional look. I used iPhoto on my Apple computer to create this 20 page portfolio for $30 plus shipping. If you make a variety of styles, you might want to make a few different portfolios instead of throwing everything into one.
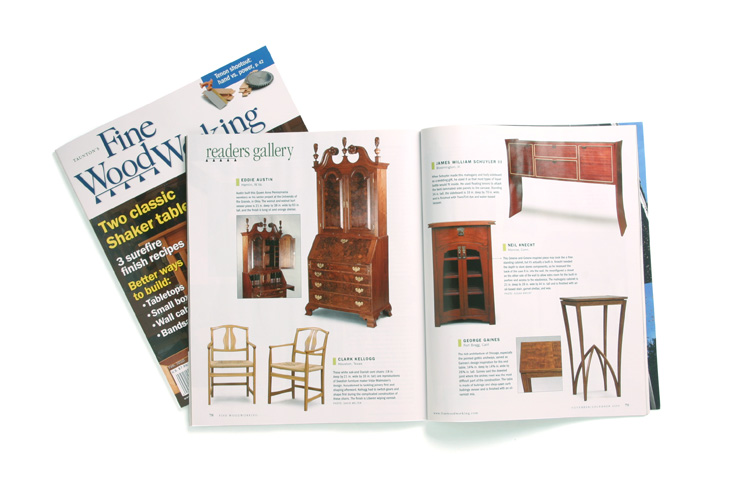
Consider the Magazine
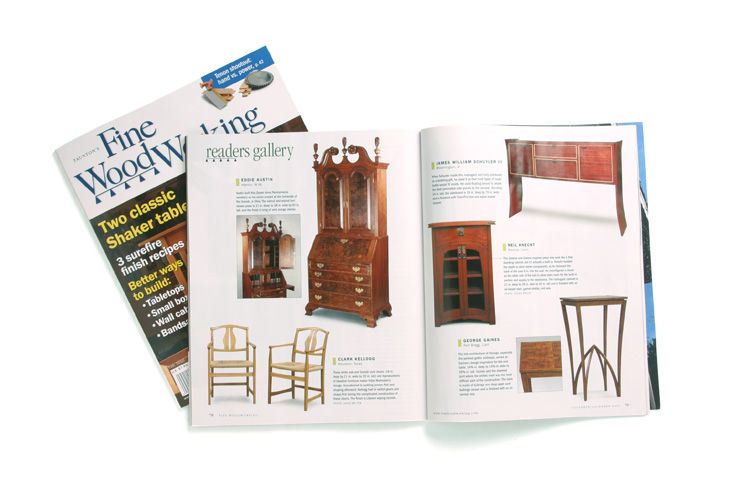
Once you’ve taken the time and effort to get good shots, you might think about submitting them to the Readers’ Gallery in the magazine. Your work doesn’t have to be over-the-top. We look for well-designed, well-built pieces that represent a broad cross-section of tastes and styles. A simple shaker table has as much of a chance as a Queen Anne highboy.
A few tips for submitting photos: Keep the image size as large as possible (save them as a jpg on the lowest compression setting) and don’t do any color correction or altering of the image. We have experts on staff to color correct your photos based on our print specifications. Any modifications you do yourself will result in a loss of information and will make it harder to show off your work at its best.
Time for Your Own Website?
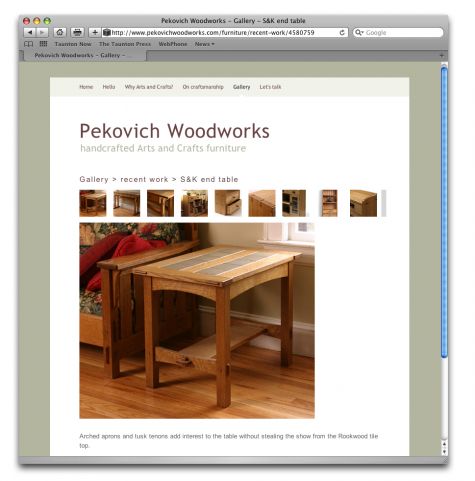
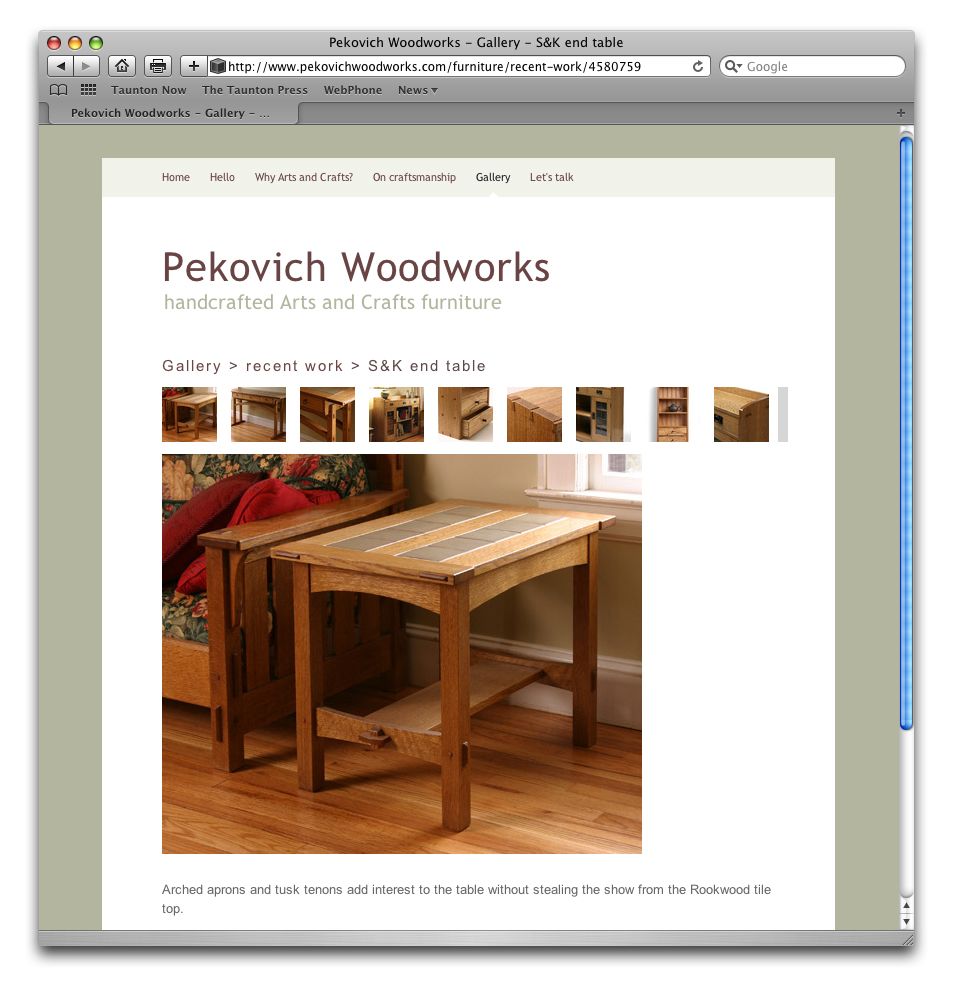
Last but not least, you can create your own website. This always seemed like a scary and expensive undertaking to me. Something only a full-time pro would consider or someone who had a web designer for a neighbor. There are now a handful of websites that allow you to create a site using their templates and will host your site for a monthly fee.
I gave it a shot using squarespace.com, where I was able to create my own website after a few late nights at the computer. It’s still a work in progress, but you can check it out at www.pekovichwoodworks.com.




Comments
I enjoyed this and I you do some very nice work (checked out your website).
Blogs are a very inexpensive way to start a website. Some are free and free templates are available that simulate the look of a real website.
Good article. It's true too. Why not document the results professioally when it's reasonably simple. I've done this for a while and the results speak for themselves.
Hi Jeff, You're right, a blog is a great way to go. Are there any sites you'd recommend? The important thing is to have a place on the web to point people to. For better or worse, I think it helps to legitimize you as a woodworker if someone can type in a web address and have your work pop up. Oh well. -Mike
Michael - I have used Wordpress and Blogger. I like Blogger because it seems to me to be easier to set up and get get going. I quit Wordpress when I was going to have to pay to get the particular font I wanted. Blogger is totally free and their are several sources for free templates such as "Our Blogger Templates (http://www.ourblogtemplates.com).
Blogger has a new template designer which is also very good. I am not doing a woodworking project right now, so there is not much activity on my site, but it is http://simplewoodworker.blogspot.com.
Jeff
Michael-
I enjoyed reading about your K.I.S.S. approach. But for those of us who are taking a more serious plunge into the world of photography, what do your editors take with them when tackling an assignment?
-Joe
Hi Joe,
Our basic travel kit is pretty simple. The editors have to lug the equipment through airports and set up in often cramped and cluttered shops so even if they wanted a lot of lights, they wouldn't have room to use them. They travel with a two-light kit powered by a 1000 watt battery pack (similar to this kit: http://www.bhphotovideo.com/c/product/50171-REG/Speedotron_21151_DM1204_2_CC_Light.html).
The philosophy is exactly the same as in the article, the main difference is that the kit provides enough light that a tripod generally isn't necessary though we still use them quite a bit. I always have the camera on a tripod when shooting furniture so I can maintain the same view while getting the lighting right.
We shoot with Canon 20D cameras outfitted with a Canon 28-135 lens. Not exactly cutting edge technology, but they work for us because we shoot in a pretty controlled environment. A sports or wedding photographer is going to have a completely different set of demands. The guys over at Fine Homebuilding have lot tougher time of it than we do because they're often shooting outside in challenging lighting conditions with a lot of action that isn't going to hold still for the camera. Not to mention they're often up on a roof to get the shot.
By the way, we always shoot in manual mode, adjusting our own shutter speed and f-stop because we work with the external flash kit. Basically the camera doesn't know what the flash kit is up to so we have to make the adjustments. It's a really good habit to get into and I typically shoot in manual mode even without a flash kit.
Good luck, Mike
Michael,
I very much enjoyed your article and it was timely as I just finished some chairs which I needed to photograph.
I used a double halogen and a single as you mentioned and also used a bright white paper backdrop. I used a Nikon d70, set at f20, Iso 100, at first with aperature override which metered about 1.5 seconds. The shadows were quite harsh from the second light and the background was more brown than I would have liked. I did go to manual mode to 10 seconds, f20, and that helped some. Do you have hints for how to really whiten out the background? Also its very difficult for me to figure out where to upload photos here, so I could post my work, but also show you my results above. I would appreciate any comments by you or others, and I can be reached here or at sfirst@sys-seminar.com.
thank you,
Steve
Log in or create an account to post a comment.
Sign up Log in