Blade Alignment Jig

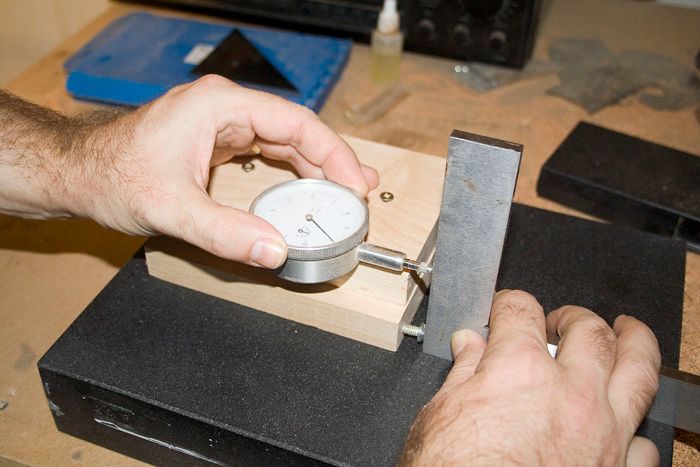
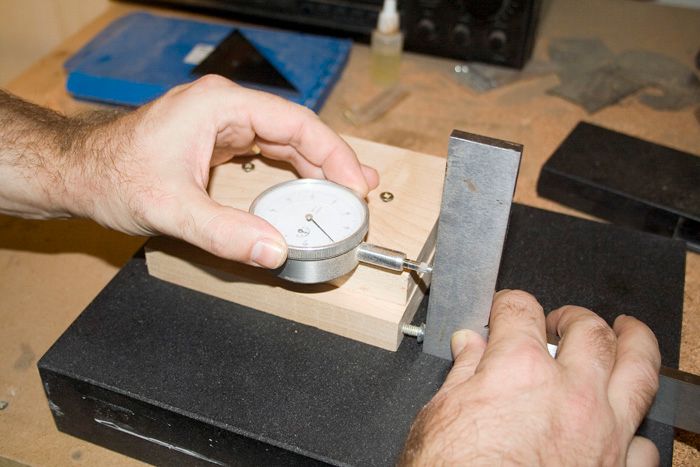
First square the jig by pushing it against a good quality square and set the dial to zero.
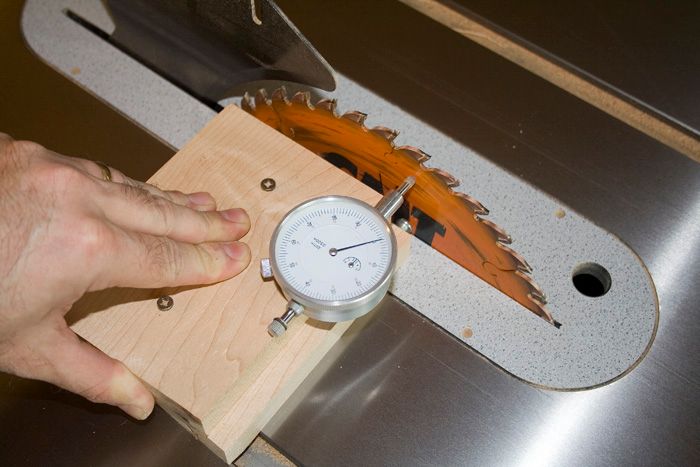
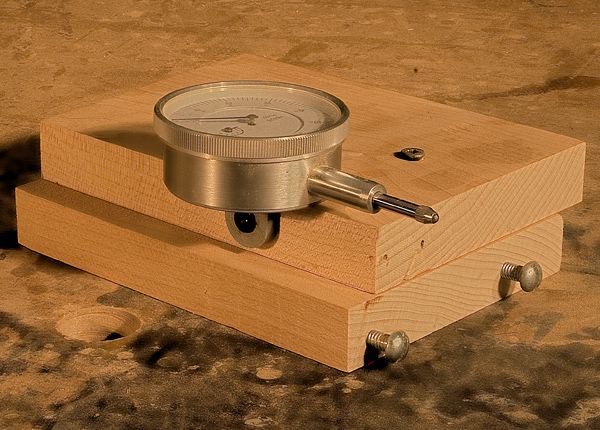
This jig is very useful for aligning your table saw blade or jointer fence to 90 degrees. No more need for slapping a square against your blade and sighting for light or using feeler guages. This method is quick and very accurate. For a video of this jig in action please go here. (use scroll bar at right – last video on bottom)


Comments
fantastic. Why dident i think of this ? LOL :)
Fantastic? I agree! This jig is cheap, simple to build, and dead-accurate. 'GarageWoodWorks', that's what I call 'thinking out of the box'. Congrats!
Thanks for the comments! Blade alignment is something that I struggled with early on as a woodworker. This jig makes the alignment a snap.
I should also add that:
A common problem with using a square against the blade (aside from being less accurate) is that the teeth can get in the way. This is not a problem with using this jig.
I have bee using a version of this jig for a while now & I like it. I have modified mine so I can check other angles (anything from 90* to 45*that I have a know reference for)
I used a DI with 1.000" of total travel and placed is so it is fully compressed at 90* and 1.0” above the screws. This allows the tip of the DI to extend far enough for me to check 45* when the DI is at full travel.
I'll use the same method of zeroing the DI pushed against a good combo square for perfect miters.
Next step is to make a steel one and place the centerline of the DI EXACTLY 1.000” above the center line reference point so I can trig out any angle.
Bribassguy05: Pardon my ignorance, but what is a 'DI'?
Hi Garageworks: I just watched the video, and there was no explanation for the purpose of the second screw. Intuitively it seems that both screws would need to protrude from the face of the jig the same distance. How did you ensure that was the case? I assume it had something to do with the granite plate and the try square. thx. dl
@dleleo DI = dial indicator.
The second screw prevents you from rocking the jig forward and backwards as you measure and consistently places the dial indicator plunger 90 degrees from the surface being measured. I have found that if the jig is rocked forward or backwards during the measurement it can cause small (very small) changes in the reading.
@bribassguy05 You are taking it to the next level! I like it. I thought about doing something similar for solving for the angles. The trick is getting the dial indicator plunger exactly parallel with the surface of the table saw for the trig to work.
All,
If you ask a question to me here and I don't respond please try me at my website at. My iPhone will buzz and I usually respond within the hour. :^)
http://www.garagewoodworks.com/comments.php
Cheers!
Hi Garage: FYI, I tried posting a comment yesterday on your site, but got a php error, so I came here instead. Like your site. Thanks! dl
@ dleleo: Sorry I haven't been following the thread. A DI is short had for a Dial Indicator.
@GarageWoodworks: You're right, although small Cosine error will play into the trig.
I'll see if I can pot my next version some time soon.
Thanks for all the info here. I bought one of these dials in the uk . I'll have to make up the jig over xmas. Finially i can get my blade 100%. Chees, happy holiday to all. Rich
Finally made one of these. I can adapt it for other uses too. Great idea , now my blade is always 'bang on' !!! Cheers
Log in or create an account to post a comment.
Sign up Log in