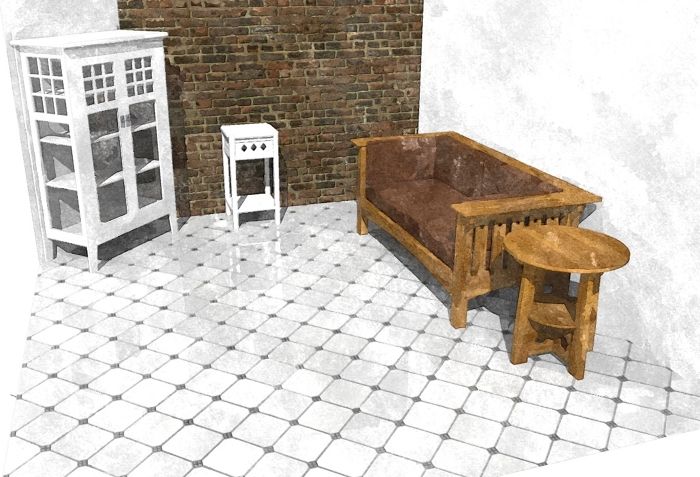
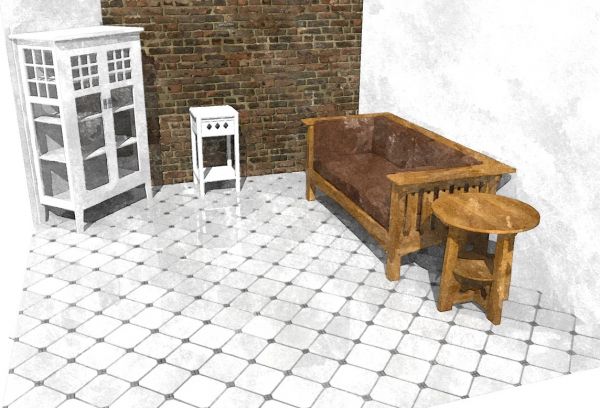
Some friends of mine e-mailed me yesterday to ask about an easy and efficient way to create a tiled floor in SketchUp. Here’s what I came up with for them.
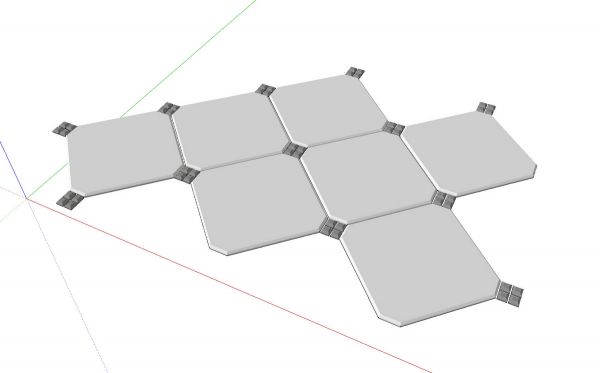
One option would be to draw the tiles as components and create an array using Move/Copy although this could be a lot of work especially if tiles would have to be trimmed around the perimeter of the room. An easier way to do it is to create a material and apply that.
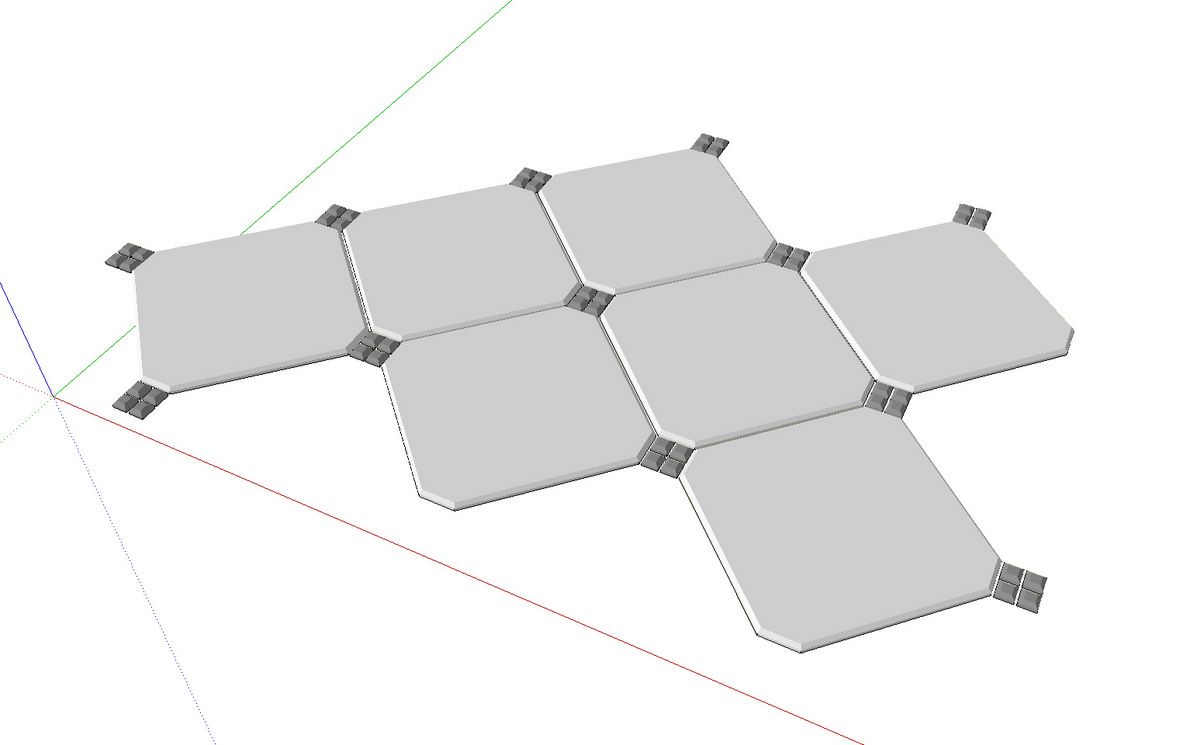
To start with I drew a few tile components and laid them out as needed. I’ve drawn a few more tiles than I needed so I could confirm that the pattern works. I put a simple bevel on the edges of the tile and then applied a couple of gray colors to the tiles. In the Shadows control, I turned on Use Sun for Shading and made time and date adjustments to get some highlights on the bevels.
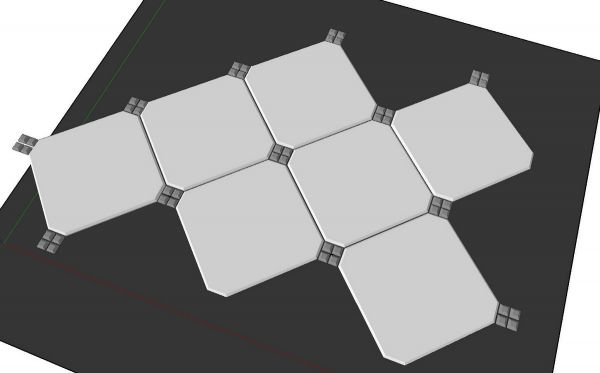
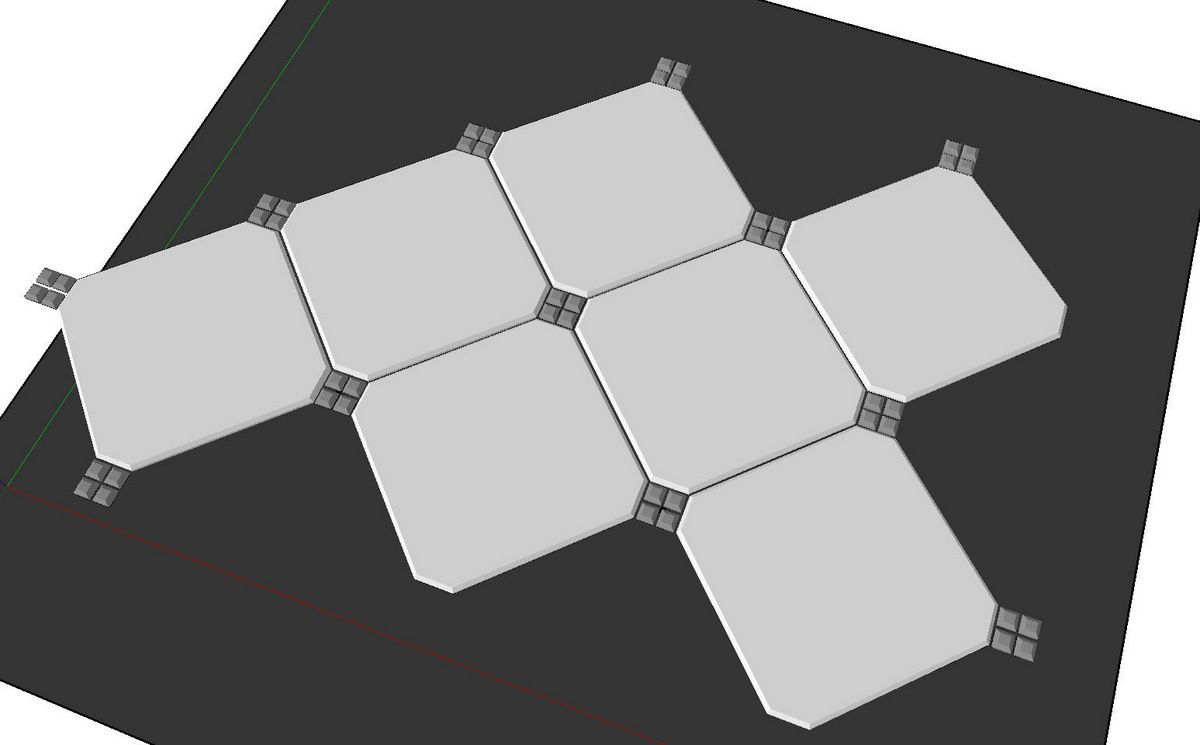
For the grout I decided to do something that is almost black. I drew a large face under the tiles and painted it with a dark gray.
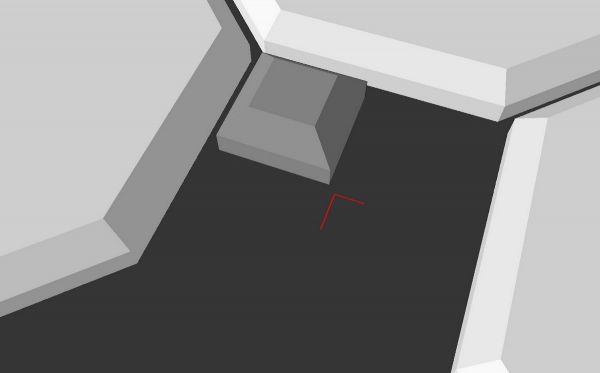
I opened an instance each tile component and hid all of the edges. This is done by holding shift while running the Eraser tool over the edges. Alternatively, you could switch to Wireframe view, select all of the edges, right click and choose Hide.
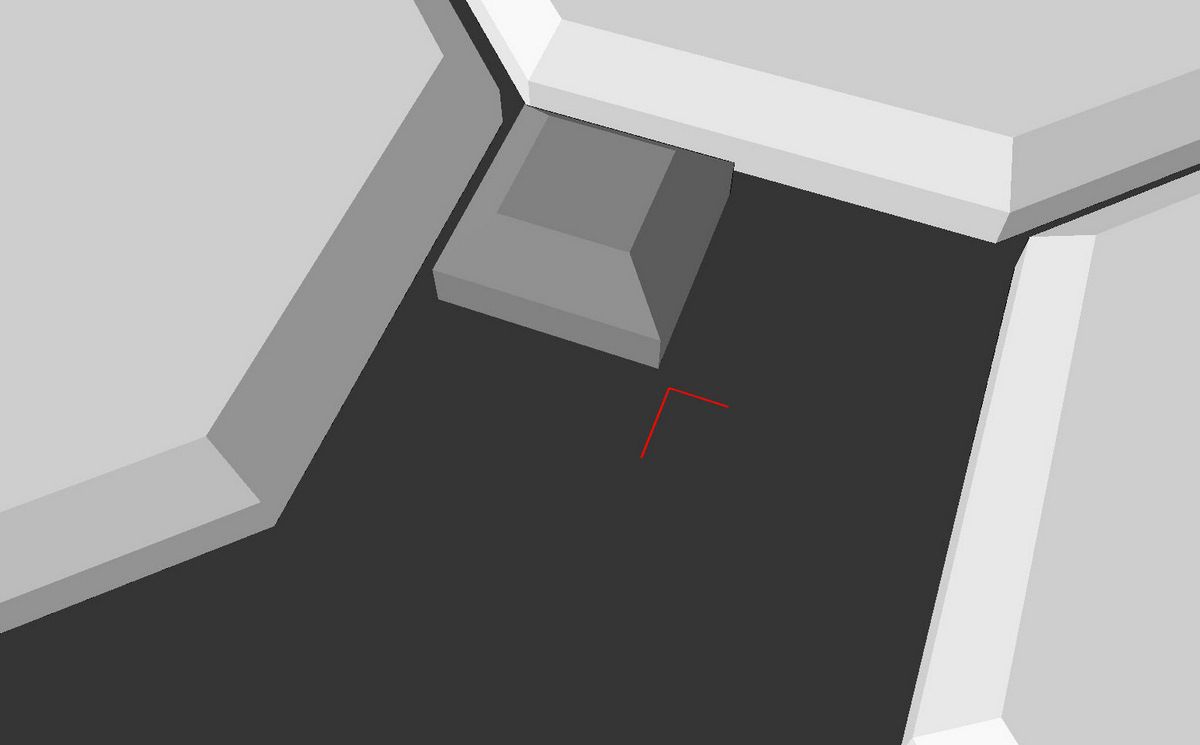
Then I added some index marks at the centers of the grout between the square tiles. I changed the line color to red to make the lines visible against the dark gray. these index marks will guide the cropping tool in the image editor.
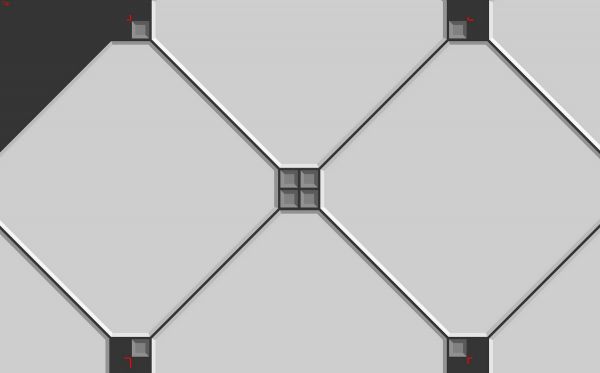
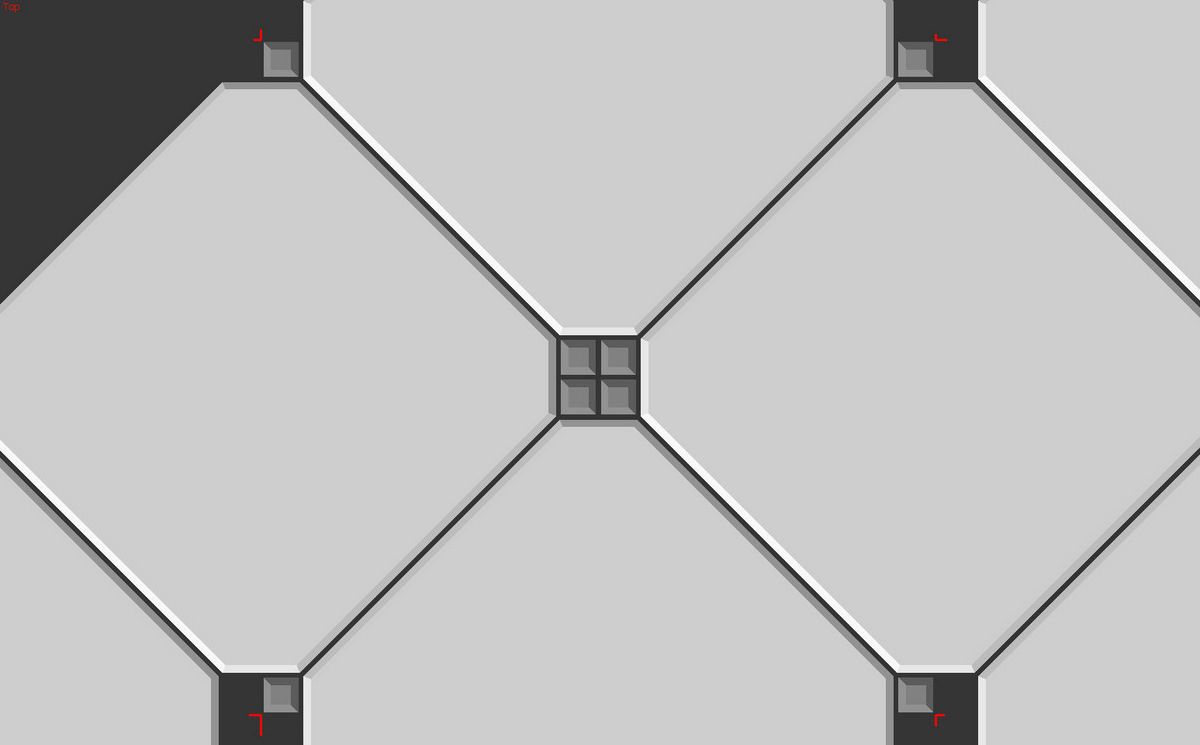
I set the Camera to Parallel Projection and the view to Top. Then I zoomed in on the area between the red index marks using Zoom Window. I exported the view at screen size and saved it as a JPG image.
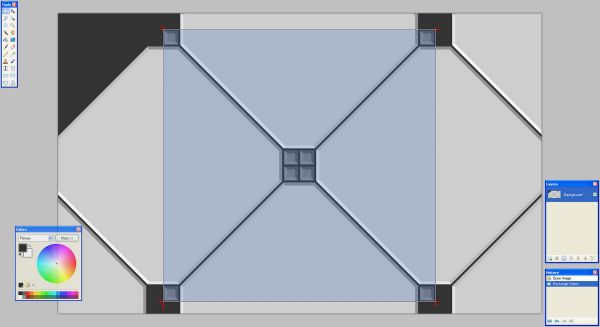
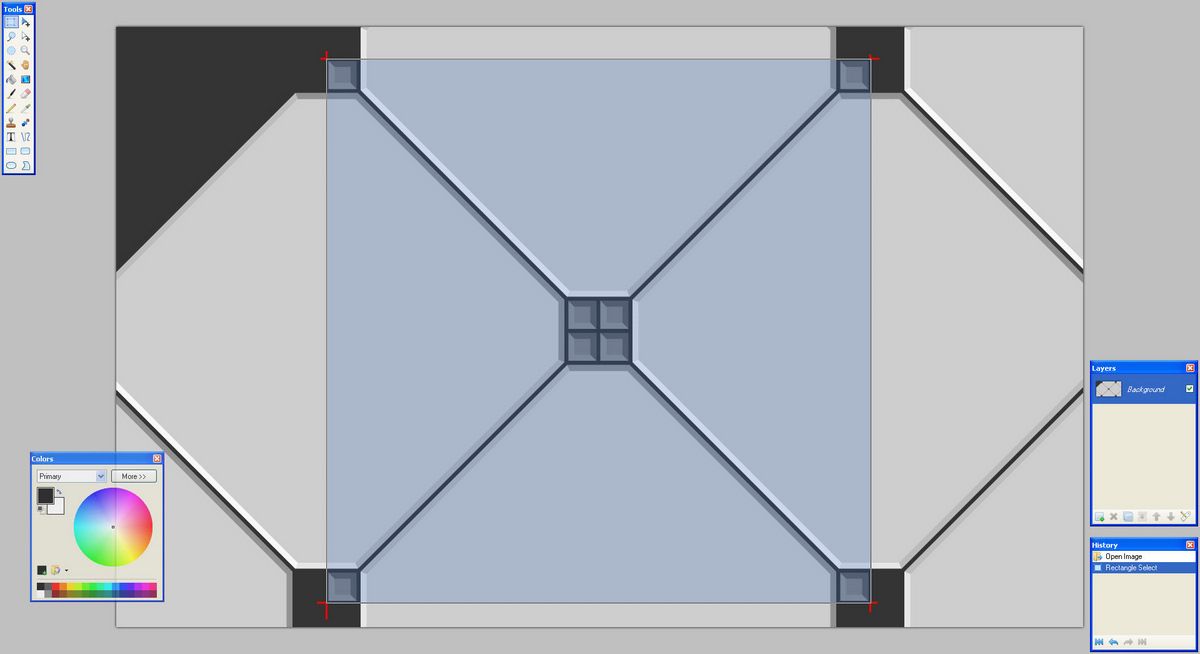
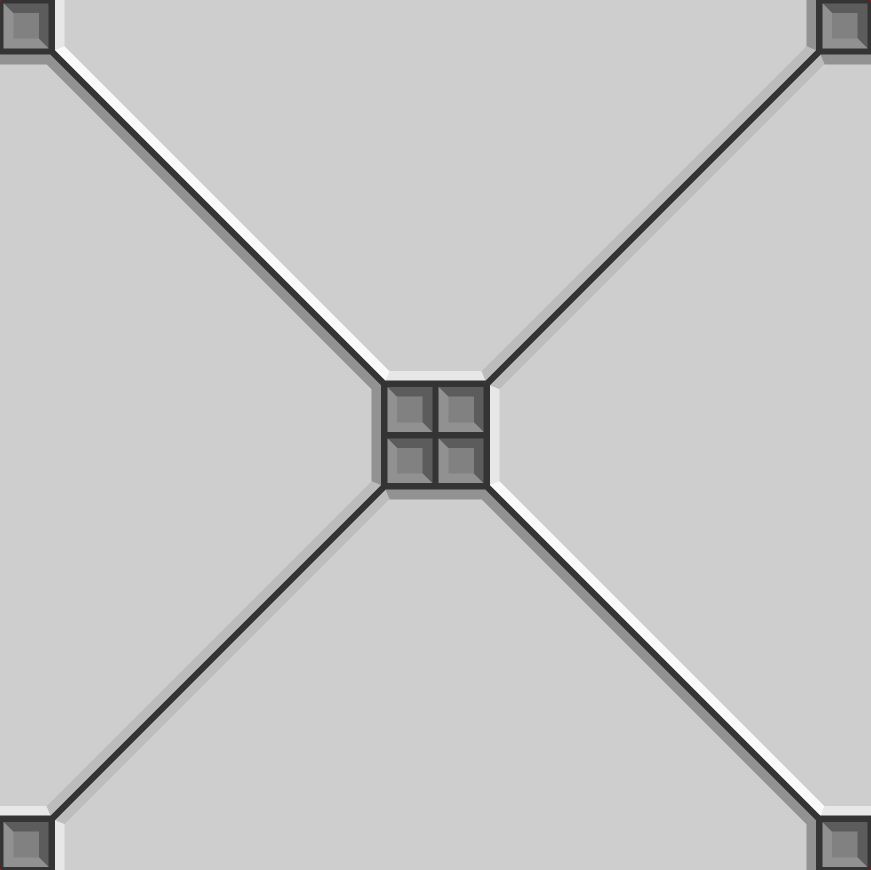
Next I opened the image in the image editor. I have several options on my computer for this but I used Paint.NET, a freeware image editor that is very powerful. I selected the area between the index marks and the chose Crop to Selection. this splits the large tiles through their centers but it makes it easier to align the material when applying it in the model.
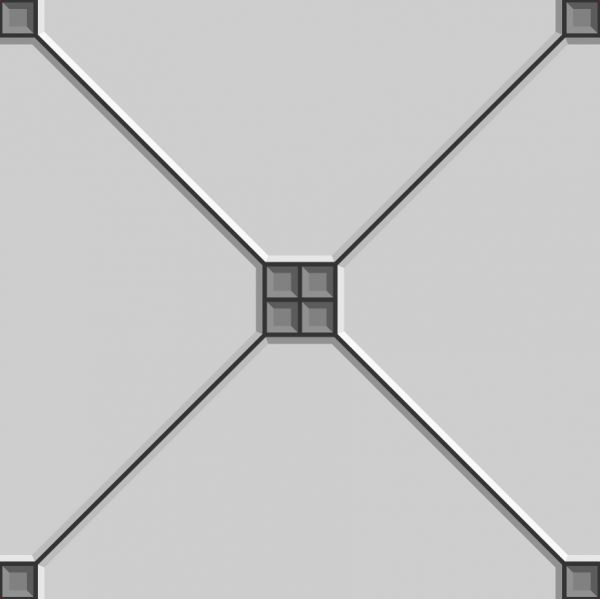
I saved the resulting image where I could find it.
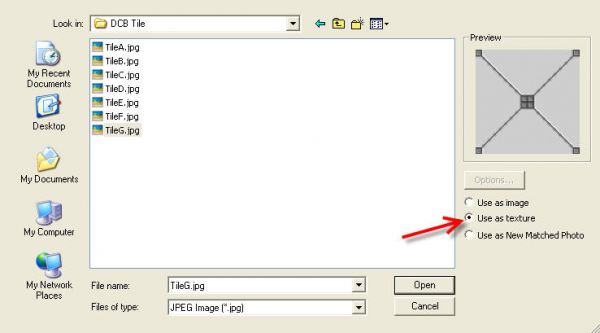
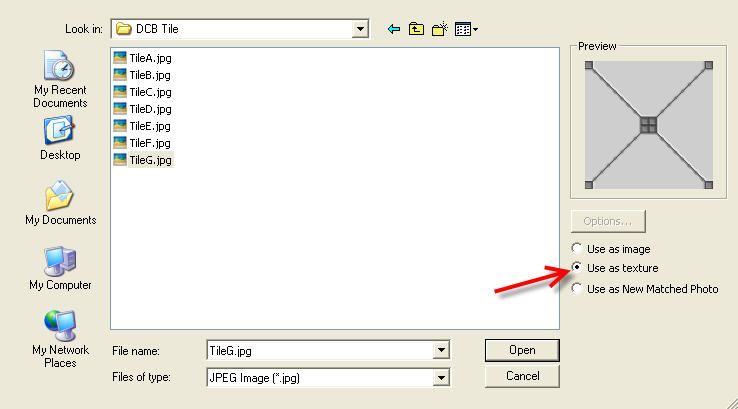
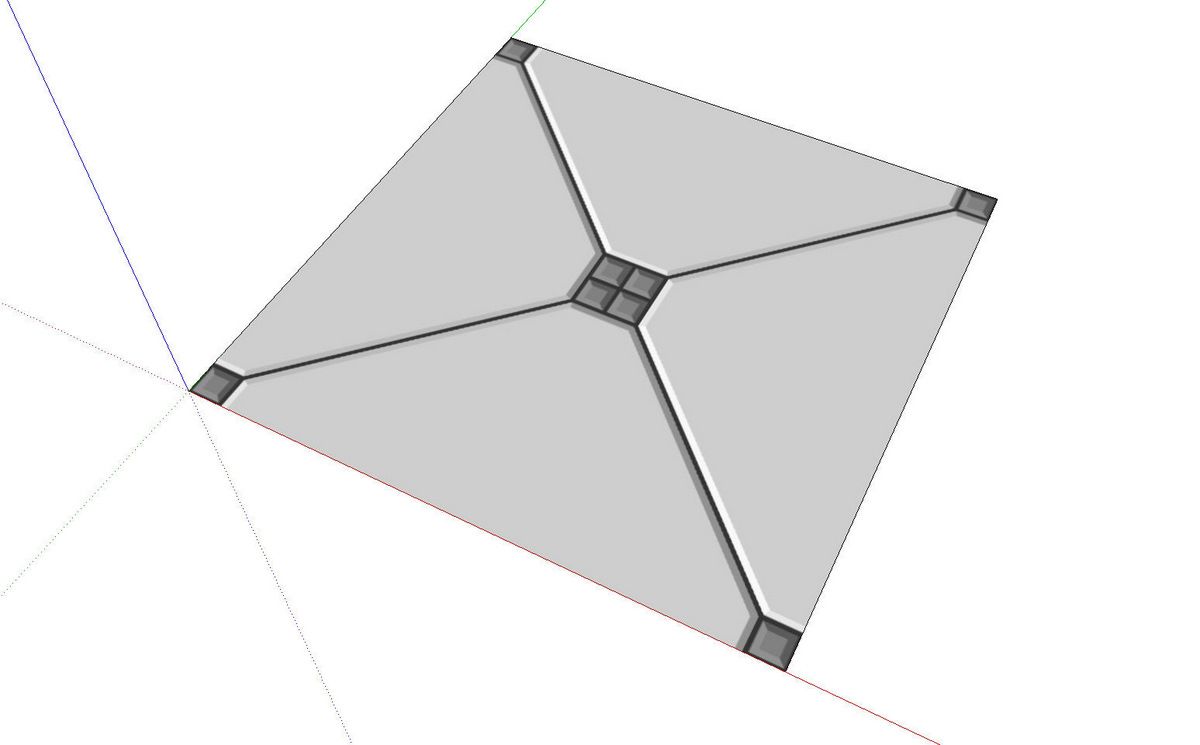
Now, back in SketchUp, I drew a square representing the size of the tile area. then I imported the image making sure that Use as texture was selected.

Then I immediately saved the new material for future use by dragging the thumbnail from the In Model library to the Tile library. If the second pane of the Materials browser isn’t open, click on the little white plus sign in the upper right, immediately under the X that closes the window. In the image, above, there is a ‘-‘ because I have the second pane open.
After saving the material in the Tile library, it is no available for use in your models.
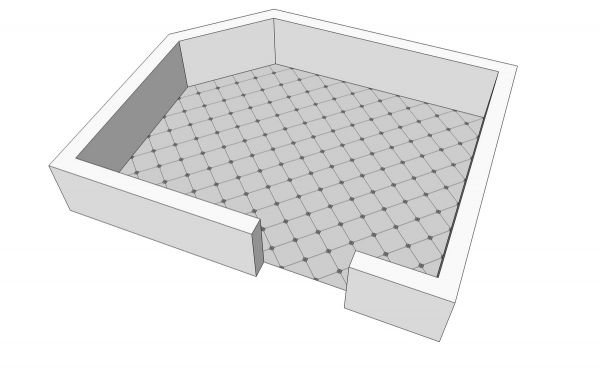
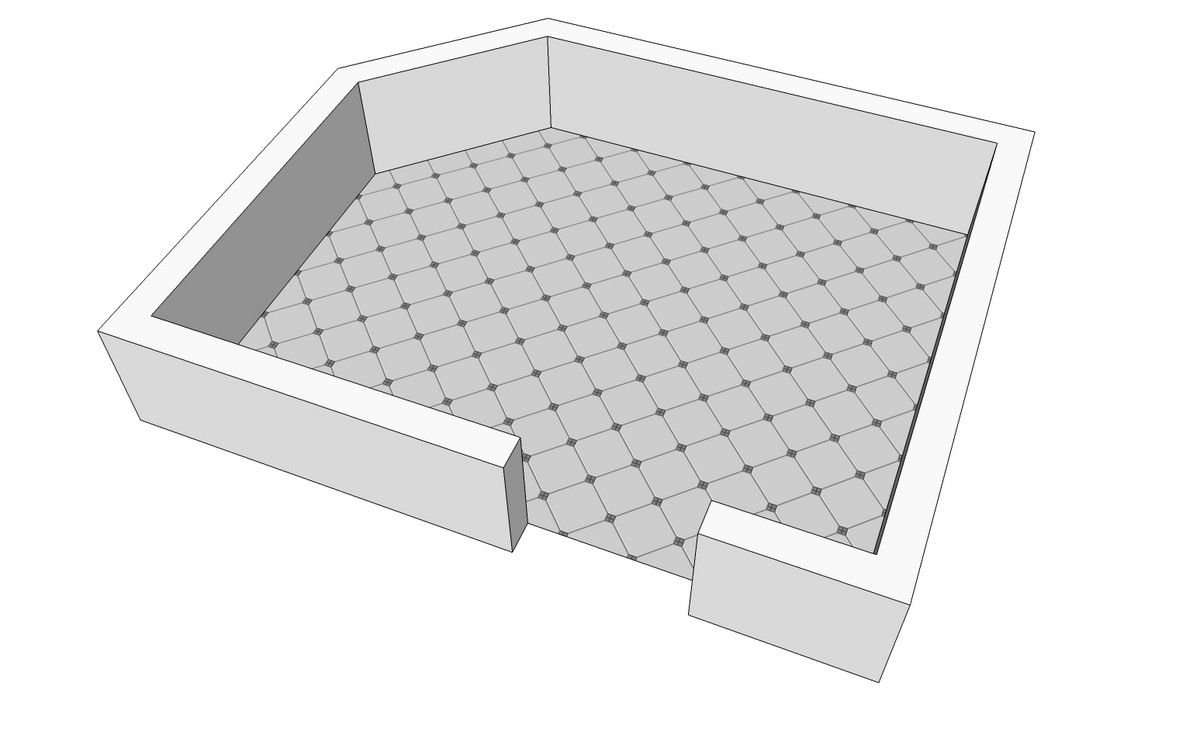
Now this material can be applied to faces in your model as needed in just seconds. Just applying the material on the floor in my model above seemed to work out pretty well. If needed, though, the material position can be changed by right clicking on the face and choosing Texture>Position. Keep in mind that if you apply any material to a component or group instead of to a face, you won’t have this option. The material could also be scaled if you need it to be a different size.
This may seem like a lot of work but it really doesn’t take long and you only need to do it once if you save the material for future use.




Log in or create an account to post a comment.
Sign up Log in