How to Make a Drawbored Mortise-and-Tenon Joint
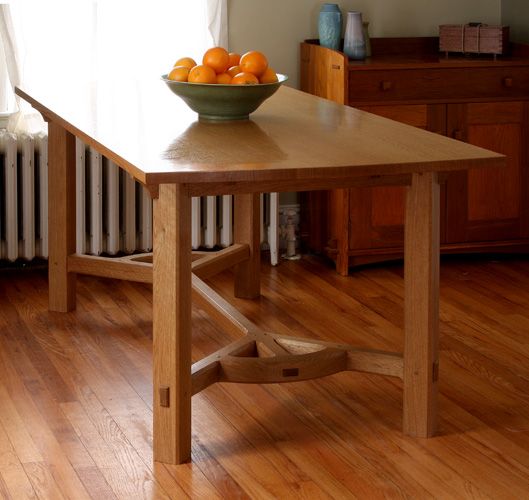
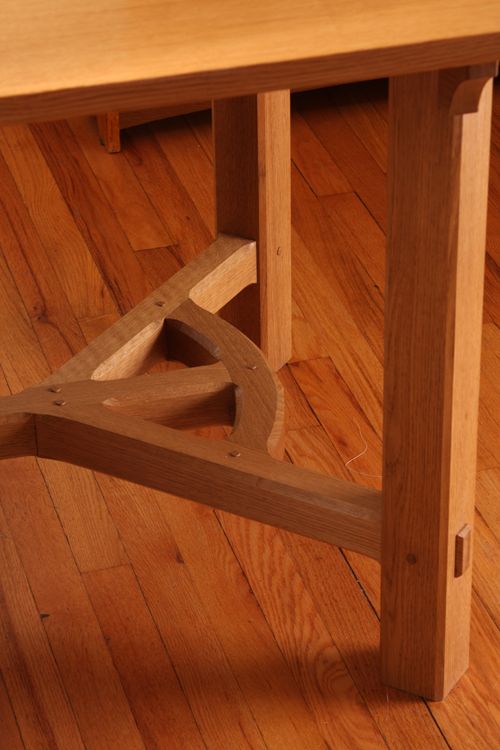
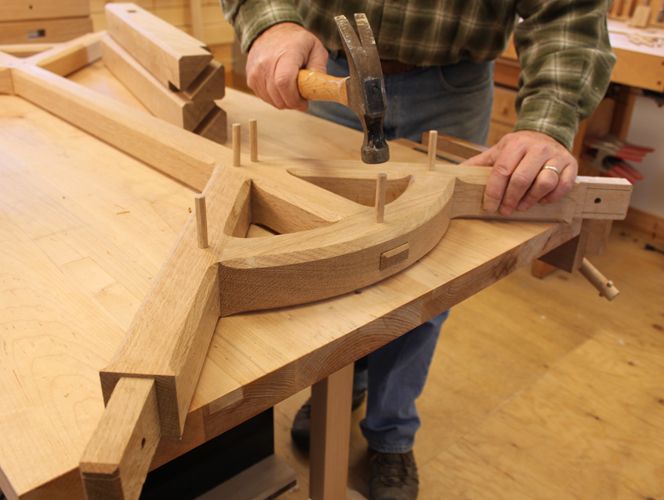
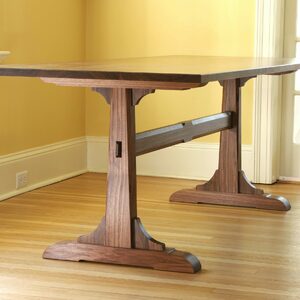
The lower stretcher gives this hayrake dining table it's unique look, but it also posed a clamping challenge.
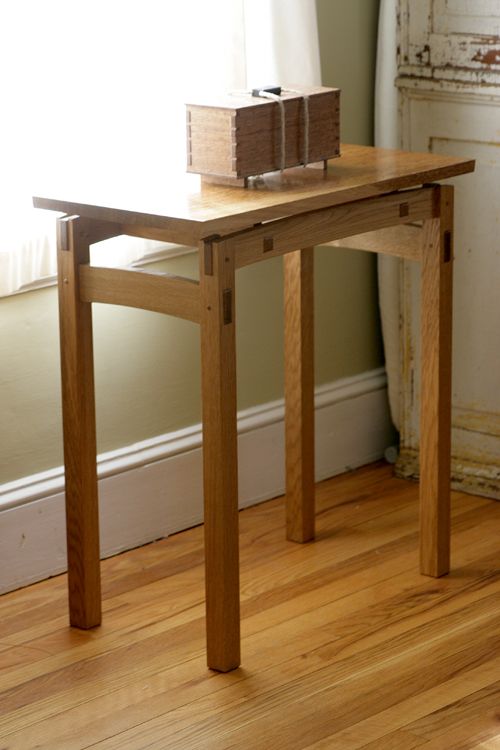
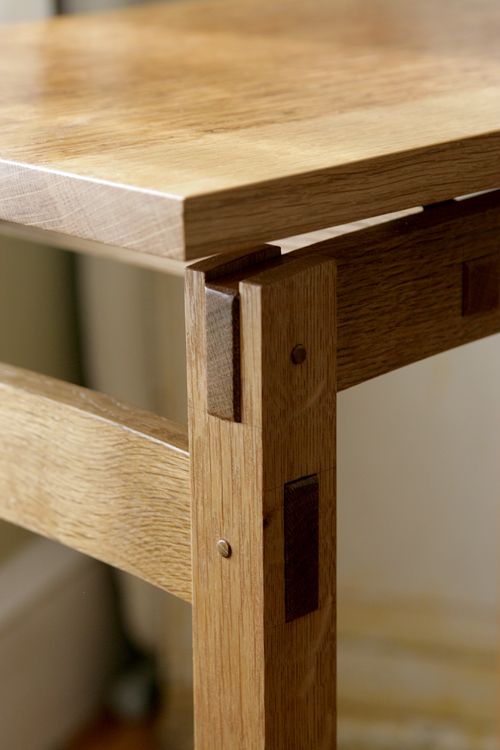
A great thing about woodworking is that there’s always something new to learn. On a recent hayrake table project, I decided to use draw-bore pegs for the first time. They helped solve a tricky glue up where clamping proved to be difficult. They came to the rescue again on a small sewing table I just built for my wife.
I’ve known about draw-bore pegs for quite a while, but it’s one of those techniques that seemed antiquated or fussy and difficult to get right. Whatever the reason, I never got around to giving it a try. But now that I have, I realize what a great weapon it is to have in my glue-up arsenal. Basically it’s an offset hole in a mortise and tenon joint. When you drive in a peg, it pulls the joint tightly together. No clamps necessary. It really works and it’s really easy to do.
The trick is to drill the holes in 2 steps:
| Step one: | Start by drilling a hole through the mortised piece. Dry-assemble the pieces and mark the center point of the hole on the tenon with a drill bit. |
| Step two: | Pull the pieces apart and drill a hole in the tenon offset 1/32 toward the shoulder. I think it was the 1/32 offset that always scared me. It sounded techy, like something I needed to get exactly right in order for the joint to work. In reality, it’s as easy as taking an awl and eyeballing a center point just toward the shoulder from the drill-bit mark. |
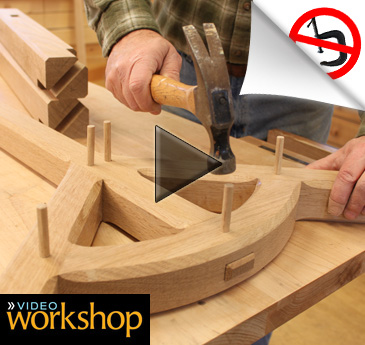
To make the pegs, I pounded some square stock through a dowel plate and tapered the end in a pencil sharpener.
You can watch me execute this technique in an excerpt from my Video Workshop series on building an Arts & Crafts-Style Hayrake Table:
See Mike’s Entire Video Workshop Series:
 |
How to Build an Arts and Crafts Dining Table |





Comments
I like it and will look for an application to expand my skills.
Separately, I noticed a one-liner in a profile of a contributing editor, that he recently completed a casket. That's on my bucket list. Any past or future articles on the subject??
I used the technique a few months ago. It was a great experience that really opened up my eyes. I copied a simple farmers chair from 19th century. You can very easy take one joint at a time. Perfect when using hot bone glue. And you don't have to wait for the glue to set.
I like your great explanations - they are very clear and easy to understand. Thank You! I am very interested in your dowel plate. I have read about someone else using one as well. Is it homemade? If so, how thick is it? If you purchased it, where did you get it? Thanks in advance for your time.
Essential Handplanes (Handplane Essentials) and now learning to use a draw-bore. You guys are doing a great job channeling Chris Schwarz. Good thing your subscription to Popular Woodworking has not run out...
Fine Woodworking used to be the great.
You'll edit this out, I'm sure, but I guess I'm lost in my junior high school woodshop. What craftsman uses a claw hammer to drive dowels? I think this is the second time that photo has run, or is this another?
Stain me curious!
I tried the draw bore pegs for the first time last summer, when I made a table for our out-door kitchen. I did not achieve your fit and finish, but was surprised at the strength of the method. I used a plug cutter to make the pegs out of wood that had been sitting i a warm oven for several weeks.
I don't think those pegs will ever come out again.
Hi Hyrum, I've had my dowel plate for many years. Lie-Nielsen makes a dowel plate that is available from their website as well as other woodworking sites.
-Mike
Greetings from across the sea in England. I'm a professional woodworker (of rather advanced years) and was interested to see the article on what you call "draw bore" joints. You talk as though it's an old, obsolete method but here, at least in quality, bespoke furniture making, it's the standard way of doing that type of joint. We call it a pegged joint and the peg itself is called a treenail. To just glue-up a joint like that would be a pretty risky thing to do. Your contributors also discuss ways of cutting the "dowel" - but in a joint of that size, it shouldn't be a dowel, the peg should be square-sectioned (a square peg in a round hole) and regardless of what wood the piece is made from, the treenail should be oak - riven, not cut. You only start to use circular dowels when you get onto bigger joints, like on an old-type timber-framed house. As regards the strength of the joint, there's plenty of old oak furniture in museums that was made in the 15th/16th/17th centuries and it's still as strong as the day it was made - and there's no glue in the joints - they were just pegged. If a pegged joint is well made, the glue becomes irrelevant.
Yours is a fine magazine - keep up the good work! All the best from the land far away to the east! The Fenman, Lincolnshire, England.
Fenman- Thanks for the great information. It makes a lot of sense to start with riven stock for the pegs. I'll give it a shot next time.
Thanks, Mike
Too bad you can't click on "Like" when a seasoned woodworker shares his knowledge. Thank you Mr. Fenman, Lincolnshire, England. And of course, thank you FineWoodWorking. Very informative.
When you are a hobbyist like myself information like Mr. Fenman provided becomes very valuable.
All timber framed houses here in Denmark use the draw bore peg joint extensively. When passing a timber framed house in old town Skalskor I studied the woodwork. I noticed the peg in the hole was not circular-sectioned. At the time I believed that the carpenter had skipped a little on the fit and finish to get the job done. Now I'm not so sure.
I understand that the peg should be riven to ensure that the grain wont run out on the side of the peg making it prone to snapping. However it is unclear to me why the peg should be square-sectioned . . . at least pegs of smaller diameters.
???
Hi Mike. I got the chance to meet you this past weekend at the Connecticut Valley School of Woodworking with Bob Van Dyke while taking a course there and it was an honor. Like you said, you are just regular guys but to a woodworking novice it is still a treat. Now, as I mentioned to you, it would be really great if you were able to teach a class there making that hayrake table. I really enjoyed the video but believe at this stage in my woodworking life, would need some tutoring. Let us know via the CVSW website if you are ever able to do that. Thanks.
i have a question regarding the plans for the hay rake table. on the the center streacher the mortise for the diagional streachers to land in , you say that you pull the diamension from the center and then move on to cutting the mortise. where should the mortise holes be from the center? in a nut shell i come up with about 15 inches???
Ponycar- It should have been included in the plans. The distance from the center is roughly 14 13/16. I'll have the illustrator add the dimension to the plans. Drop me a note at [email protected] and I'll send you a revised pdf once it's fixed.
Sorry about that. -Mike
Log in or create an account to post a comment.
Sign up Log in