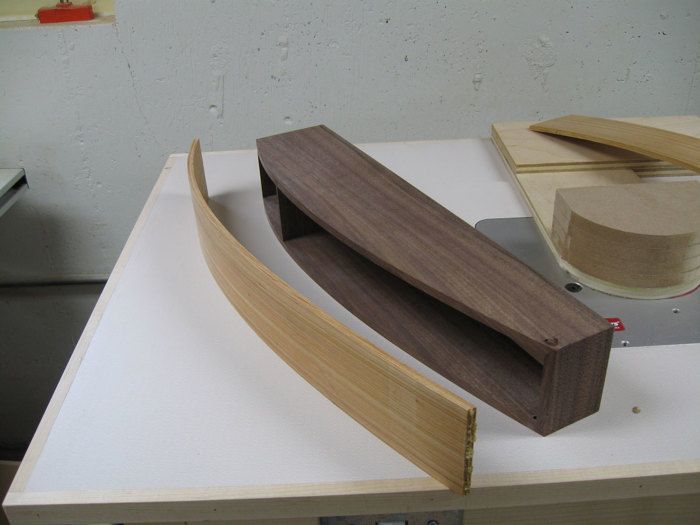
The problem. The radius on this drawer front blank (there are actually two drawer fronts in it) changes along its length. How do you safely rout the groove for a bottom on its back?
I’ve blogged about how to cut grooves for drawer bottoms in curved drawer fronts (in Part 1). One thing I didn’t point out then is why you need a fence to do this. There are slot cutting bits out there that can cut shallow and narrow grooves like the ones needed and you could use that bit by itself. However, you shouldn’t. Not only would that leave the entire cutting head exposed, it would also require you to balance the drawer front on its edge without any additional support. That’s a recipe for disaster. The edge is just too narrow to rely upon. So, you need a fence. The fence I showed in my previous post works great for radius curves (ones that can be drawn with a compass or cut with a router on a trammel), but not for non-radius curves.
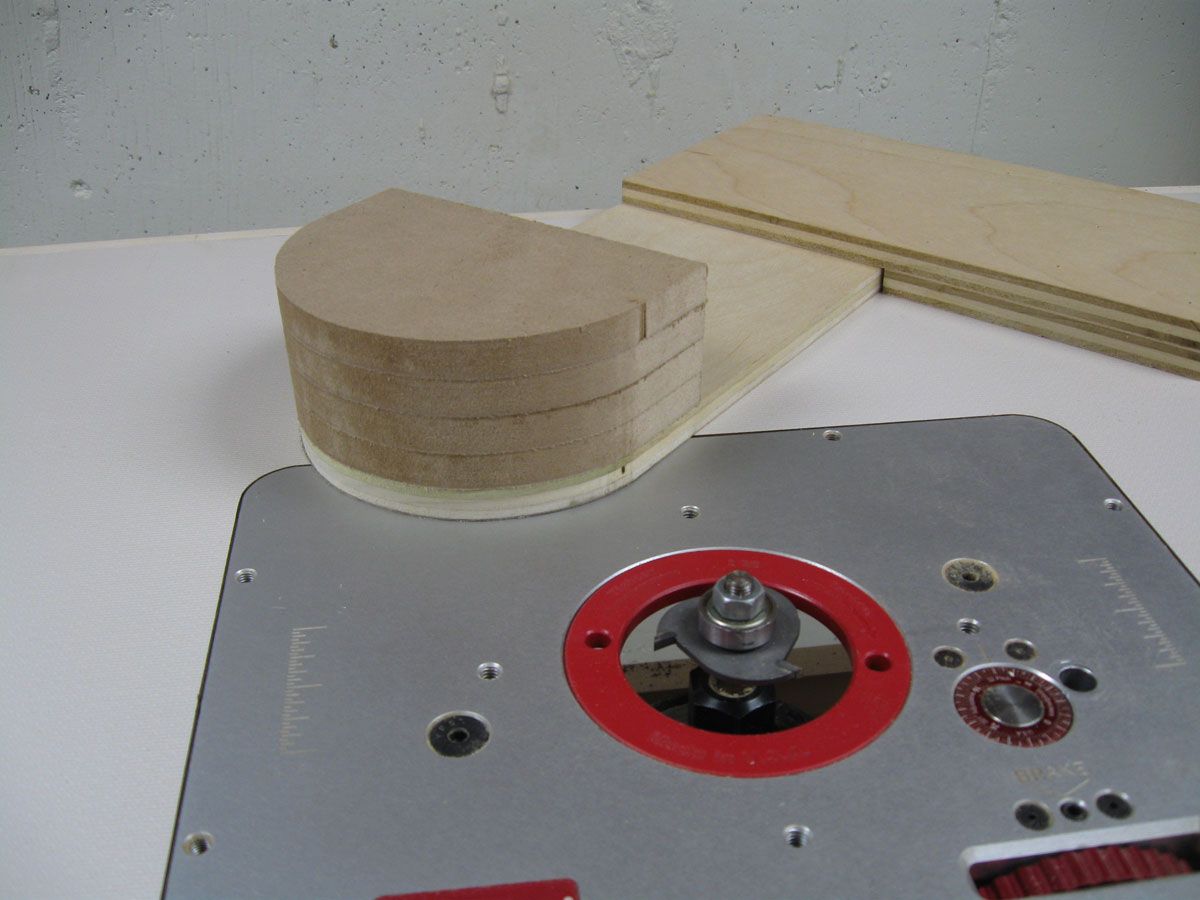
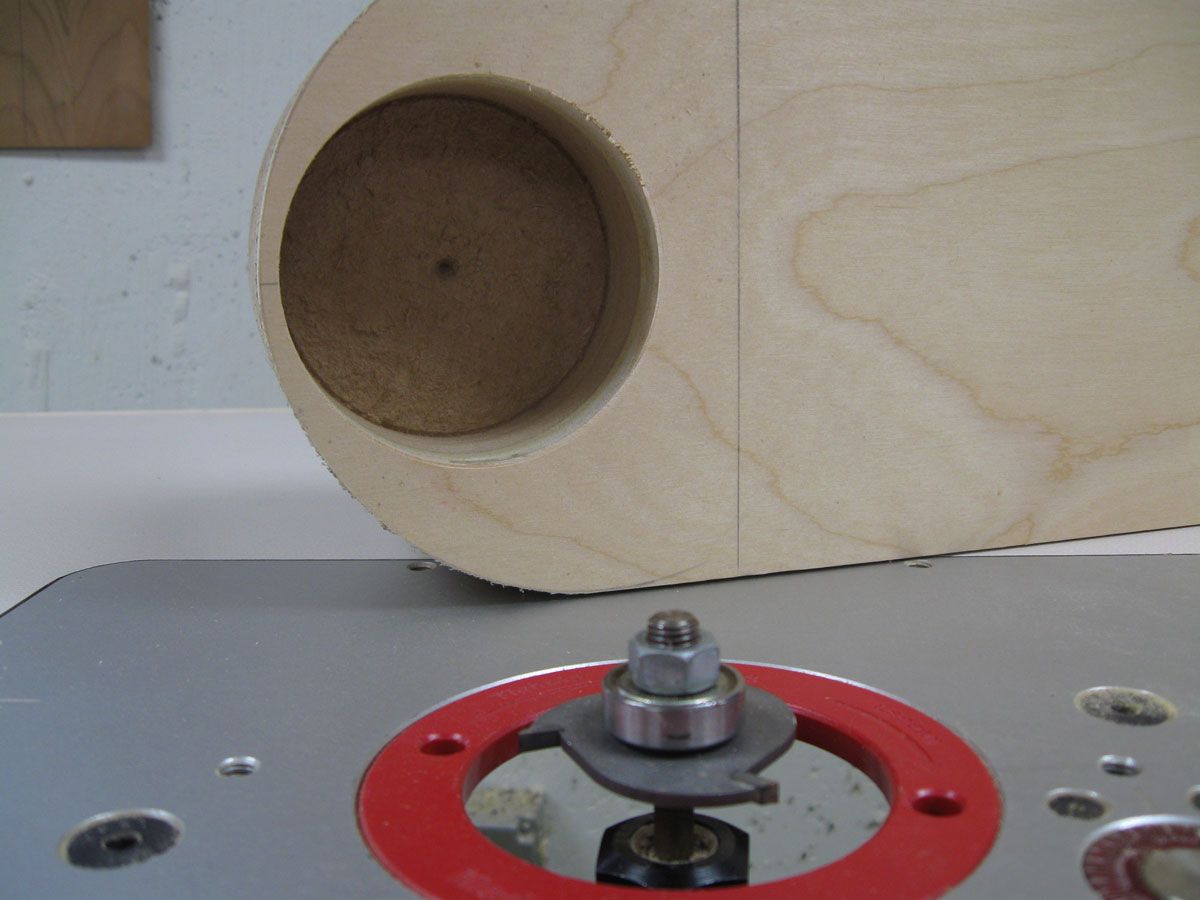
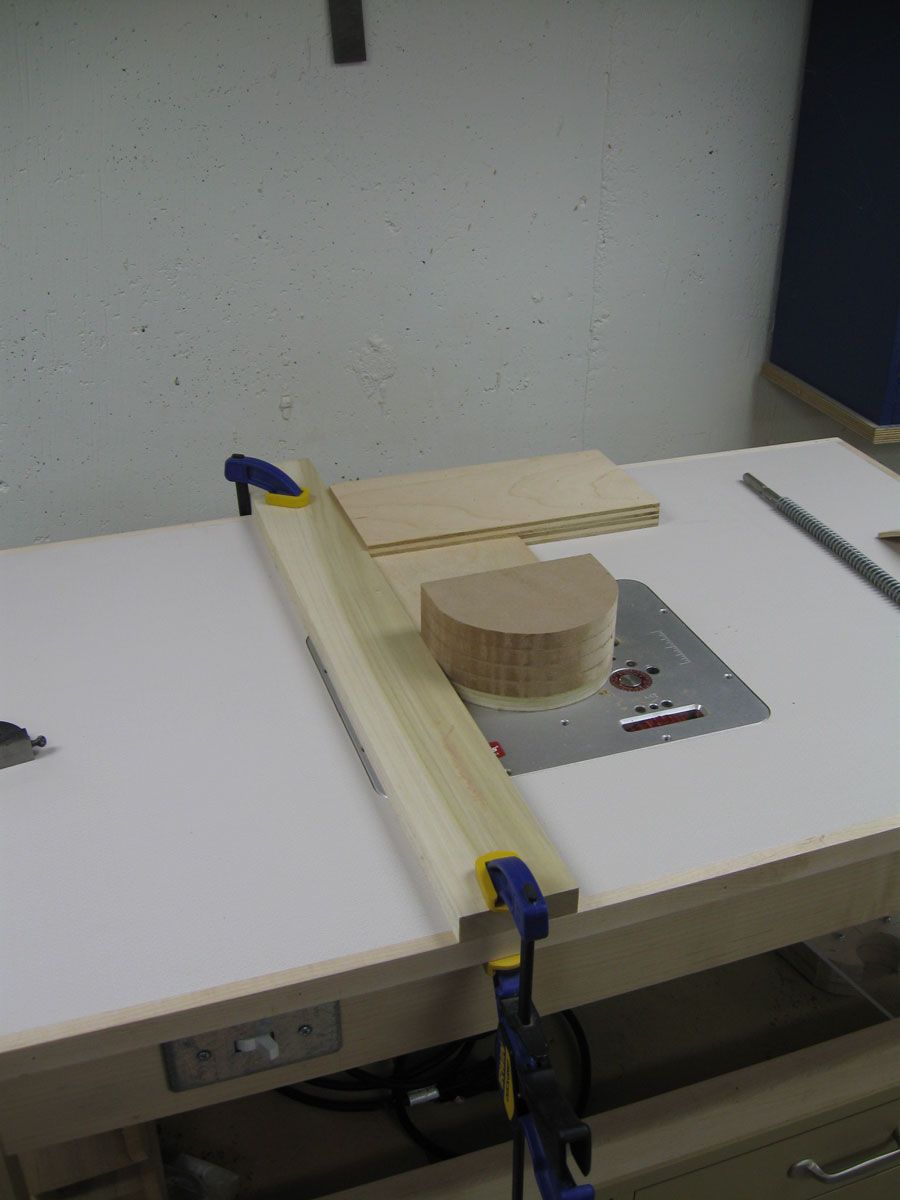
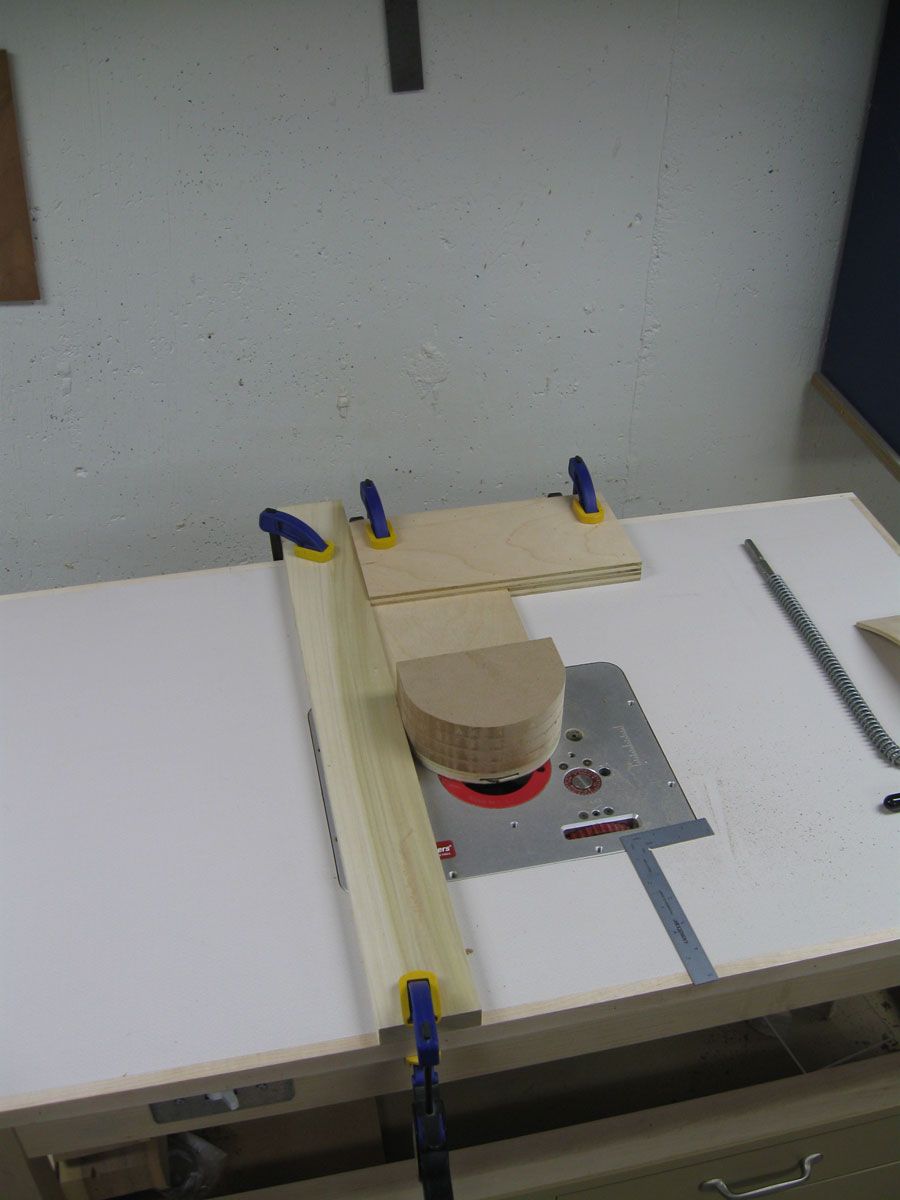
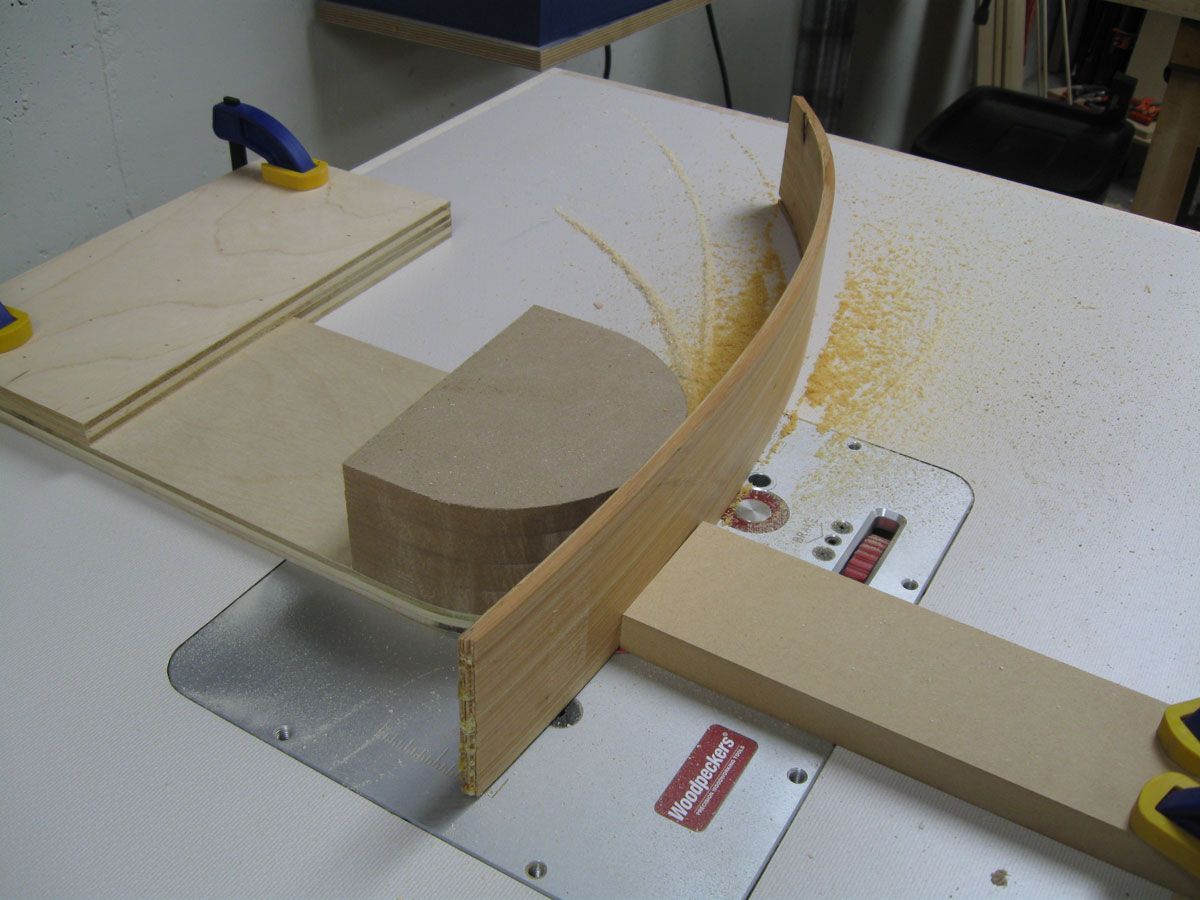
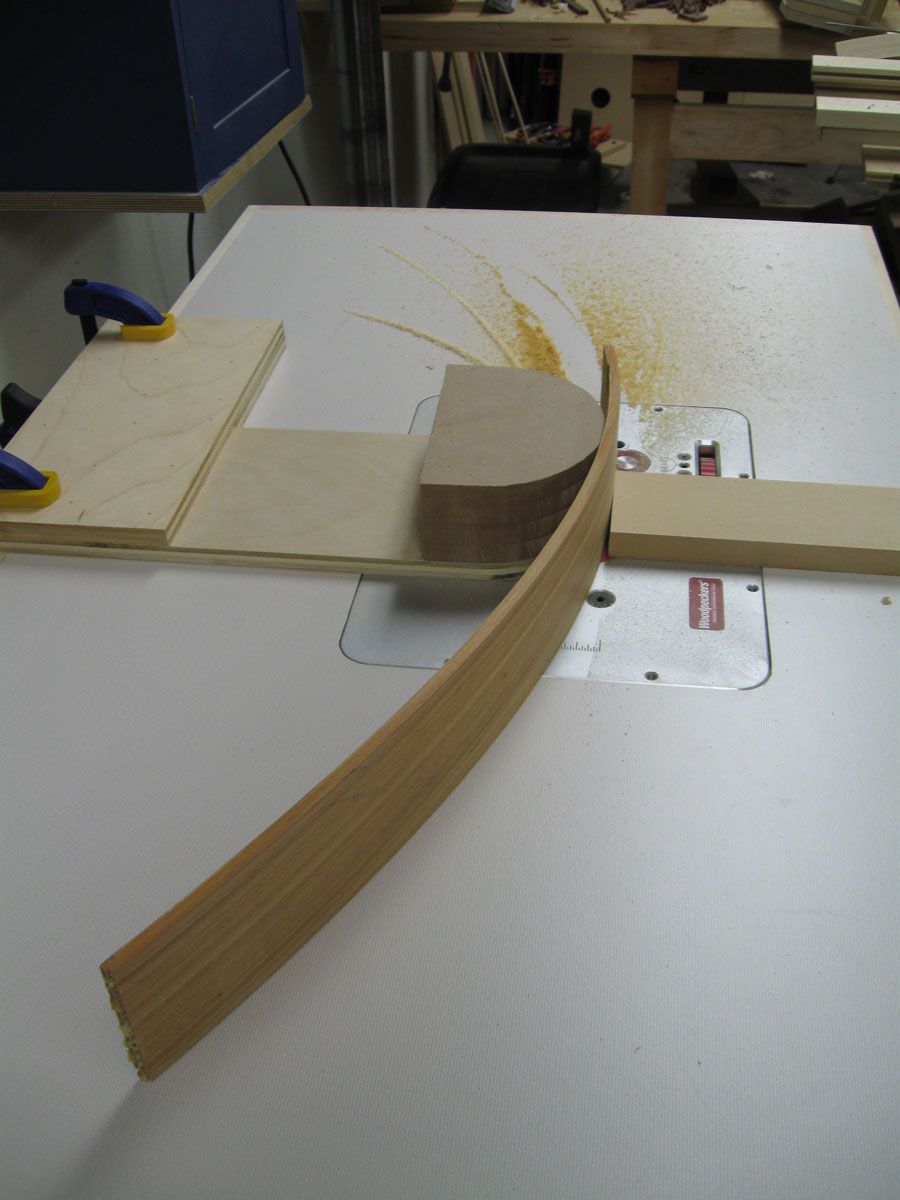
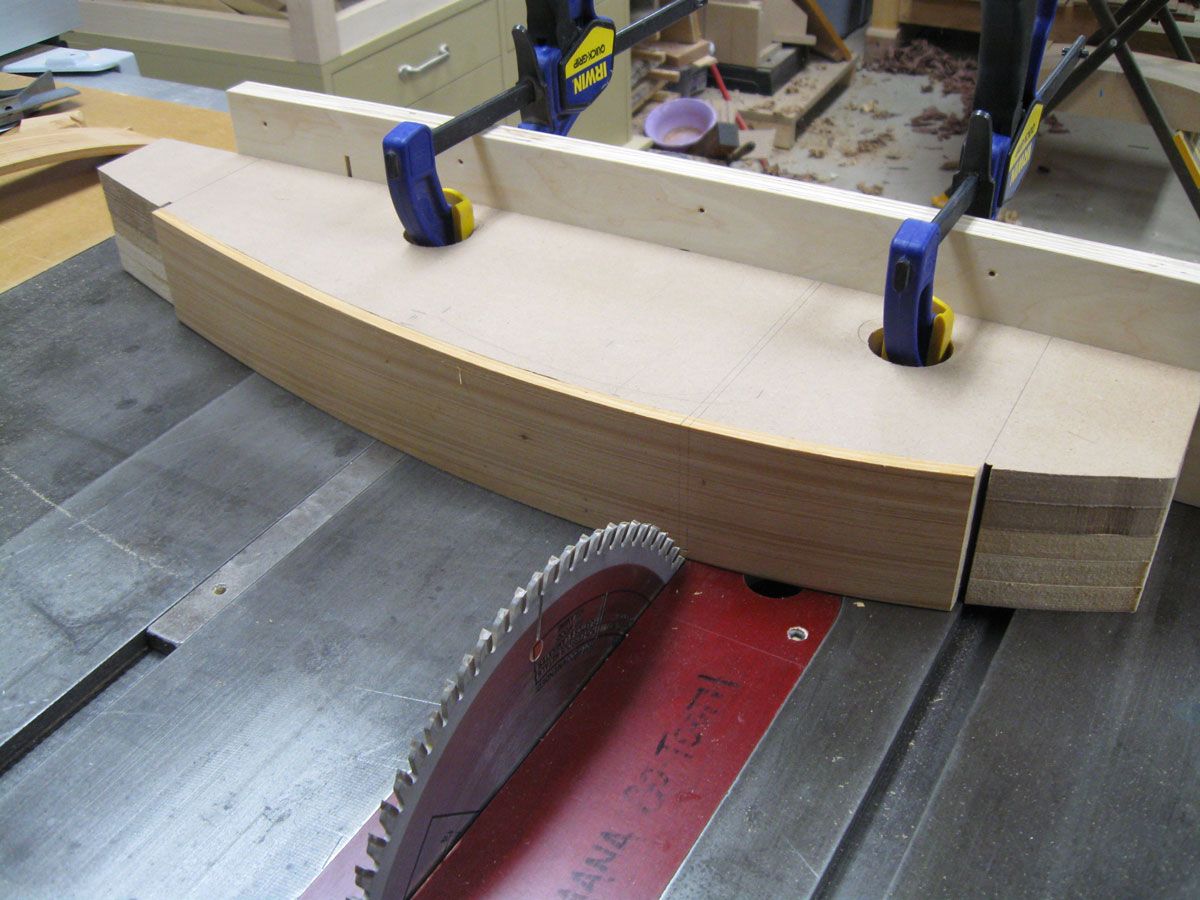
The problem with non-radius curves is that some parts of the curve have a tighter radius than other parts and if you make a fence that has the exact shape of the curve there will be parts of the drawer front that won’t contact the slot cutting bit as you push the front along the fence. The solution is to make a fence that has a radius that is tighter than the smallest radius on the drawer front. Take a look at the photos to see how I did that.
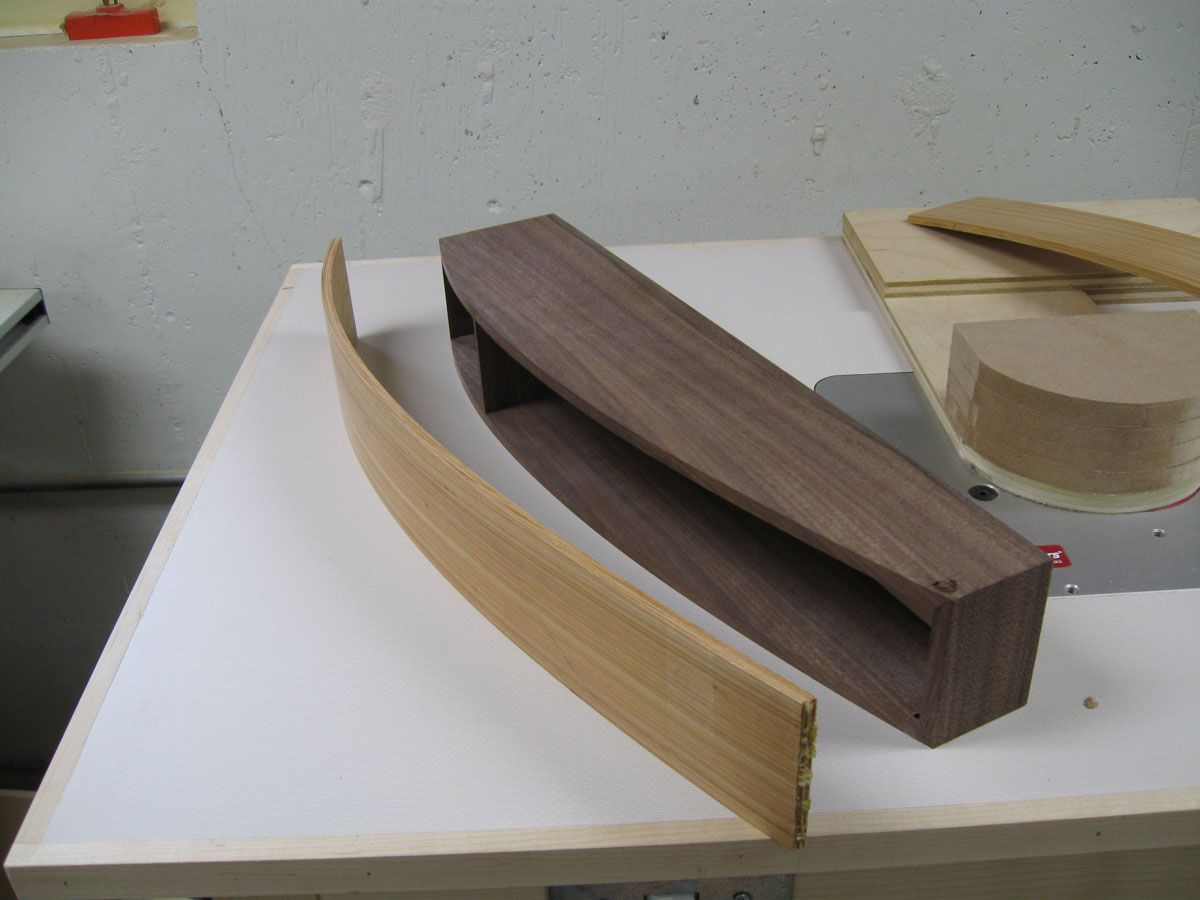
Also, there is a photo that shows how I cut individual drawer fronts from a larger curved blank. I use this technique when there is two or more drawer fronts in a row. I laminate a single blank and then cut the separate fronts from it. The angle cut on the ends is exactly correct and the fronts fit into their openings without adjustment.






Comments
Great idea both for safety and production, but the pictures attached to the article are taken from so far away that some of the construction details are not apparent. A close up (photo #4) of the slot cutter coming through the auxiliary fence would have been helpful (if that is the intent of that step)
Recipe is the word :)
I wonder if Matt Kenney was inadvertantly alluding to his Grandma's secret family "recipie" for home-made apple pie? I can feel another photo caption competition coming on! Thanks for the tip, Matt, and don't you go divulging that recipe regardless of the ribbing you get from captioneers!
Sorry guys. Just a boring spelling mistake. Sometimes I type too fast for my own good.
Gentlemen, gentlemen, gentlemen: Don't you know that "reciPIE" is plural for "reciPE?" DDUUUHHHHHH!!!!!
Just kidding:)
-Ed
Another way is to make a router support block the same radius as the front (similar to the last picture, but on the opposite face). Clamp it to the front and the router will have adequate support. It may seem like more work, but if you're going to make a radiused fence to support the cross cuts, start from a bigger blank and use the fall-off to use for the router support? Though the bit will be "exposed", it's no more dangerous than routing edge profiles that we do every day.
Log in or create an account to post a comment.
Sign up Log in