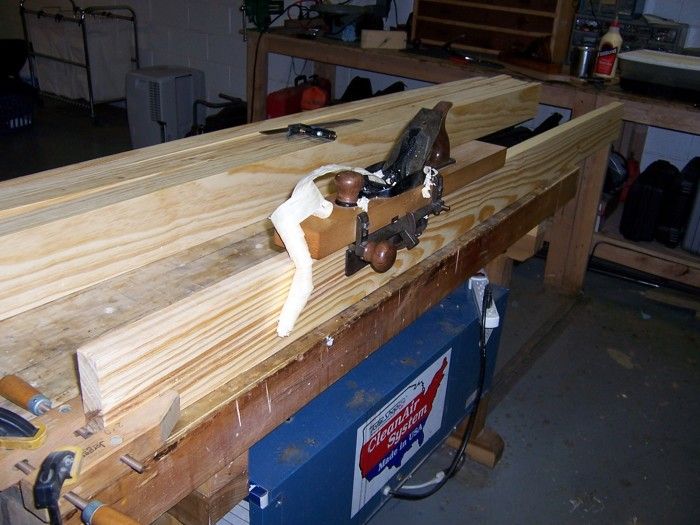
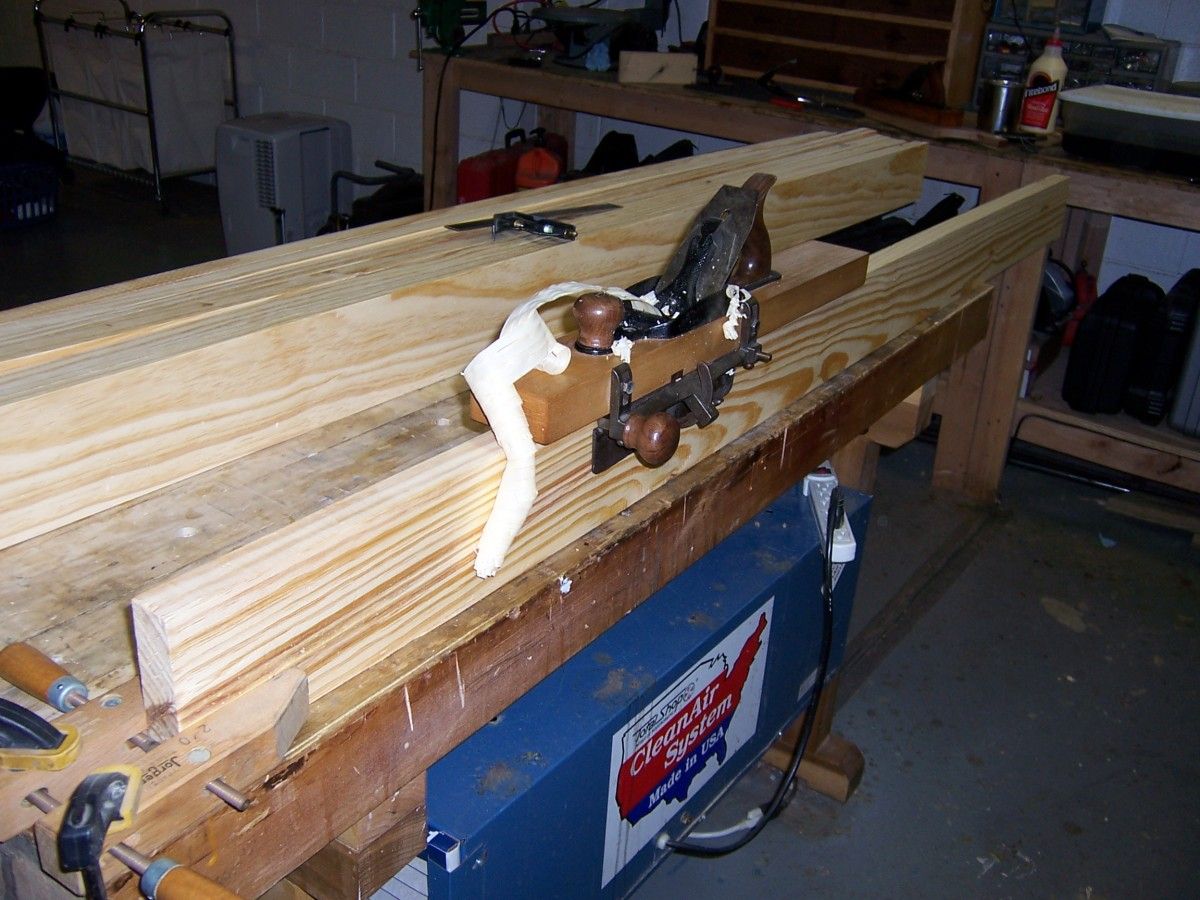
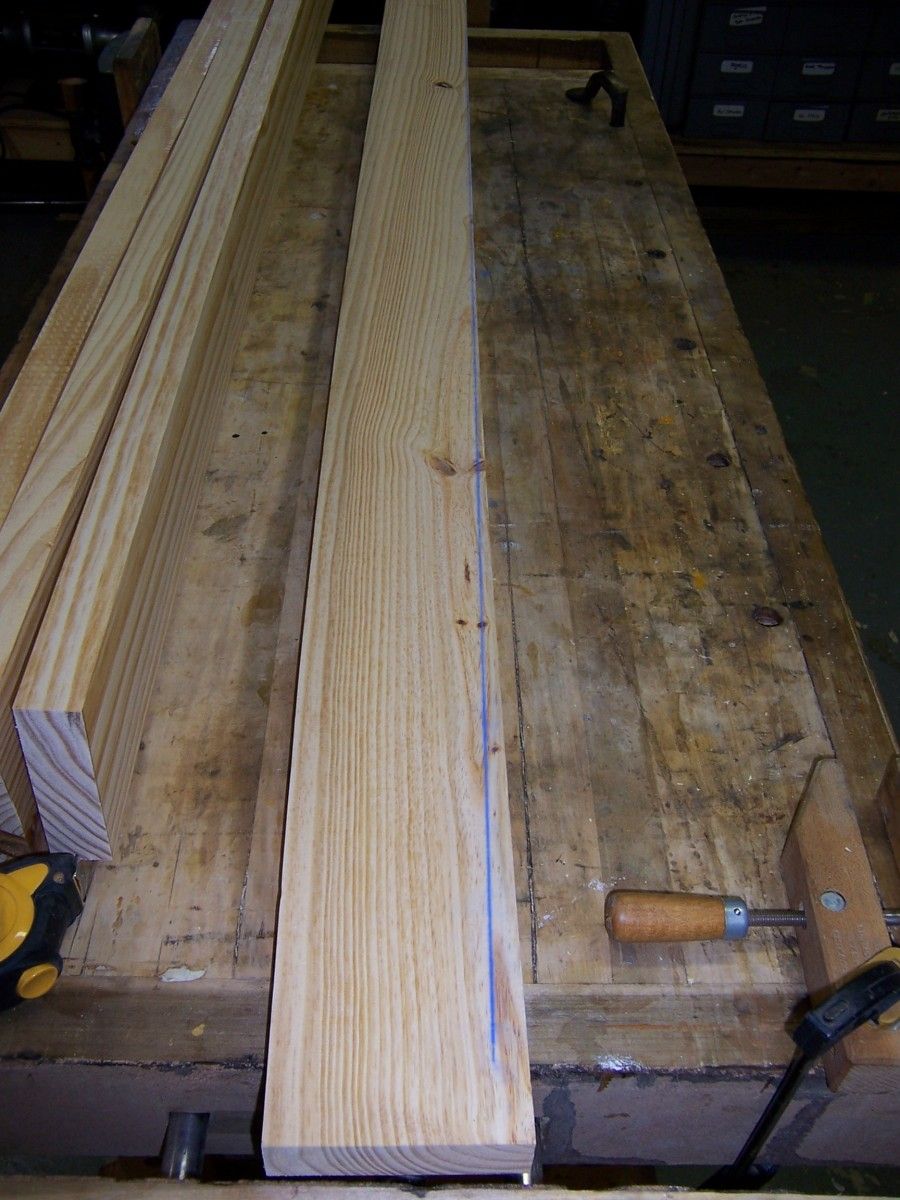
I used my transitional jointer plane with a fence to clean up one edge of the 2x board so that I could rip it on the tablesaw more accurately.
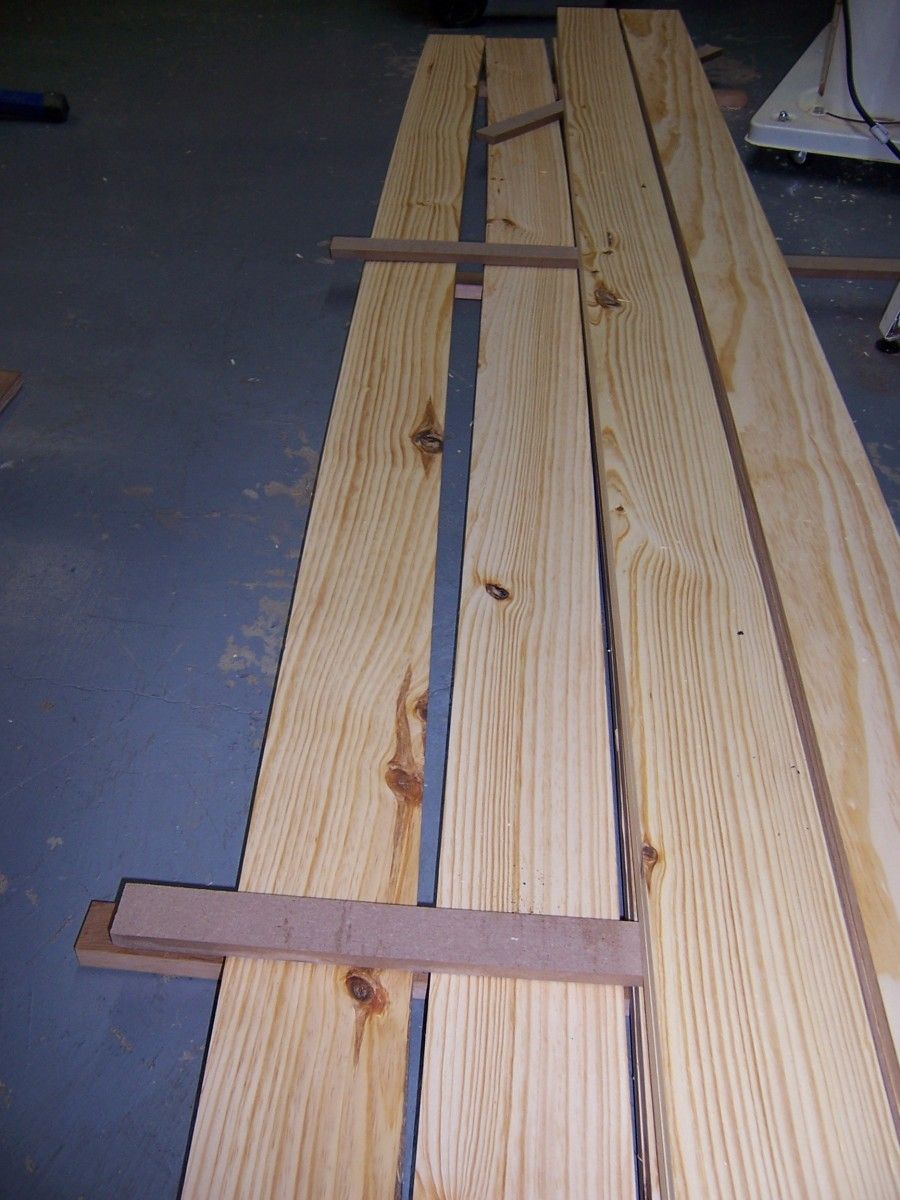
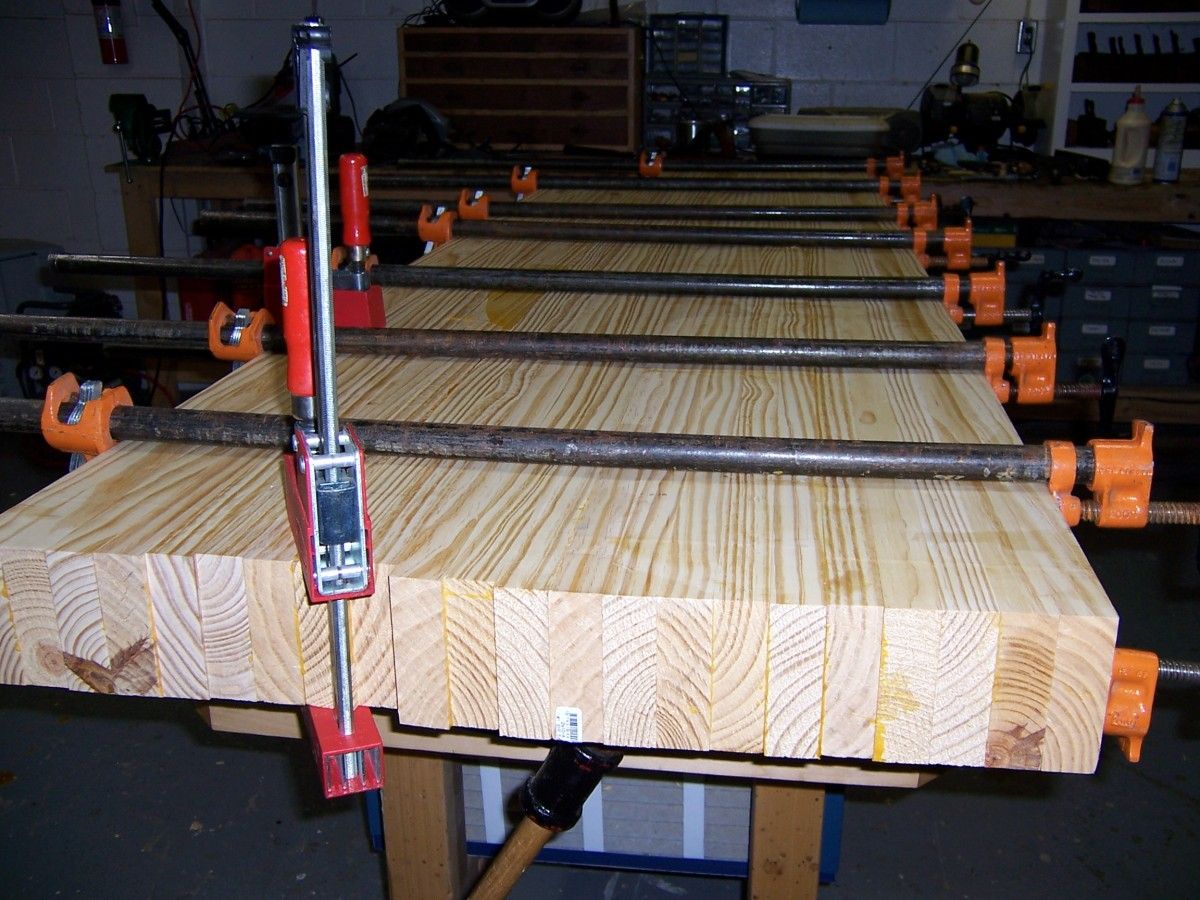
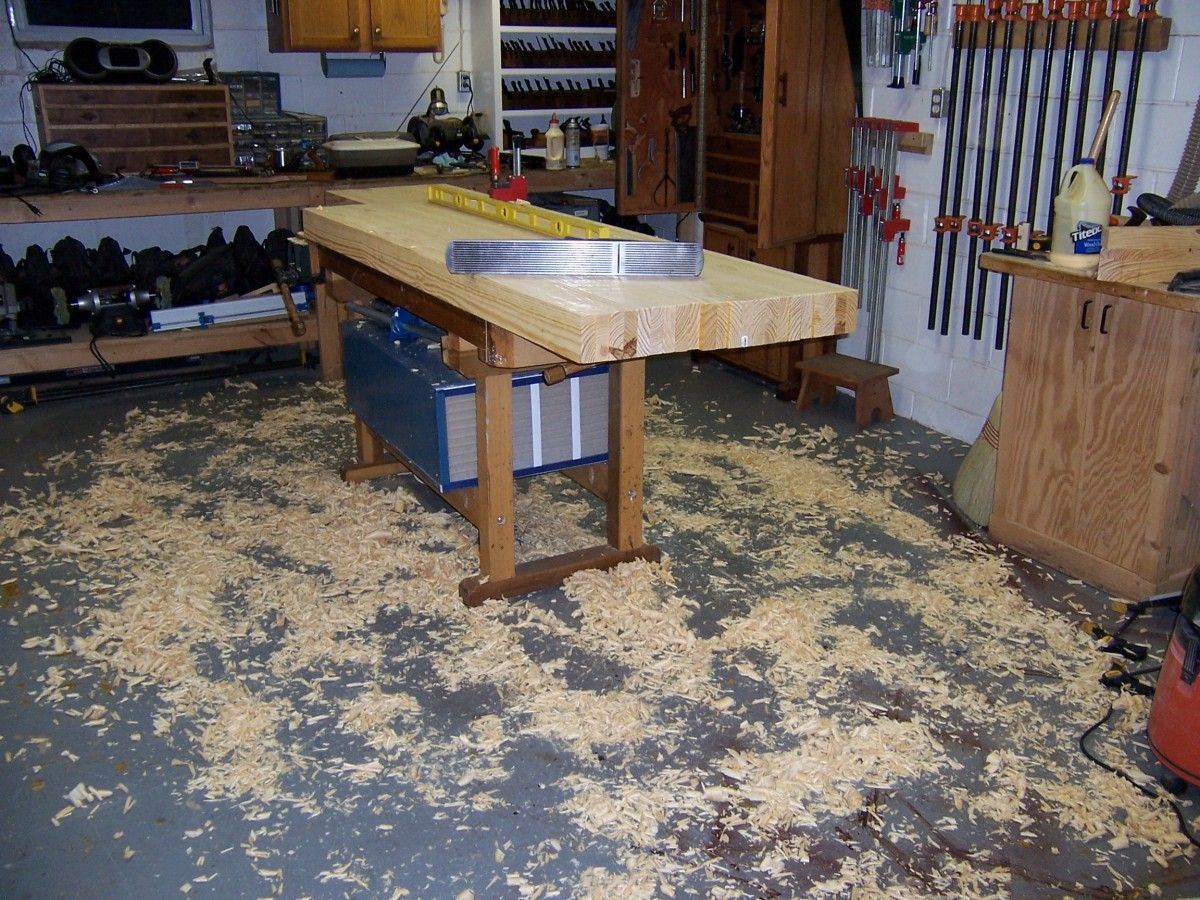
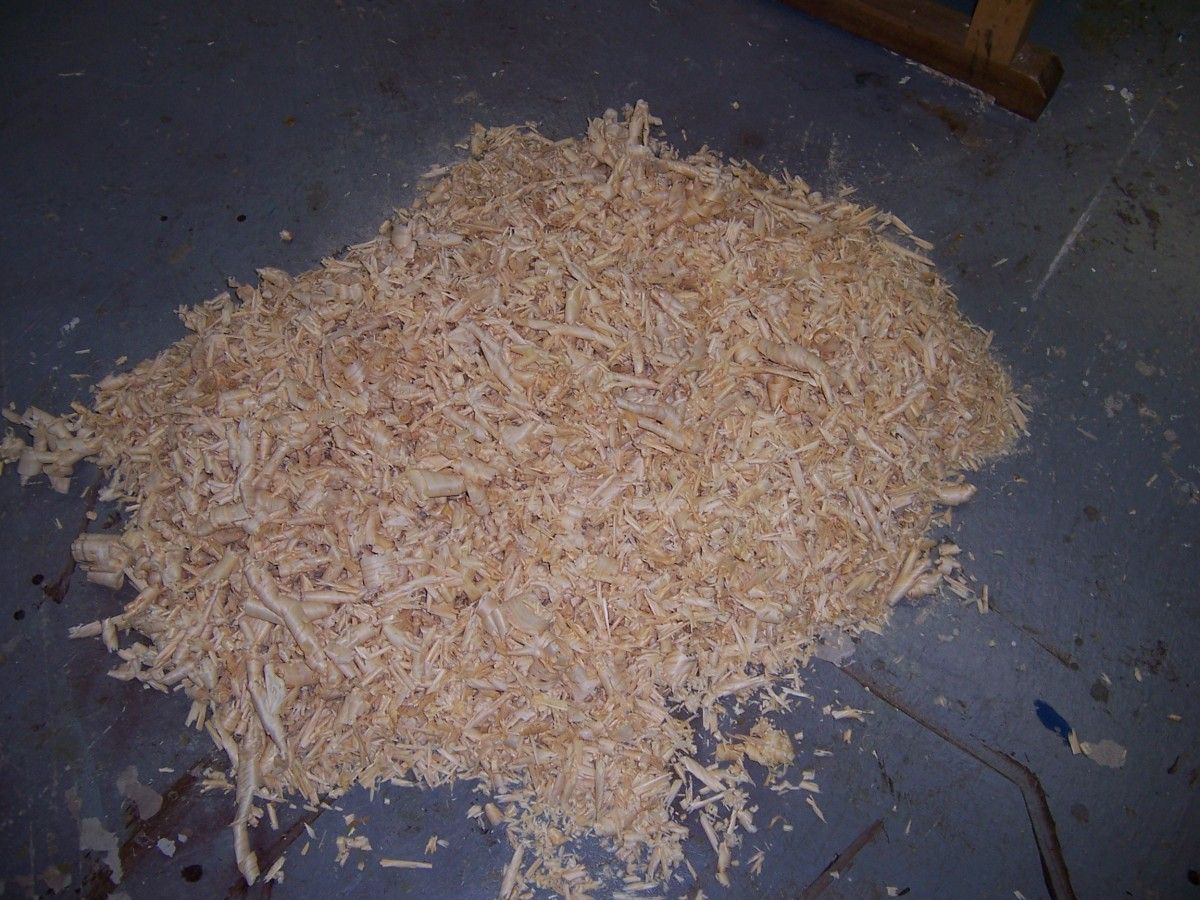
Well after letting the wood acclimate and dry in my shop for about a month, I finally had the time to assemble the top. I took each board and planed them down to 1 1/4″ thick. Be prepared to have a boat load of shavings coming from your planer. I ended up filling four garbage cans with planer shavings. After surface planing, I straightened the boards the best I could with my transitional jointer. The boards were just too long for me try to joint them over my 6″ motorized jointer so I clamped each one to the bench and did it with a hand plane. It didn’t take that long at all and honestly I wasn’t looking for a perfectly straight edge anyway. I just wanted to get rid of the crook in the board so I could rip them to size on the tablesaw. After each board was ripped to 4 1/4″ wide, I laminated them into sections using five boards per section. The shorter part of the bench was laminated with seven boards.
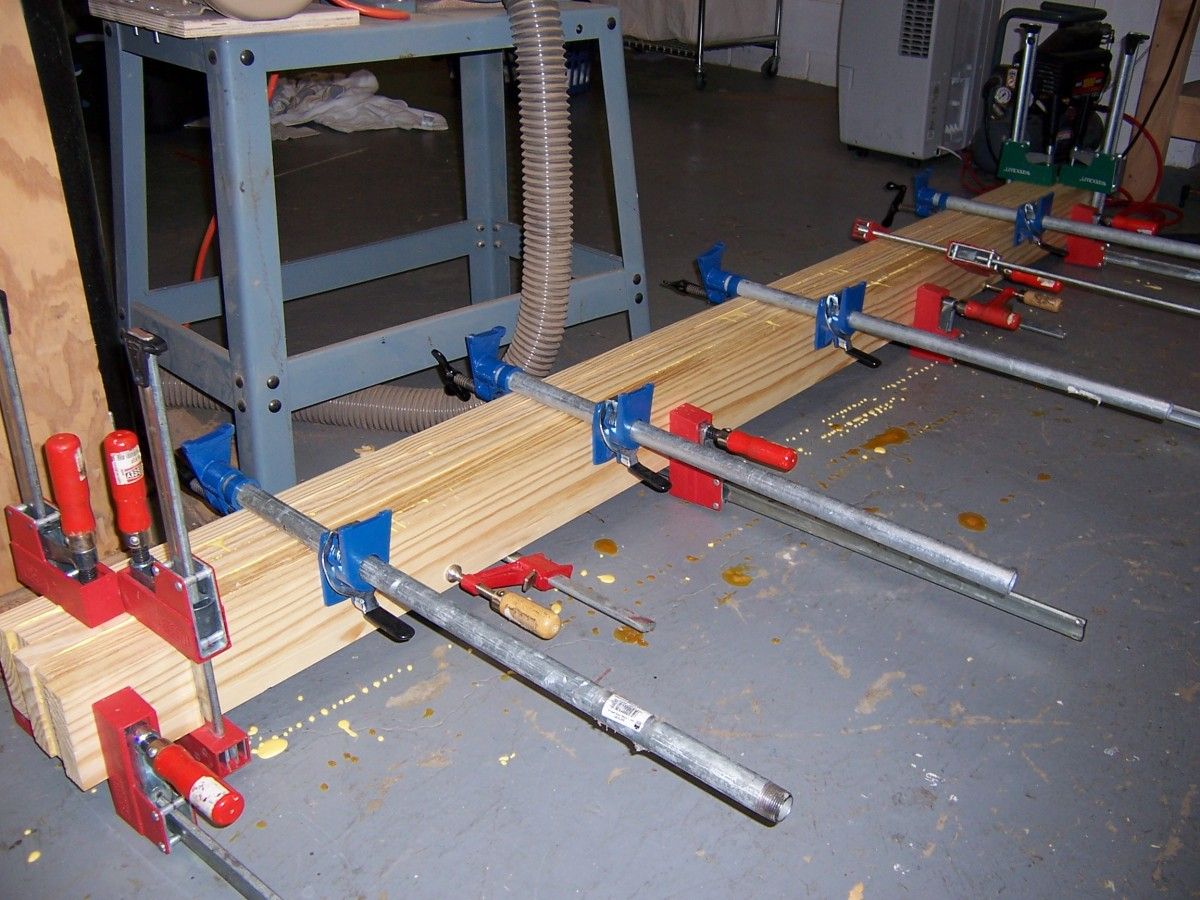
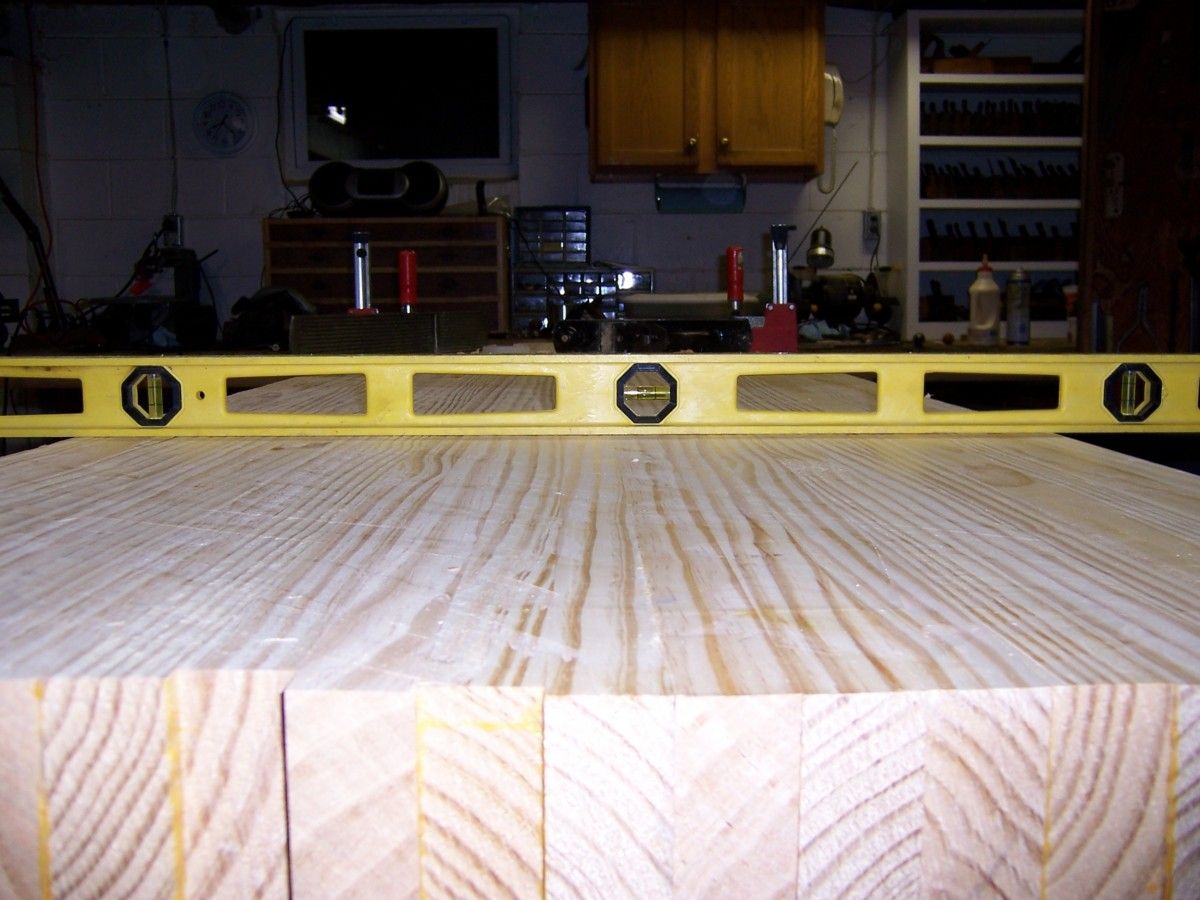
After each section was dry, I ran them through the surface planer and planed them to 4″ thick. Then I glued two sections together. After that section dried, I glued the third. Then when that dried I glued the forth (you get the idea). I did my best to dry fit and line up the sections to minimize any hand planing once the top was formed. However, even after all the careful planning, I still ended up with an 1/8″ bow in my top. I’m not entirely sure why that was but if I had to guess, I say the bowing of my pipe clamps played a part. I’ve always heard of the limitations of pipe clamps and I think I found one of them. Clamping this massive behemith of a top was no easy task. I had to apply an extreme amount of pressure to get each section to bond tightly with one another. It was times like these where I wished I owned twice the amount of pipe clamps!
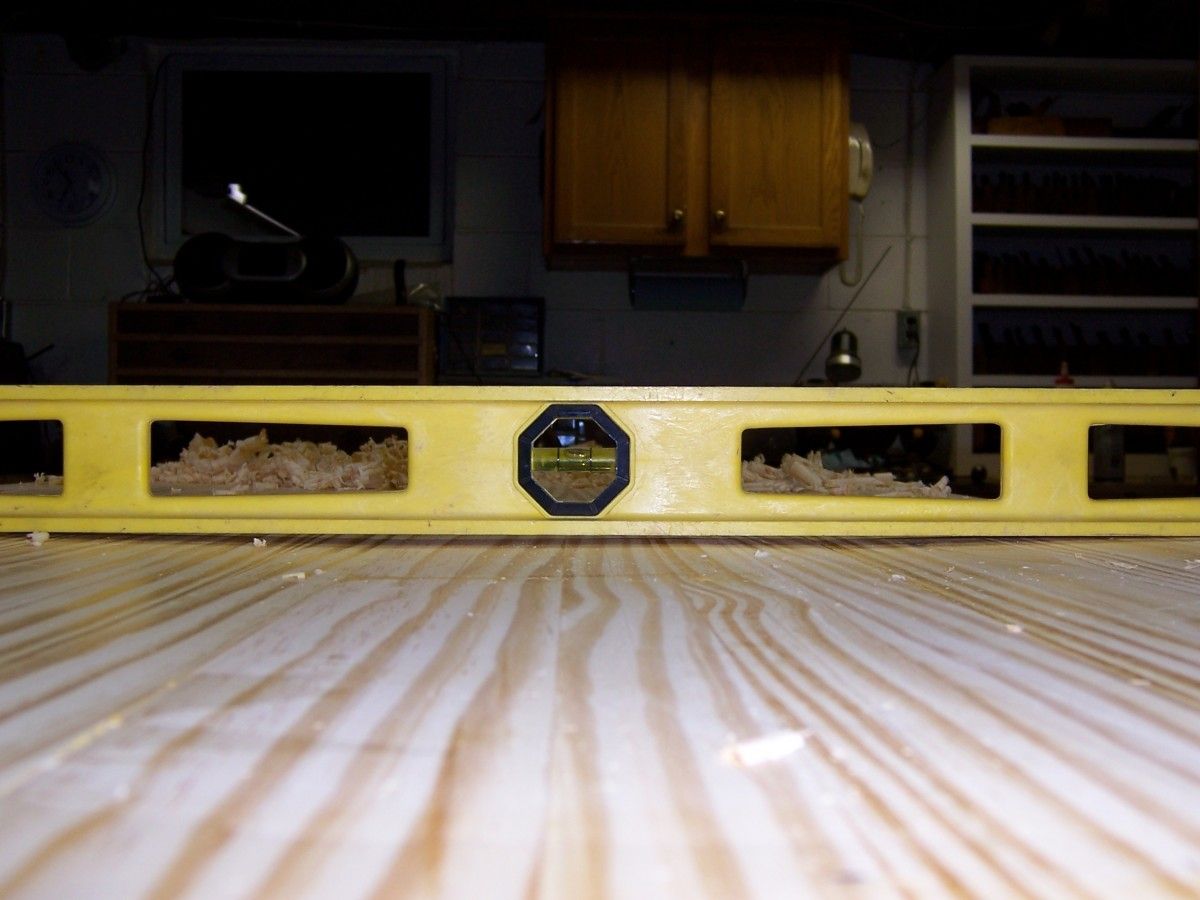
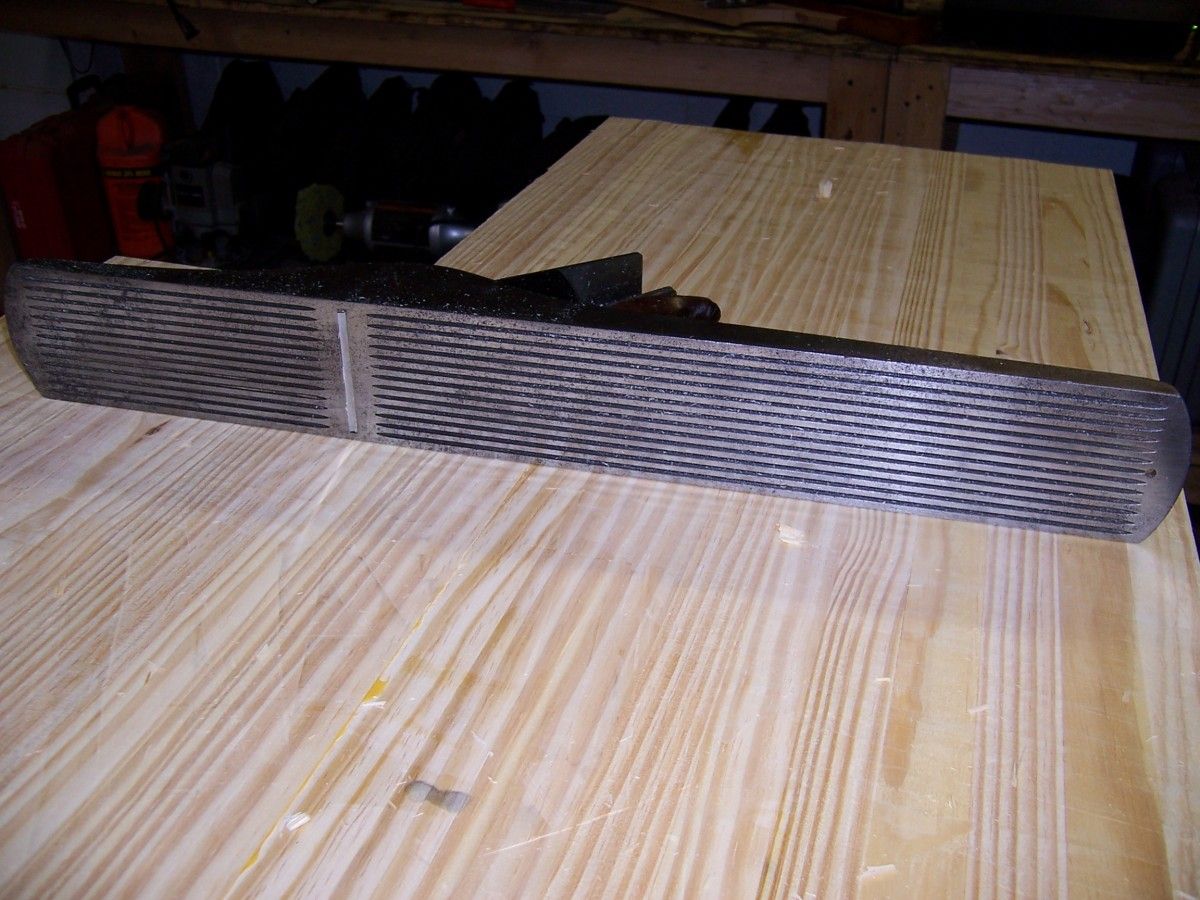
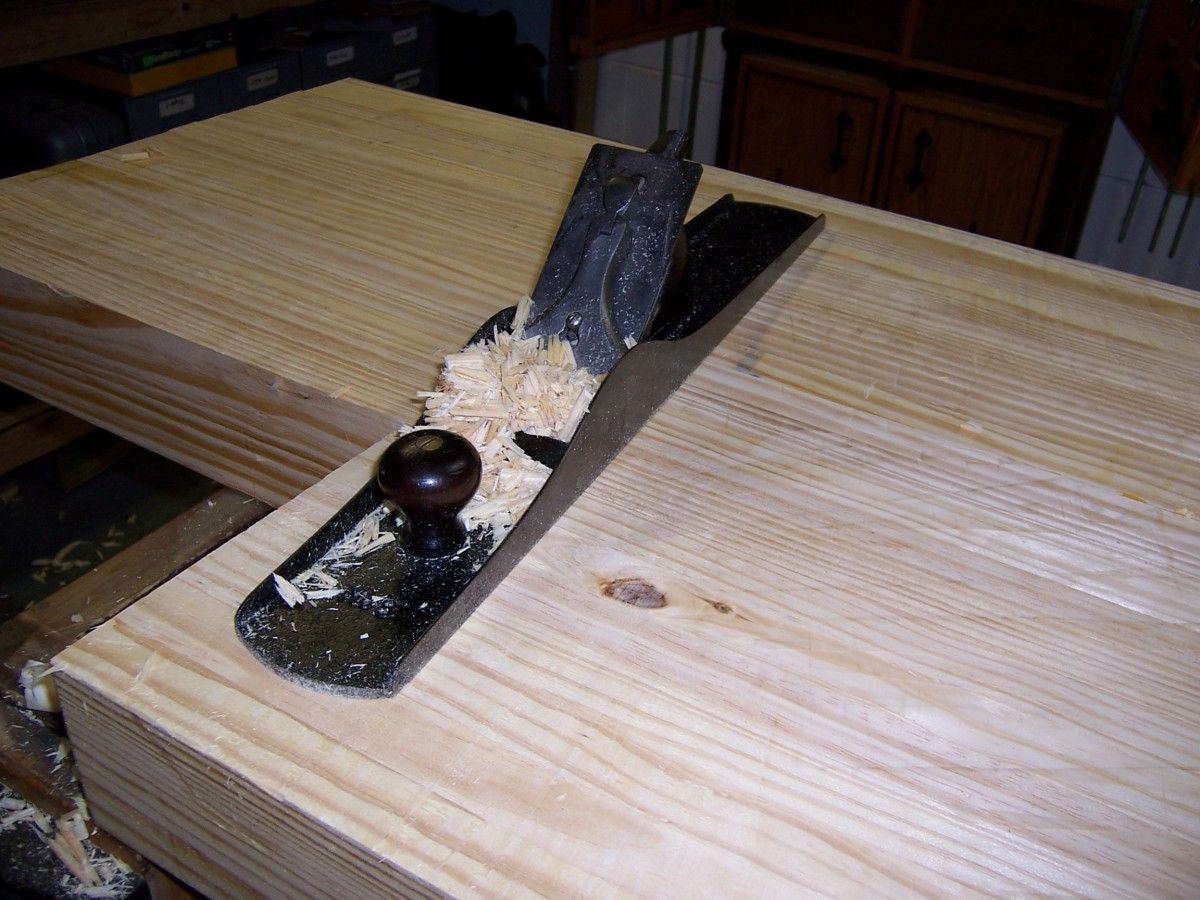
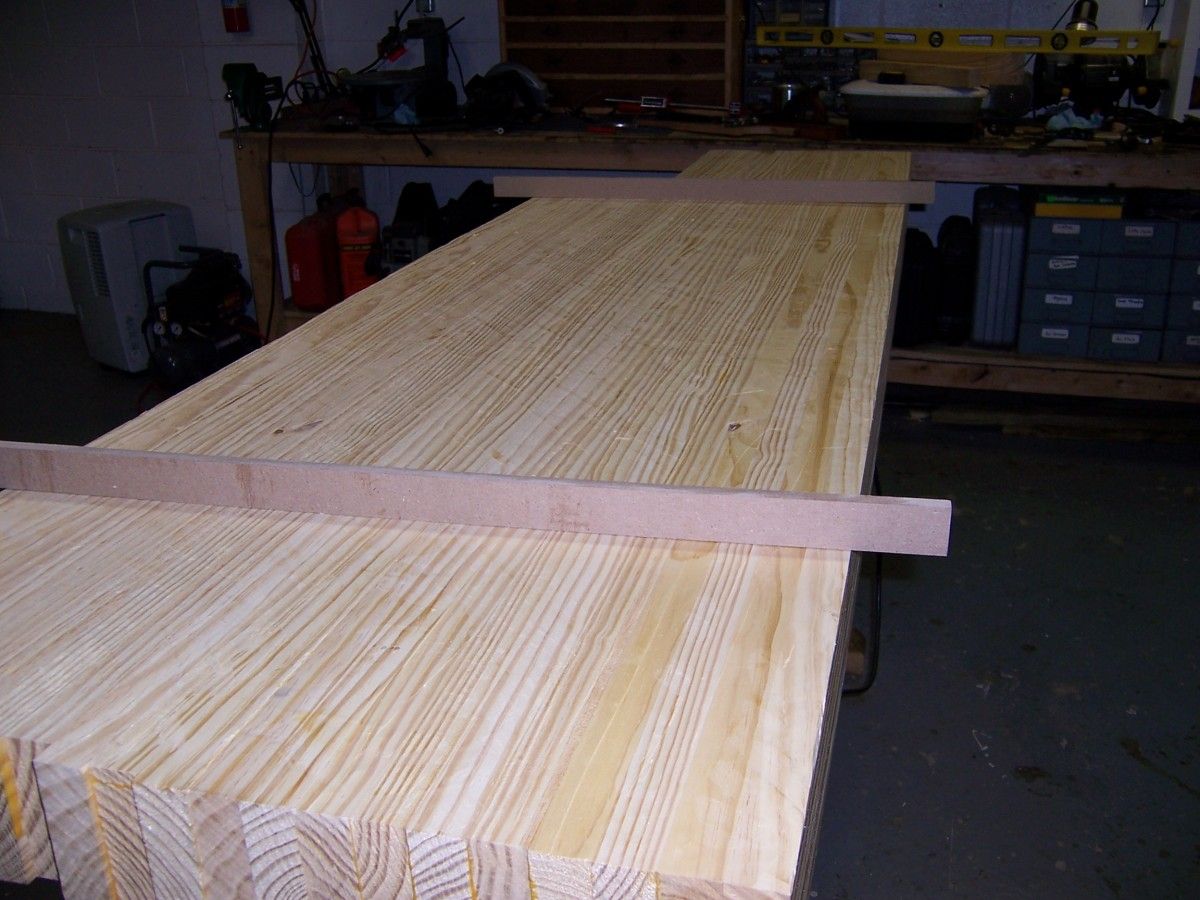
Once the top was glued together I grabbed my Stanley No 8C jointer and No 5C fore plane and went to town. I planed across and diagonal to the grain to level out the top as easily as possible. The 5C worked well to remove a lot of stock quickly. The No 8 was effective in leveling the high and low spots. Periodically I would check my progress with a straight edge (the side of my No 8 plane) and plane where necessary. I also used winding sticks to make sure the top did not twist from one end to the other. It took me an hour and forty five minutes to plane down the entire top but the funny thing was that I actually enjoyed all the planing.
Next I’ll make the legs and build the frame. I’ll keep you posted.
To see the other parts click: part 5, part 4, part 3, part 1.



Comments
I'm mid-process myself and I'm curious if there was a particular reason for you to start with the top and then build the base. I've built the base and now I'm starting on the top. I'm not sure if it makes a difference since I still based my base dimensions to the top dimensions.
I guess I'll see. :-)
Two questions:
1. what kind of vises are you using? (I'm making a leg vise and then a wagon vise)
2. How did you edge up your top to make sure it's all aligned on the ends? I'm considering trying to edge up one side as best as I can and then letting the other end be long. That way I'll have more control over the final length depending on how well the glue-up goes.
Thanks, and good luck!
Hi AAAndrew,
I built the top first because my legs are going to be attached to the top with through joinery. The back legs will be a mortise and tenon joint while the front legs will be a rising dovetail. I needed to know what the final top thickness will be (3 7/8") so that my joinery will fit well. Building your bench legs first will probably work just fine. I wouldn't worry about it.
The vises I will be using are a leg vise on the front and a Emmert Pattern Makers vise on the end. Unfortunately, you can't buy this size pattern maker's vise anymore. You can find an imported smaller version at a woodworking store but I don't know how well they work. As a matter of fact, I'm actually designing this entire bench around the pattermaker's vise. If you notice in some of the pictures, my top has a pennisula (for a lack of a better word) at the end. This area is 19" wide, the same width as my PM vise. The reason I did this is so I will be able to work on both sides of the vise with ease.
I glued up 22 boards that I orginally bought as eleven 2x10x8's ripped in half. If you notice in the second to last pic, my boards are uneven after the glue up. I'll scribe a line on both ends and cut them flush.(already done) This was another reason why I started with the top. Since I wanted an overhang of 18" on each end of the bench, I cleaned up the ends and then measured in on both sides to determine the length of my base.
Currently I'm milling the legs and tomorrow I'll be cutting the through mortise and tenons and rising dovetails. I'll keep you posted of my progess in a week or so.
Thanks and good luck with your top.
Mike
P.S. While laminating your boards together, you may want to follow Chris Schwartz's suggestion of planing down the middle of some boards so that they bond better. I didn't do that but I wished I had as it was a b*tch to get all the boards to squeeze together tightly.
Mike,
I've recently had a similar problem to you. When I held a number of thicknessed lengths of oak together a mysterious bow appeared.
I believe that it was from a slight miss-alignment in my thicknesser blades which meant they were not perfectly parallel to the bed upon which they were being passed through. The result was that all the pieces that went through the machine came out very slightly wedge shaped.
The error was not evident on each individual item (when I put the micrometer to work there proved to be a difference measurable only in the hundreds of millimeters) but when they were pulled together this error was compounded and the bow appeared.
If nothing else its food for thought
Eoin
Mike,
I made a similar style bench top out of oak glued up in sections out of 1" x 2.5" boards. I threw in 2 dark Ipe boards in the middle to add some stripes of visual interest to the 28" wide slab. I made some cauls out of oak and lag bolts to maintain the slab in alignment. Even with very careful alignment and 4 cauls over a 70" length, I still was left with a slight bow. I chaulked it up to ever so slight bowing of the individual boards. Wood is wood after all, it cannot be machined to the tolerances of steel.
There is a certain satisfaction to polishing the bevel of a plane iron, tuning the plane, and then zipping off whisper thin shavings. The feel of that iron slicing through the wood grain is immensely gratifying. Sometimes I'll true up a board that doesn't need it, just to gain that feeling and refocus my mind on woodworking.
Nevertheless, I trued up the slab with my Bedrock 5.5, installed a Cherry apron held together with pins, Veritas twin screw on one end, a Record 53 on the side, and drilled some dog holes. I'm in the process of adding drawers and shelves to the base. The top is held to the base (left from a previous bench) by its weight and a couple dowels in drilled holes. At over 150#+, the top is plenty solid on the base and once drawer and tool weight is added to the base the bench will not be going anywhere, even under the most aggressive lateral force.
Good Luck
I just finished glueing up my 3" x 24" x 8' top (after 3 yrs. of waiting), and found that laminating the top into two halves, machine planing them, then glueing them together proved fairly accurate and efficient. I still have some "waves" in the glue-up, but not too bad. If the top still bows during glue-up, I've found wedges jammed between the pipe and glue-up to be really helpful. It was standard practice at the shop I worked in...grab a pile of clamps, a pile of wedges, glue, and go to town.
Andrew,
I live in Australia and I have gone through the same processes you have described above in building a bench top.
I used a SW stanley 6 fore plane for across the grain, a "Type 9" No 8 for the diagonals and a SW 4 1/2 to finish off the "windrows".
It took me around 4 hours to complete the job and I agree with your comments that it was very enjoyable to use such quality hand tools.
Best regards.
I find a hand power planer made by Bosch or Makita works very well.
I'm wondering what kind of wood was used for the bench top? I didn't see it mentioned in the write up.
I built my first bench about 2 years ago and used Doug fir 4x4s for the top, because I couldn't find anything else that was relatively clear. That sort of killed the $175-bench concept. But it's nice and heavy, and not too hard to plane flat. I'm also using this top to learn how to plane. My No. 5 and No. 7 seem to be the right combo.
Ernest1,
I'm using southern yellow pine. 2 x 10's I bought at Home Depot.
Mike
I built the top to my bench first as well. I used it for four years atop an old heavy duty table base and height adjustments via chunks of 2x4. I toyed with several designs before settling on the one I've just completed. I also used seasoned for a year SYP. After I glued it up [no screws] I euphemistically called it the "big potato chip." I let it settle for a month before dressing it down to where it stands now. It ended up just under 3" thick. I have bread board ends and skirts front and rear. Now I just have to finish the full width drawers...
Great blog.
always,
Zee
I have built bench tops out of maple by making the 12" wide sections, surface planing and then gluing those sections together. But when I recently made a 36" wide 3" thick maple bench top, I sequentially glued up 1.5" thick boards because they would bend a bit and mate together as the bench top grew. I found I could put together about 4 boards at a crack so it took me about a week to get the whole top glued up this way, but the glue joints are far tighter than when I had done the 12" wide sections.
I leveled the top by building a set of rails and a sled that allowed me to run a 1" wide router bit over the whole table. It is deadnuts flat and without an twist.
I figure the finished top weighs right around 180# or a bit more. So, careful planning was necessary when moving it around or flipping it over.
For my money, there are no substitutes for pipe clamps in building one of these.
Brent
Why go to all this time, trouble and expense? I've been using benches similar to the Joshua Finn bench shown in FW "Tools and Shops Annual" for my shop work and finish carpentry on job sites for 40 years. Essentially, one or more box beams on stands or, in my case, saw horses. Flat, light, cheap, super-strong, easy to move and store with a lot more uses than any other bench I've seen. When they're too worn for cabinet work mine become scaffold stages, ramps or bridges over troubled water (pot holes).
Old Fox Woodworks
Last time I mad a top like this I drilled 1" indexing holes at the ends of the board. When the time for glue-up came, I used oak dowel rods to align the laminated boards to each other. After glueing, I just trimmed off the ends of the top, getting rid of the index holes. (Though they could be an interesting visual detail to leave in, especially if their color contrasts with that of the top.) The whole process went fairly smoothly; the main benefits became apparent during glue up and the minimal planing and truing time after glueing the top together.
I am interested in building a similar workbench but was considering gluing the top on a board-by-board basis instead of by sections. Since bending rigidity is governed by the cube of the section thickness, much less force (<1%) will be required for each gluing if only one additional board is glued each time to the top rather than gluing sections of five boards each(since 5^3=125). Comments? Thanks.
Log in or create an account to post a comment.
Sign up Log in