Groove Center Simplifies Lock Miter Joint
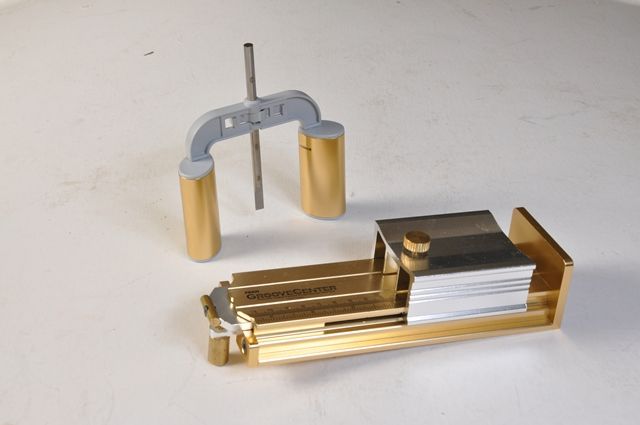
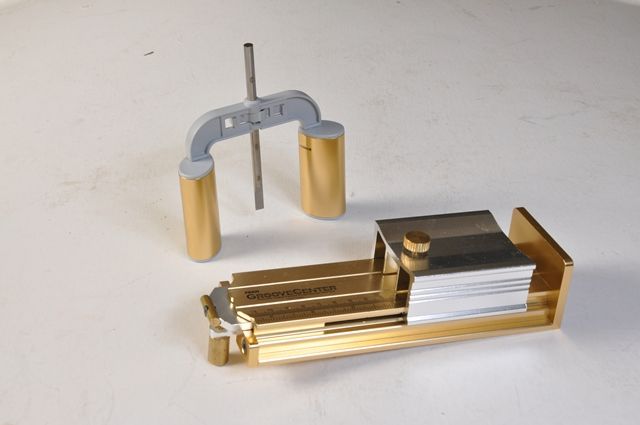
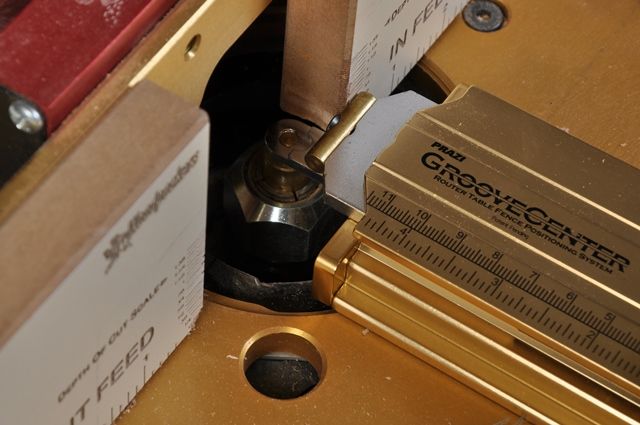
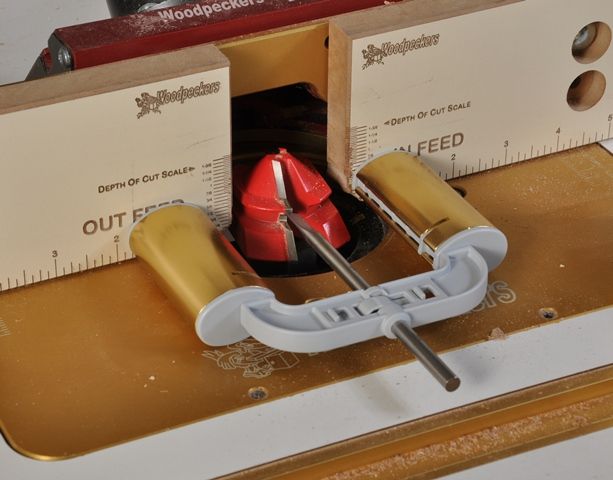
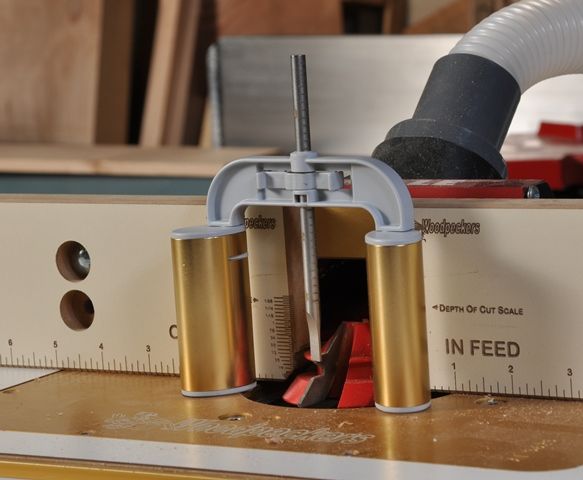
Groove Center (front) and 2-Axis Depth Gauge (back)
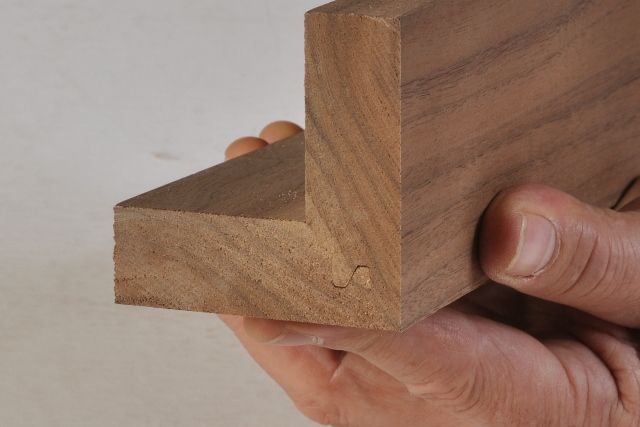
Setting up router lock-miter bits can be a frustrating affair with lots of trial and error and wasted lumber. Last year in Fine Woodworking (issue 218) an article was included that features a method of setting lock-miters using a height guage that is accurate but requires a few calculations. There is an easier way.
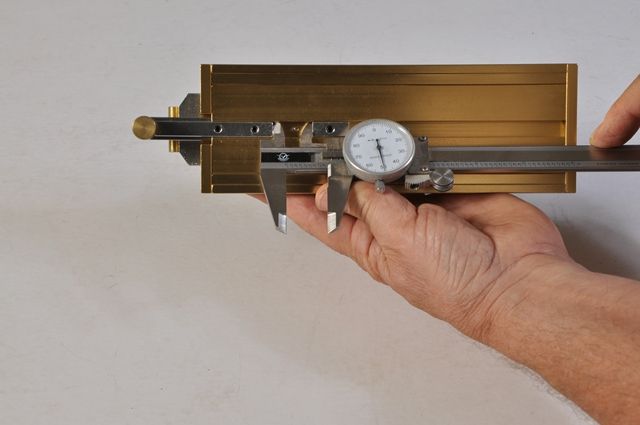
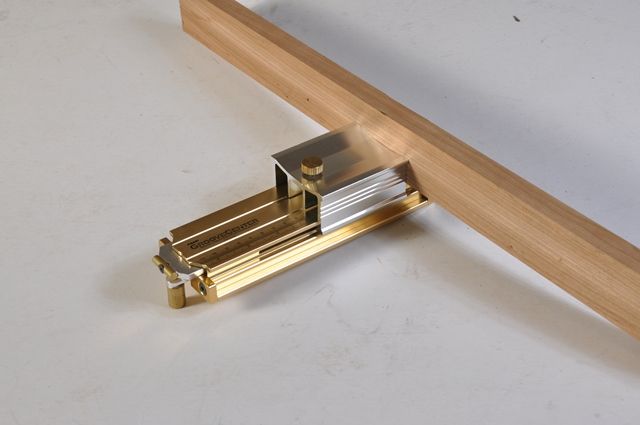
Valfor Tools (Prazi USA distributor) developed a tool for centering bits precisely in the edge of stock for accurately centered grooving and mortising. The jig uses a geared sliding carriage that butts up against the project lumber automatically setting a pin that drops into the router collet and provides the correct offset between the router fence and bit. The collet pin plate is adjustable and spacing the pin plate a set distance from the zero stop allows an offset that will correctly locate a lock-miter bit the precise exposure from the face of the fence needed for an accurate fitting joint. The 2-Axis Gauge comes into play by measuring the distance from the fence to the tip of the center wing of the cutter. Rotate the Gauge upright to locate the precise height the bit needs to be for accurate centering in both dimesions from the fence. The result is a few minute setup that produces a tight fitting miter joint.
Lock-miter bits are avialable in a variety of sizes and each manufacturer has slightly different profiles so Prazi includes a list of available bits along with the “magic number” for precisely offsetting the collet pin.
Check out Valfortools.com or Praziusa.com for more information about both tools. The Groove Center is available for about 150 bucks and the 2-Axis Depth Guage runs another 50 bucks.



Comments
Now I can finally take out that Lock Miter bit that I tried using 5 years ago and gave up.
These are great tools. The GrooveCenter really is the only tool on the market that will set up your lock miter bits - any size, any brand, any stock thickness - flawlessly. I use it all the time and I can fully recommend it. Beautifully made to last, as well.
Sommerfeld has a much simpler jig and it works with a multitude of their bits.
The Sommerfeld jig only works with Sommerfeld bits. That is the whole point of the GrooveCenter: it's absolutely universal.
Also on the Sommerfeld jig, you have to measure your stock thickness and then set the jig with that value, the GrooveCenter avoids all measuring and marking. So it really is in another league.
I've been using Carol Reid's method for a few years. No expensive jigs.....just using a rule. 2nd use, I use the set-up blank cut during the first set-up. So Simple & cheap.
How can I find out more about Carol Reid's method ????
Thanks for the article - this is very interesting to me! But without having the setup tools in front of me, I'm not entirely clear on how they work nor their relative value. This seems like a topic made for a short video. (hint hint!)
There's a photo on p 114 of Carol Reed's book ("Router Joinery Workshop"), where her method is explained. But it illustrates exactly what happens when resorting to measuring! The joint shows a good 1/16" off the edge of the workpiece and doesn't look good enough.
You can find more info on the GrooveCenter and its various functions on the Valfor Tools website (www.valfortools.com).
For best results with a lock mitre bit you need to offset the point of symmetry from the stock centre slightly so that a paper thin edge is not created. This will crush on the outfeed fence spoling the profile at the end of the pass when infeed support is lost.
Looks like an interesting pair of tools. At $150 for the Groove Center and another $50 for the Depth Gauge, I'd need to be doing lots of lock miters with different bits on different sized stock to justify the expense.
Groove Center tool is nicely thoughout, however extremely overpriced, for a tool doing something rather easily accomplished with basic shop tools and a decent router lift.
2-Axis Depth Gauge appears to be an injection molded plastic item and at the price asked is also Way Too Much money. There are so many options for taking the simple measurements required in this type of operation, expand your capabilities and your satisfaction by working it out on your own... save the $$$.
Machinist60 points out that a paper thin edge can spoil the joint in the end. I have done joints across the grain in oak that came out beautifully: the edge was relatively strong and did not crush against the fence. Joints in walnut with the grain left a much more fragile edge. Are there any other suggestions on how to manage the fragile edge than the approach offered by Machinist60?
In my experience, use of a lock miter bit has been the single most frustrating exercise and greatest consumer of setup pieces in the history of my workshop! I don't think $200 worth of additional tooling is going to relieve that frustration. I'm just thankful the store let me exchange it for an adjustable finger joint bit. At least I can get that to work usually on the third pass, sometimes the second!
The first time you use this it will take you a long time to set up. Make a couple of sample boards that you can save for setting up next time. Next time slip the profile up to the bit and adjust the height and fence to match your sample. It saves a lot of time this way.
Valfor Tools have now in fact launched their own website and the online store is open. They have launched a very neat new tool, called the Bit Vise. It's a real stunner. It is sold alongside their GrooveCenter and 2-Axis Depth Gauge exclusively under their own brand name (they own the patents).
Log in or create an account to post a comment.
Sign up Log in