2×4 Table with Concrete Top
Pocket-hole joinery is perfect for this outdoor table project.
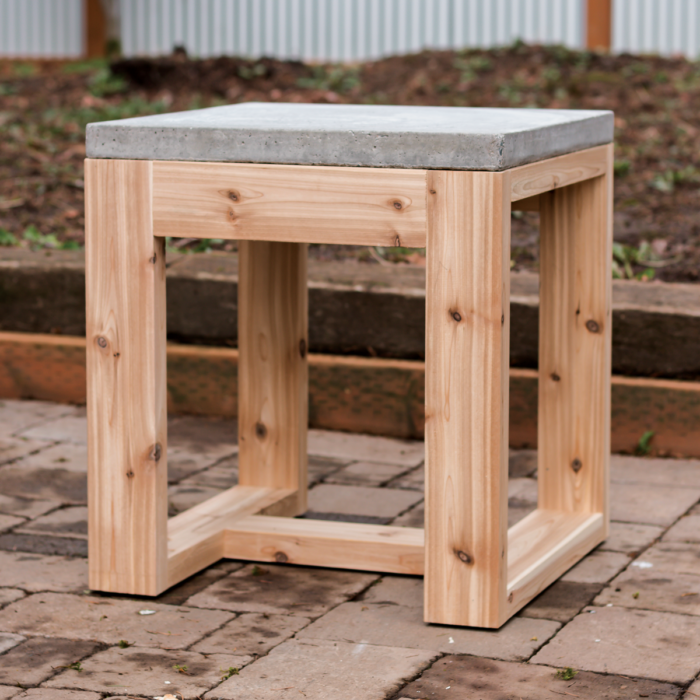
2×4 magic. Made from common materials, this little table is surprisingly pretty and practically weatherproof. The cedar will weather to a silvery color, blending nicely with the concrete.
Here’s another popular project from Fix This Build That (fixthisbuildthat.com), courtesy of Brad Rodriguez. It’s a weather-resistant mashup of cedar and concrete, perfect for outdoor use but nice indoors too, where the waterproof top is perfect for plants.
I built this table in my garage in Portland, Ore., but I had Brad’s excellent online instructions and video to guide me throughout. It was my first time casting concrete for furniture (as opposed to a rough concrete step or fence-post footing), so I read his advice carefully and picked up a few pointers elsewhere, too. Like Brad, I built a pair of these pieces, since two matching side tables look better than one.
Learn a Simple, Strong Way to Join Wood Pieces
Not long after you start trying to build stuff with wood, you’ll encounter a basic problem: how to join parts solidly at right angles. Most projects depend on that fundamental joint. There are wonderful traditional methods, like dovetails and tenons, but those have a steep learning curve and require serious tools. Then there are wood screws. Those are easy to use, but often not strong enough on their own. That’s because they go into the end grain of one of the pieces you are joining, and screws just don’t hold that well that way.
Enter pocket screws. Inserted at an angle, they cut across the grain of both pieces for a really strong grip. They are called pocket screws because they are buried in long holes (pocket holes). These do show on the finished project, but you can usually orient them so they are out of view.
What makes it all work, and makes it so easy, is a little gizmo called a pocket-hole jig. The best are made by Kreg and are available with various levels of features. Like Brad, I used the $40 entry-level version that you simply clamp to your workpieces. It is just as effective as the fancier models and works for wood up to 1-1/2 in. thick. The $40 kit comes with the stepped drill bit you need as well as an assortment of screws designed for the job.
Read the instructions carefully, use the jig as directed, and just a few screws will make a surprisingly powerful connection between any two pieces of wood or plywood, letting you build cabinets, furniture, and a host of other projects.
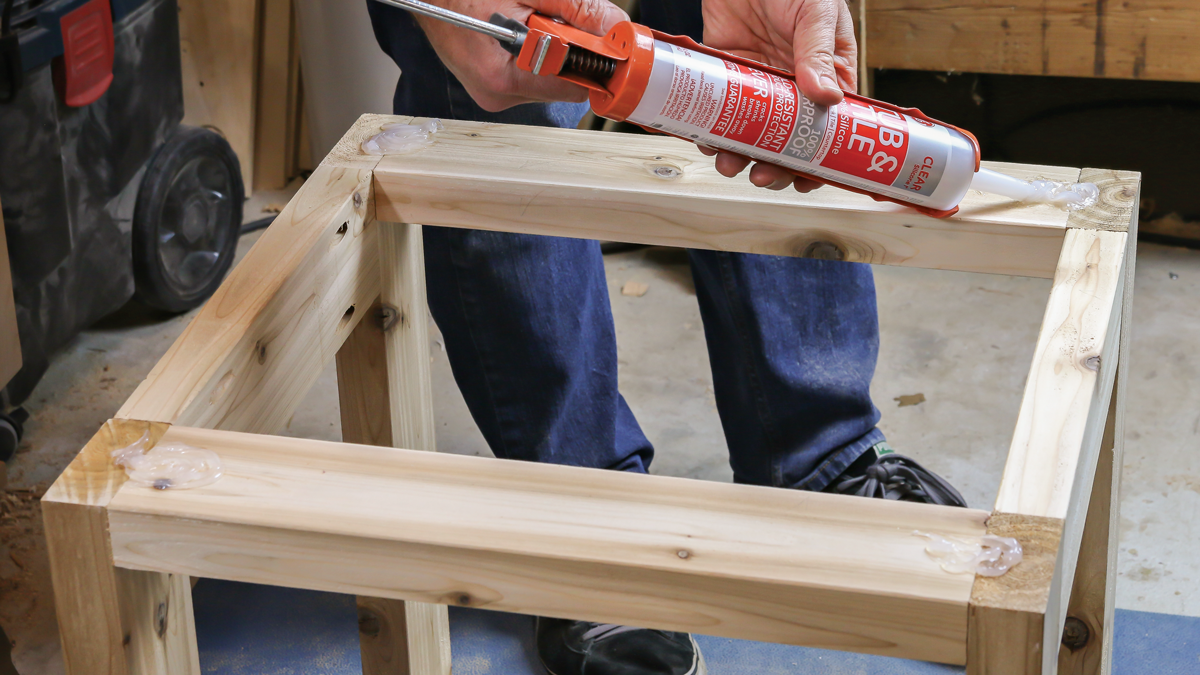
As for the connection between the concrete tops and wood bases, that’s even easier. A few dabs of silicone caulk provide a soft landing and a strong grip.
Learn Concrete Casting, Too
This is a great project for getting your feet wet in concrete, figuratively that is. Concrete is an amazing medium for making things.
I have plans to cast my own concrete kitchen countertops at some point, and these tabletops are a mini-version of those, with a similar flat form and a closely related process. The nice thing with these small slabs is that the tops need no internal reinforcement. But Brad’s longer coffee table version does: a thick wire mesh buried halfway through the thickness. Bear that requirement in mind if you attempt to make bigger tabletops, or countertops for that matter. On its own, concrete is self-supporting only for short distances, but it’s amazing how a little steel inside makes it strong enough for the tallest buildings and longest bridges.
The key to this form and many others is that you are casting the tabletops upside down. That’s because it’s easier to control the surface that’s against the form than the open surface on top. What’s cool is how you can round the top corners of your finished tabletop by putting silicone caulk in the bottom corners of the form.
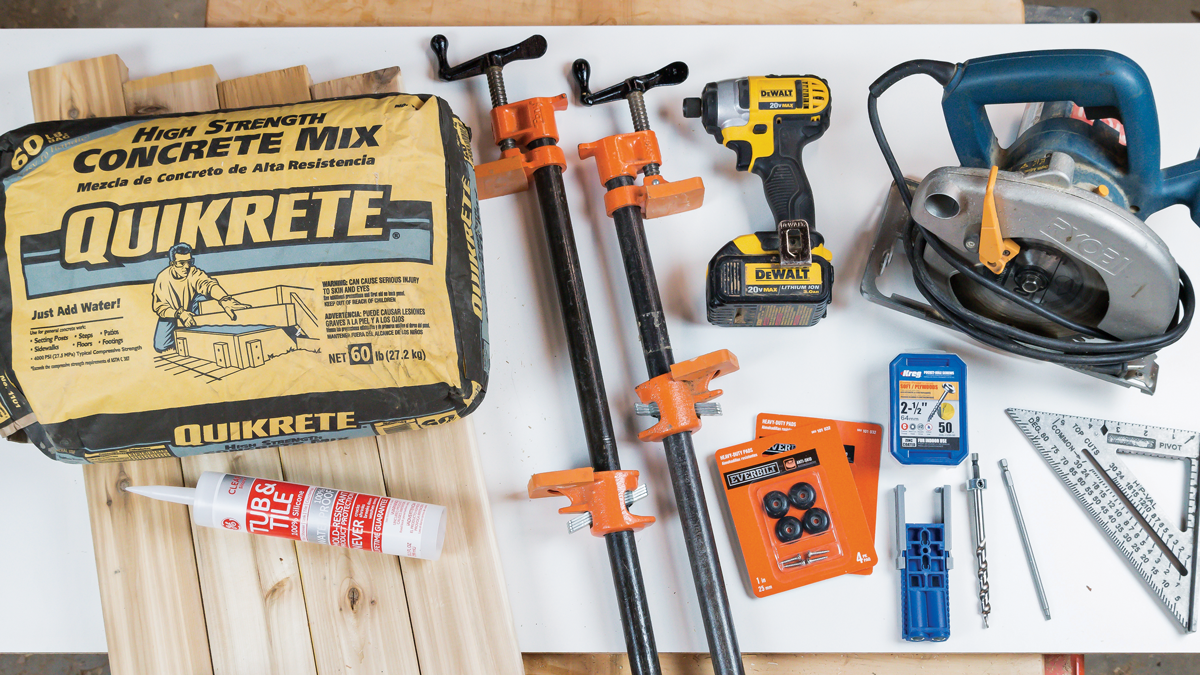
Simple tools and supplies. To make two tables, you’ll need (clockwise from top left) two 60-lb. bags of high-strength concrete, four 2×4 cedar boards (8 ft. long), a few long clamps, a cordless drill, a circular saw, a carpenter’s square, a pocket-hole kit and a box of 2-1/2-in. pocket-hole screws, plastic feet, silicone caulk, and a 2×4 sheet of melamine particleboard (seen on the bottom of the pile). A tablesaw is also very helpful for making the concrete form, though you can get by with the circular saw.
Other than the upside-down thinking, the other key is making the form from materials that won’t stick to the concrete. Silicone caulk won’t, nor will the slick melamine particleboard Brad and I used to make our forms. Other ways to get the concrete to release after it cures are putting packing tape on the form or smearing on a special compound designed for the job.
If you really want to be efficient, you could build the form and cast the concrete first, giving it a few days to harden while you build the bases. But I wanted to build the wood bases first, just to be sure of their finished dimensions before sizing the concrete form to match perfectly.
Avoiding Worm Holes
One common problem with concrete castings is bubbles and worm holes left in the mix, often at the surface where they end up very visible. There are a number of ways to prevent these. To start with, use your hands to press the concrete into all the corners as you go. Concrete is very drying to the skin, so wear some sort of plastic or rubber gloves, or wash and moisturize your hands immediately after. Then, as you start to fill up the form, lift it and let it slam down a few times. And last, when the form is full, you need to vibrate it. You can do this with all sorts of vibrating power tools: sanders, multitools, or a reciprocating saw (without the blade in it). They key is to vibrate the form all along its outside surfaces. A lot of bubbles will rise and pop at first. Stop vibrating when the bubbles are few and far between or you’ll risk overvibrating and creating more of them.
If, despite your best efforts, you get lots of holes in your tops, don’t panic. If you have a few, just patch them as demonstrated in this project. If you have a lot, you can buy a skim coat product and fill all the holes in one go, leaving a nice smooth surface.
A Few More Pro Tips
You can make this entire project with a circular saw and cordless drill, though a tablesaw will be very helpful for making the form, as you’ll see. To cut the particleboard pieces to size using the circ saw, clamp a straight board (fence) to the workpiece to guide the base of the saw. A straight 2×4 will work. To figure out how much to offset the fence away from the cut, you’ll need to measure from the left side of your saw’s base to the blade.
 |
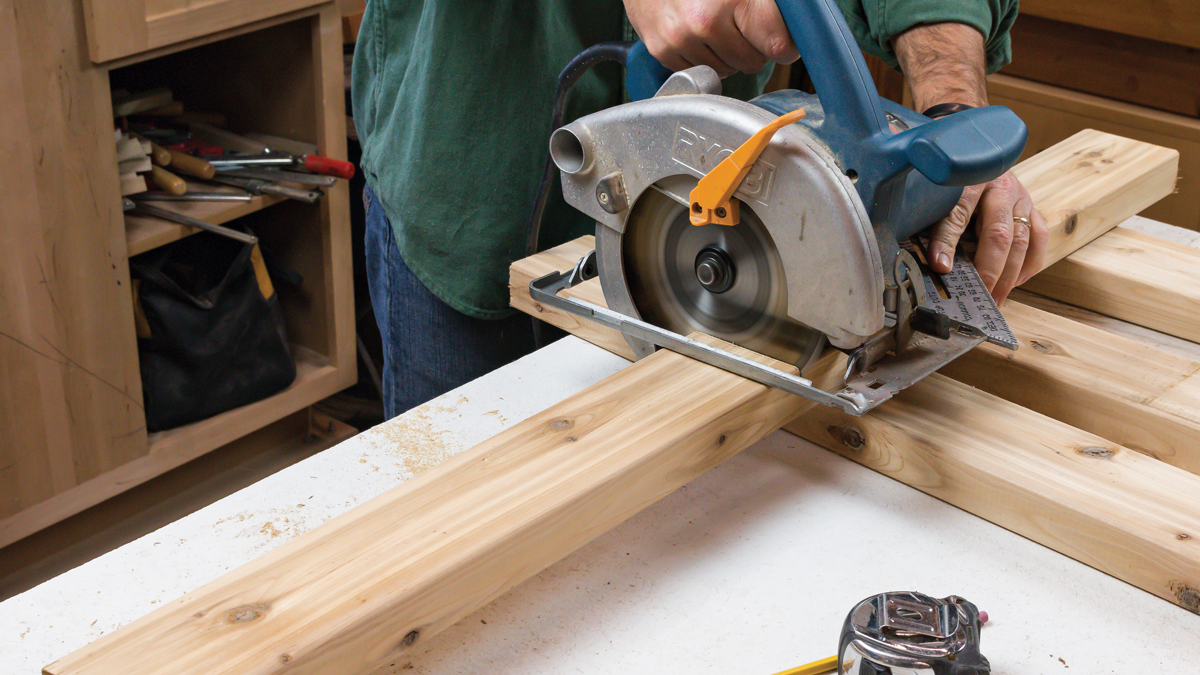 |
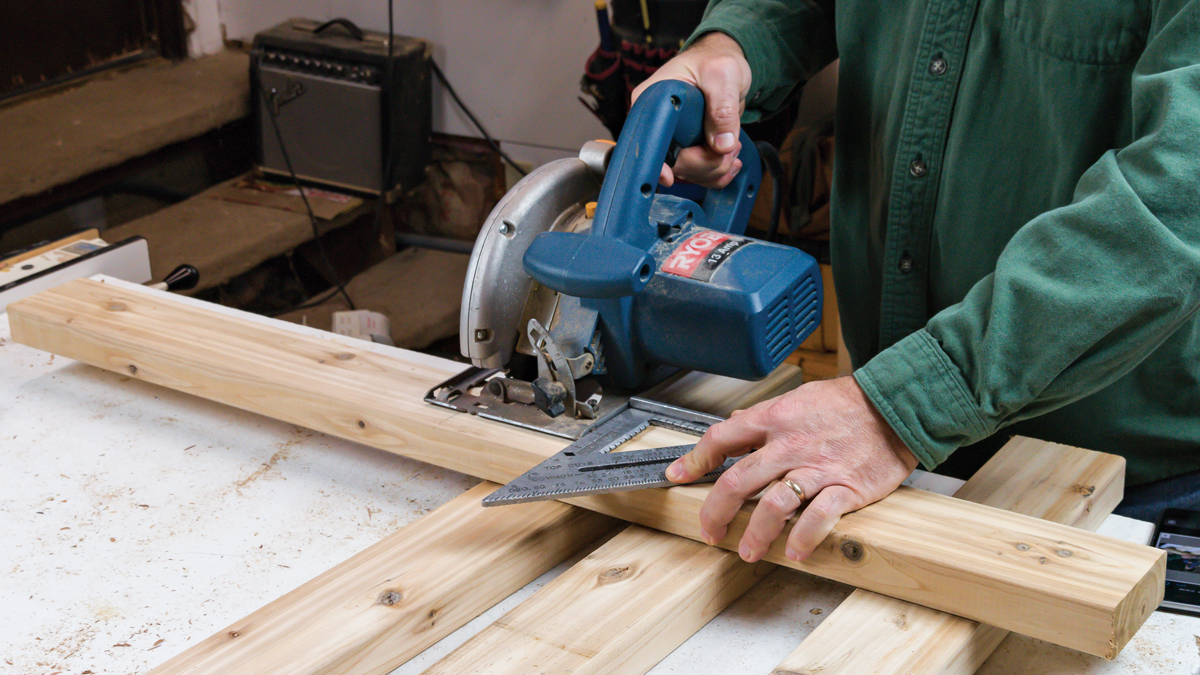
Cut the parts to length. There are lots of ways to do this, but one of the simplest is to mark a line and use a carpenter’s square and circular saw, as shown.
Also, your 2x4s will look just fine if you choose good ones from the pile at the home center or lumberyard. If you have access to a planer, though, you can skim a little off each side of each board to clean them up and get rid of some of that big roundover on each edge. But don’t take off too much wood, just 1/16 in. at the most.
The great thing about cedar is how nicely it stands up to the elements. But there is one caveat. When you pick through the pile, avoid cedar boards with creamy-white streaks in them. That’s sapwood, from the outside of the log, and it will rot outdoors in a couple of years. Also, cedar will weather to a lovely silvery-gray, which will look nice with the concrete, so you don’t have to bother putting a stain or finish on it.
And last, the pocket-hole jig works great, but there are a couple of potential pitfalls. For one, I noticed the stop collar came loose after a while, causing me to drill too deep. Tighten it after every few holes. If the stop collar fails altogether, you can just draw with a Sharpie on the shank of the drill bit so you know where to stop. Also, it’s easy to overdrive the screws, sending the sharp tip out the far side, where people will see it and could cut themselves. Try to prevent that, but if it happens, stop there and use a metal file to level the sharp tip with the wood. If you just back out the screw a little, you’ll have a weak joint. Another option is to back out the pocket screw all the way and replace it with a slightly fatter, slightly shorter screw. Just stop at the right point this time!
Pocket Screw Joinery is Easy and Effective
I used an affordable pocket-hole kit from Kreg to build this table base. Here are a few important tips for great results.
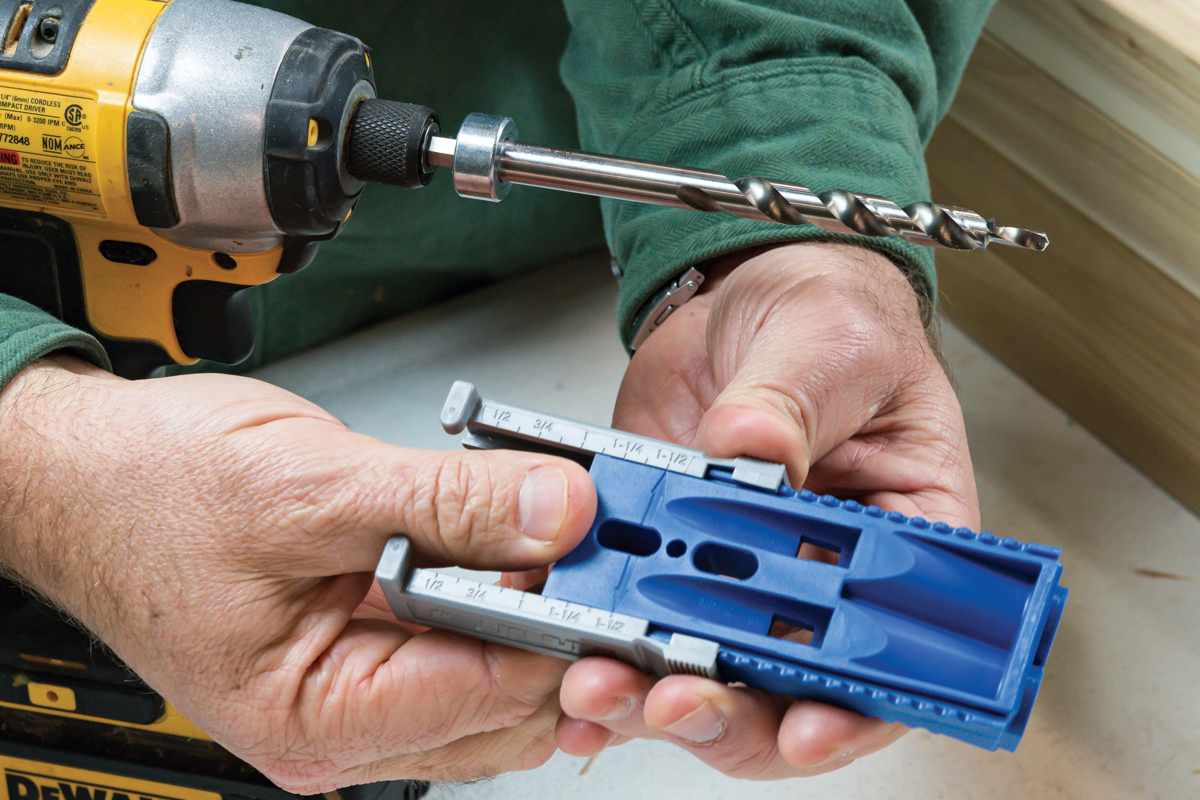
1. Get set. The jig has a sliding stop (the gray part) for the thickness of the material you’re joining, 1-1/2 in. in this case. You’ll also need to position the stop collar correctly on the drill bit; flip the jig over and there is a guide for that, too. Be sure the little setscrew on the stop collar is tight and check it periodically as you work.
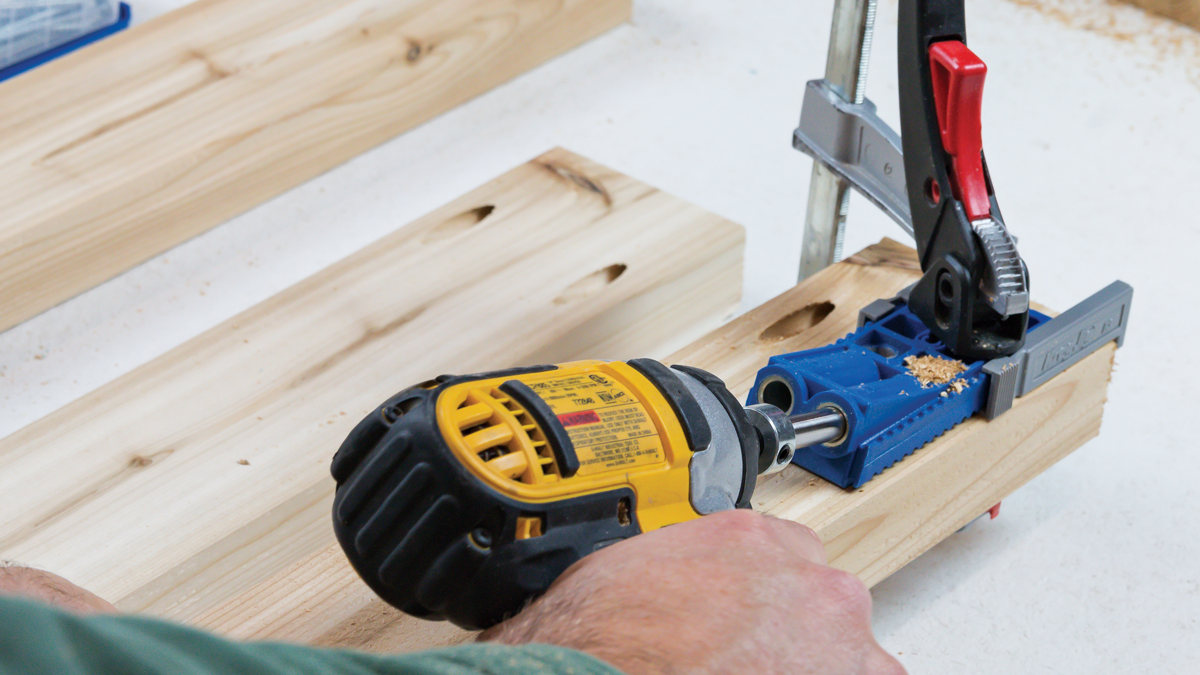
2. Clamp and drill. The gray stop will place the jig the right distance from the end of the board. To position it consistently side to side, I just lined up the edge of the gray part with the edge of the board and used the outside hole in the guide. You’ll need only two pocket screws to join each board, so just do the same thing near the other edge. Stop drilling when the stop collar hits the jig
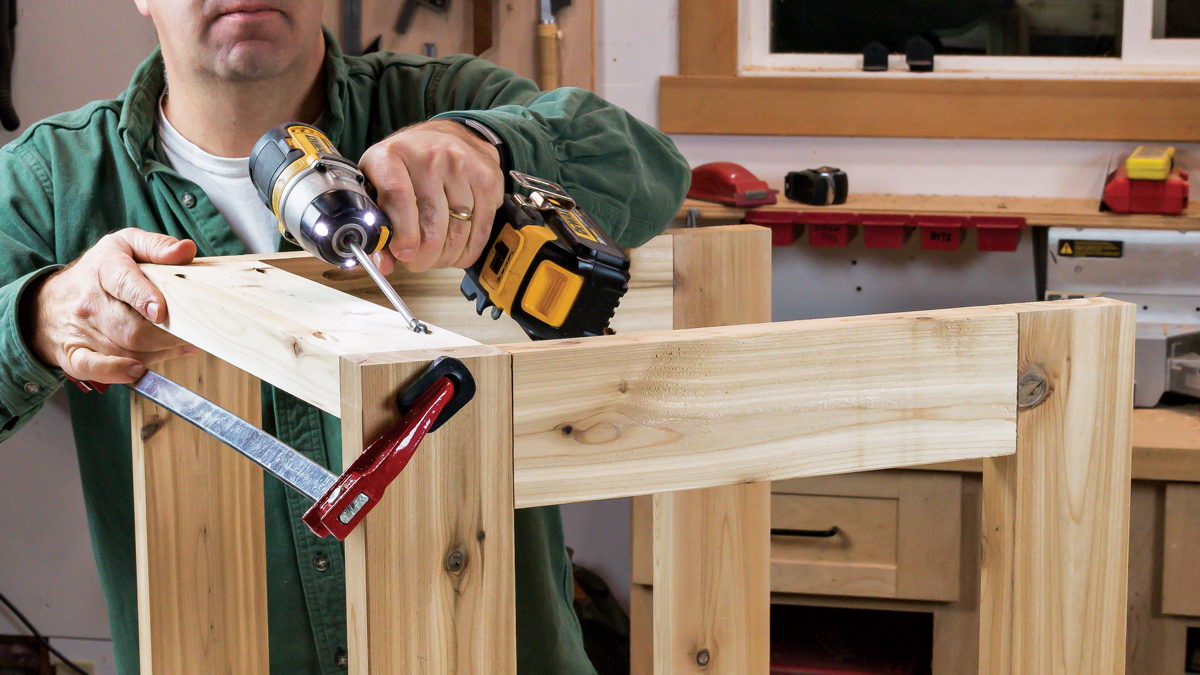
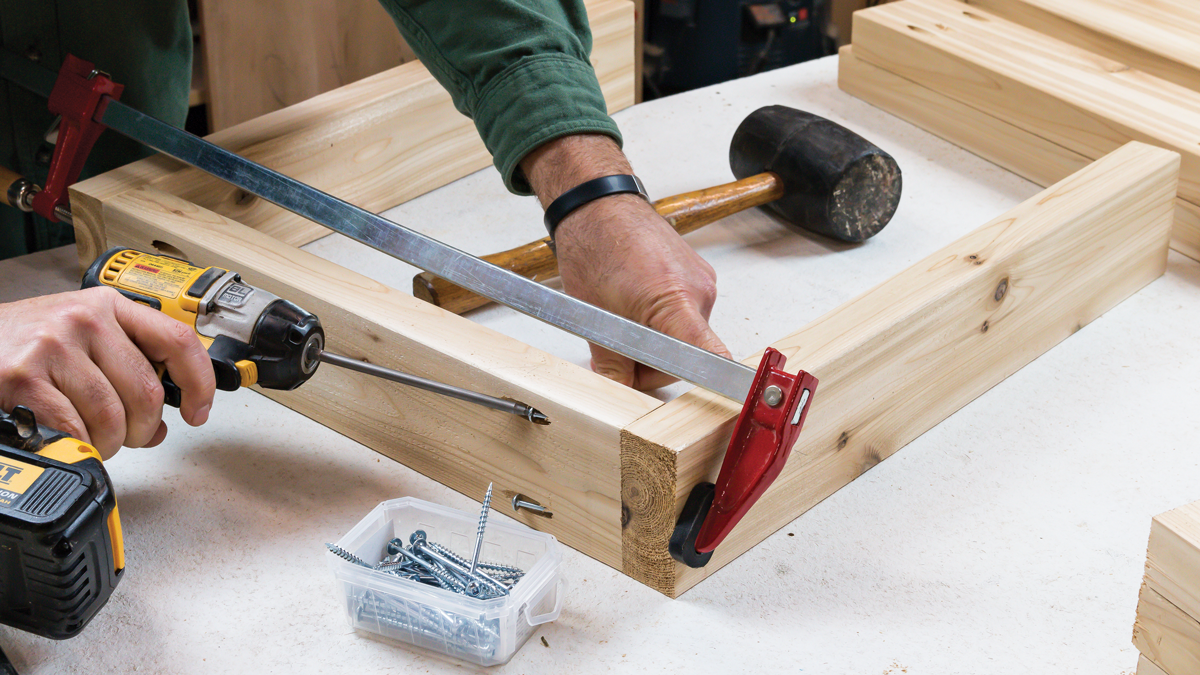
3. Clamp and drive. Be sure to clamp the workpieces in the precise position you want before driving pocket screws. Otherwise, the diagonal screw will tend to pull the parts out of alignment. Use screws designed for pocket-hole joinery and choose the right ones for the materials at hand (2-1/2-in.-long screws for 1-1/2-in.-thick stock in this case). Drive each screw until you feel it hit the bottom of the pocket hole and pull the parts together. The long driver bit I’m using here also came with the pocket-hole kit.
Assemble the Base
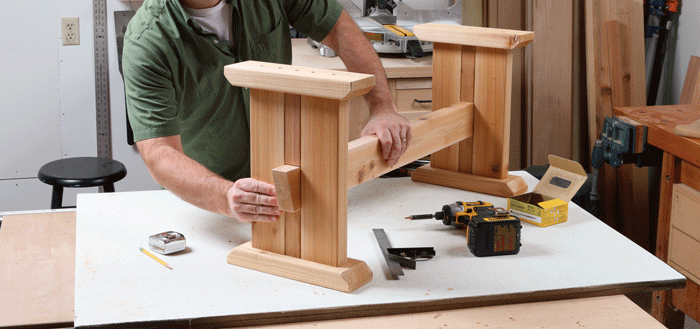
Once all of the pocket holes are drilled, assembly goes quickly. Just be sure to clamp each part tightly in position before driving screws.
 |
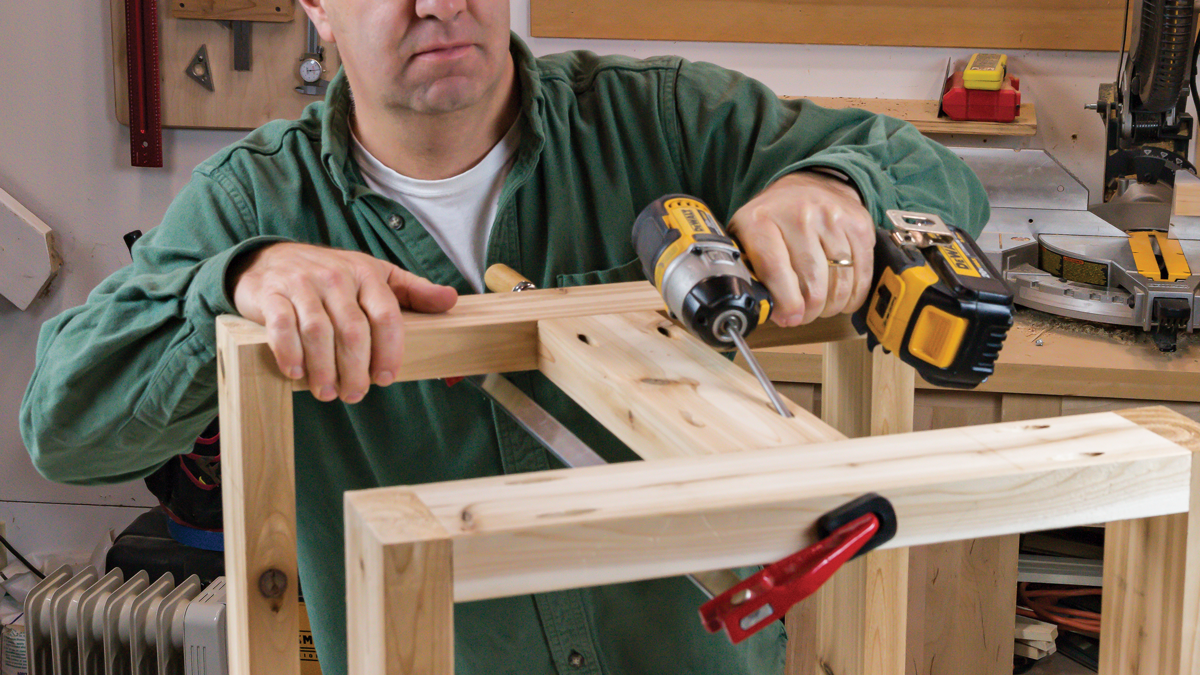 |
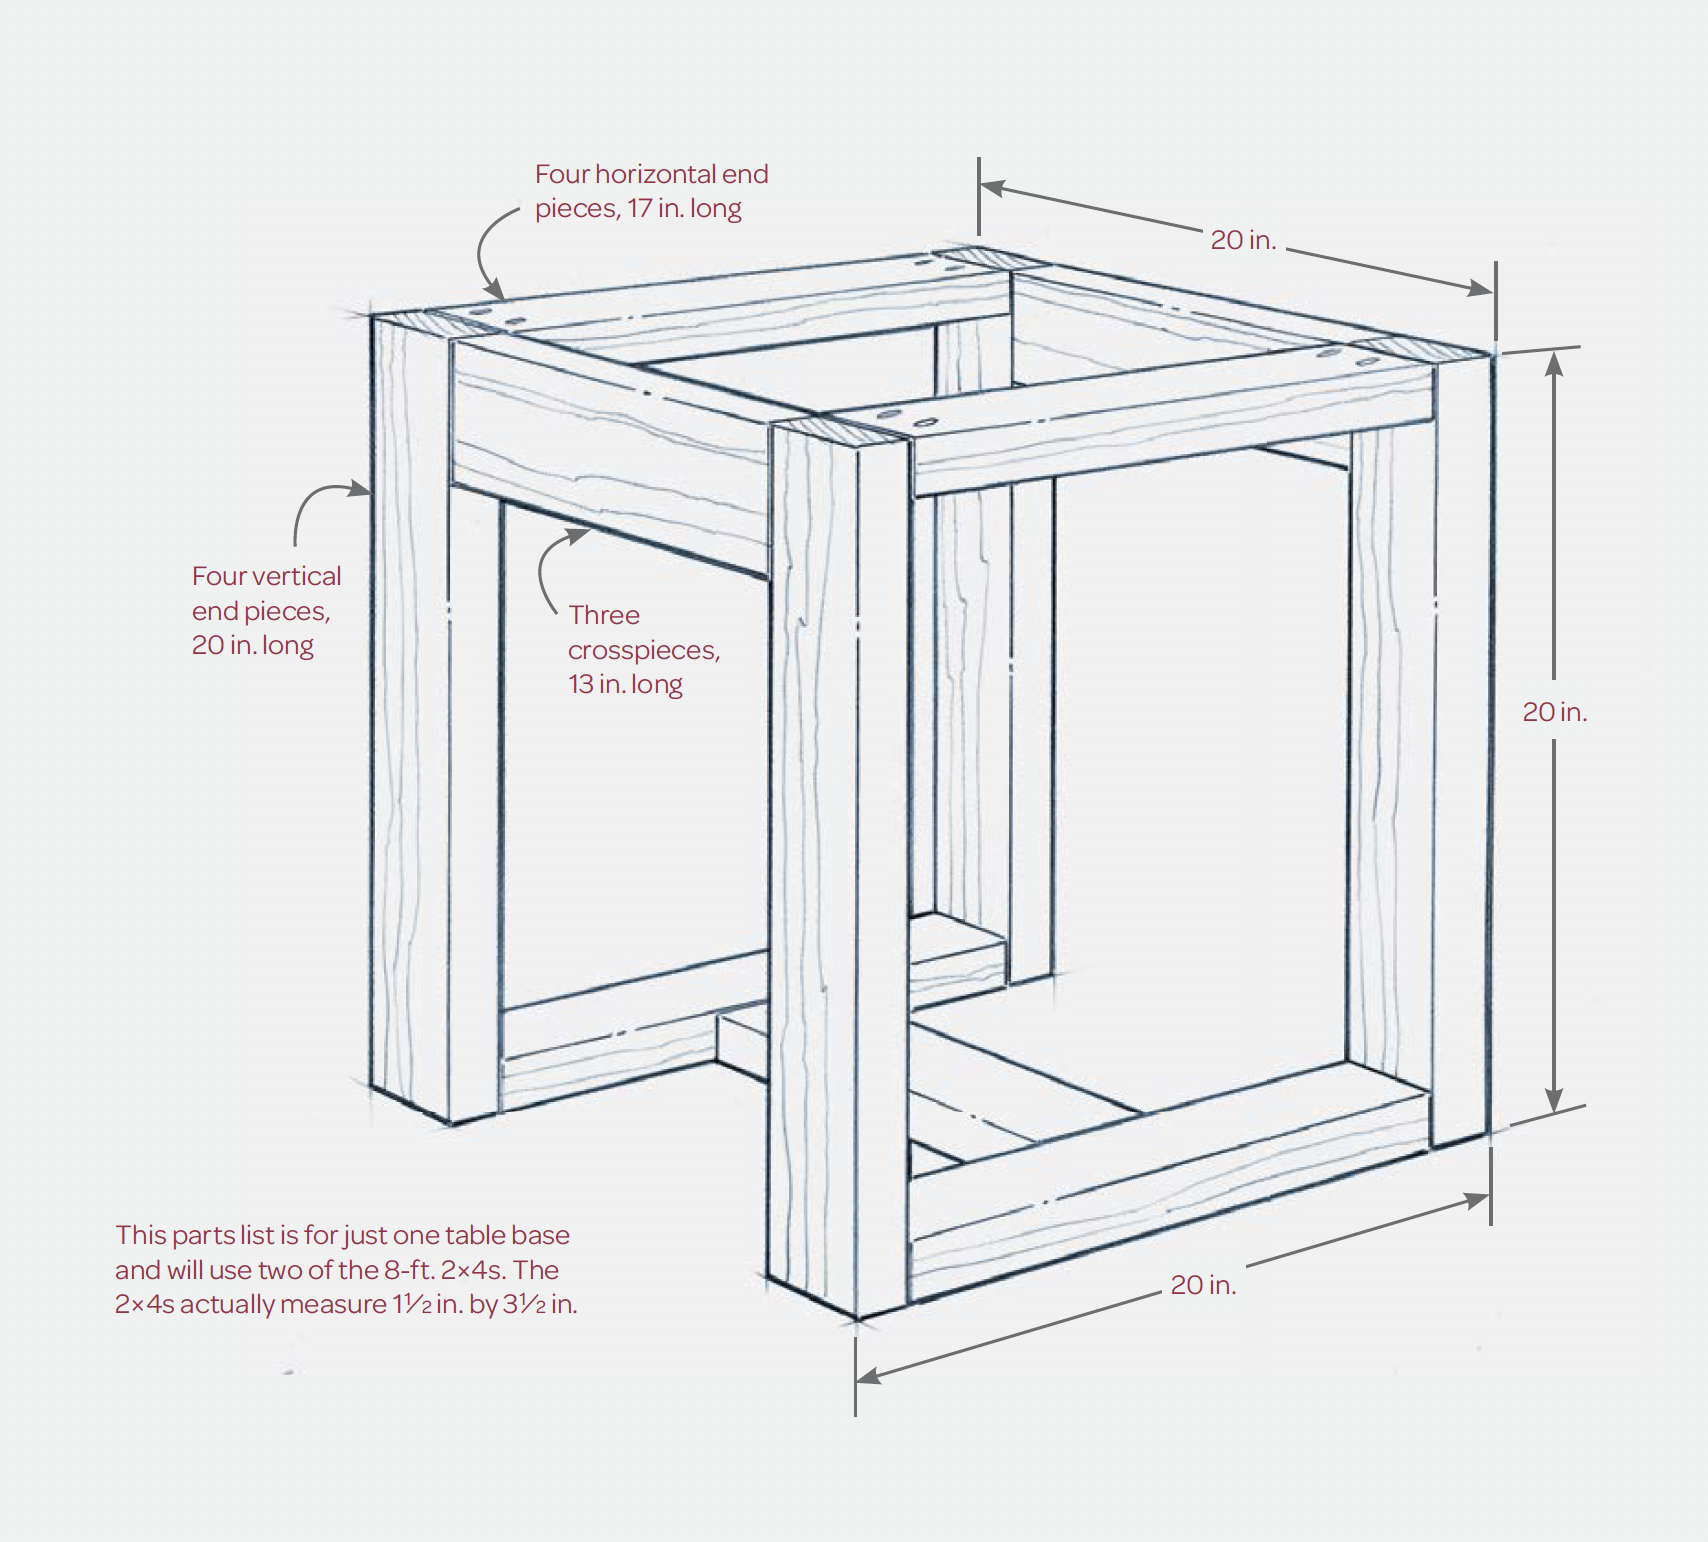
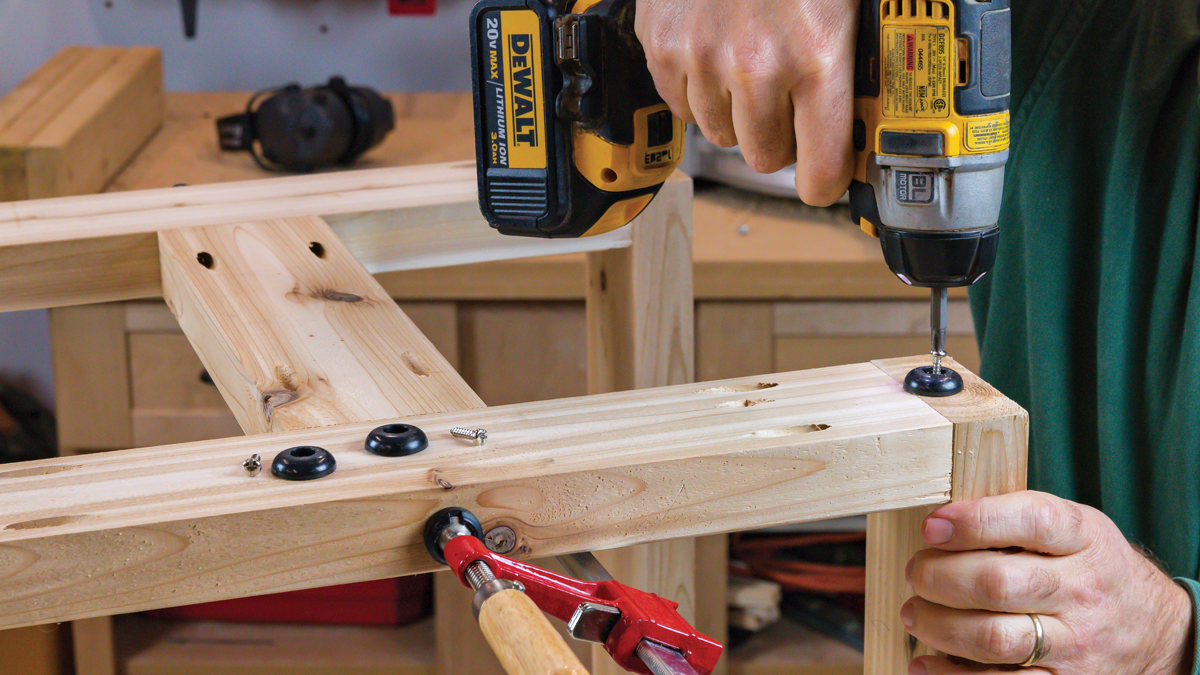
1. Hide the holes. Pocket screws leave big unsightly holes in the wood, but it’s not hard to hide them on many projects. For example, on the top of this base (left), the holes will be hidden by the concrete tabletop. Others face the floor (right), and none is visible as you walk around the finished table.
2. Add feet. The table will be a lot steadier if you add feet to the bottom boards. These little plastic ones just screw on.
Build the Concrete Form
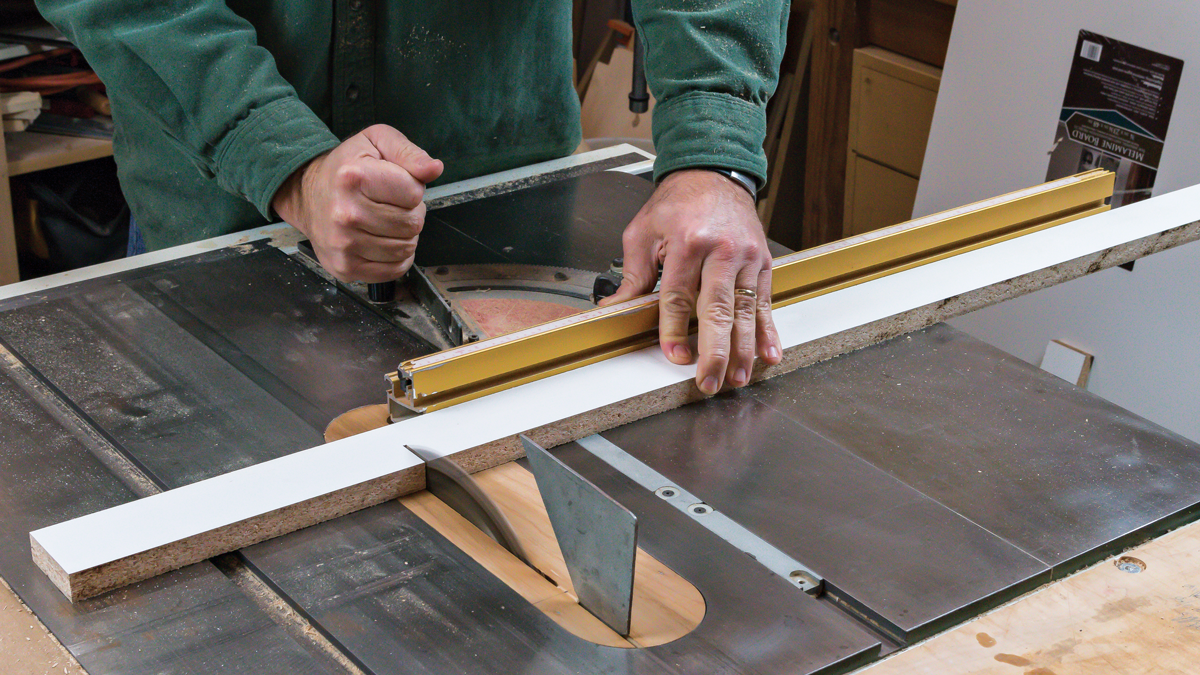
Measure your finished table bases and size your concrete form accordingly. The form makes both tabletops at once, which is nice. I used my tablesaw to cut out the pieces, but a circular saw would work too, with some kind of straightedge clamped on the workpiece to guide the saw.
 |
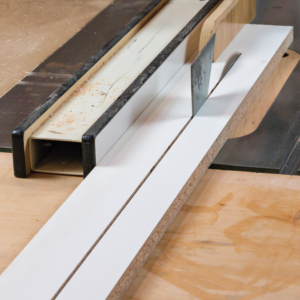 |
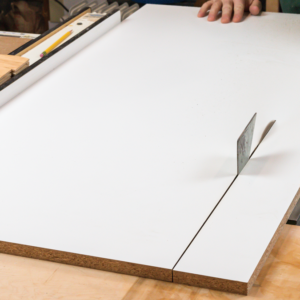
1. Tablesaw makes it easy. Start by cutting out the big bottom of the form, which is the exact size of the two tabletops plus the center strip that divides them. Then cut the sidepieces to length and width.
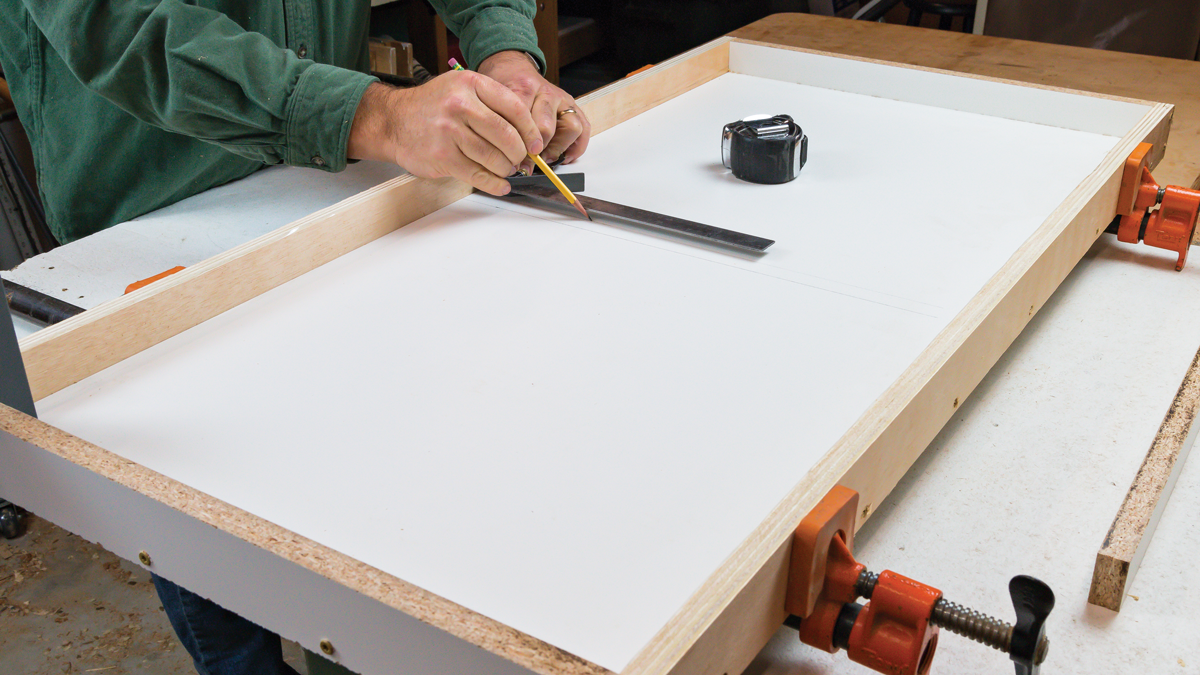
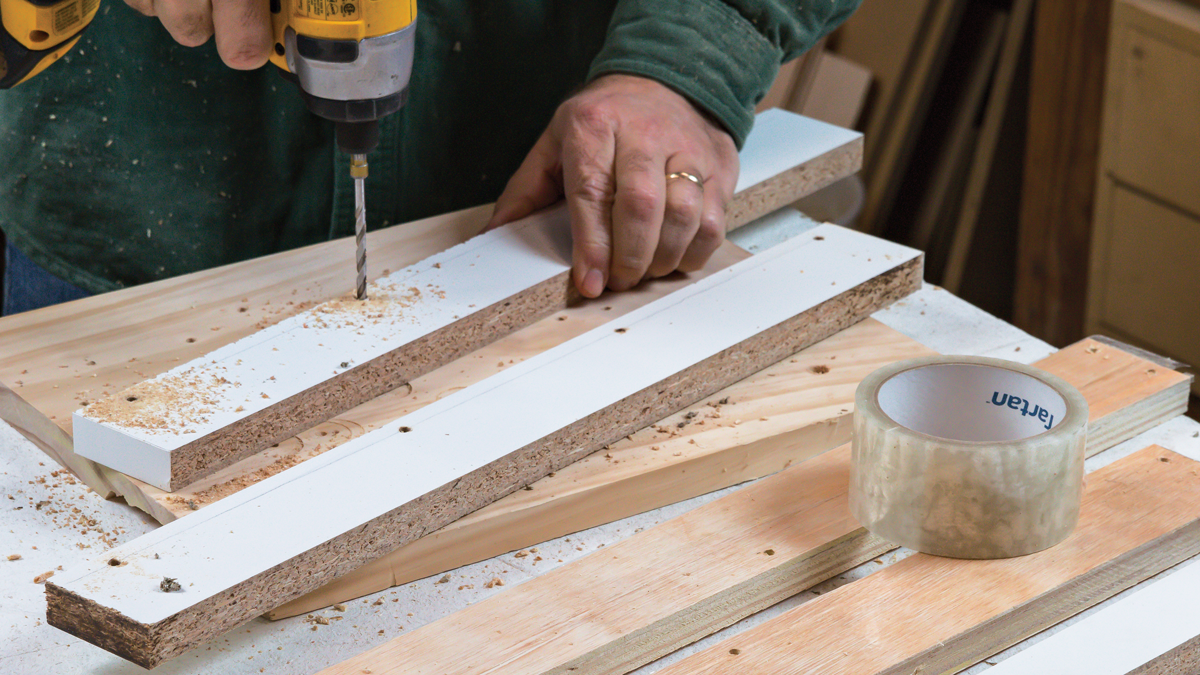
2. Predill the pieces. Draw a line to indicate the center of the panel you’ll be screwing into, and drill holes big enough to let the screws pass through without touching. Notice that I ran out of particleboard for making the form, so I just used standard plywood, covering it with packing tape to make it nonstick.
 |
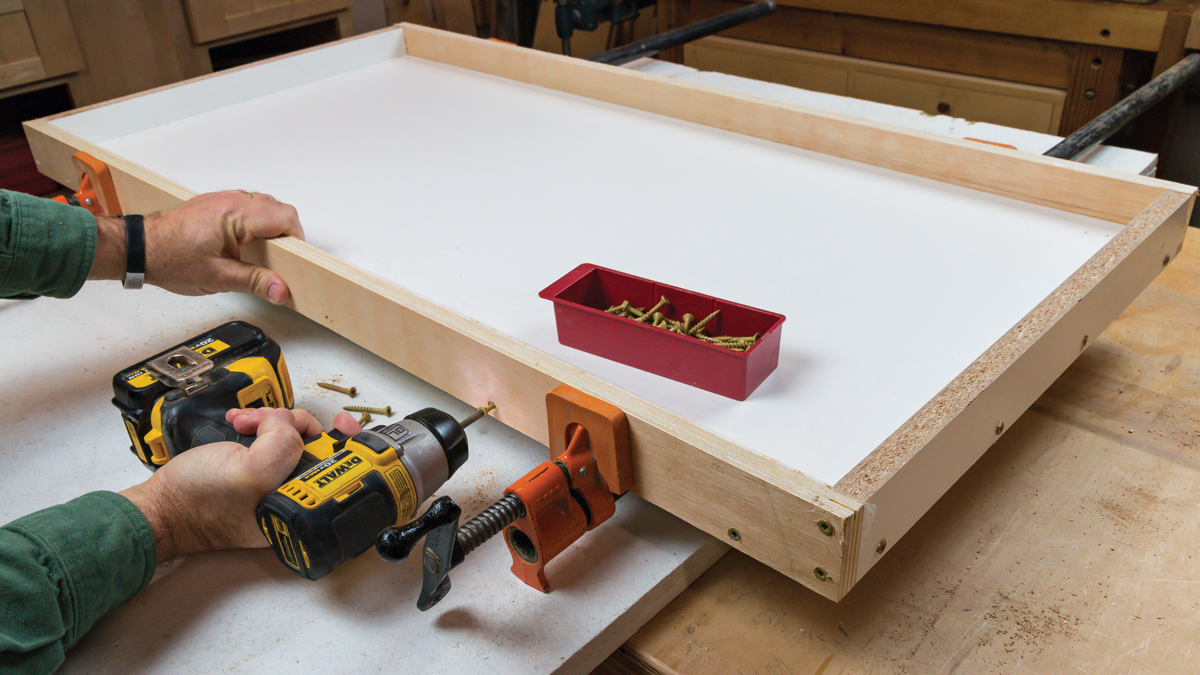 |
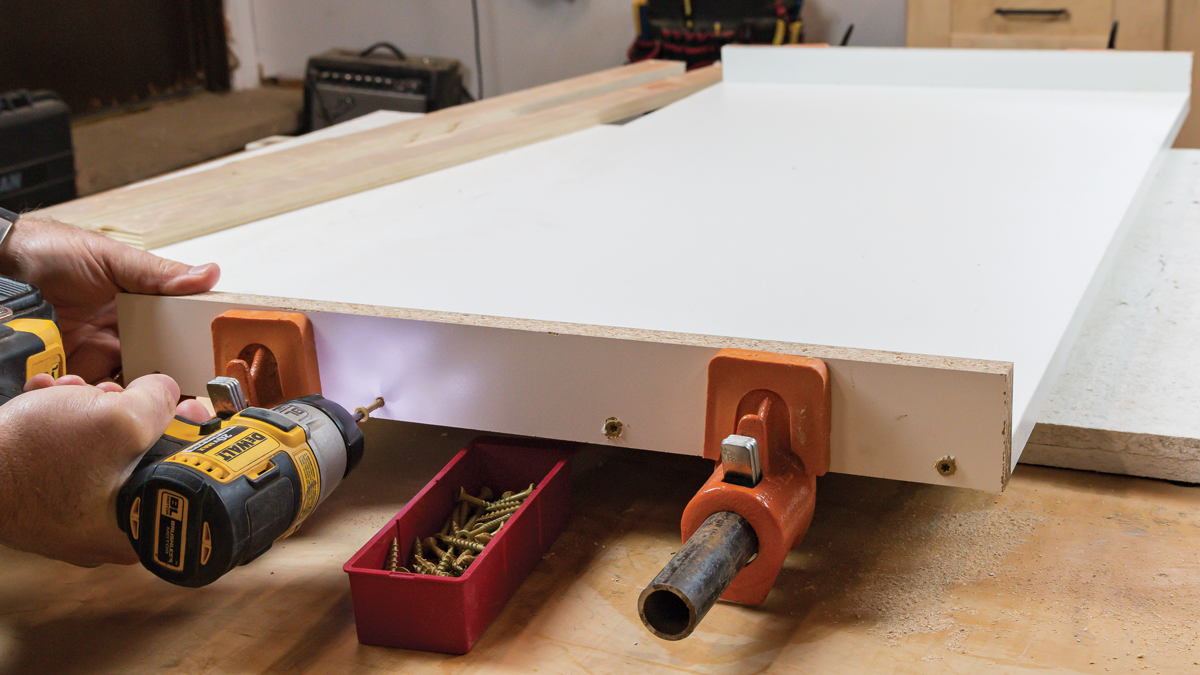
3. Clamp, drill, and drive. If you have long clamps, it helps a lot to clamp the parts in place before driving the screws. Also, be sure to use a drill bit smaller than the screws to reach through the bigger holes and drill pilot holes in the edges of the big base panel. Otherwise, the screws will split the particleboard.
 |
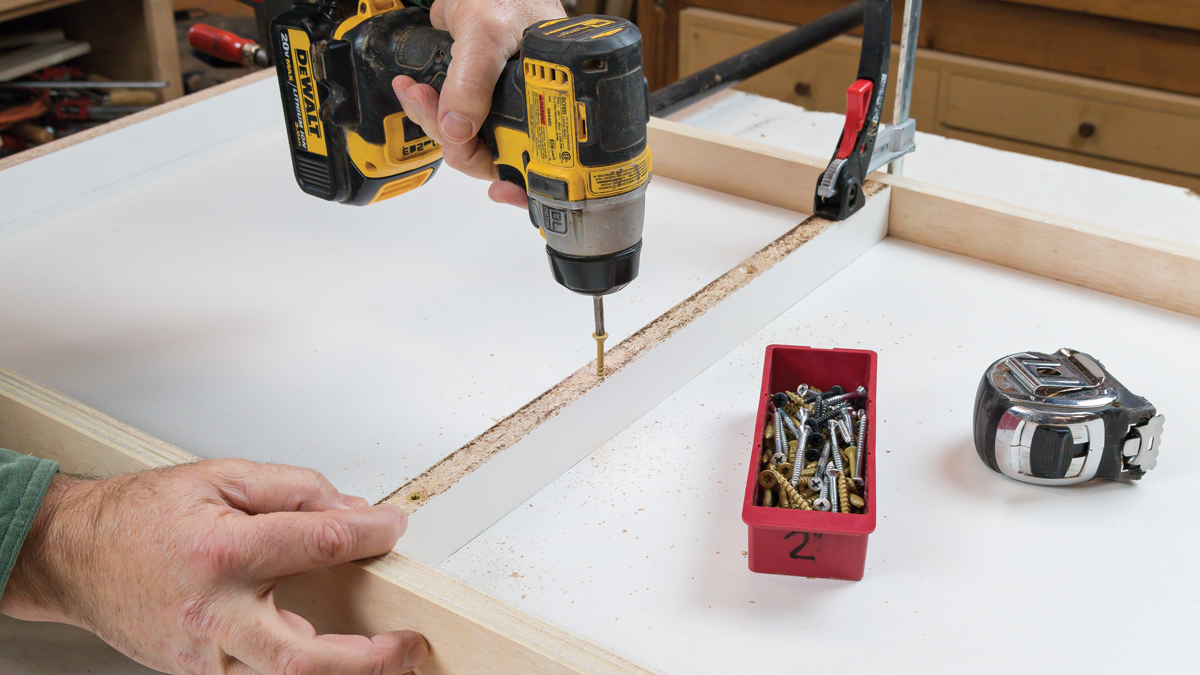 |
4. Add the center divider. The form gets a center divider, which creates the two separate tabletops. Cut it so it fits snugly end to end and ends up level with the top of the form. Then measure and mark lines at the center of the form and drill clearance holes for the screws. Finally, clamp the divider in place and drive screws to attach it.
 |
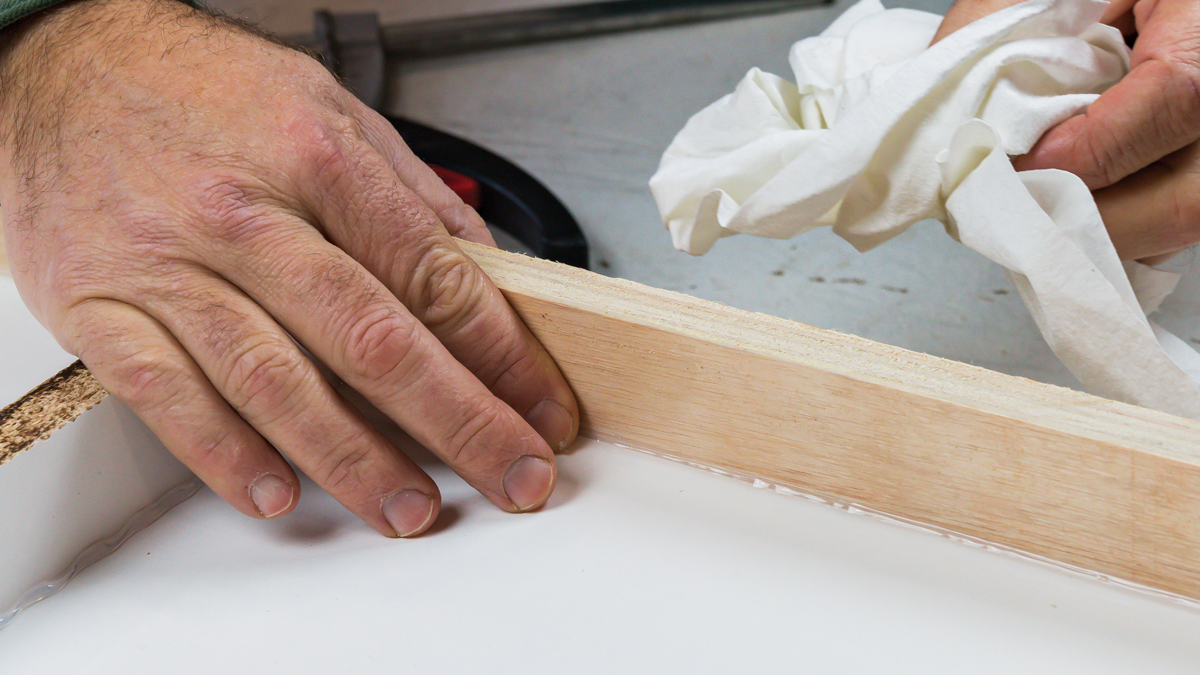 |
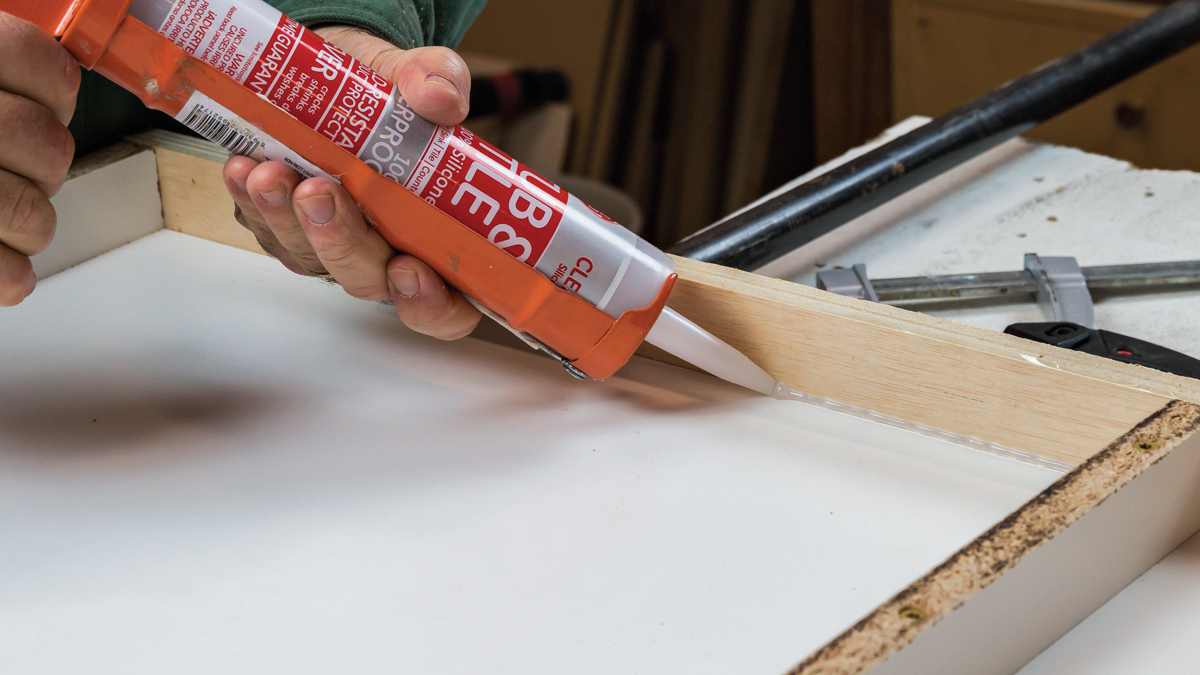
5. Round the corners. Remember that the tabletops will be cast upside down in the form. To create nice round edges on them, squirt a thin bead of silicone caulk into all corners of the form and smooth it with your fingertip, wiping off the excess onto a paper towel.
Concrete Casting: Keys to Success
Once you add water, you have about 30 minutes to get the job done, so here’s how to keep things moving and ensure success.
 |
 |
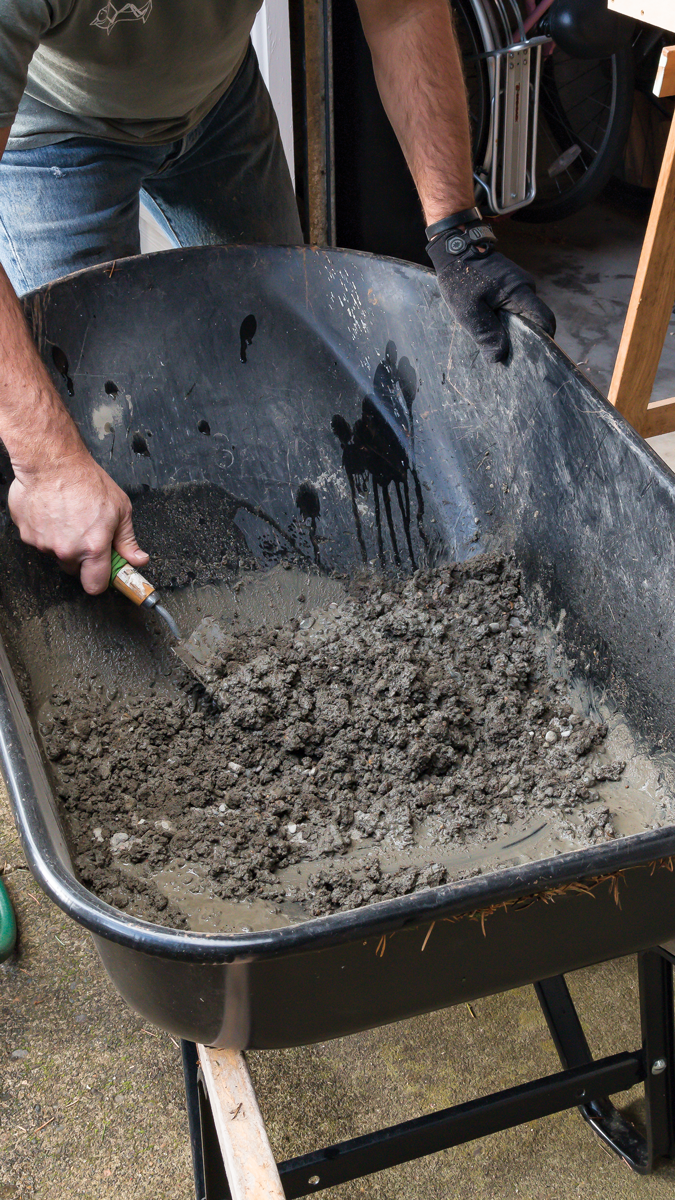 |
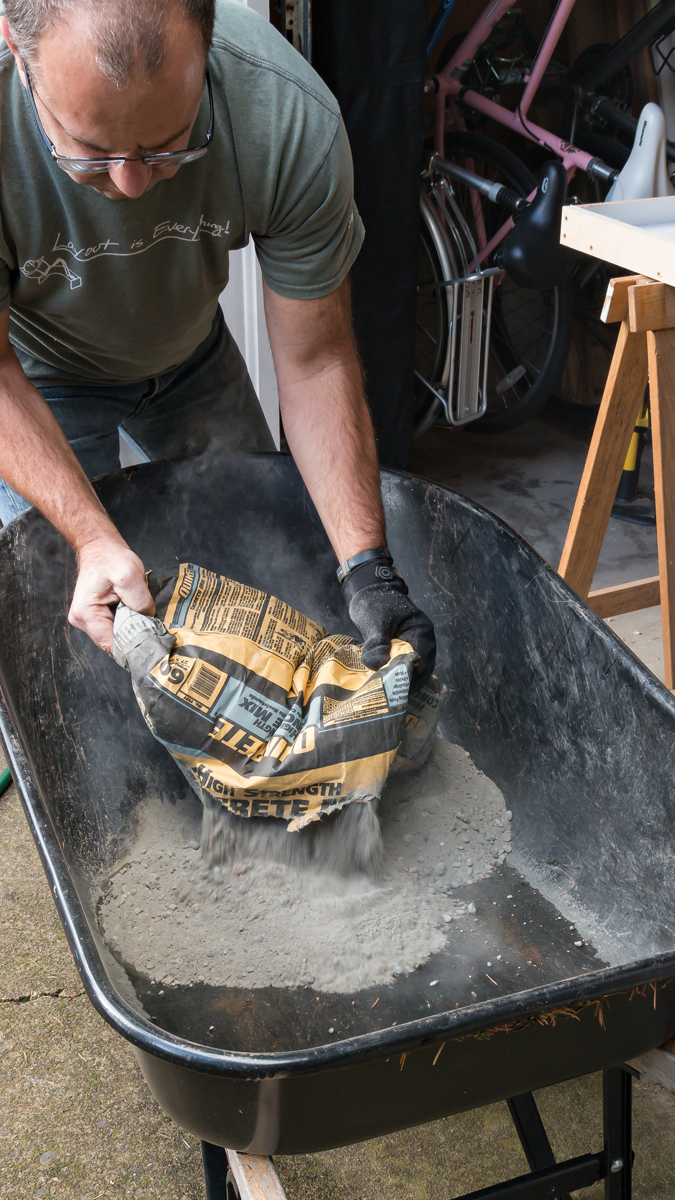
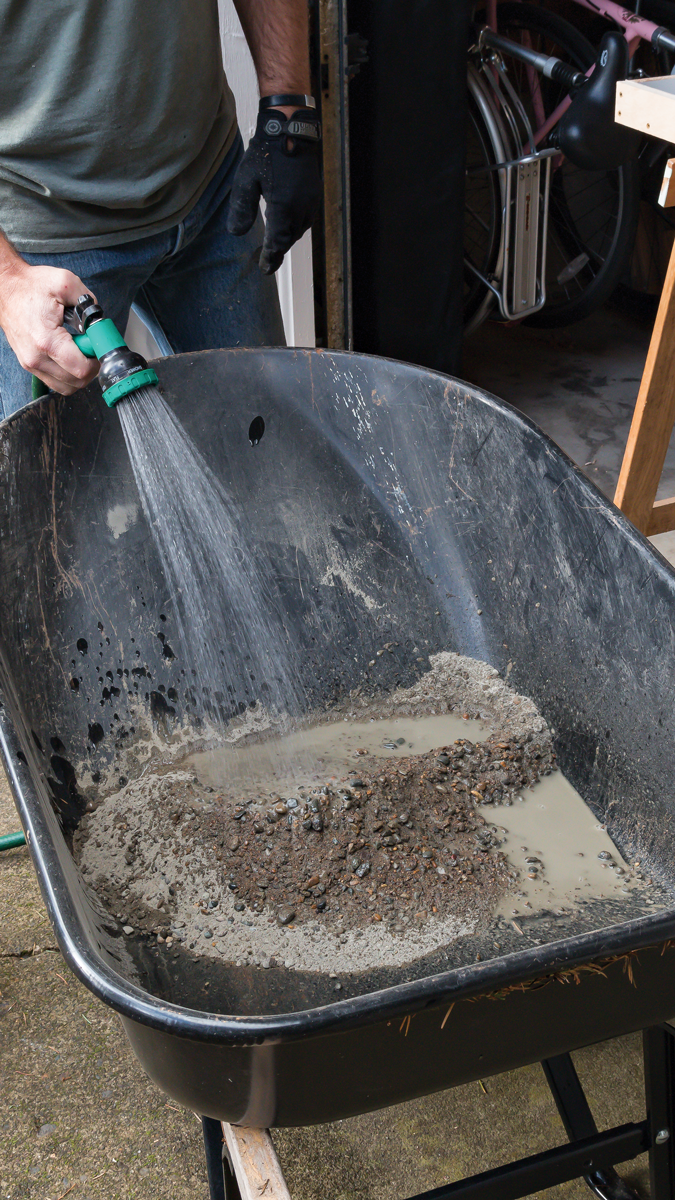
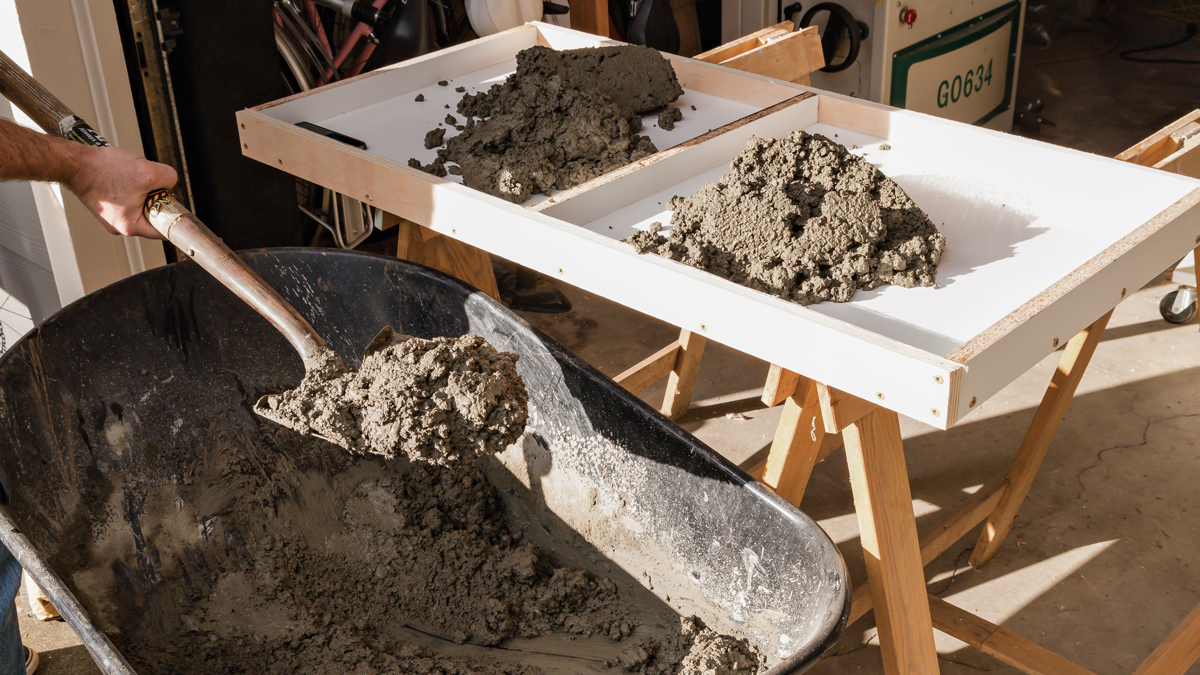
1. Mix a little at a time. Pour about half a bag of concrete mix into your wheelbarrow or mixing tub and start adding water in small amounts, stirring and blending the mix as you go. Once you get this first pile to the consistency of peanut butter, start adding more concrete and water (sparingly), maintaining that consistency as you empty the first bag.
 |
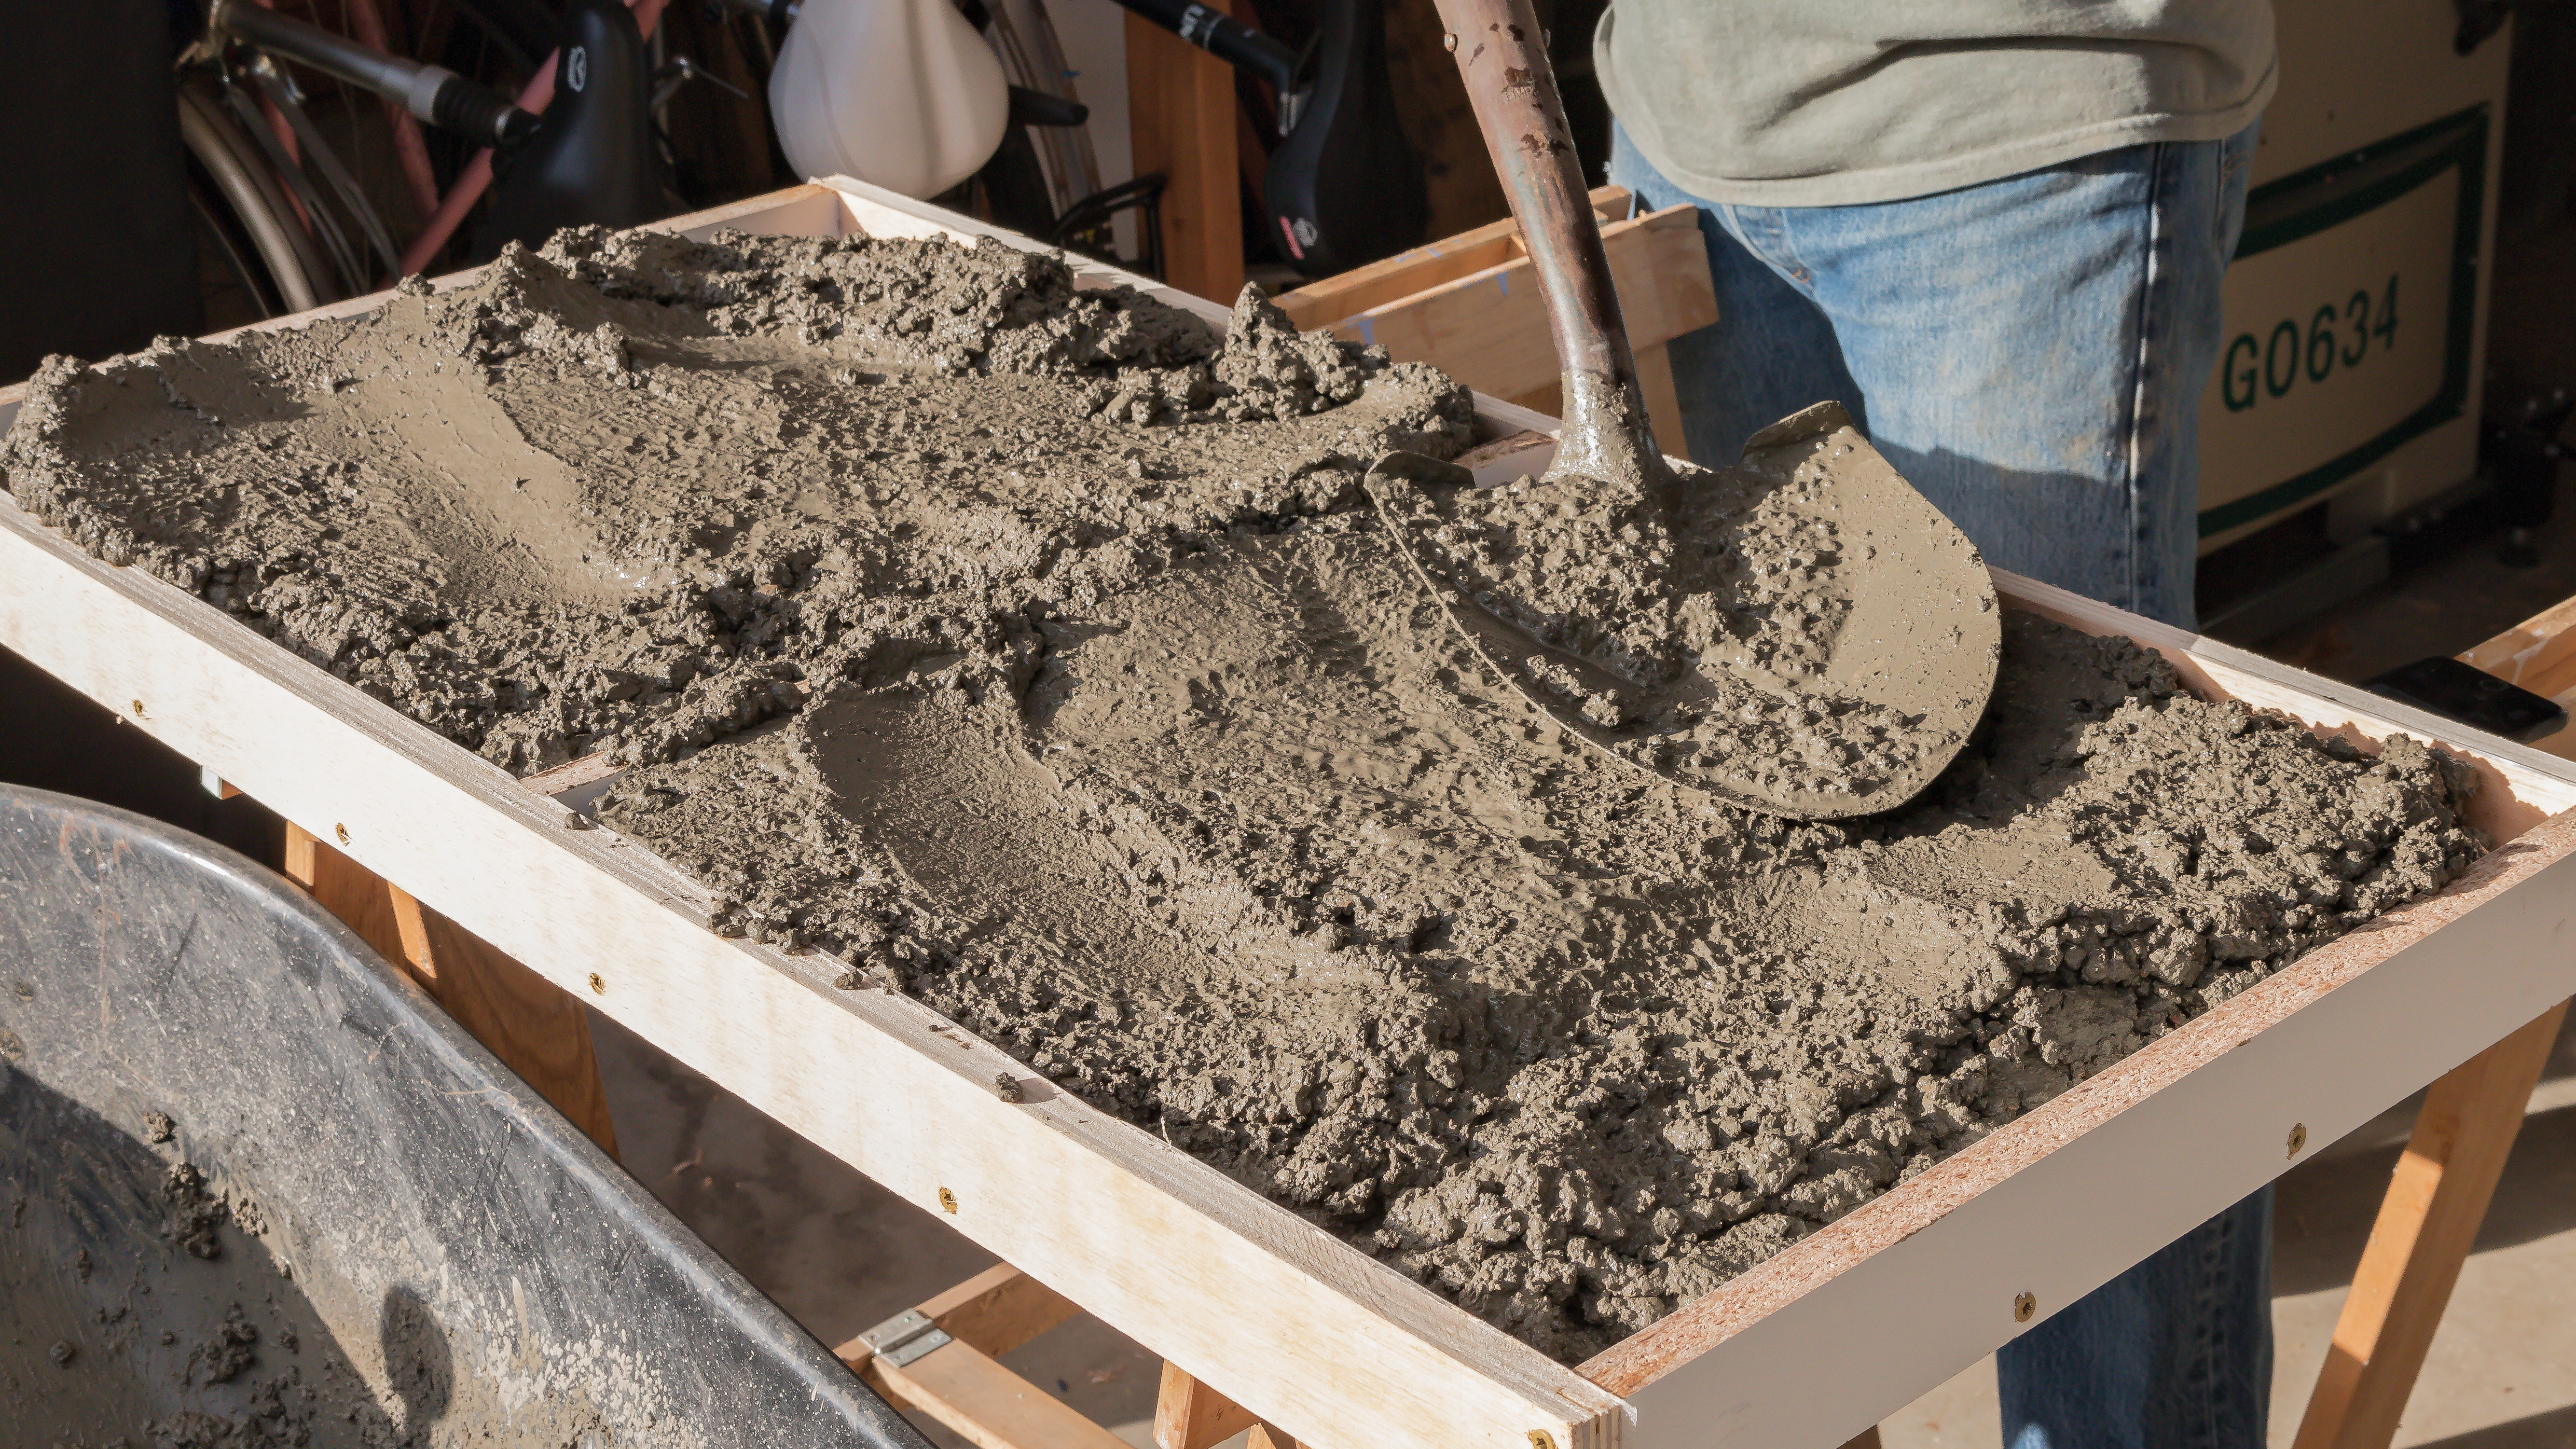 |
2. Start filling the form. Shovel the concrete into the form, pat it down with the shovel, and start mixing more as needed. You’ll need to mix about a half bag more to fill the form. Along the way, use one hand to push the concrete into all the corners, and try raising the form and letting it slam down. (I wear a glove on the hand I use to push the concrete into the form.)
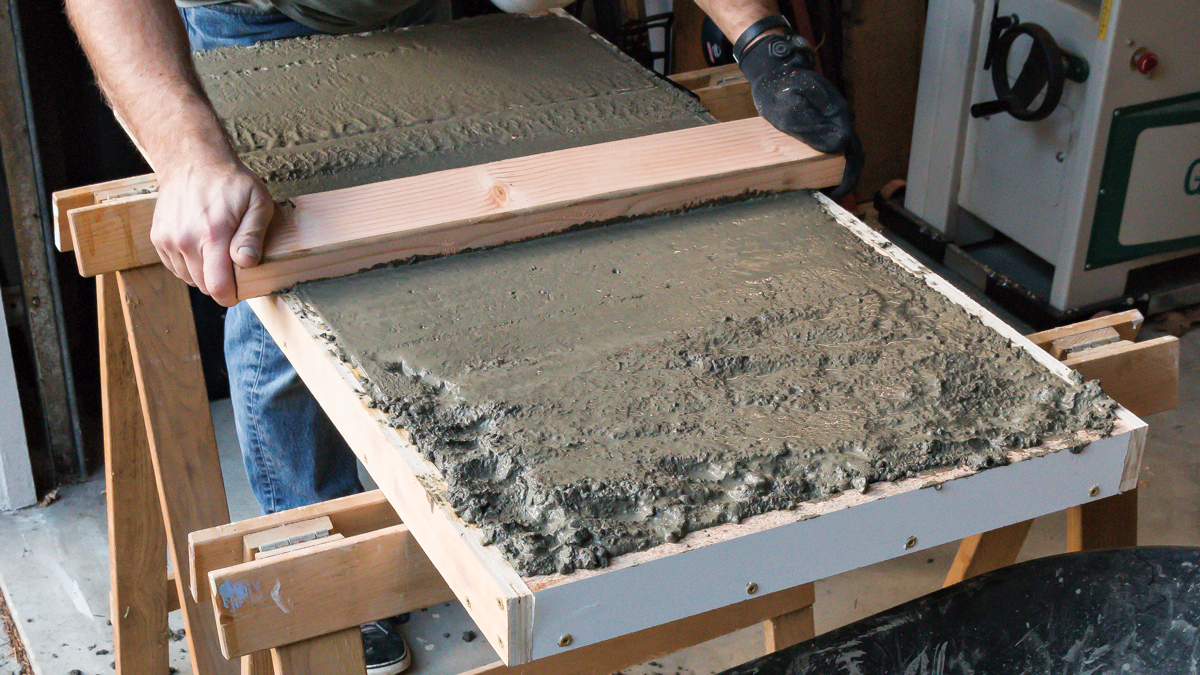
3. Embrace the screed. A screed is nothing more than a straight board, a little wider than the form. Use its edge and flat face to work the concrete back and forth, skimming off the excess and creating a smooth surface.
 |
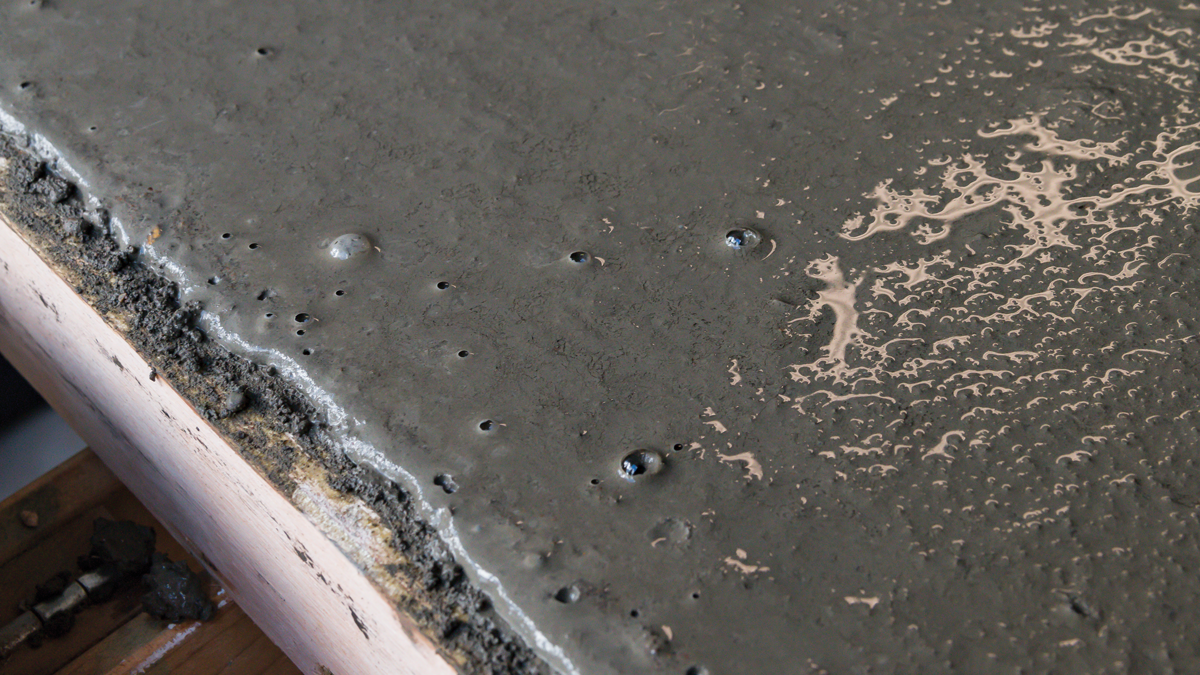 |
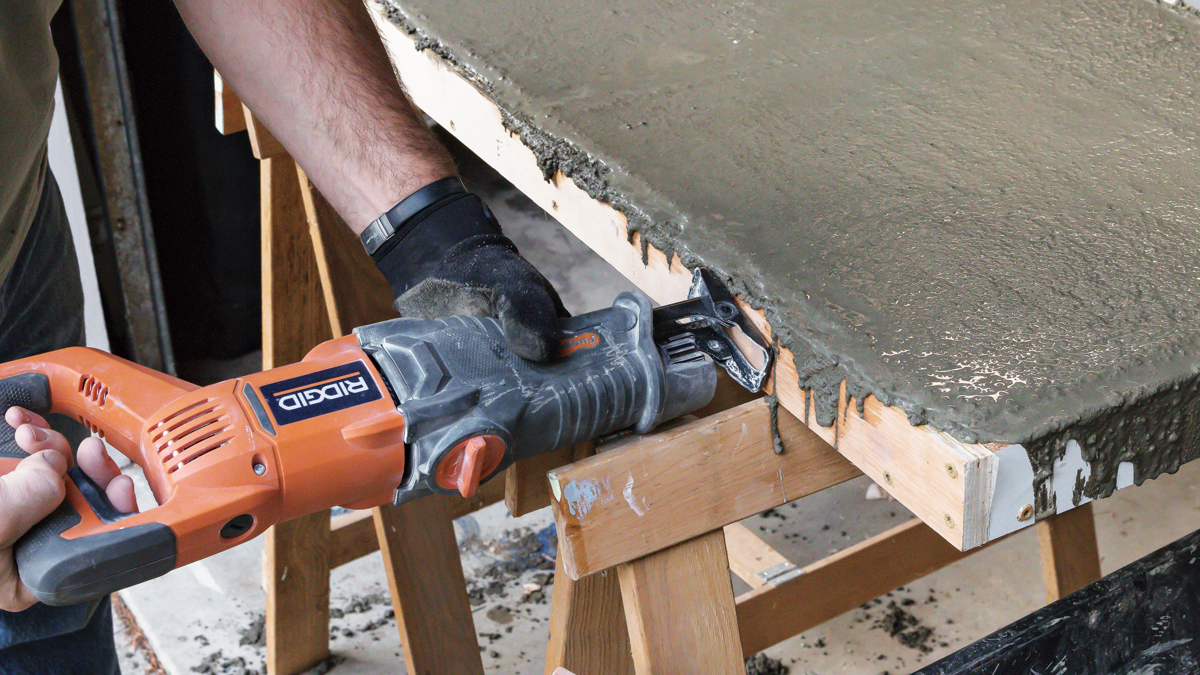
4. Good vibrations. To release air bubbles from the mix, which will end up on the visible edges of the finished tabletops, you need to vibrate the form. There are dedicated power tools for this, but a recip saw (shown here) also works well. Remove the blade, place the tool against the form all along the side edges and bottom, and vibrate for 10 seconds or 20 seconds in each spot. Bubbles will rise and pop.
Top Off Your Tables
It takes concrete up to 30 days to dry and cure completely, but you can take it out of the form and use it after just a few days. Finishing and attaching the tops is easy.
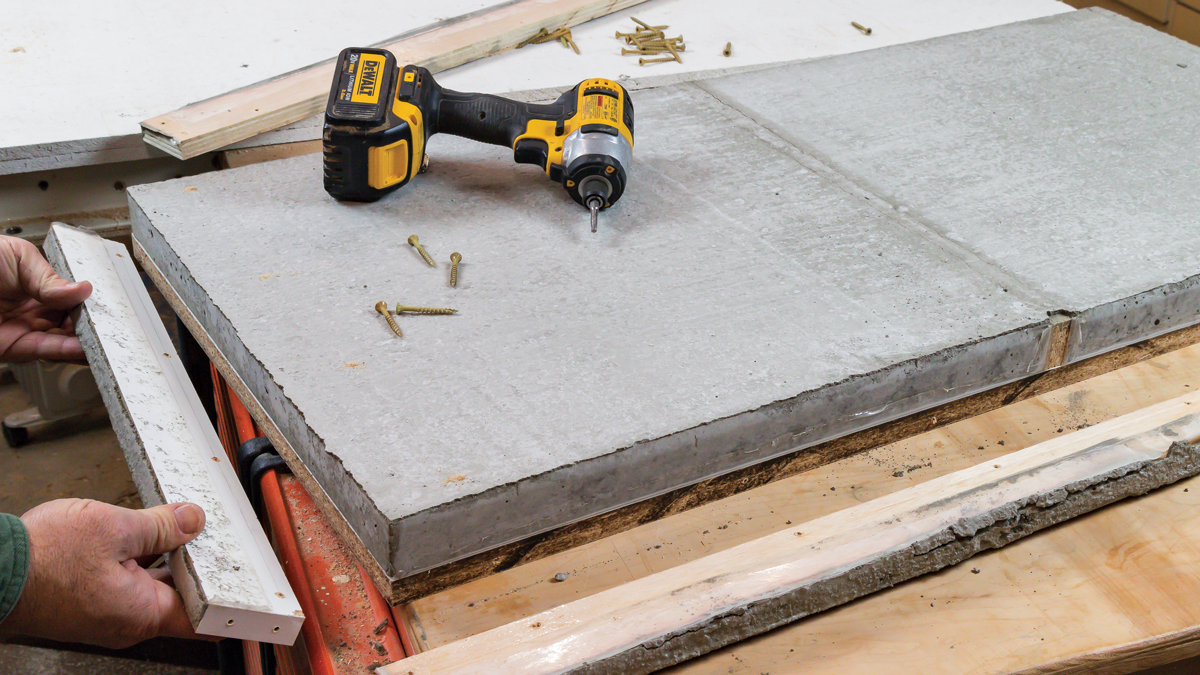
1. Form comes off easily. Unscrew the side pieces and pull them away from the concrete. Both the melamine surfaces and packing tape should come away easily. Then you can just slide the tabletops off the form.
 |
 |
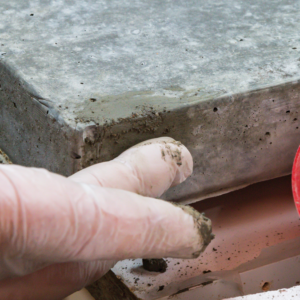 |
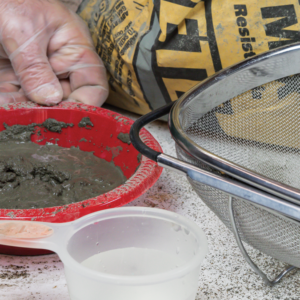
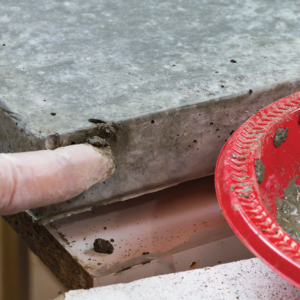
2. Patching holes. You are likely to have a few bubbles and worm holes still on the surface. If they are big and unsightly, you can patch them with the same concrete mix. Sift out the larger sand and gravel first and add water sparingly to create that peanut-butter consistency. Then smear the mix into the holes and level it with your finger. Give it a day to dry and sand it level.
 |
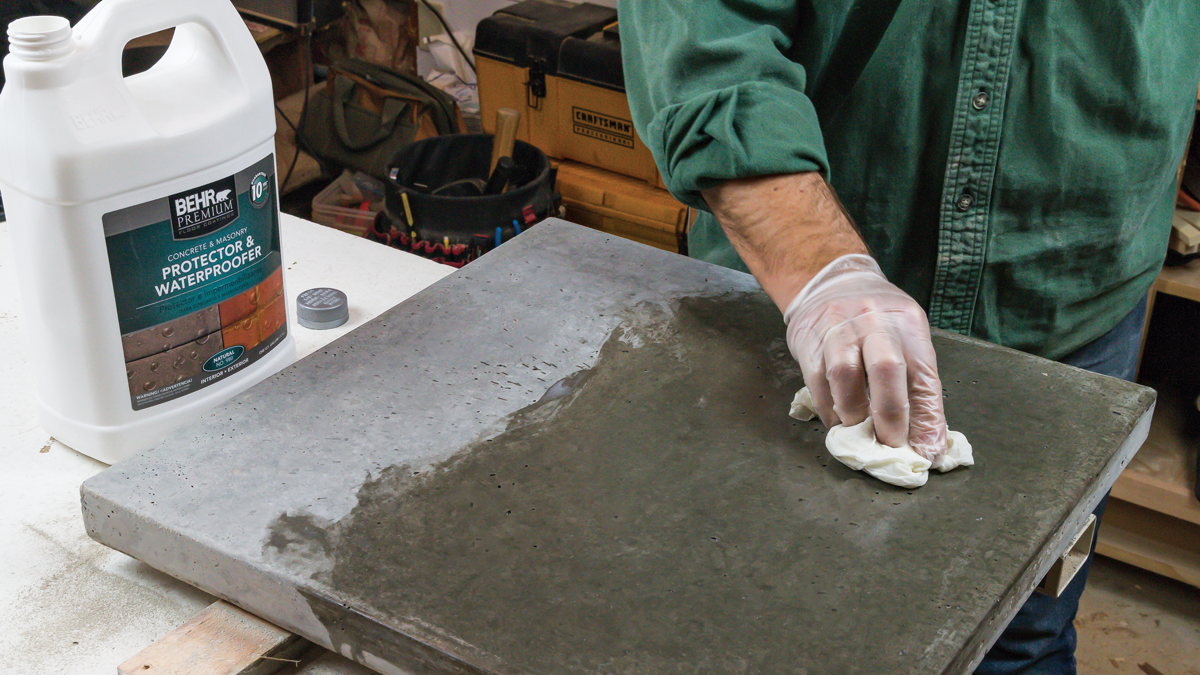 |
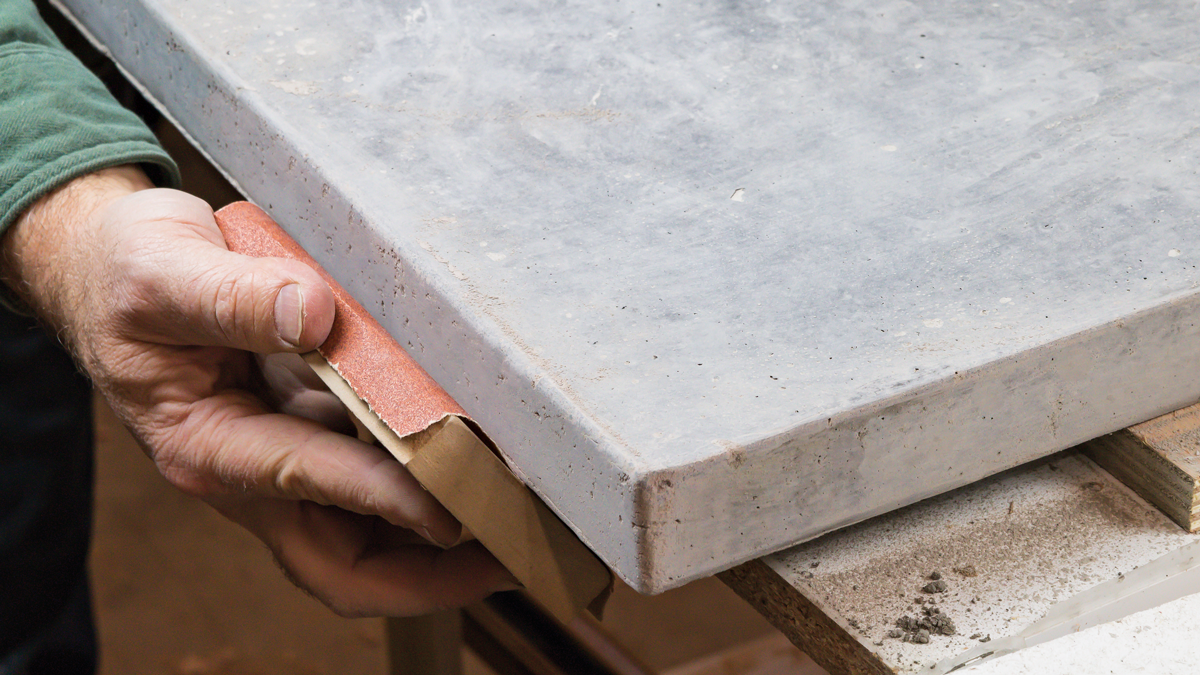
3. Sand and seal. Concrete sands easily with normal paper and a block. Use a rough grit like 60 or 80 to round the lower corners of the tops and higher grits to polish and reshape other areas. Then wipe on a concrete sealer to protect your tops. Keep flooding it on until the concrete won’t soak up anymore, and then wipe off the excess.
 |
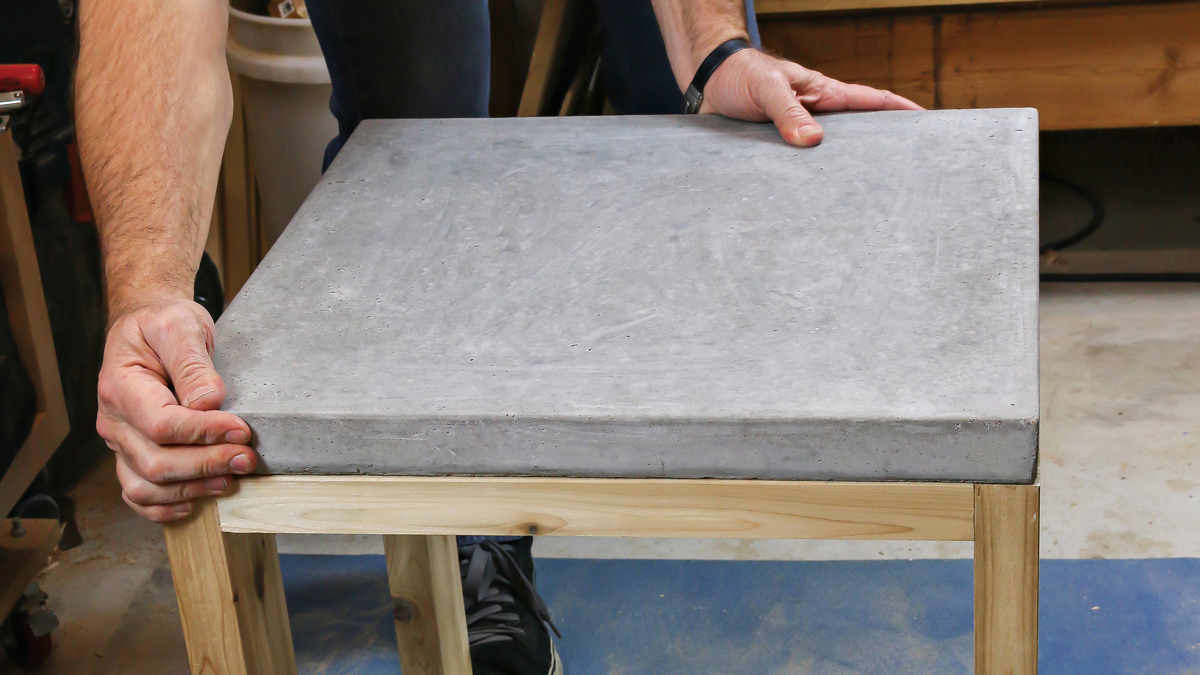 |
4. Pop on the tops. Put a generous blob of silicone caulk at each corner of the base, but not too close to the edges. Then lower the tops into place, sliding them around to make them even on the bases. Leave them right there for a day while the silicone dries, and then your tables are ready for action.



Log in or create an account to post a comment.
Sign up Log in