Creating an Adirondak Table
This easy-to-make table is a perfect match to a traditional Adirondack chair.
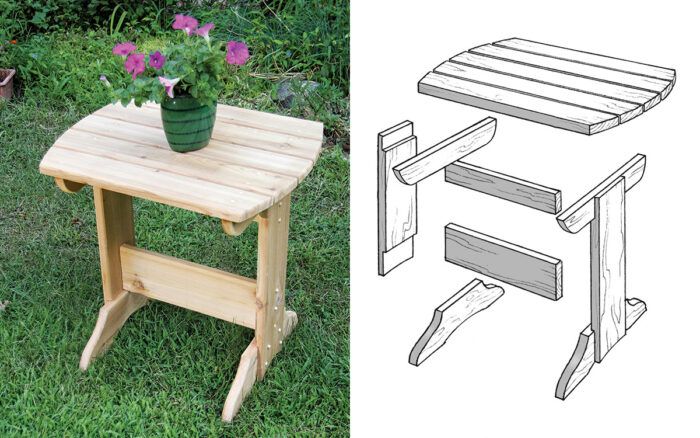
The Adirondack chair is probably one of the most popular pieces of outdoor furniture, but the Adirondack table also deserves a mention–and is a good project for those starting out at woodworking.
Furniture made for outdoor use can be a bit more rugged than indoor furniture, which means that standard carpentry tools—even a circular saw, and certainly a low-priced tablesaw, for instance—can meet the challenge.
Simple joinery can be just as attractive and strong as joints made with professional-level tools and skills. If you already have the tools and know-how to make a mortise-and-tenon or blind dowel joint, then go ahead. But attaching with screws and plugs is just as effective and feels right at home in the great outdoors.
You don’t have to build with expensive lumber, either. Cedar, or even pressure-treated wood that has been stained, will work fine. Take the time to choose boards carefully, so there are no obvious flaws. A router equipped with a roundover bit will magically transform rough saw-cut edges into professional-looking slats.
Materials
|
Tools
|
I used cedar on this project for its beauty, ease of working, and resistance to rot. The top is made of cedar 1x, while all the other parts are made of 5/4×6 cedar decking. The two stretchers, plus the 18-in.-long feet, make this a very stable table even though it feels a bit airy with its two legs.
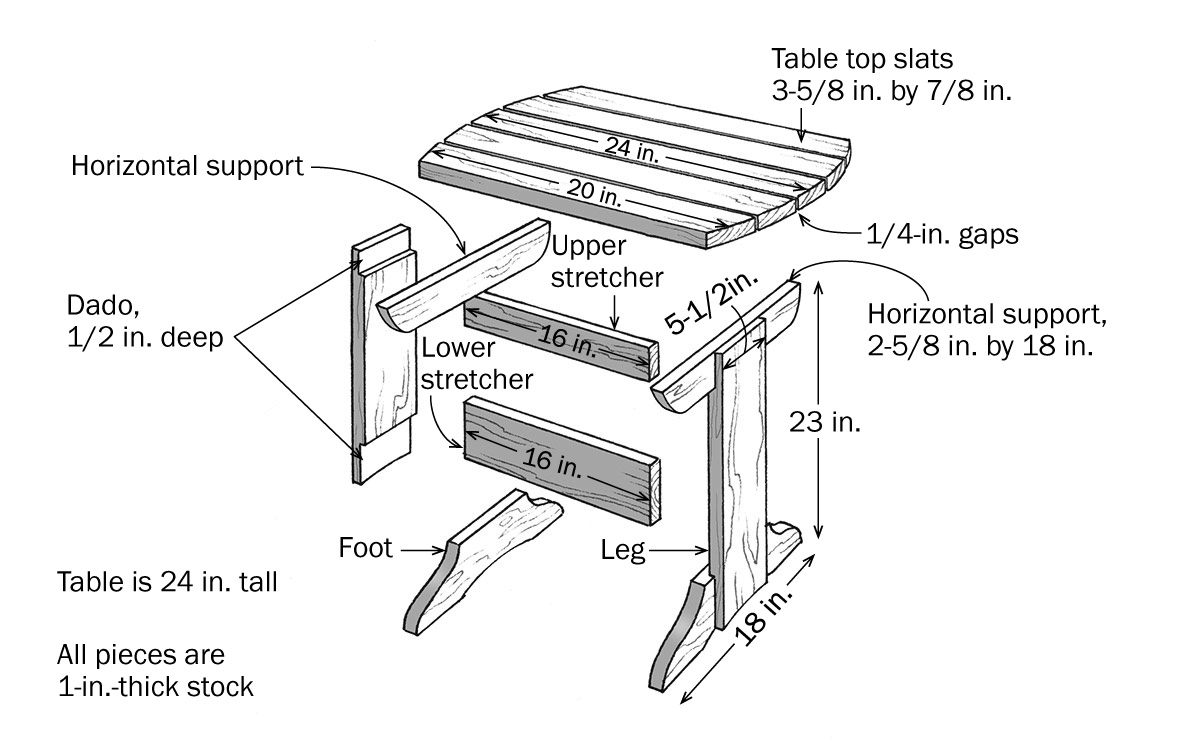
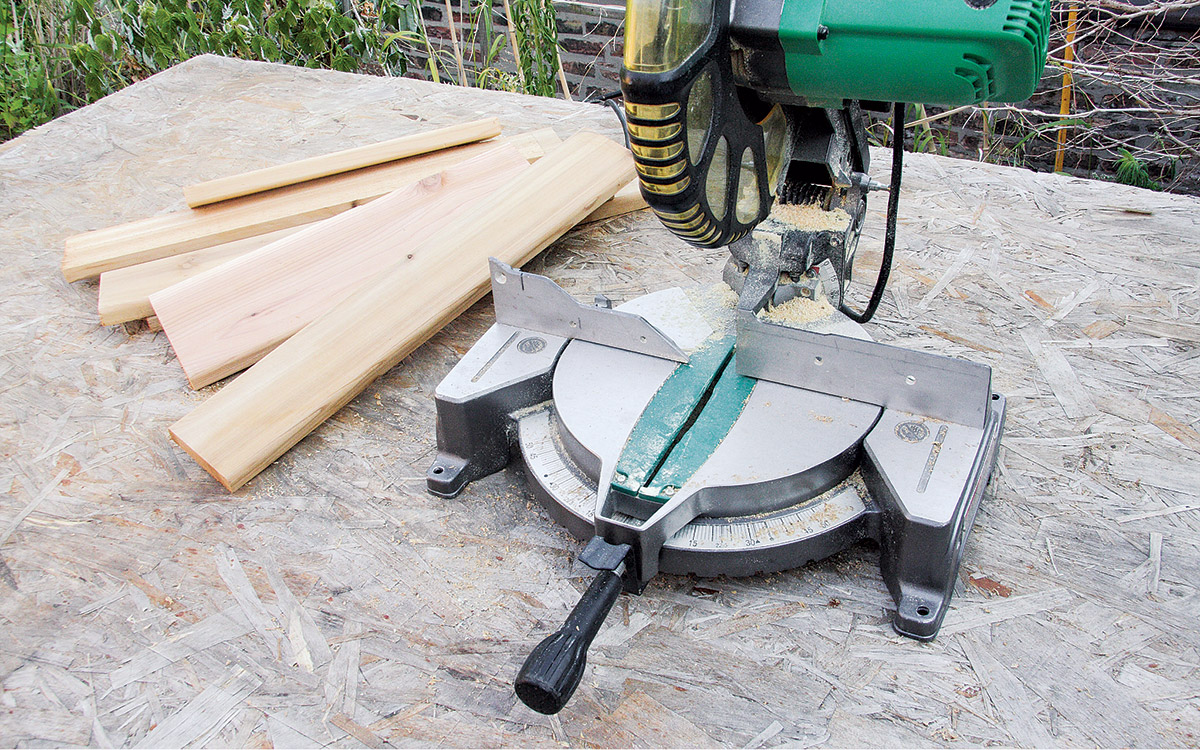
1. Rip the 1×8 in half to make two pieces 3 -5/8 in. wide. From these pieces cut five pieces 24 in. long for the top slats. Cut 4 ft. from one of the decking pieces. Rip this 4-ft.-long piece in half to make pieces about 2-5/8 in. wide. Cut one of them 16 in. long for the upper stretcher.
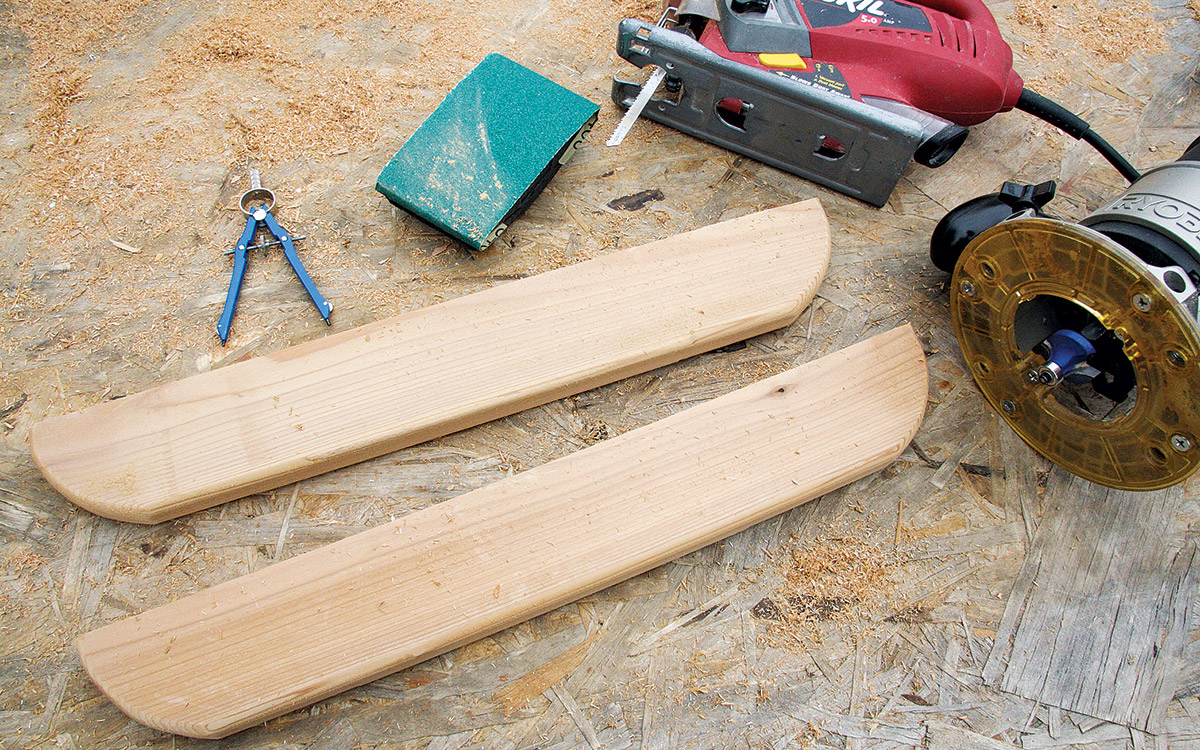
2. From the remaining 2-5/8-in.-wide pieces cut two horizontal supports 18 in. long. Use a compass to mark the ends of the horizontal supports for curve cuts, cut with a jigsaw, then rout the edges and hand sand.
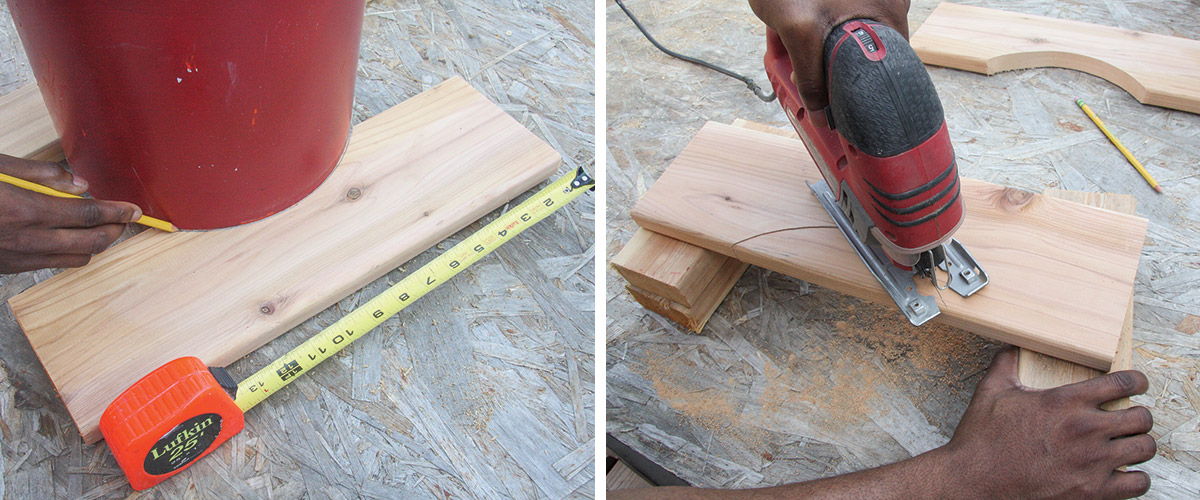
3. From the full-width board cut two pieces 18 in. long for the feet. On one of the boards make small marks 5 in. from each side. Position a 5-gal. bucket against the two marks and draw a curved cut line. Cut the line with a jigsaw.
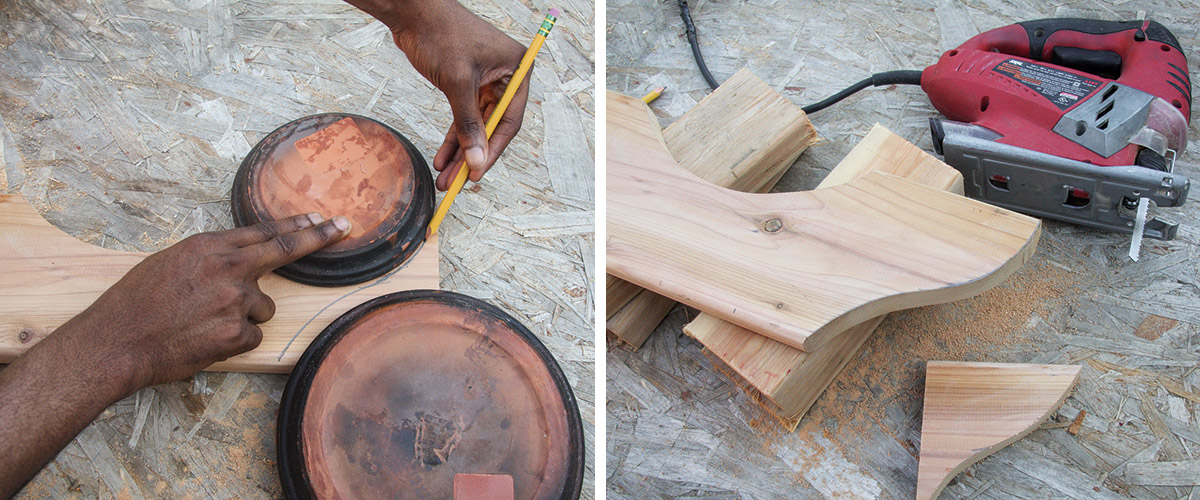
4. Use two plates (or other round objects of your choice) to draw an S-curve on a top corner of the foot. Before cutting, experiment on scrap pieces to achieve a look you like. Cut the S-curve with a jigsaw.
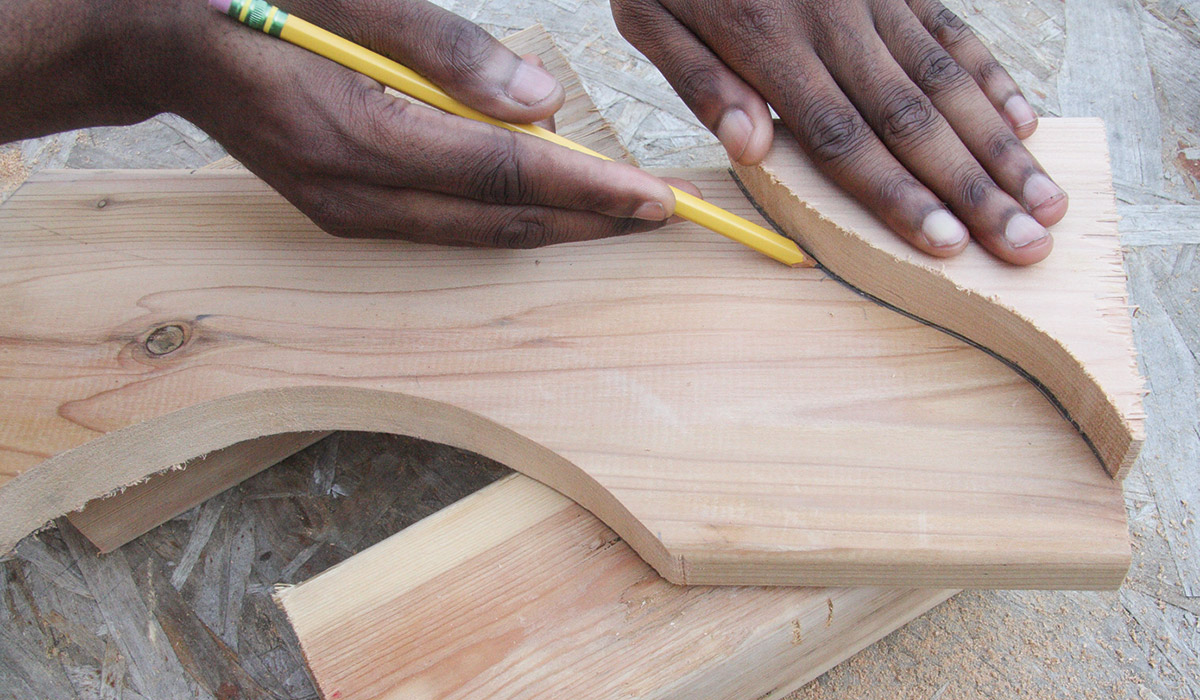
5. Use the cutout as a template to mark the other side of the foot and cut with a jigsaw. Use a belt sander to smooth out the curves, then use the first foot as a template for marking the second foot. Cut it as well.
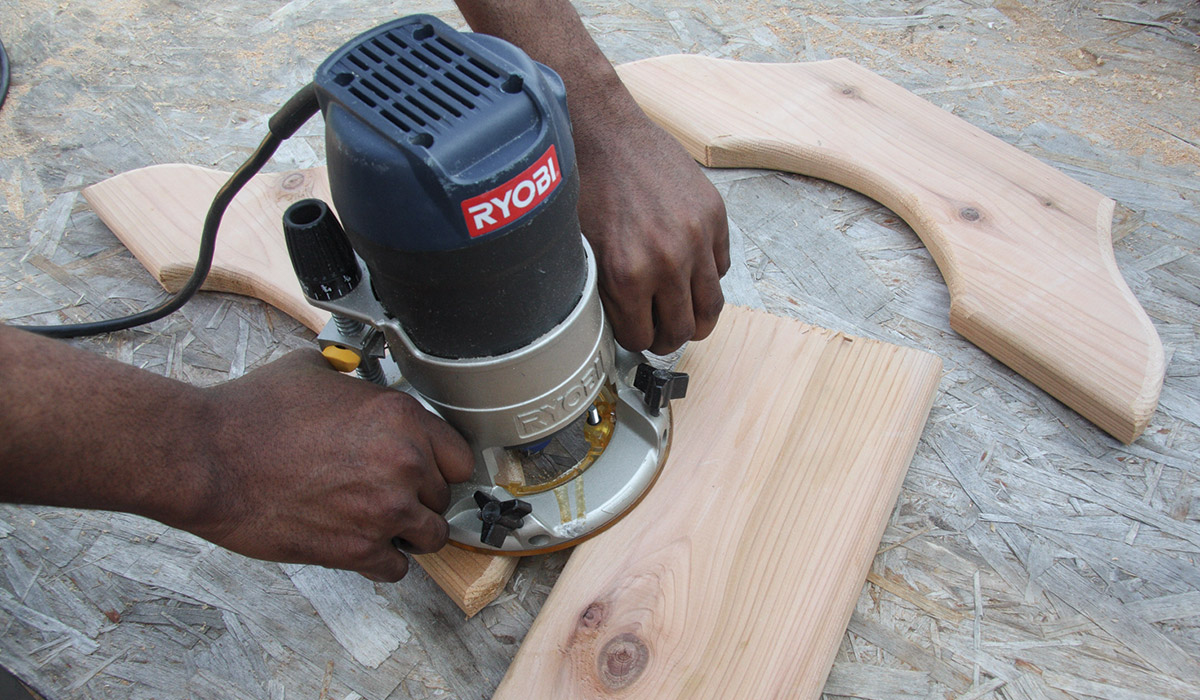
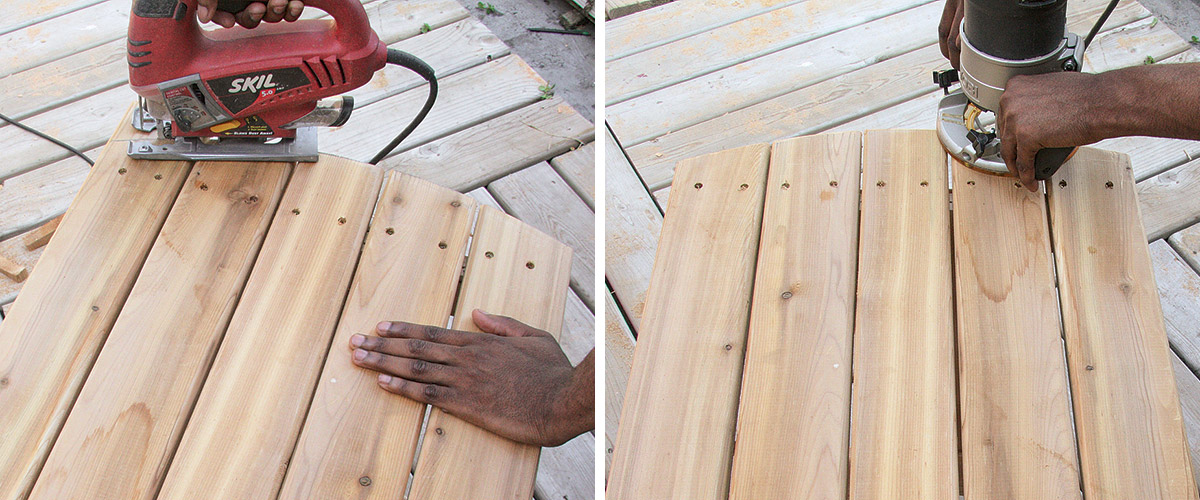
6. Equip a router with a roundover bit and adjust and test on scrap pieces until it rounds edges to look like factory-rounded decking edges. Rout all the cut lines.
Tip: As the photo for step 6 shows, you can place a board next to the piece you are routing, to help ensure against wobbling as you rout.
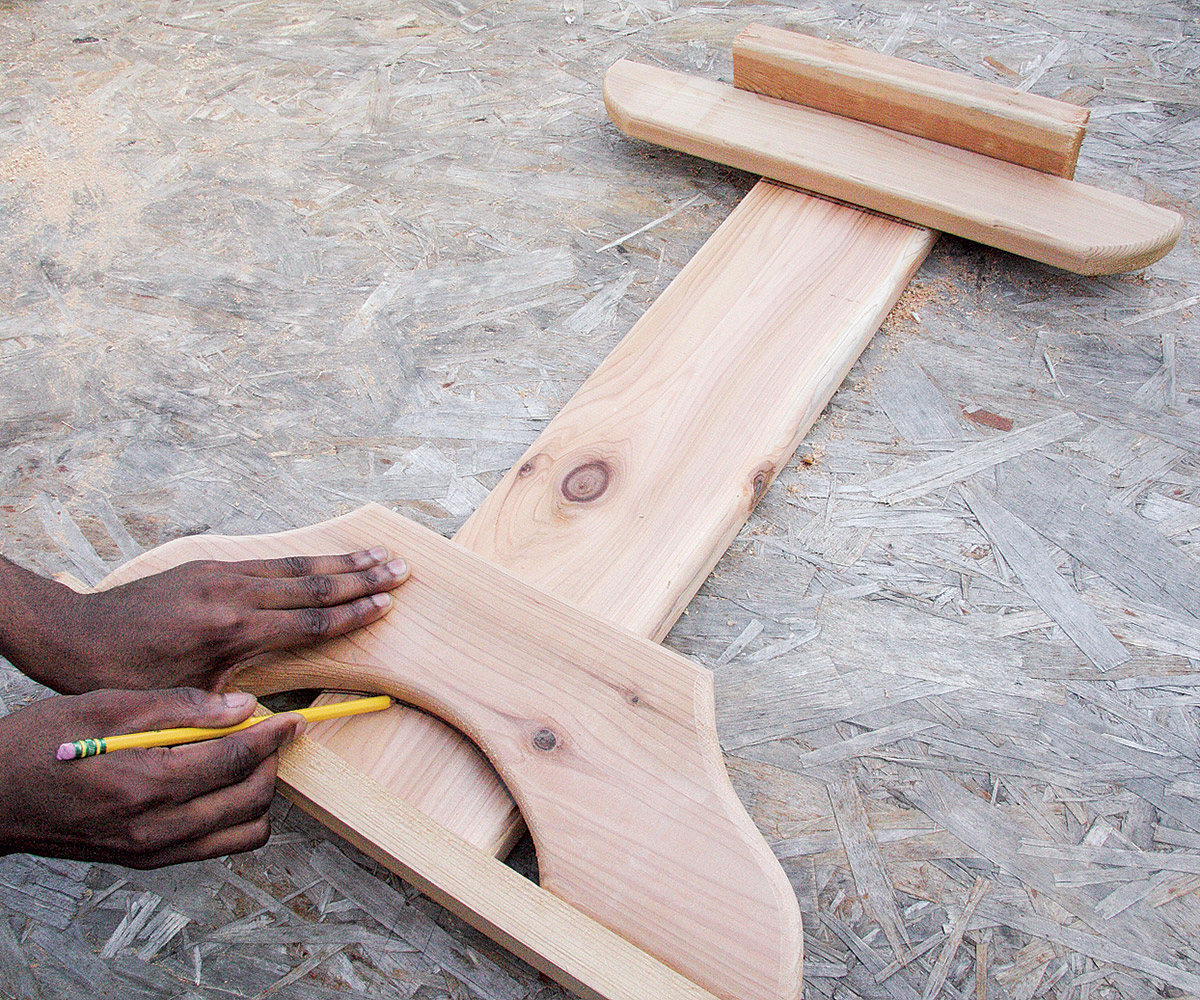
7. From the remaining full-width board cut two legs 23 in. long. On each, place a horizontal support at one end and a foot at the other end. Use small boards to align these pieces with the leg’s ends. Measure to be sure that the foot is centered on the leg, then scribe a line that follows the foot’s lower curve. Also scribe a line at the top of the foot, as well as a line that follows the bottom of the horizontal support.
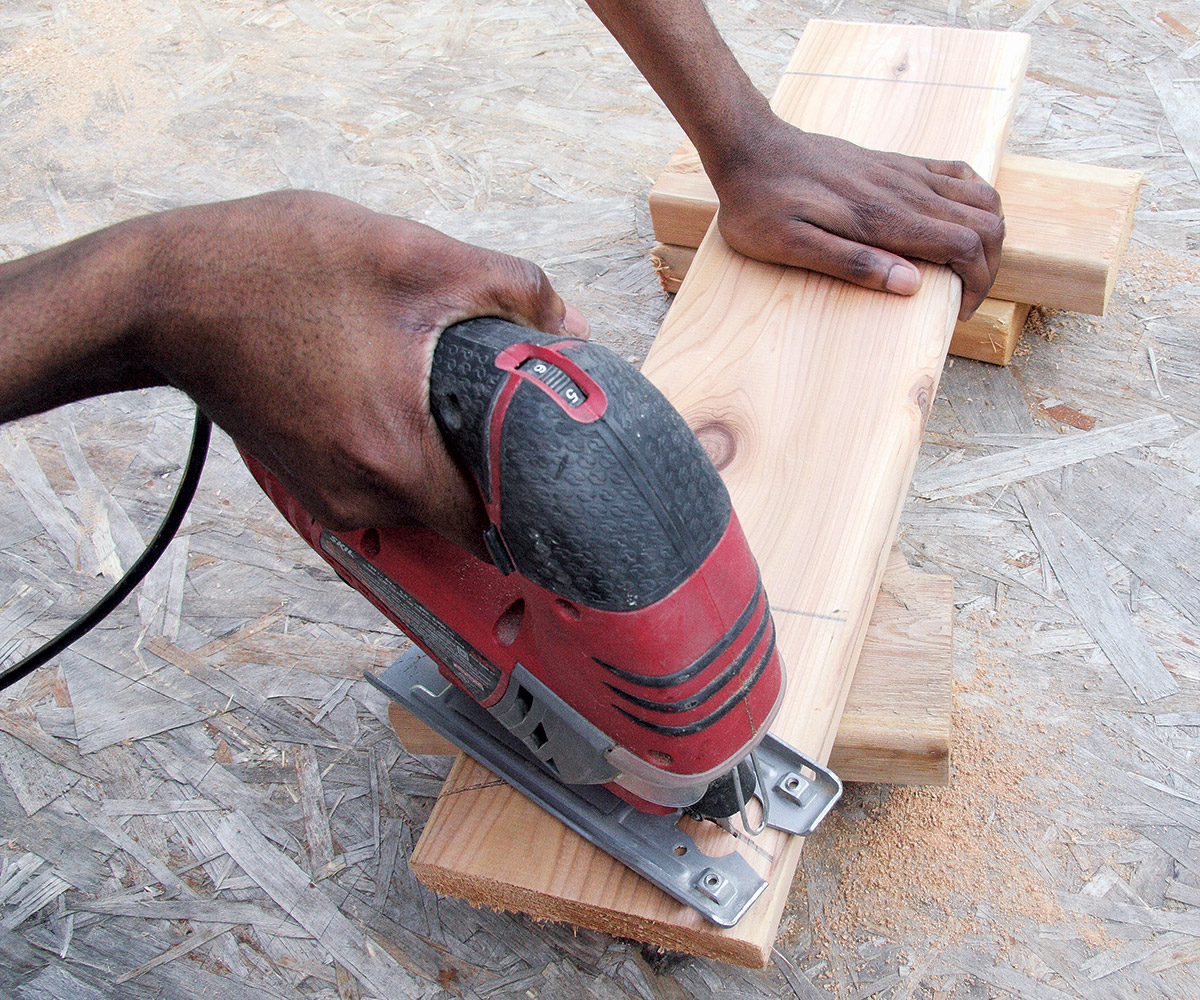
8. On each leg cut the bottom curved line with a jigsaw. Belt sand, rout, and hand sand the curved cuts.
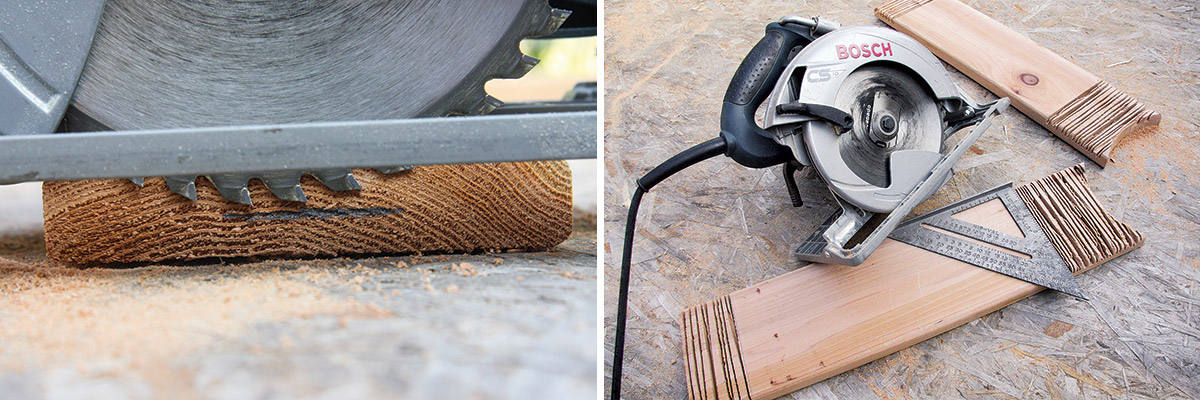
9. Set your circular saw’s blade depth to 1/2 in., the depth of the dado you will cut in the top and bottom of the leg. Slit the outside pencil marks you made in step 7 with a utility knife to prevent tearout, then cut a series of closely spaced kerfs.
Tip: When cutting kerfs for a dado, be sure to keep the saw’s base plate flat on the board as you work. If you wobble near the end, you will cut too deeply.
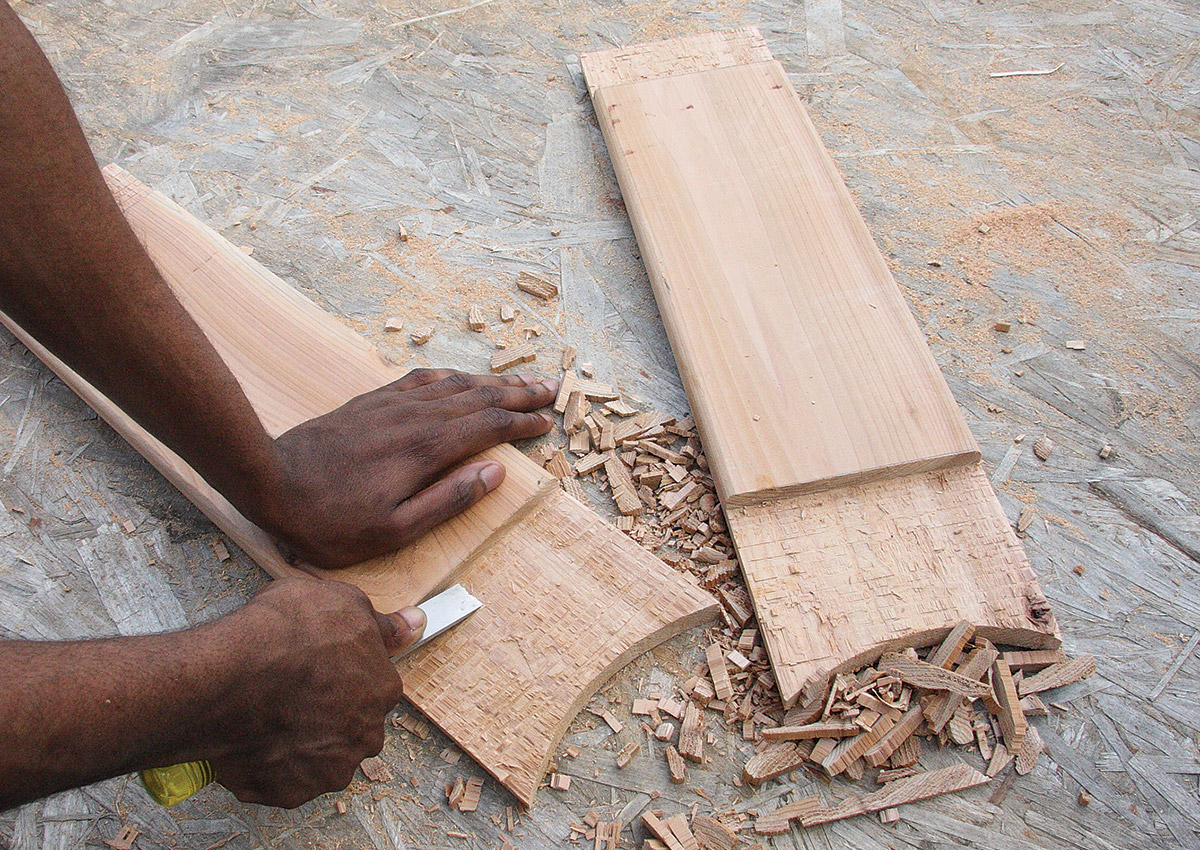
10. Tap the wood slivers with a hammer, then use a chisel to scrape away all the protrusions. Finish with the chisel’s bevel side down, as shown. Do this completely; even one little bump can make the joint sloppy looking.
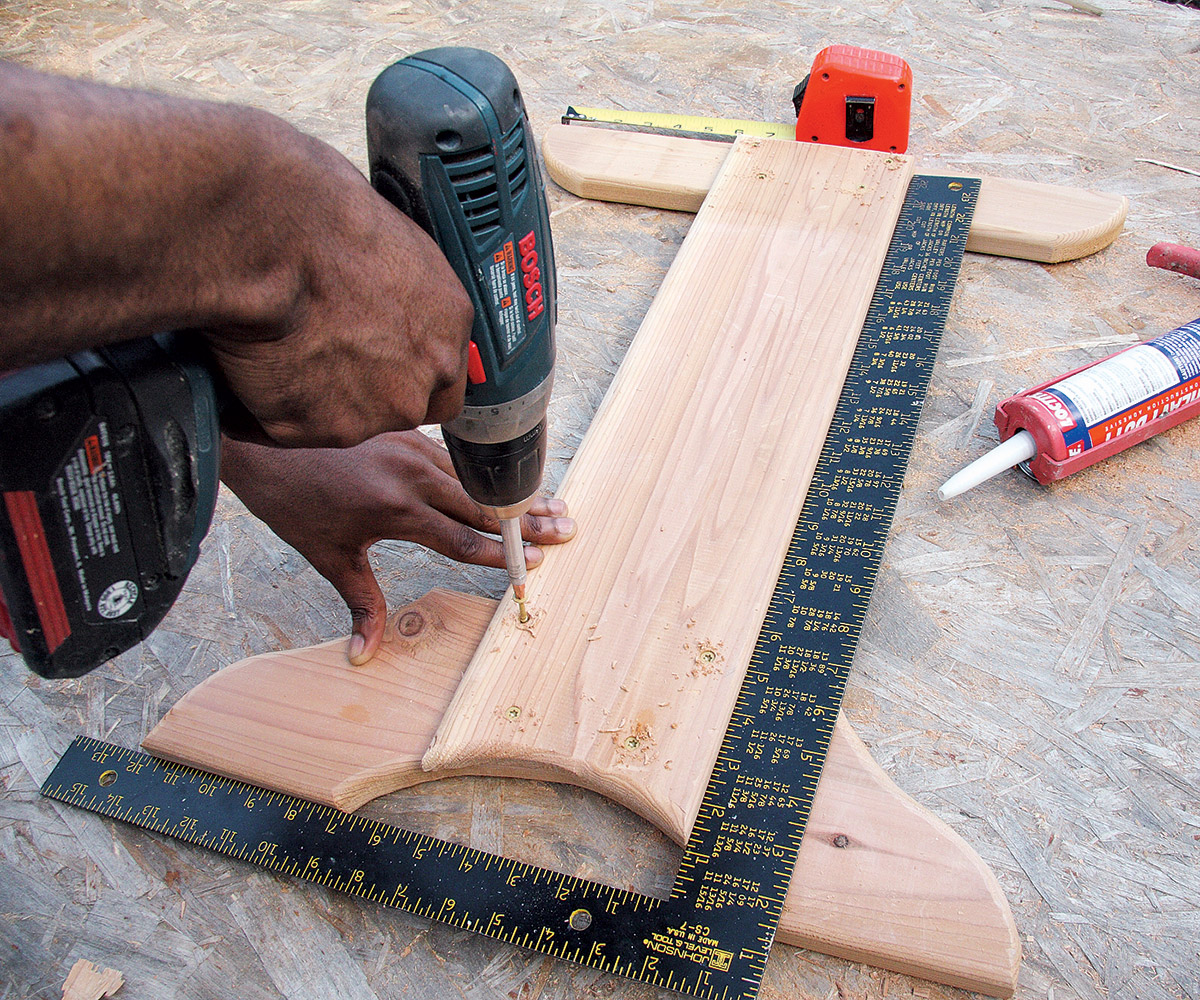
11. Place the dado-cut leg on top of the foot and the horizontal support and check that the joint looks tight; if not, clean out the dado more thoroughly. Apply polyurethane adhesive to each joint, then drill pilot holes and drive four widely spaced 1-1/4-in. screws into each joint. Check for square as you work. Repeat for the other leg.
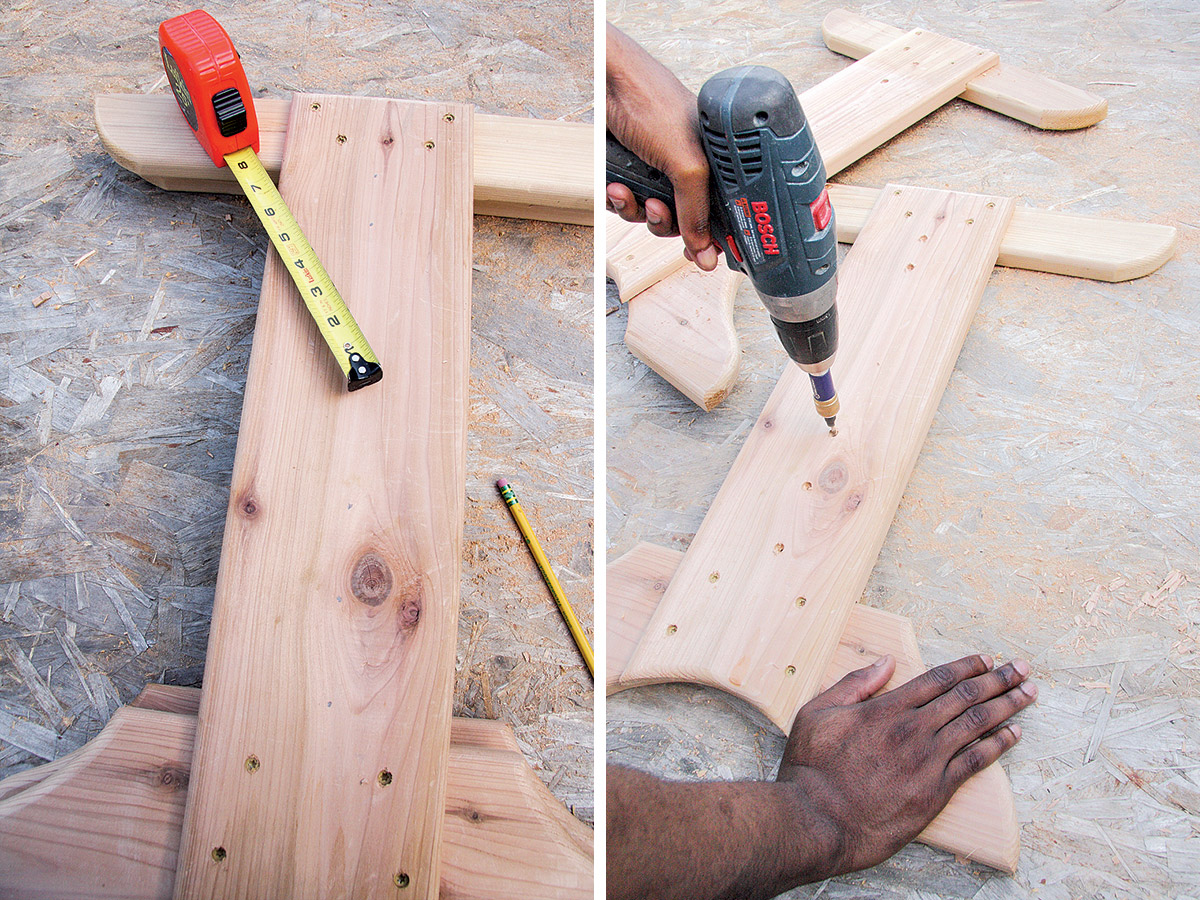
12. The lower stretcher rests on the top of the feet; the upper stretcher butts up against the bottom of the horizontal supports. From the outside of each leg measure and mark the locations for the pilot holes, centered on the leg—three for the bottom stretcher and two for the upper stretcher. Drill the pilot holes using a pilot/counterbore bit.
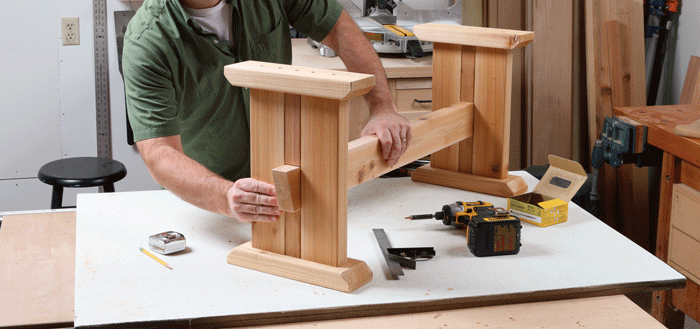
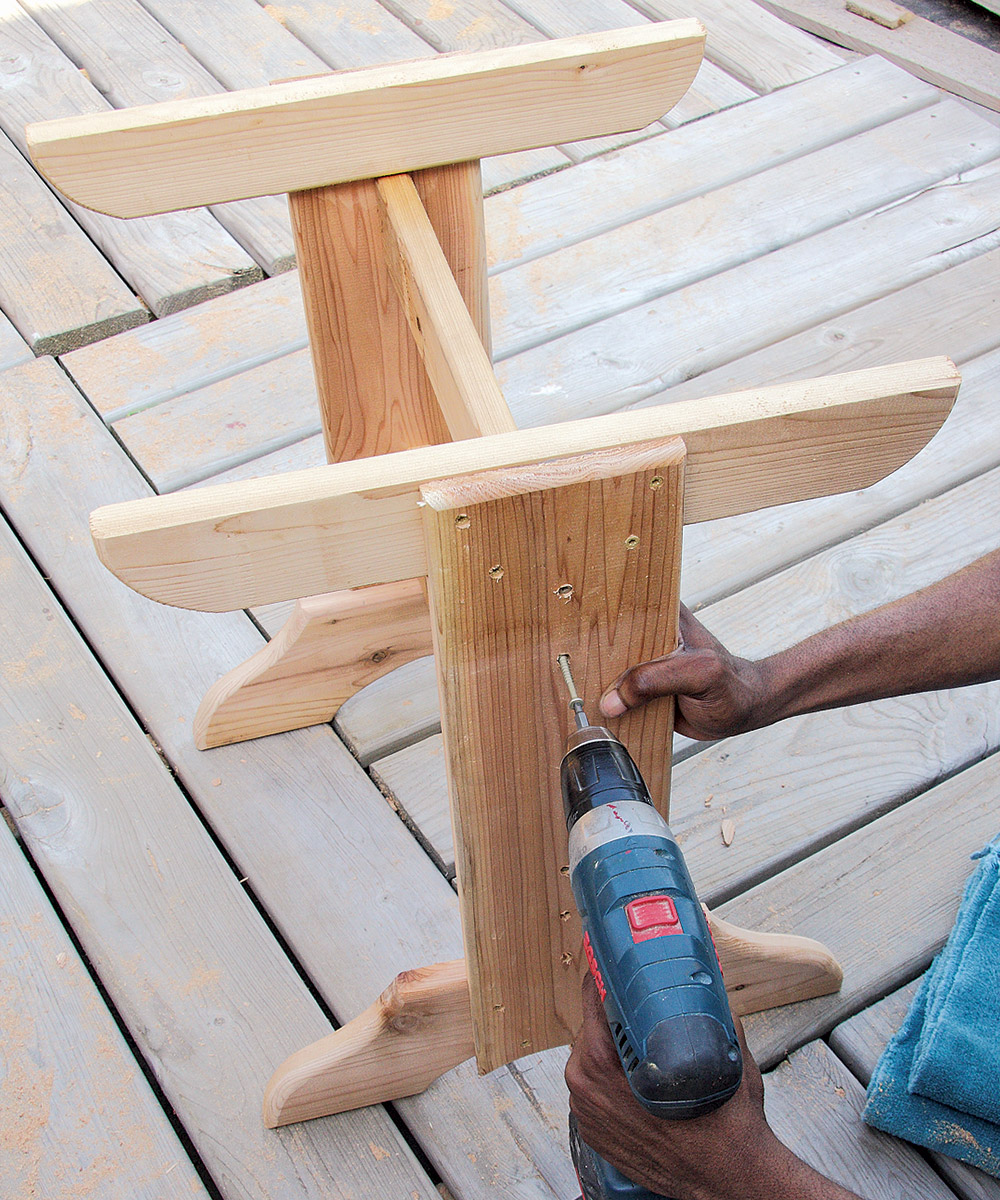
13. Position the bottom stretcher on top of the feet and centered on the legs and drive screws to attach it to both legs. Then attach the upper stretcher also centered on the legs as shown.
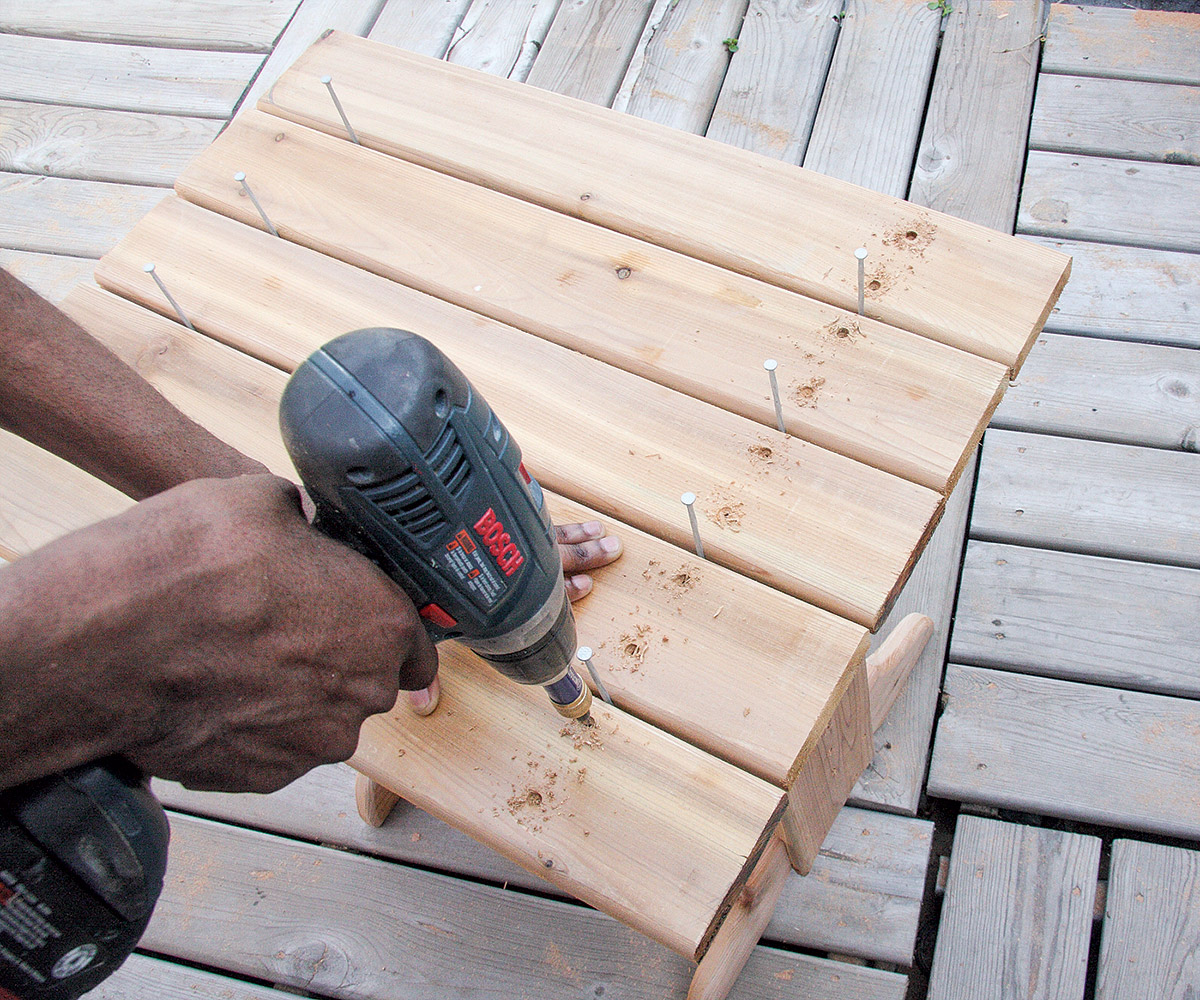
14. Lay the top slats on the horizontal supports and use nails or thin strips of wood to keep them evenly spaced. Drill pilot/counterbore holes, then drive screws to attach.
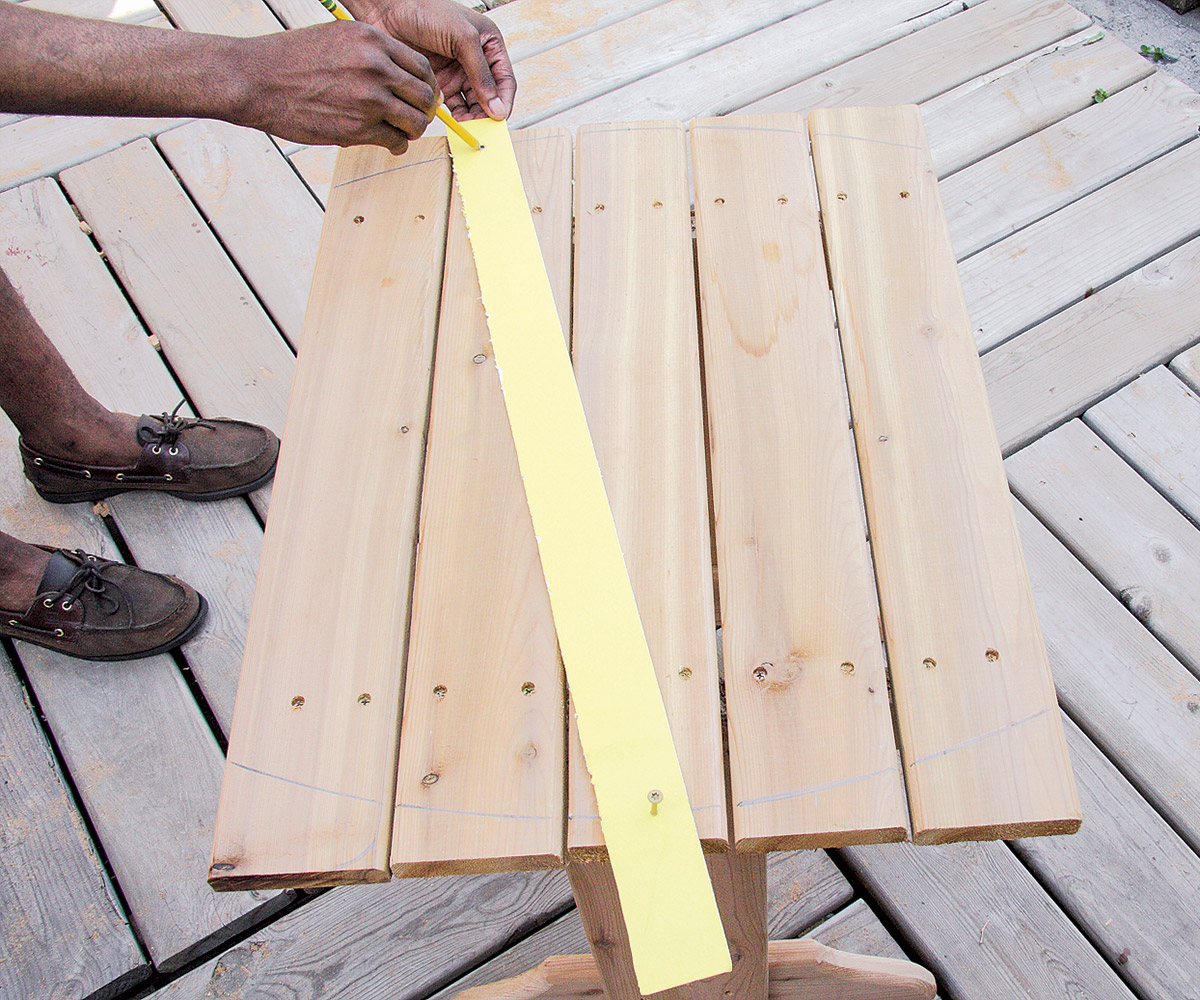
15. Make a trammel out of a strip of cardboard, a screw, and a pencil, as shown. Partially drive the screw through the cardboard and into the center of the center slat, near its end, and draw a curved line on the other end. Repeat for the other side.
16. Cut the curved lines with a jigsaw. Then use a belt sander to shape a more perfect curve; go over the edge with a router with a roundover bit.
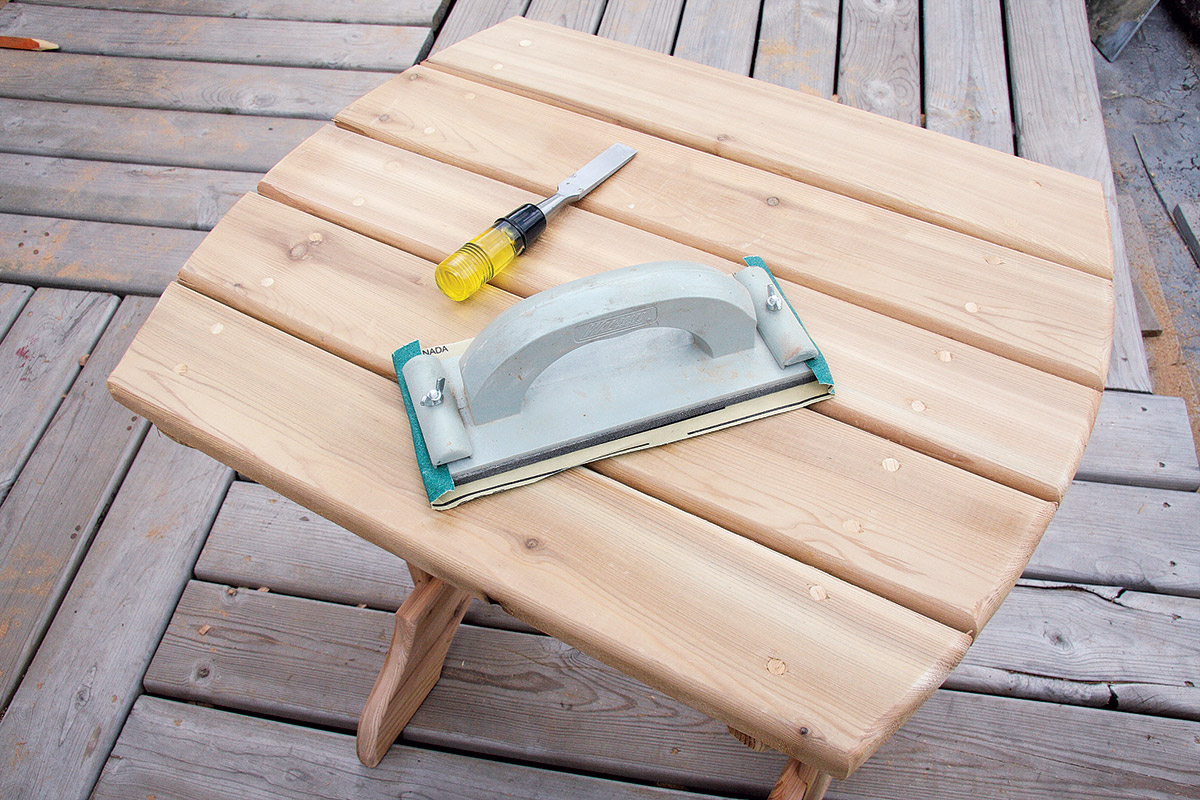
17. Use a drill with a plug-cutting bit to make wood plugs, insert them with drops of wood glue, and allow to dry. Then scrape nearly smooth with a sharp chisel. Hand sand the surface of the table so the plugs are smooth and on the same plane as the slats. Apply stain and sealer, or primer and paint.
Learn how to build an Adirondack chair
Fine Woodworking Recommended Products

Suizan Japanese Pull Saw


Log in or create an account to post a comment.
Sign up Log in