All About Picture Framing
Make professional-quality, custom frames at a fraction of the cost.
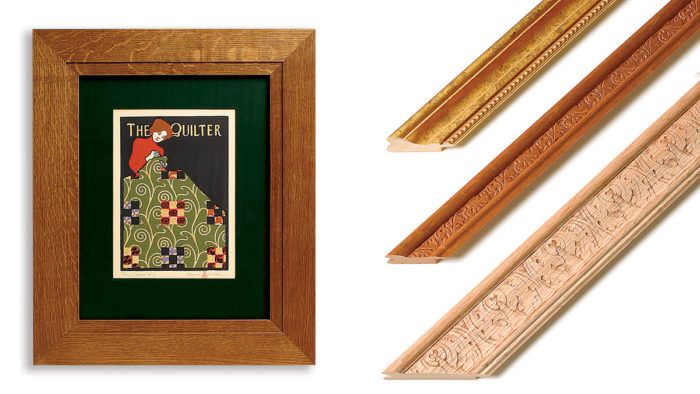
Synopsis: Picture framing is something woodworkers tend to shy away from: it may be fear of damaging an irreplaceable piece of art or of putting less-than-perfect miter joints on display. The good news is that professional-quality frames are not hard to make. The techniques are mostly familiar to woodworkers, there is only a modest outlay on tools and jigs, and frame stock can be purchased ready-made or built from scratch in your shop. In this article, professional picture framer Robert Hamon share his tricks of the trade, including how to cut perfect miters with a simple jig, how to produce high-quality framing material, and how to install and hang art like a pro.
Framing is something woodworkers tend to shy away from: It may be fear of damaging an irreplaceable piece of art or of putting less-than-perfect miter joints on display. Frames tend to get scrutinized because they are the vehicles for displaying art; and because art is critiqued up close, the frame will be, too.
The good news is that professional-quality frames are not hard to make. The techniques are mostly familiar to woodworkers, there is only a modest outlay on tools and jigs, and frame stock can be purchased ready-made or built from scratch in your shop.
Artwork determines frame size and design
Art falls into two main categories when it comes to framing with and without glass: If the art is on paper, you should consider using a backing board, a mat, and glass as well as a frame; paintings on canvas look best with just a frame. The backing board keeps the art flat and secure, the glass protects the art from damage, and the mat keeps the art and glass from contacting each other and sticking together.
When it comes to mats, wider is better. Mats cut narrower than 21⁄2 in. do not add much to the appearance of the framing. Aim for a mat that is 3 in. to 4 in. wide. Another option is to use two layers of mats, known as double matting, to give the framing a greater depth.
You need to visit a local picture-frame shop to select the mat, and to have it, the glass, and the backing board cut to size. Ask for acid-free materials in both the mat and the backing board. The additional charge is worth the protection it affords your artwork. Once you have all of these pieces cut to size, only then can you calculate the frame’s dimensions.
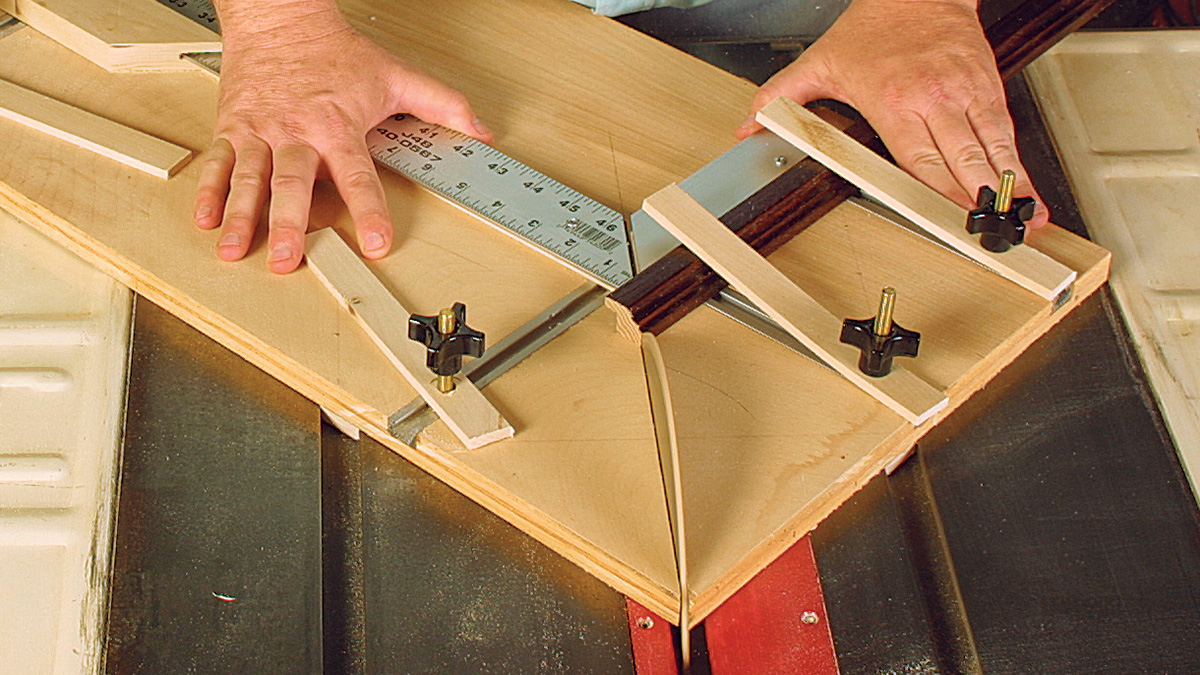
Frame size refers to the dimensions of the artwork, not the outer size of the frame itself. When determining the size of a frame, measure to the inside of the rabbet. To allow for wiggle room, add an extra 1/8 in. in each direction. For example, a 16-in. by 20-in. piece of art gets a frame sized 16-1/8 in. by 20-1/8 in. When cutting the molding to rough length, add twice the width of the frame molding plus an inch or two as a safety margin.
Your picture frame must have a rabbet deep enough to secure the thickness of what you intend to frame.
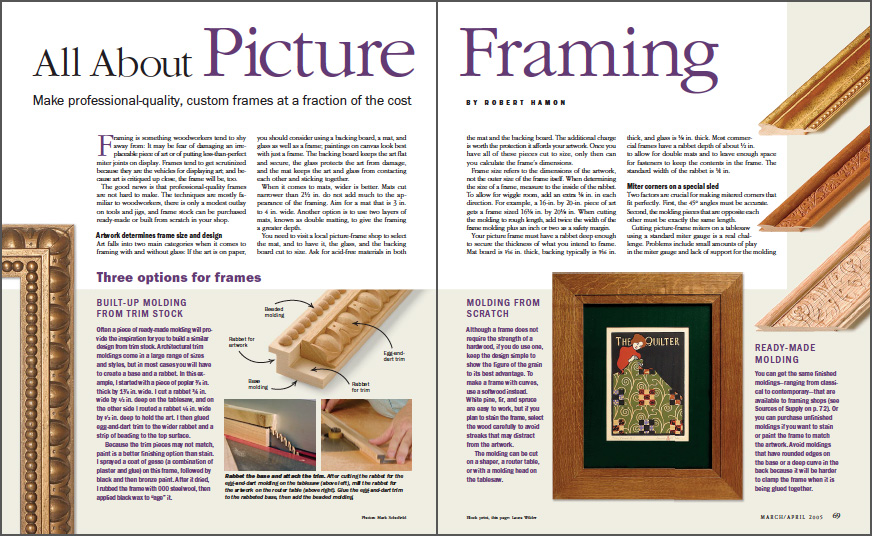
From Fine Woodworking #176
To view the entire article, please click the View PDF button below.
Fine Woodworking Recommended Products
MicroJig Matchfit dovetail clamps

Suizan Japanese Pull Saw

Starrett 4" Double Square


Log in or create an account to post a comment.
Sign up Log in