How to apply oil finish for wood
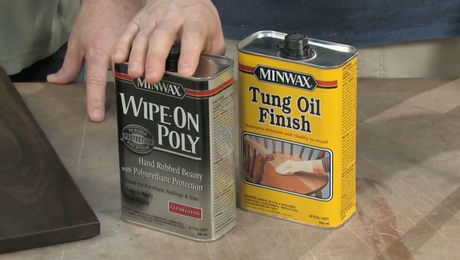
In this video on making a Shaker nightstand, you'll learn the fundamentals of applying a durable, attractive oil finish.
A poor finish application is perhaps the quickest way to destroy an otherwise beautiful piece of furniture. After spending hours upon hours building your perfect piece, the last thing you want to do is rush the finishing process.
In this episode of Getting Started in Woodworking, Michael Pekovich shows you how to let the wood’s natural beauty shine through, by applying a simple clear finish that will protect your piece for decades to come. From sanding and applying multiple coats of finish—to taming glue squeeze-out and applying paste wax, Pekovich demonstrates a technique that any amateur can tackle at home.
Written by: Asa Christiana
Produced by: Ed Pirnik and Gina Eide
Video by Gary Junken, Editing by Cari Delahanty
Videos in the Series
-
Building a Walnut NightstandNovember 4, 2019
-
How to Shop for Rough LumberOctober 29, 2019
-
Milling Your Own LumberOctober 29, 2019
-
How to Taper Legs Using the Table SawOctober 29, 2019
-
Strong, simple dowel joinery techniqueNovember 5, 2019
-
Make an Attractive TabletopNovember 5, 2019
-
Adding a shelf to a tableNovember 5, 2019
-
How to Glue Up a Table with a ShelfNovember 5, 2019
-
How to apply oil finish for woodNovember 5, 2019






Comments
Why not use a white lead pencil for marking? The regular black lead can be very difficult to see on such dark woods as walnut. Even harder if the mark runs in the same direction as the grain.
It appeared you were using 2 different glues; Titebond II and Original Titebond. Any particular reason?
Thank you.
Log in or create an account to post a comment.
Sign up Log in