How to Glue up Wedged Through-Tenons
In this project video on making a step stool, learn how to assemble and glue up wedged through-tenons. You'll also get some finishing tips.
Assembly and Glue Up
Glue up the footstool, insert and trim the wedges, and apply a wipe-on finish.
 Chamfer the top
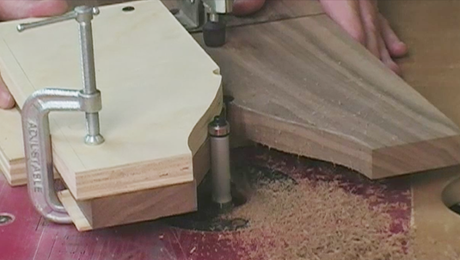
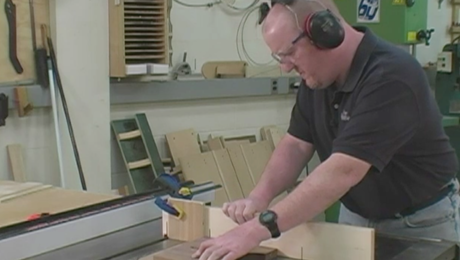
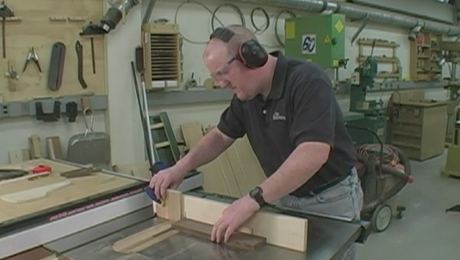
Before the step stool can be put together, rout the bevel on the underside of the top piece. At the router table, use a chamfering bit. Rout the end-grain first using a backer board to prevent tearout. Then finish up front to the back.
Surface prep
Chamfer exposed edges with block plane to soften the edges. Once all pieces are sanded, lay them out and prepare to put the step stool together.
Putting step stool together
You will need glue and a bunch of clamps to complete this project.
Before using glue, do a dry run, double checking that all parts fit nicely together.
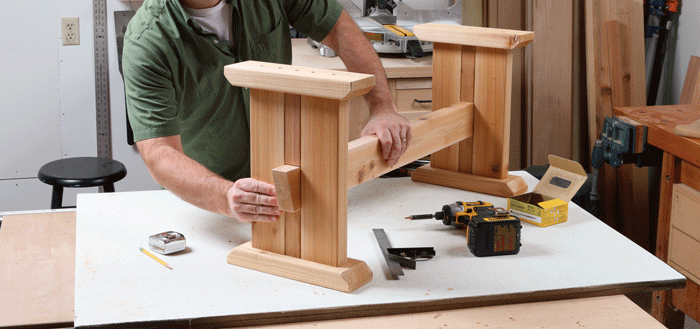
First, glue the sides to the stretcher. After double checking your work, add the top of the stool and clamp all the pieces together.
While the clamps are in place, add put glue on the wedges and drive them home, one at a time.
Let the stool sit overnight so the glue can cure.
Trim wedges flush
Once the glue is dry, trim the wedges. Clamp stool down for stability and cut down the wedges with a flush-cut saw.
Use a block plane and chisels to get the wedges absolutely flush. Wetting the end grain will make it easier to cut.
Sand the stool
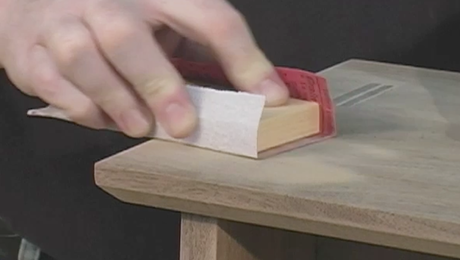
Once all of the wedges are trimmed, use sandpaper to do the final surface prep. For the areas that are still proud use P150 grit paper. For all other areas use P220 paper.
To achieve a smooth surface dampen the wood and let it dry to raise the grain before you sand.
Finishing
Before putting on a topcoat, clean the surface of any debris leftover from sanding. For an error-free finish use gloss polyurethane that is thinned. Use a ratio of 3 parts mineral spirits to 1 part finish. This finish should dry rather quickly.
Let each coat dry and sand in between coats using ultra-fine sanding pads.
Put on as many coats as it takes to reach the desired sheen.
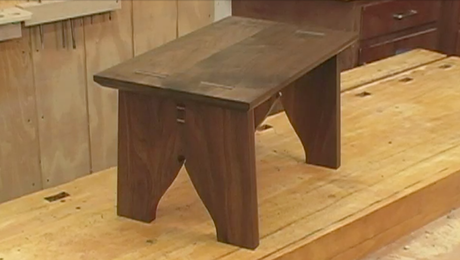
Once the finish is complete, it’s ready to put to use!
Video by: Gina Eide; Editing by: Michael Dobsevage
Videos in the Series
-
Beginning woodworking plans for building a small step stoolMarch 20, 2020
-
How to Mill Lumber and Cut Through-MortisesMarch 20, 2020
-
Pattern-Routing BasicsMarch 20, 2020
-
How to Cut Double TenonsMarch 20, 2020
-
Making Wedges for Through-TenonsMarch 20, 2020
-
How to Glue up Wedged Through-TenonsMarch 20, 2020



Log in or create an account to post a comment.
Sign up Log in