Build a Bench Around a Tree
Make a tree a centerpiece in your yard with this shady seat.
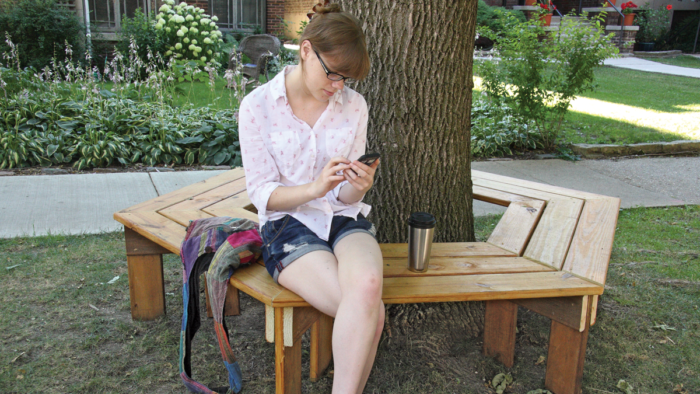
A tree bench is not (as some may assume) a bench made out of a tree, but a bench that wraps around a tree. It makes a lovely decorative frame around a favorite tree and offers an inviting place to sit.
Ideally, the tree should be mid-sized—say, 16 in. to 30 in. in diameter, large enough so people have something to rest their backs against. But you may choose to build a bench around a smaller tree as proof that you believe in the future; the family will enjoy watching the tree’s trunk expand closer and closer to the bench over the years, and if you take photos by the tree you may be able to guess the year by gauging the size of the tree.
If the ground around the tree is fairly level, it will make building easier. But many trees have sloped sites or roots that protrude up from the ground, and that should not keep you from building. Legs can be shortened or lengthened, or small holes can be dug in the soil to compensate for unevenness. And keep in mind that your bench doesn’t need to be perfectly level.
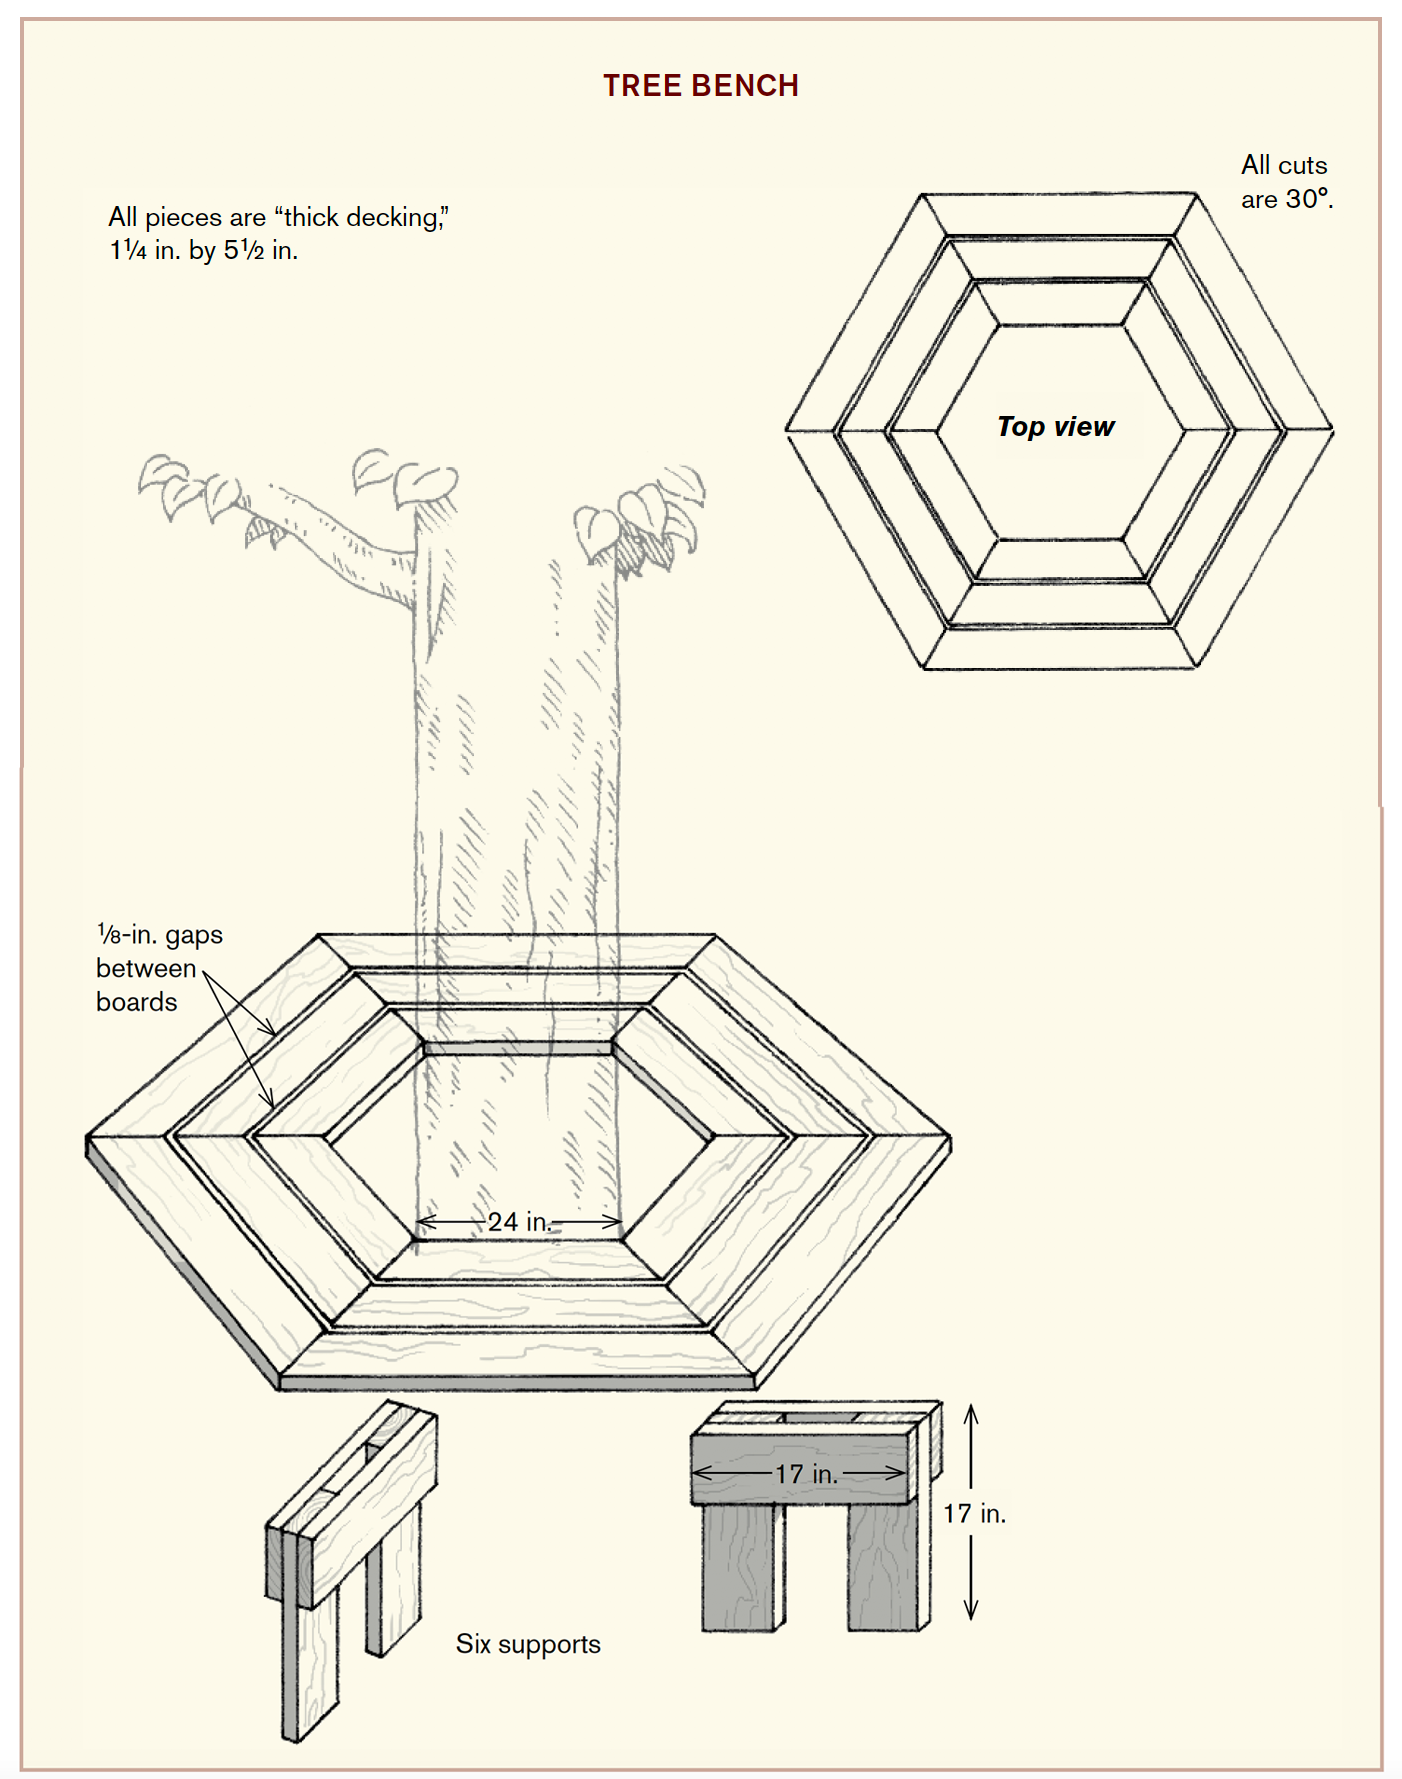
The bench shown is made entirely of pressure-treated decking that is extra thick—about 1-1/4 in.—but standard 1-in.-thick decking would work as well, as would 2x6s. We applied a coat of stain to this lumber, but you may choose to paint instead.
Materials
Tools
|
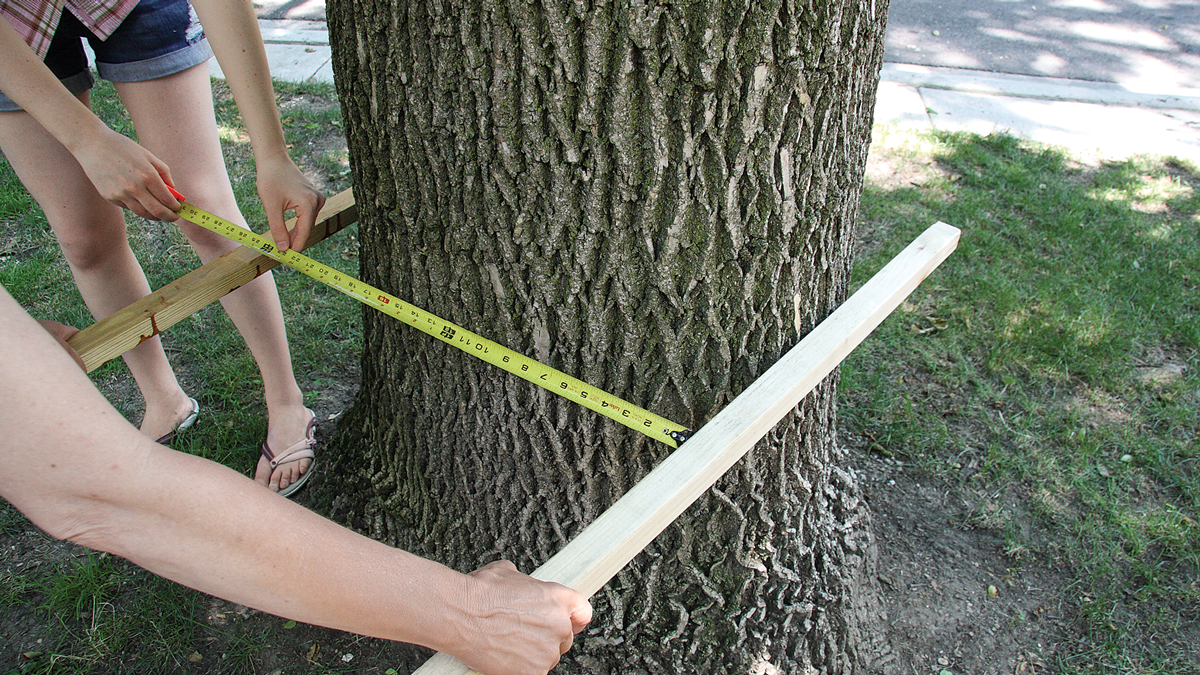
1. Measure the diameter of the tree at its widest point at 17 in. above the ground. (Most tree trunks are slightly oval rather than perfectly round.) If you have a mature tree that grows slowly, make this measurement the inside (shorter) dimension for the boards nearest the tree. If you have a fast-growing tree, add two or three inches.
TipIf you are unsure when measuring a trunk’s diameter, instead measure around the trunk for the circumference. (A metal tape measure works pretty well for this, but a dressmaker’s cloth measure is more accurate.) Now recall 8th-grade math: Divide the circumference by pi (3.14) to get the diameter. If the trunk is visibly oval rather than circular, add a few inches. |
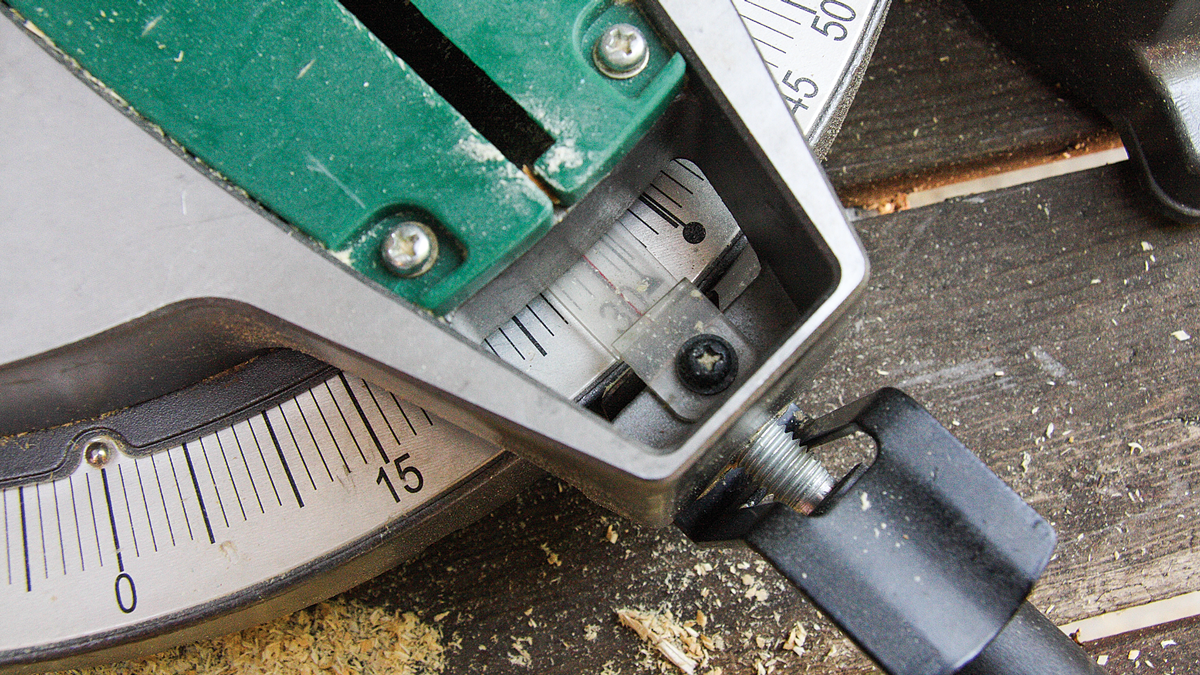
2. Set a chopsaw to cut at 30 degrees. It is possible to make these cuts with a circular saw, but it is a good deal more difficult.
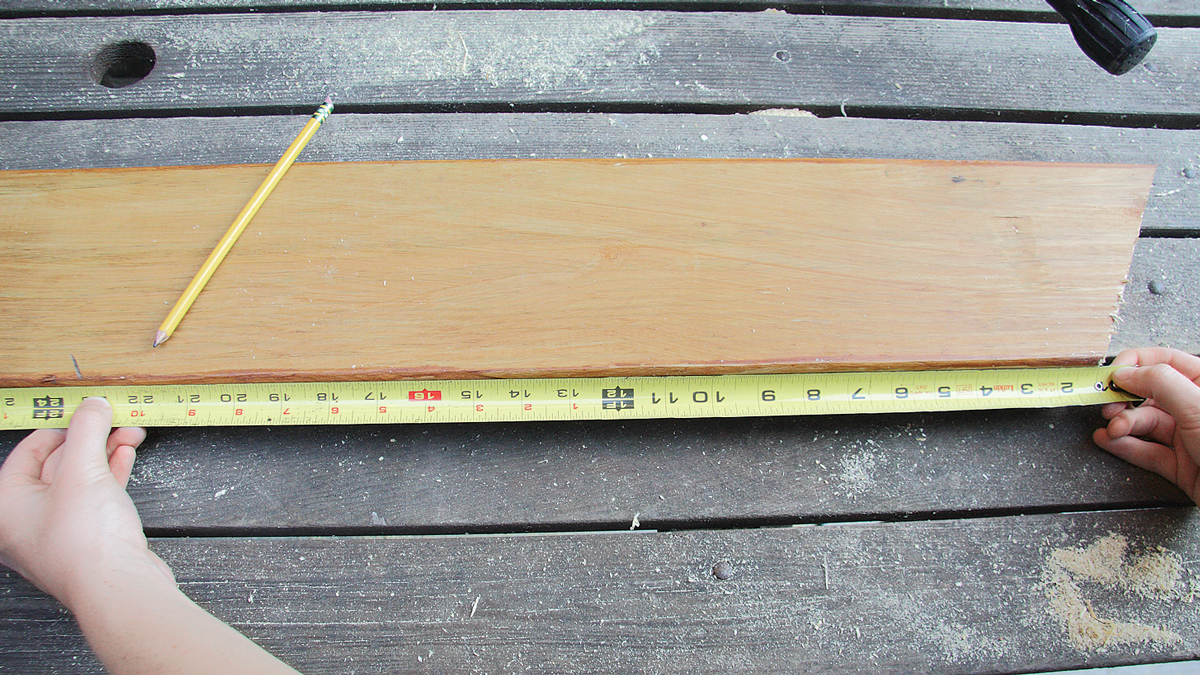
3. It’s best to keep the saw at the same position, rather than constantly switching from side to side between cuts. Make the first cut, then flip the board over and mark for the cut on the other side.
 |
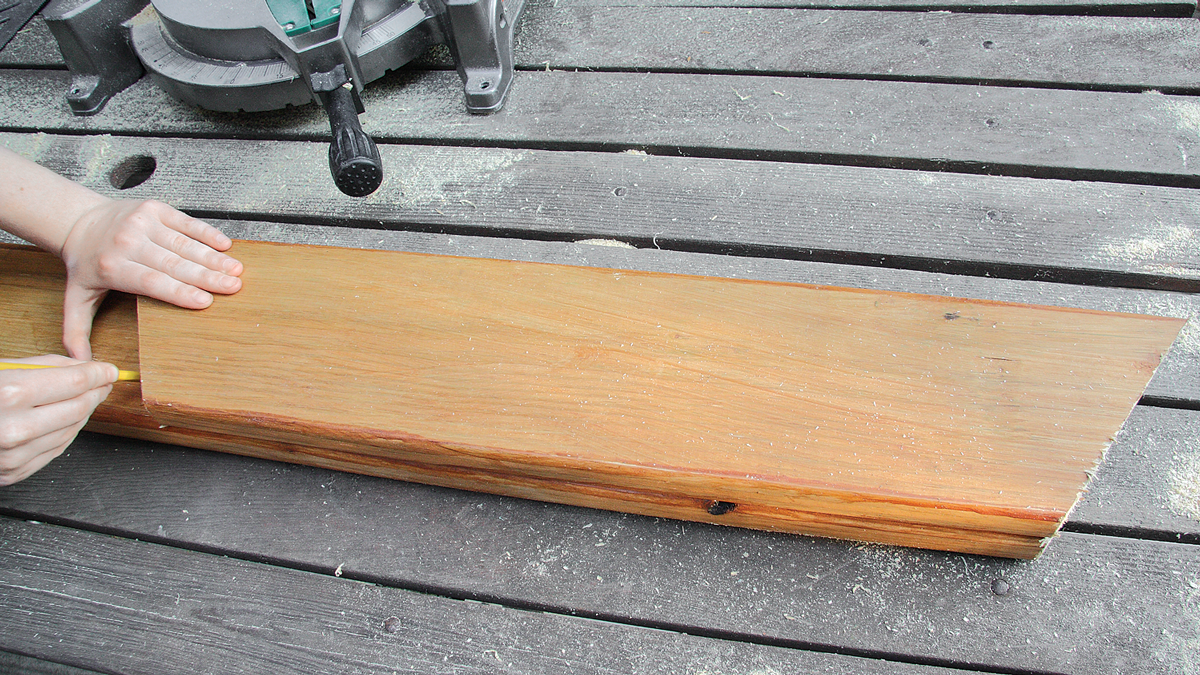 |
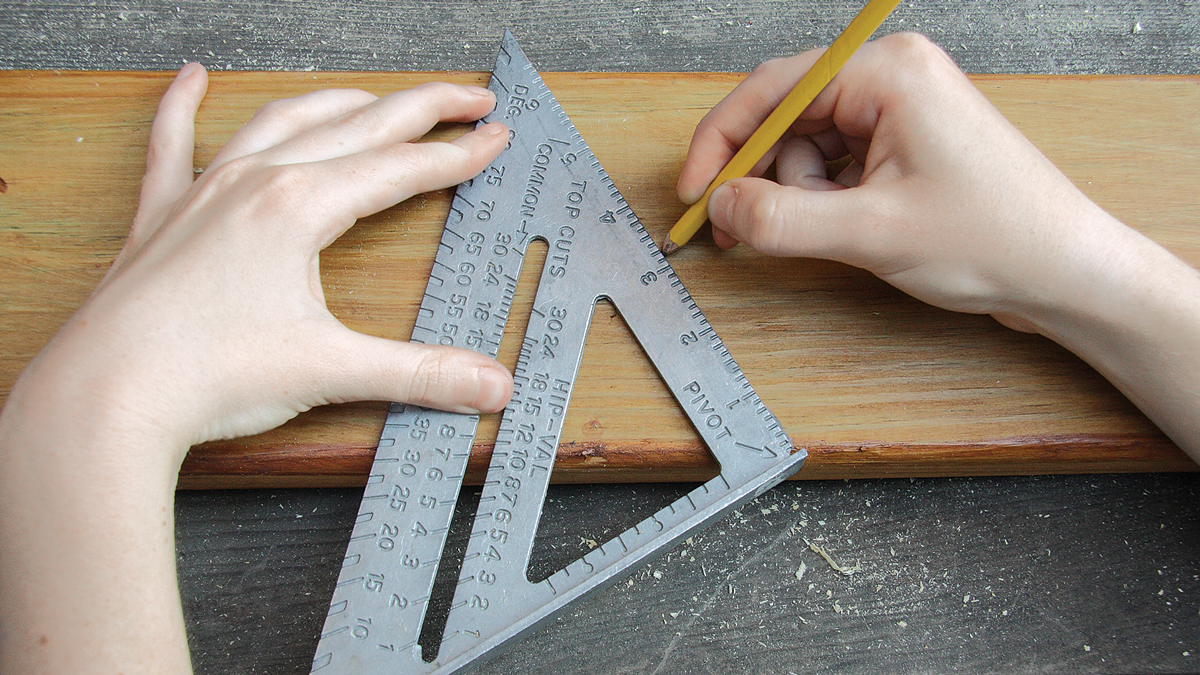
4. Because the chopsaw’s blade will start cutting in the middle of the board, use an angle square to mark a 30-degree line before making the second cut. Make the cut, then use the first piece as a template to mark the other five boards.
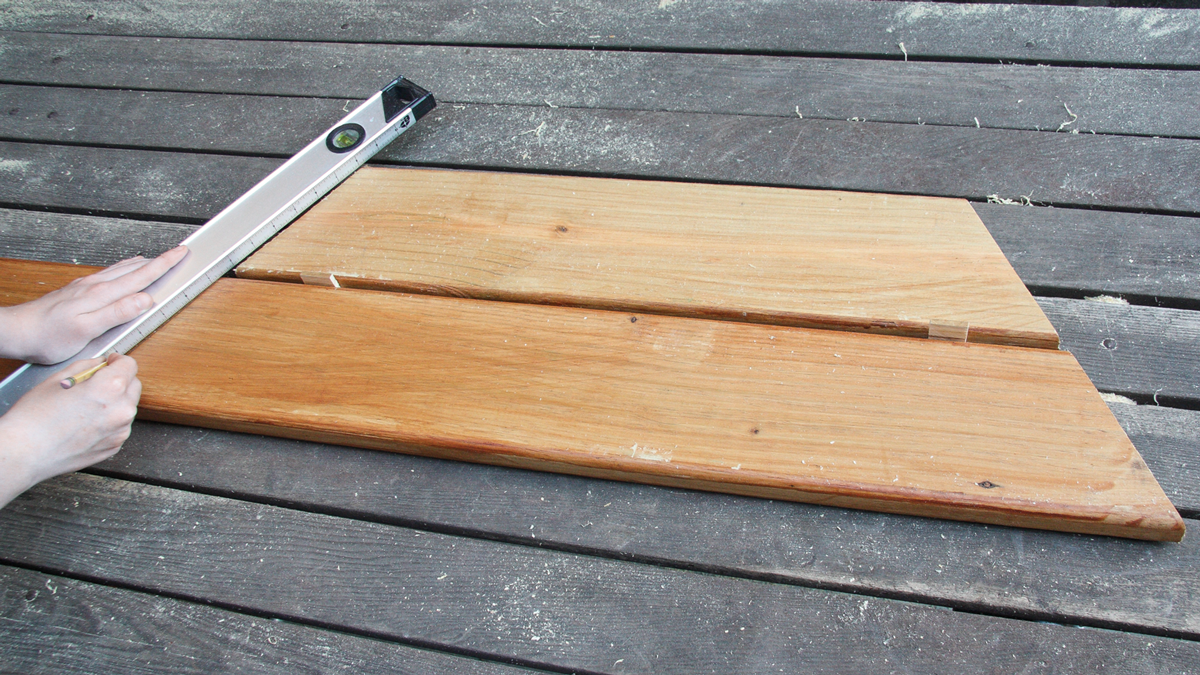
5. To cut the next row of boards, cut one side of a long board at 30 degrees. Line it up with a first-row board on a flat surface as shown, with spacers between the boards. Use a straightedge to make sure they are perfectly aligned on the side that is already cut. Then use a straightedge to mark the next board for cutting. Cut this and five other boards to this size, then use the same method to measure for the third row and cut six of those as well.
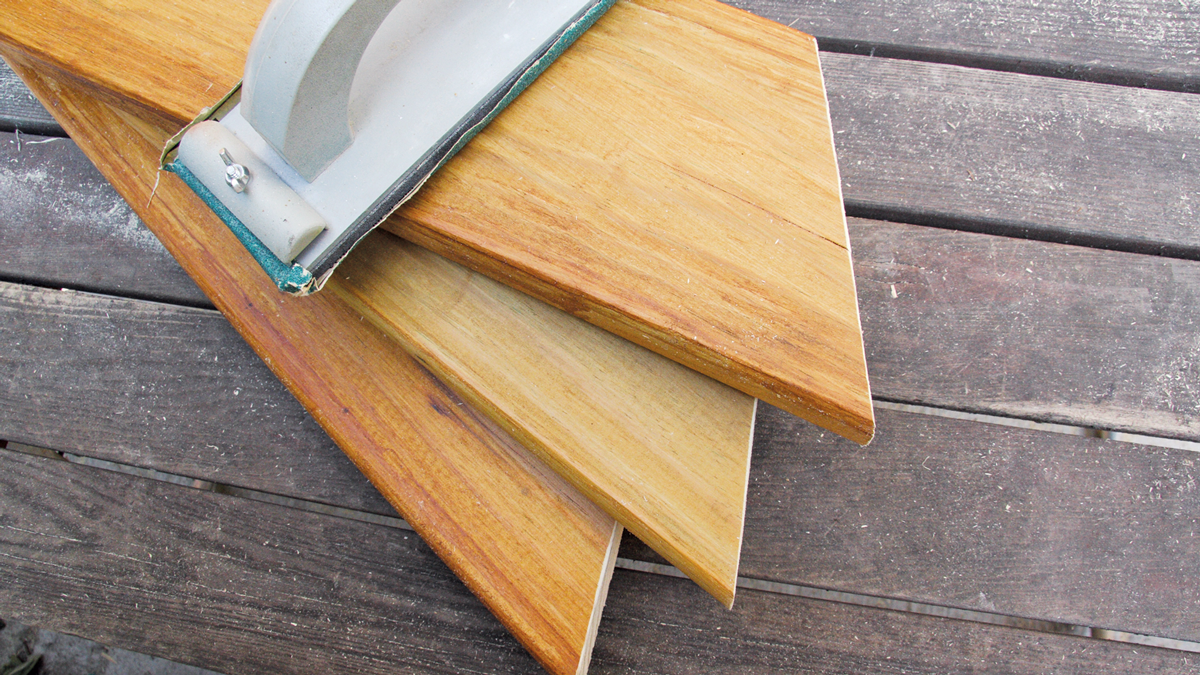
6. Use a hand sanding block to ease (slightly bevel) the cut edges. This will help hide imperfections in the joints, which inevitably occur in a project like this.
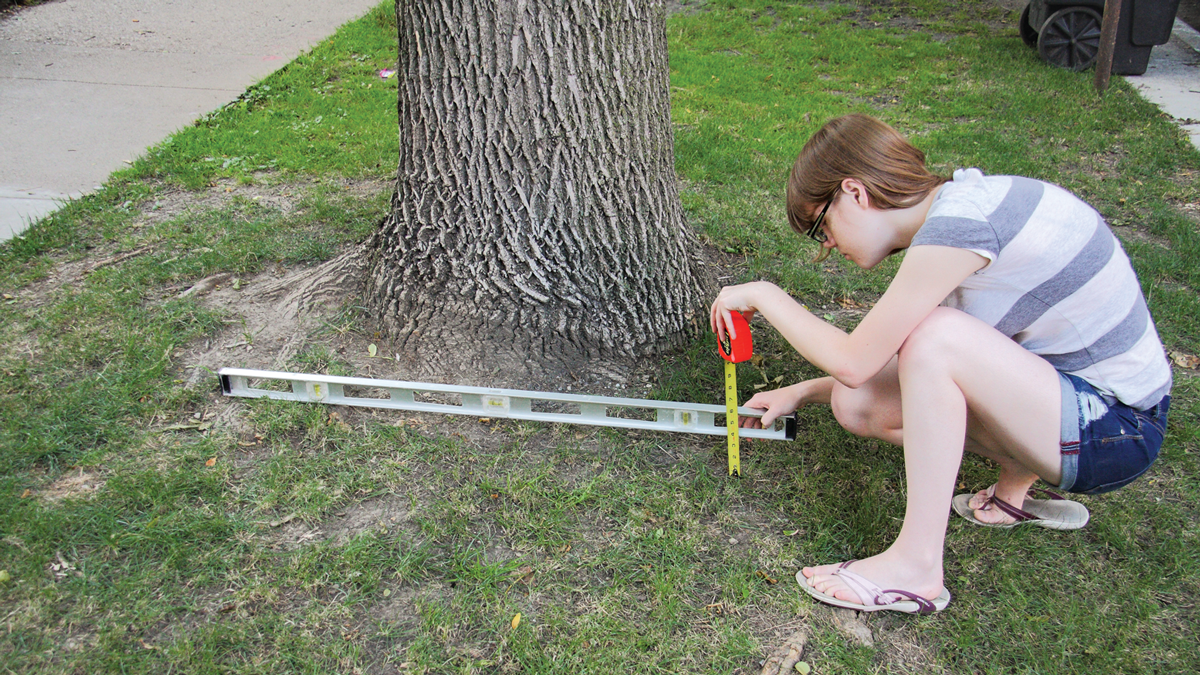
7. Use a level and a tape measure to measure the ground’s slope around your tree. Eyeball the area to look for high places where you might be able to dig small holes (step 15). If digging is not a possibility and the slope is more than a few inches, plan to make some of the legs a few inches longer than others.
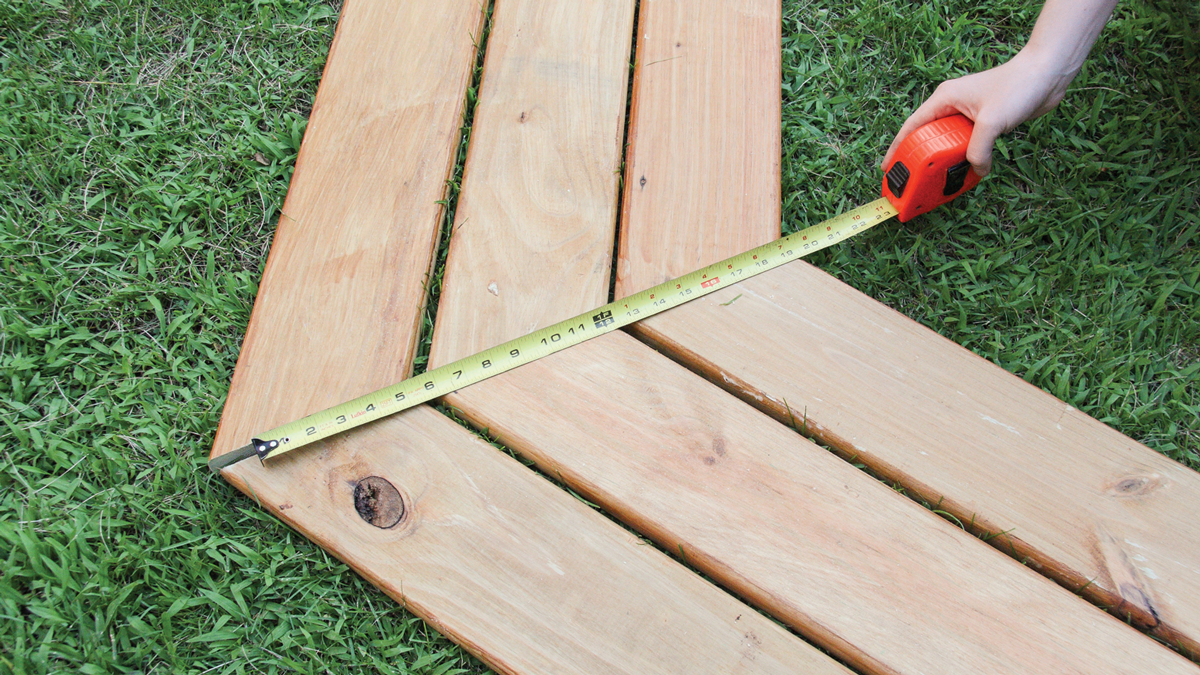
8. Line the boards up on a flat lawn or driveway. Measure to find the best length for the supports. (This can vary, because decking boards can vary in width.) In our example a support that is 3 in. thick and 17 in. long will work well.
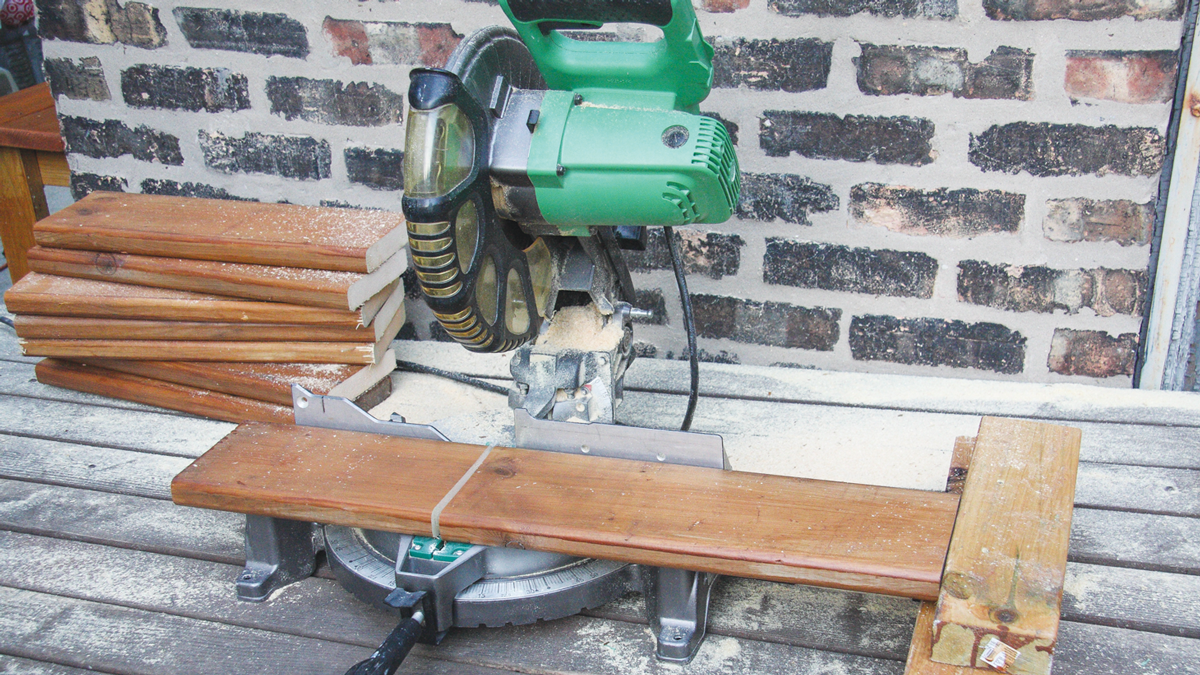
9. Our supports will also be 17 in. tall, which means that all four pieces of each support are 17 in. Some serious gang-cutting is in order. Screw the chopsaw to a table and attach a simple stop, as shown, so you can simply slide the boards into position to get the same dimension for each cut. You will need 24 pieces.
 |
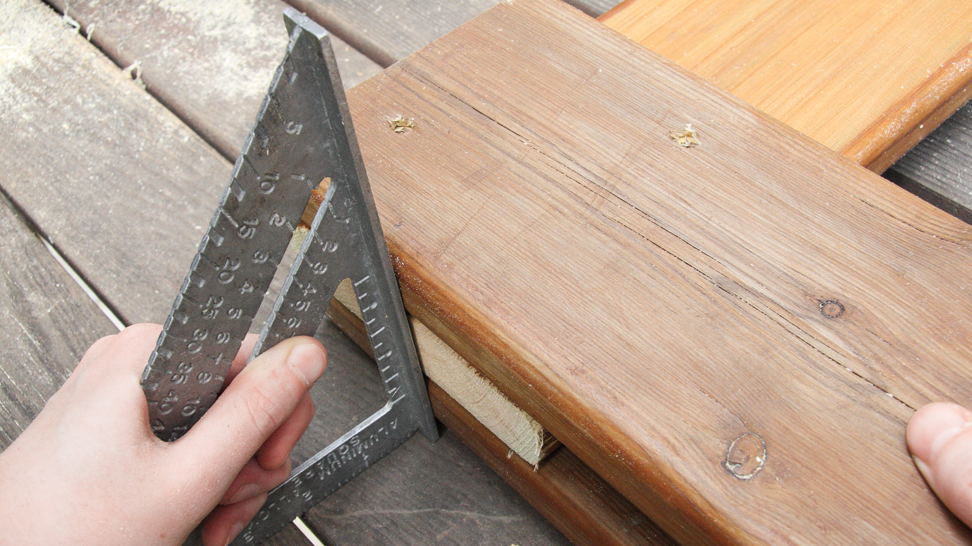 |
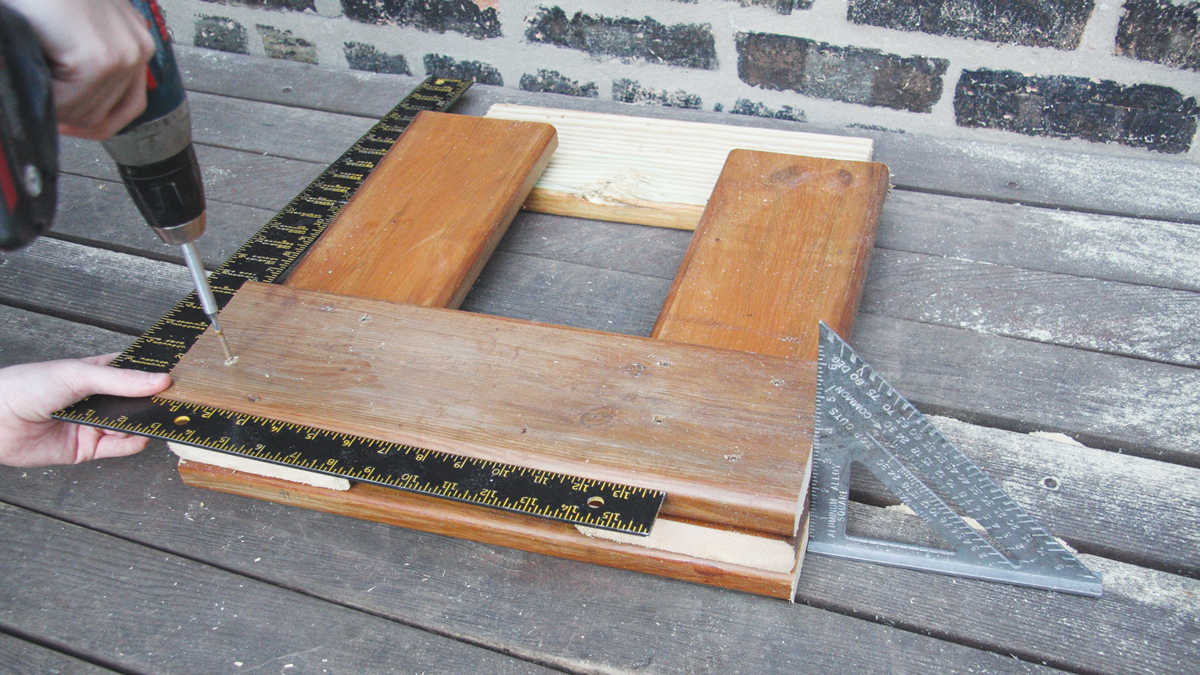
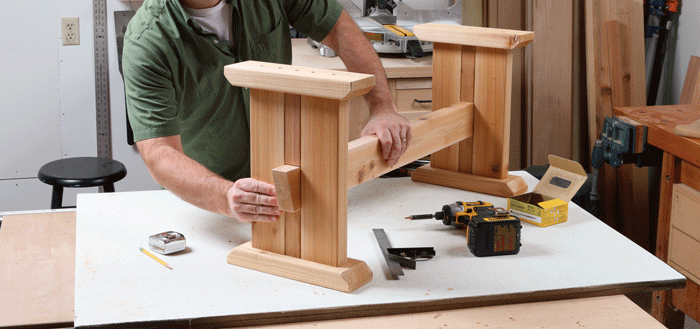
10. Use a square to keep things aligned, and a scrap piece to hold the legs up, as you build each of the six supports. Use an angle square (inset) to make sure the tops of the horizontals are even with each other. Drive four widely spaced screws into each joint, on each side.
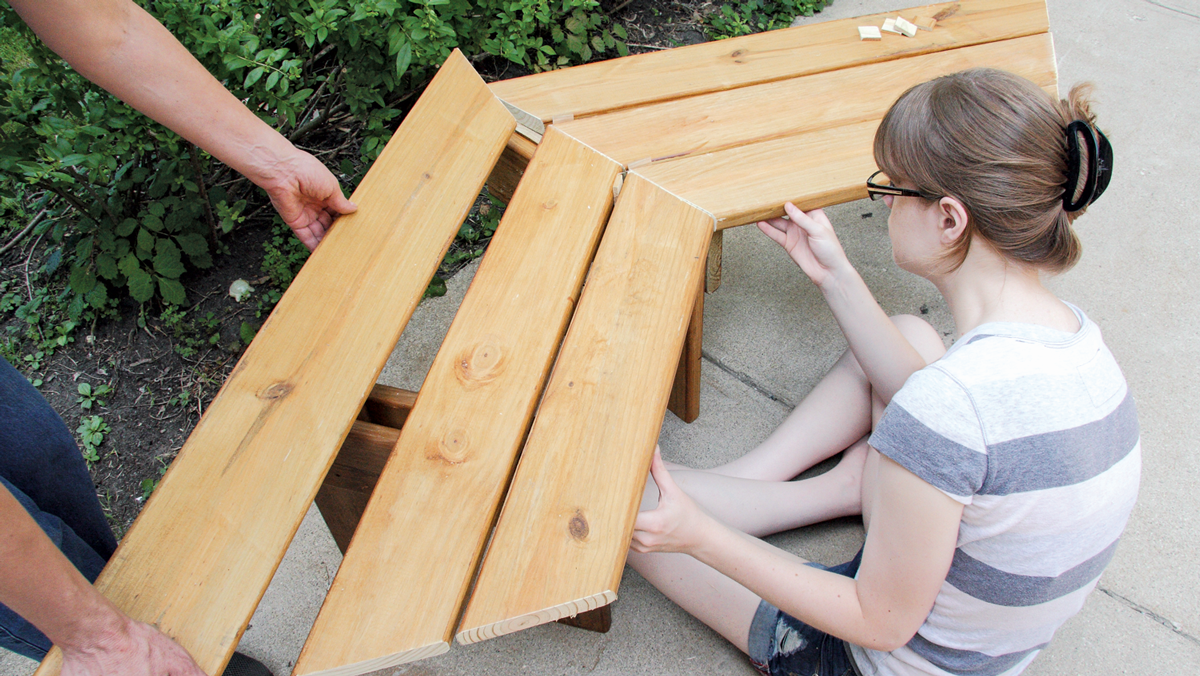
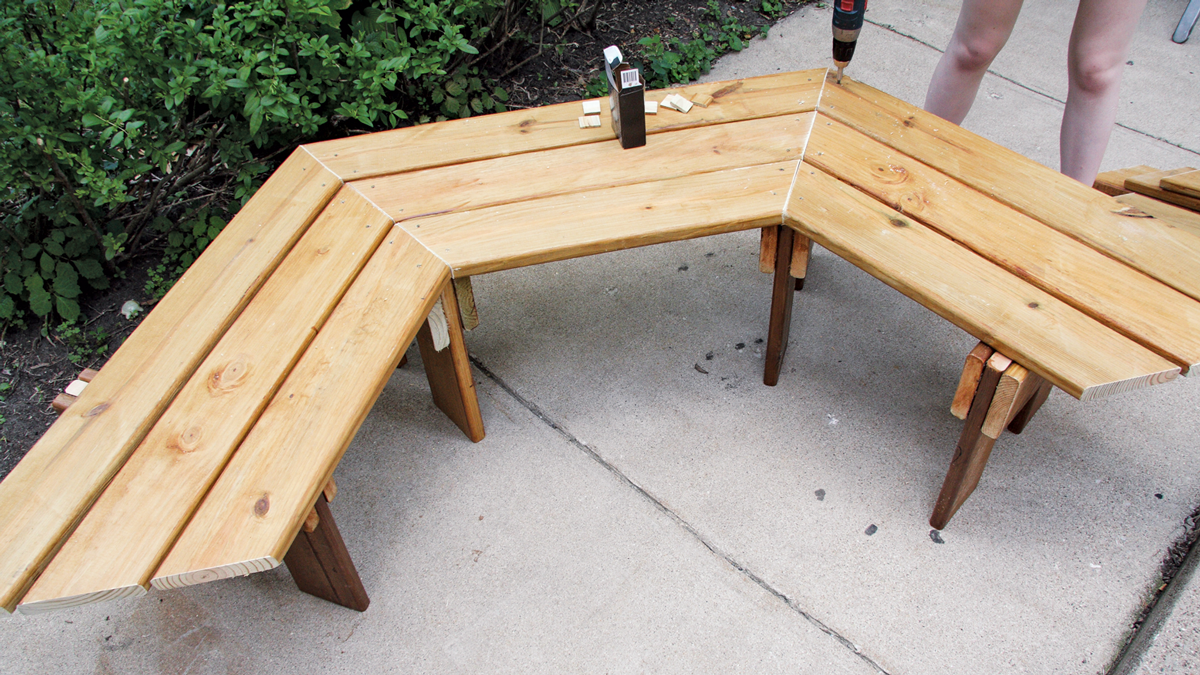
11. Working on a flat surface, start assembling; this is much easier with a helper or two. Place boards for two sections so their joints are centered over a support; on the two outside sides, the supports do not have to be correctly aligned at this point. Slip in spacers and work to make the joints tight and centered on the support.
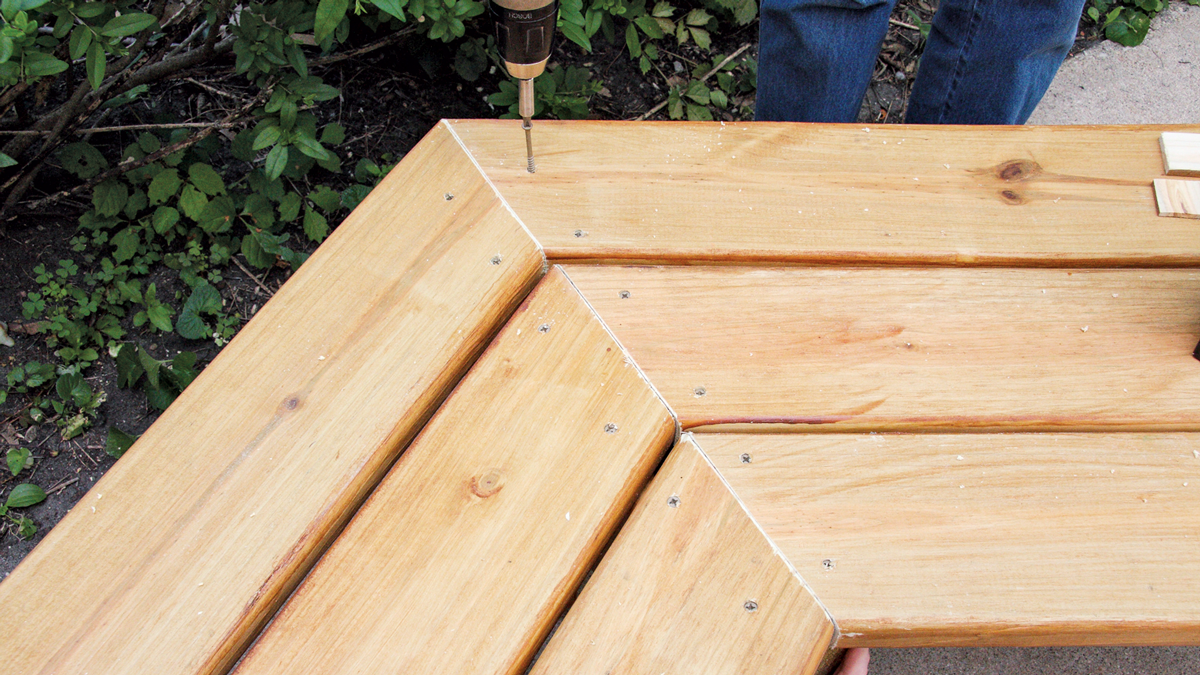
12. Once you are happy with the arrangement, drill pilot holes and drive screws to attach the boards to the horizontal supports.
TipAfter you get going it’s a good idea to mass-produce pilot holes in all the boards prior to assembly, since they are all spaced 1-1/2 in. away from the cut edges. |
 |
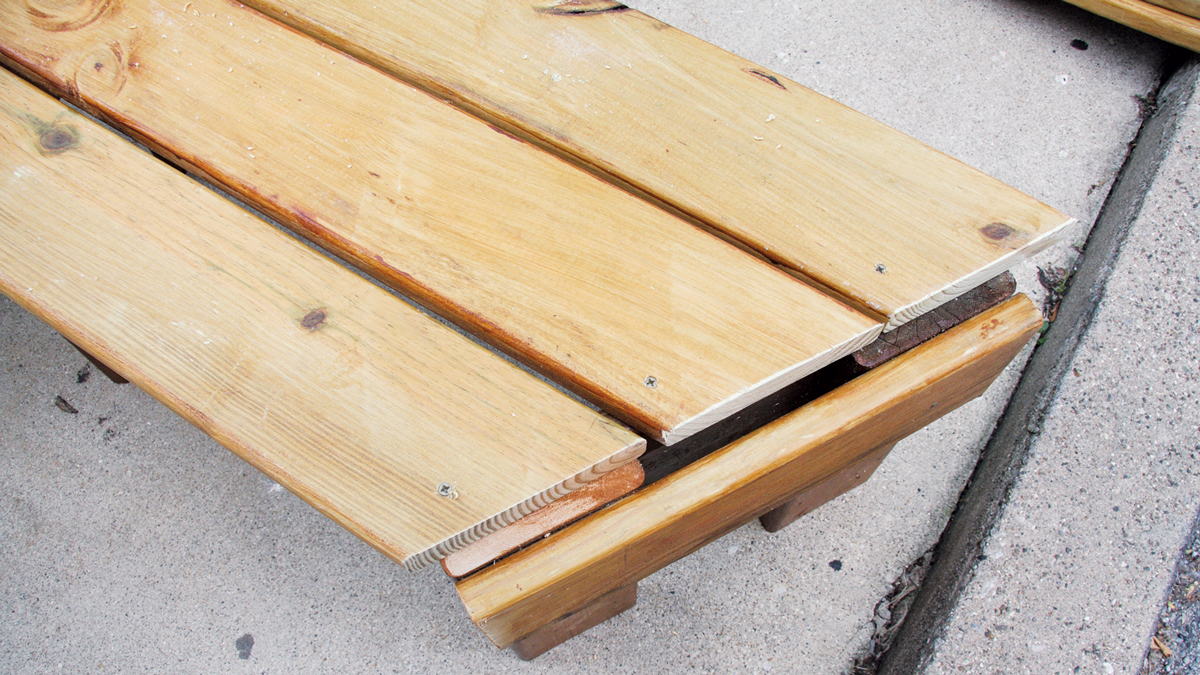 |
13. Assemble three sections in this way, to make the first half of the bench. Continually check that spacing between boards is consistent (though you may abandon the spacers after a while) and aim for tight joints. Finish by attaching the boards at both ends to one side of the supports (above right).
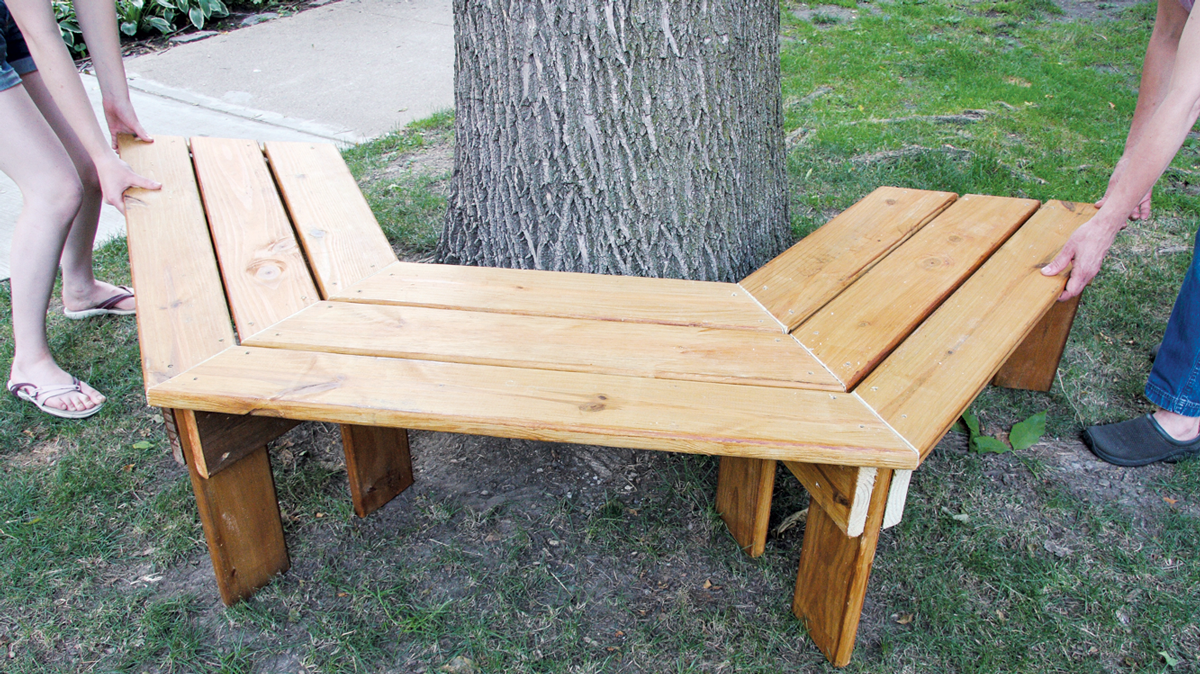
14. Working with a helper or two, carefully carry the first half of the bench to the tree and place it so it is evenly spaced away from the trunk. Wherever possible, adjust its position to avoid placing supports on roots or any high or low spots.
 |
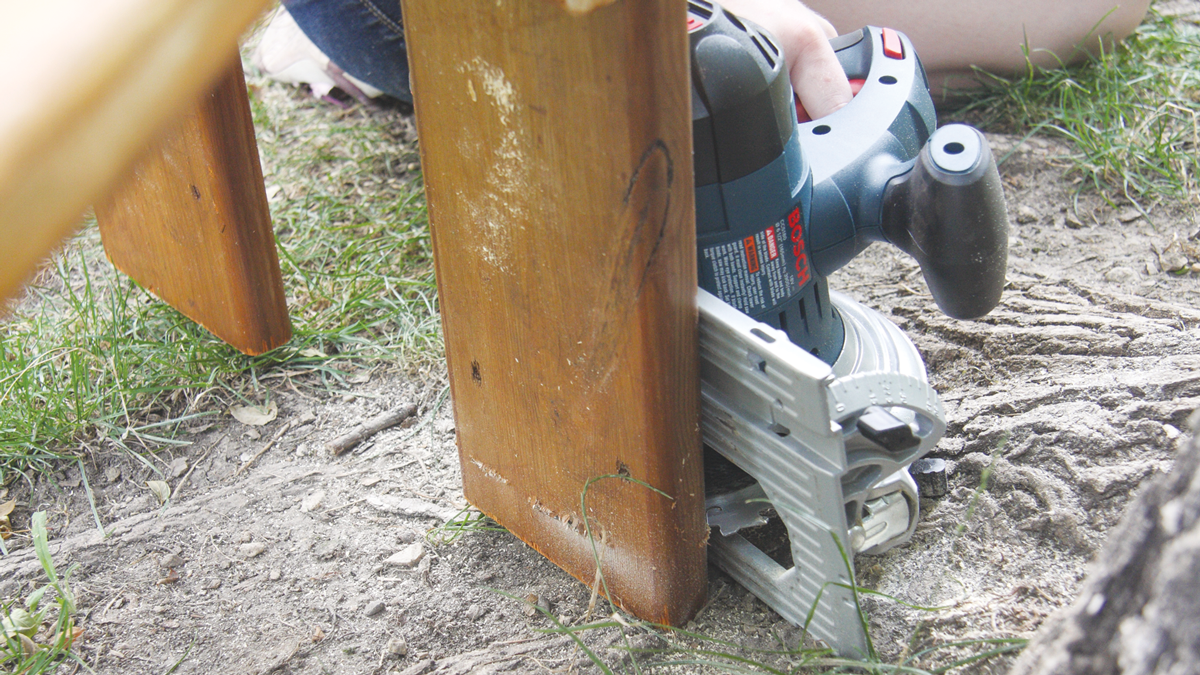 |
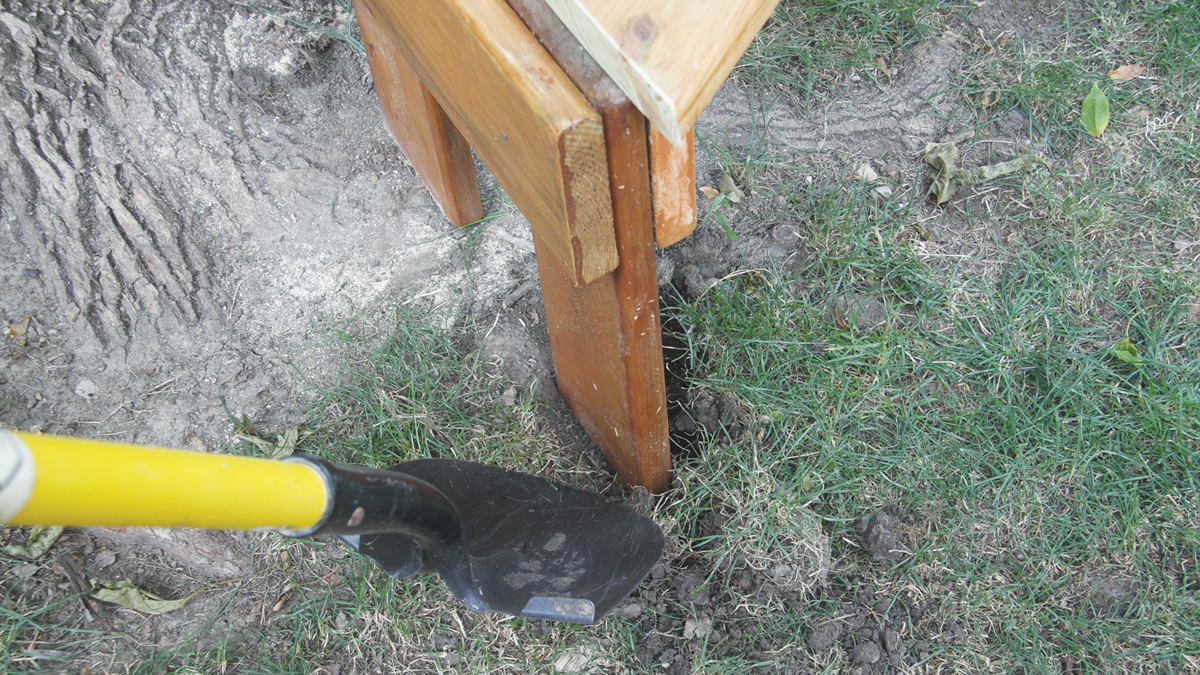
15. Check the bench for level; you don’t need to be perfect, but close is good. If a support is high, you may be able to dig a small hole and lower it. If you cannot dig a hole, use a circular saw or a reciprocating saw to cut a support near the bottom.
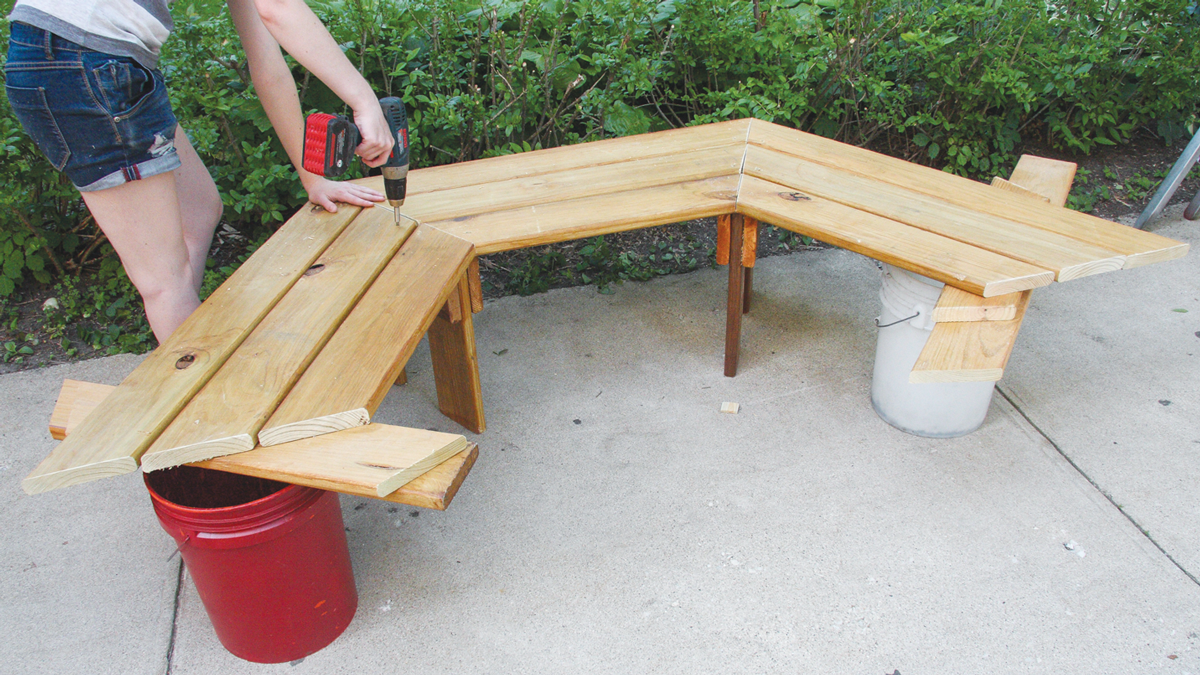
16. Build the other half of the bench. This one has three seat sections, but only two supports. Use buckets and boards, as shown, or chairs to hold up the unsupported ends as you work.
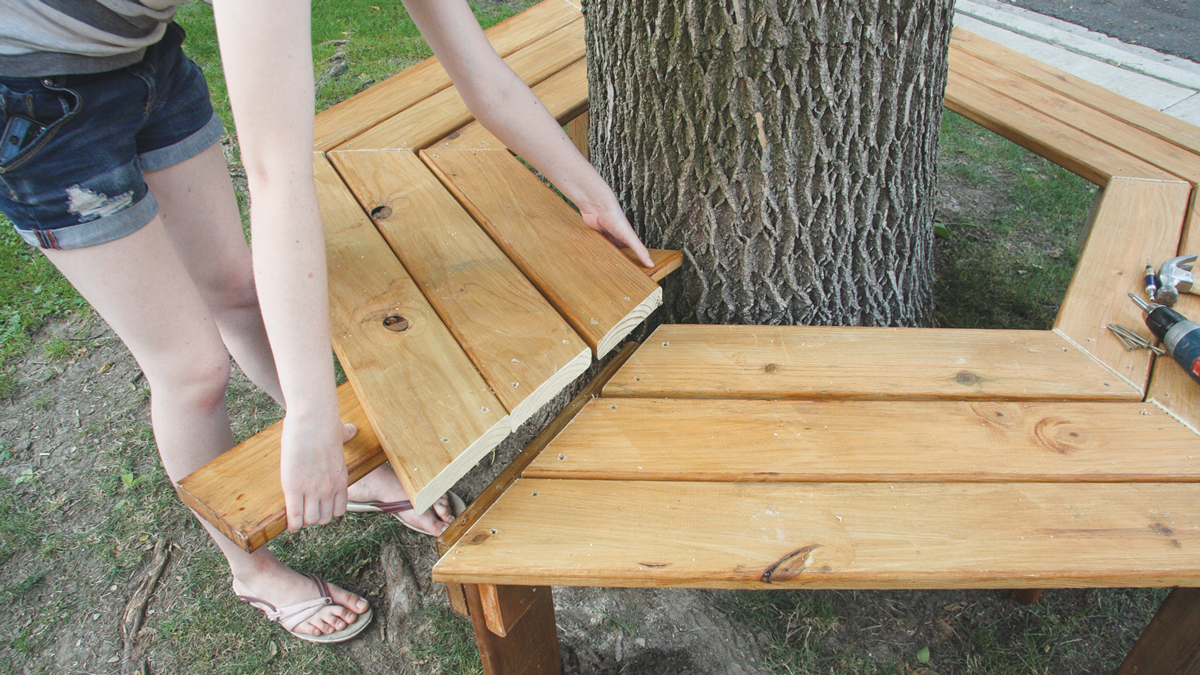
17. Very carefully carry the second half over to the tree. On each side, use a board to hold all three unsupported board ends as you carry. Position the bench and place the ends on the supports that are attached to the first half.
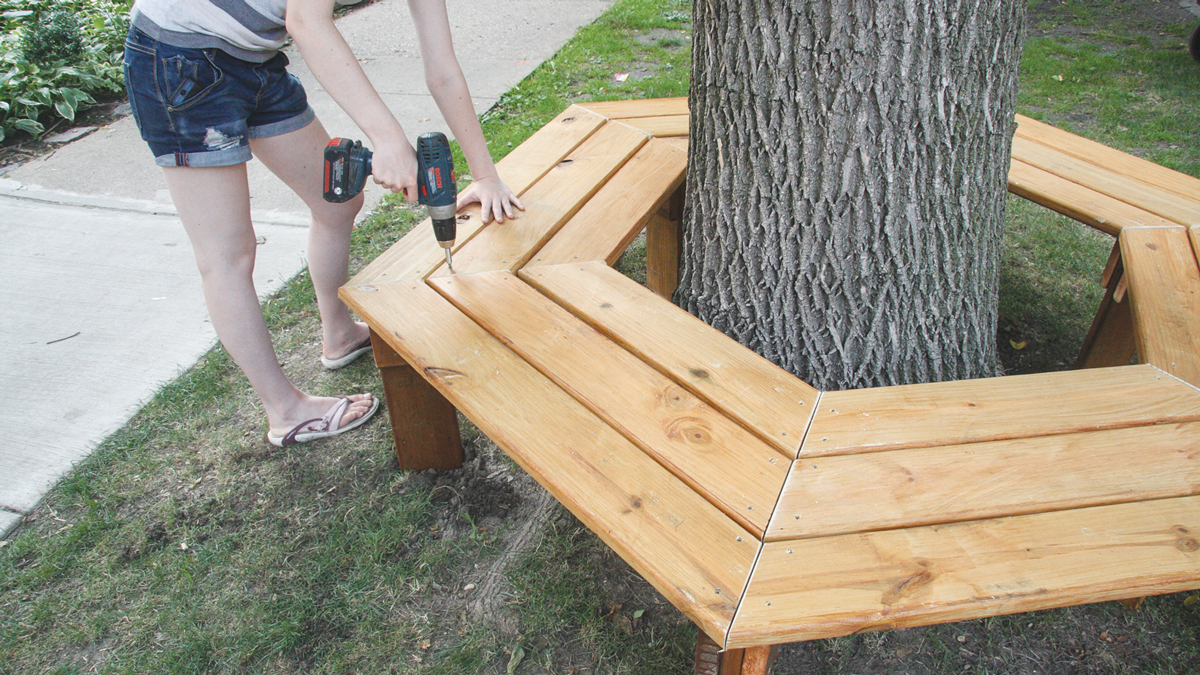
18. Drill pilot holes and drive screws to attach the second-half board ends. Before or after doing this, you may need to dig holes or cut leg bottoms to make the bench fairly level and to produce good-looking joints.


Log in or create an account to post a comment.
Sign up Log in